


Step 1 of 14
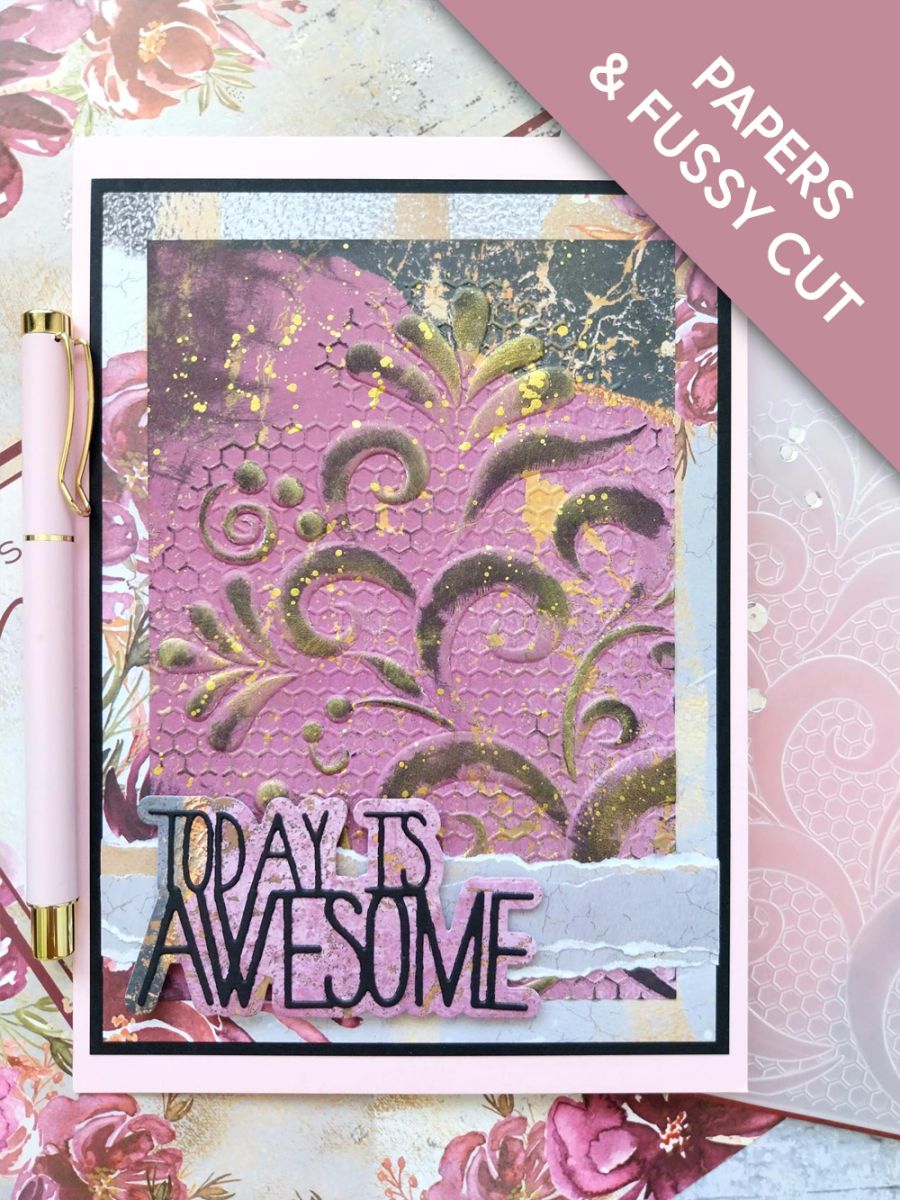
We need this beautiful double-sided 12 x 12" paper, from the Mulberry & Gold Paper Collection.








Prices change straight away. Every language is our own translation, not Google.
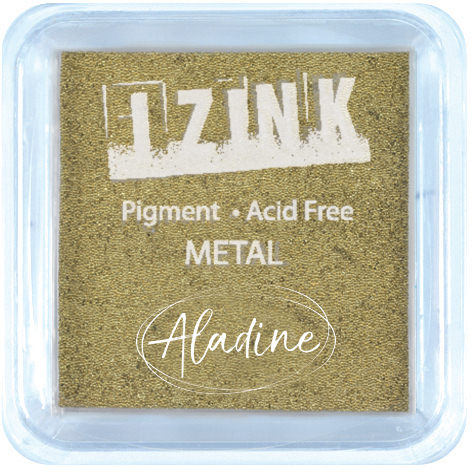 IZINK PIGMENT INK PAD 5 X 5CM - METAL GOLD 050821uIzink Ink Pad: Metal Gold£3.99BUY✓ ADDED
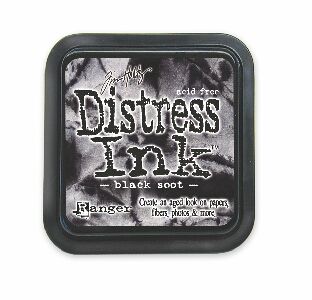 Tim Holtz - Distress - Ink Pad Black SootDistress Ink Pad: Black Soot
We need this beautiful double-sided 12 x 12" paper, from the Mulberry & Gold Paper Collection.
Trim a piece from the paper 6 1/2 x 4 1/2", which incorporates both the black and mulberry pattern (see top left).
Pop the remaining paper off-cuts to one side.
Place the trimmed panel inside your Honeycomb Swirl embossing folder and run it through your machine.
Swipe your Black Soot ink pad lightly over the raised, embossed areas. It's easier to start off lightly, then you can gradually build up the itensity of colour, as required.
Dry off the black ink before lightly swiping the Metal Gold Izink over random, embossed areas.
Add water to the Goldmine Confetti ink, then splatter over your artwork.
Pop to one side to dry or blast with a heat tool, if you're impatient like me!! Note that the pigment/embossing Metal Gold ink is slow drying!!
From the same 12 x 12" patterened paper, trim a panel 7 1/4 x 5 1/4, but this time we will be using the other side of the paper.
Mat your dried, embossed artwork on to the trimmed, decorative mat, before popping it to one side.
From your left-over pieces of paper, tear TWO panels, 1 wider than the other, both 5 1/4" in length.
Adhere the torn panels across your artwork, the narrower panel being on top, as seen here.
Adhere your artwork on to the black card, trimmed to 7 1/2 x 5 1/2" and then on to your pink card blank.
Pop to one side.
Die cut the detailed sentiment, out of the Creative Words Collection, from a piece of black card and the mat layer from the left over Mulberry paper.
Adhere the detailed die cut on top of the paper die cut mat.
Adhere your die cut sentiment on top of the vellum panels, to the left of your artwork, to finish.
Share your make with the Stamps By Me community - and keep this guide for next time.
Prefer the previous layout? Open the old page.



