


Step 1 of 11
Using the Ornate Frame embossing folder, emboss the 6 x 6" white card and set to one side.








Prices change straight away. Every language is our own translation, not Google.
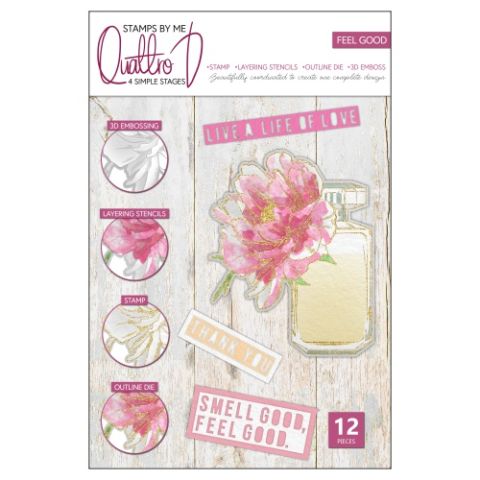 Stamps By Me Quattro D - Feel GoodQuattro D Feel Good Collection£34.99BUY✓ ADDED
 Blending Tool RectangleBlending tool
Using the Ornate Frame embossing folder, emboss the 6 x 6" white card and set to one side.
Placing stencil 1 on white card cut to 6 x4", blend the Ocean through the floral aperture using your blending tool.
Line up stencil 2 and blend through the floral aperture with the Tiffany. Keep this stencil in place for next step....
On the same stencil, blend the Midnight lightly through the bottle aperture.
Line up stencil 3 and blend again lightly, with the Midnight.
Ink the coordinating stamp with Midnight and stamp over your stencilled image.
Die cut your image with the coordinating die, before placing it inside the embossing folder and running it through your machine.
NB: Remember to check your machine plates when swapping from die cutting to embossing!!
Apply the Quickie glue pen to some of the lines on the floral element and add American Smooth glitter.
Cut off a "drop" from the Edith Elephant Washi Tape and Die Collection. Carefully peel off the adhesive backing sheet, as you adhere the washi tape to an A4 sheet of white card. Line up one of the coordinating dies over the washi, secure in place with low tack tape and run it through your die cutting machine. Line up the second die, secure in place and die cut. Adhere the little die cut blue heart to the front of the perfume bottle, for added interest. Pop the remaining die cut elements in a tub, for future use.
Choose a sheet of decorative paper, from the Oxford Blue Collection and cut to 6 1/2" square, setting any remaining paper to one side.
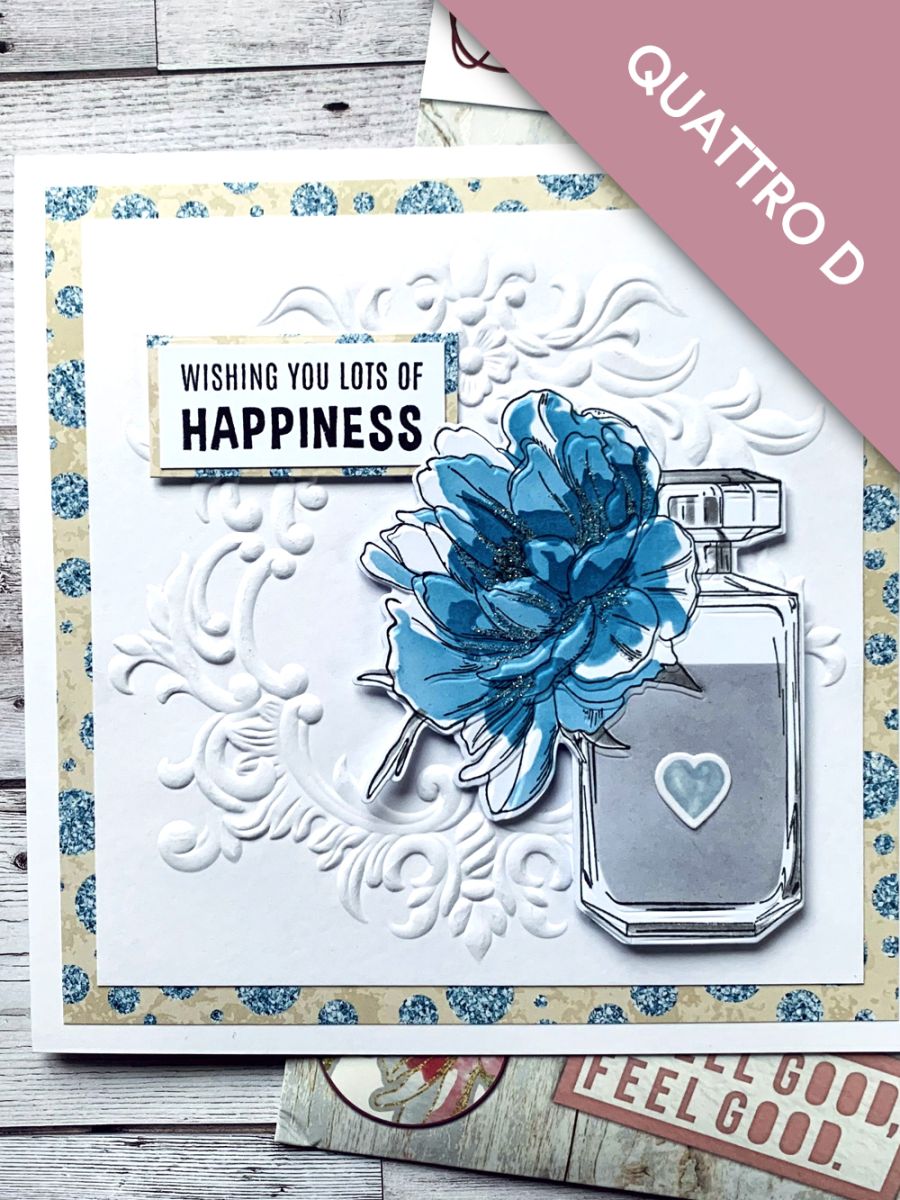
Adhere the decorative paper to your 7 x 7" white card blank, then adhere the embossed ornate frame on top.
Adhere the 3D perfume bottle element, with foam pads, to the bottom right of your card.
Stamp the sentiment in Midnight, on to a piece of white card. Cut to size then mat on to the decorative paper you set aside earlier, and cut to size.
Adhere to the top left of your card, using foam pads, to finish.
Share your make with the Stamps By Me community - and keep this guide for next time.
Prefer the previous layout? Open the old page.



