


Step 1 of 9
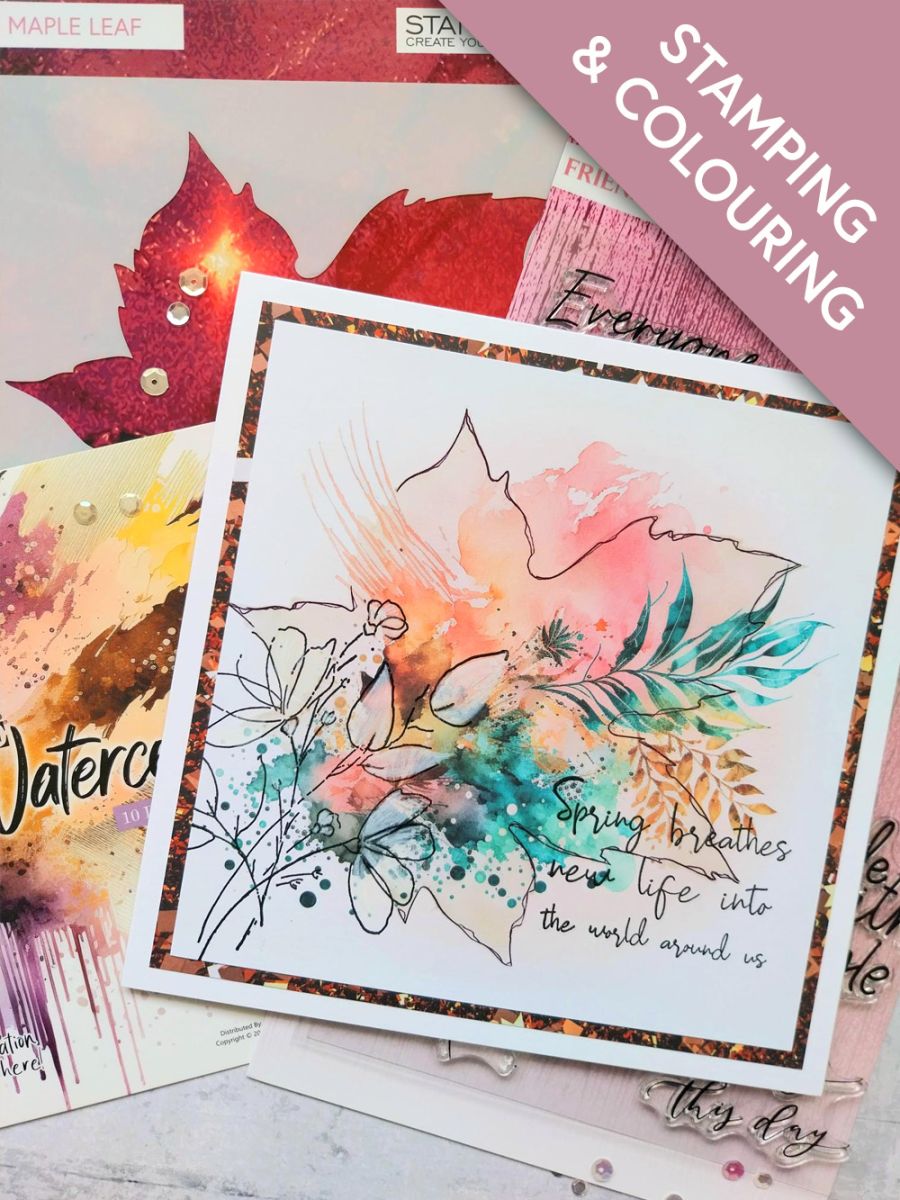
Remove this decorative paper from your Creative Watercolours pack.








Prices change straight away. Every language is our own translation, not Google.
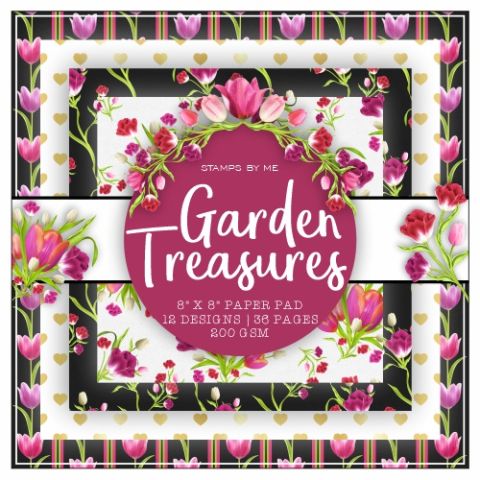 Stamps By Me Garden Treasures 8 X 8 Paper Pad
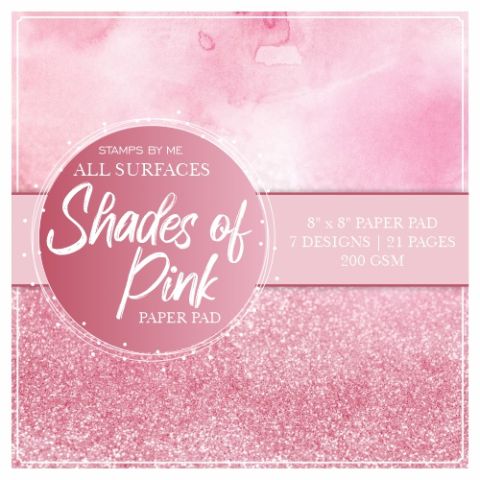 STAMPS BY ME - ALL SURFACES - SHADES OF PINK - 8 x 8 PAPER PAD£12.99BUY✓ ADDED
 Blending Tool RectangleBlending tool
Remove this decorative paper from your Creative Watercolours pack.
Secure the Maple stencil with your magnets, on top of the decorative paper, so the base of the Maple Leaf is bottom left.
Using a blending tool, apply the No-Line ink within the stencil but focusing the depth of ink around the inner edges.
Remove the stencil and blast the ink dry with a heat tool.
Apply the Midnight hybrid ink to the detailed stamp, from the Friend Like You Lamination Collection and stamp coming up from the bottom left corner.
Again, give the ink a blast with your heat tool.
Pop a little of the Cotton pigment ink on to your glass mat and add water. Using a paint brush, colour in areas of the stamp so it pushes back the coloured design, on the decorative paper.
You can reapply the Cotton ink as many times as you want, to get the effect you require.
Once the ink is dry, line the Maple Leaf stencil back in position and use a black fine line pen to trace around the shape of the Maple Leaf as required. I did NOT trace over the drips of paint, in the top left corner as I wanted them to give the appearance of flowing out from the design.
Use the Midnight to ink up the sentiment stamp, before stamping it in the bottom, right corner of your artwork.
Set aside to dry.
Remove this textured paper from the Copper All Surfaces Paper Pack and trim to 6 1/4" square.
Adhere your artwork on to the textured paper and then on to your white card blank, to finish.
Share your make with the Stamps By Me community - and keep this guide for next time.
Prefer the previous layout? Open the old page.



