


Step 1 of 9
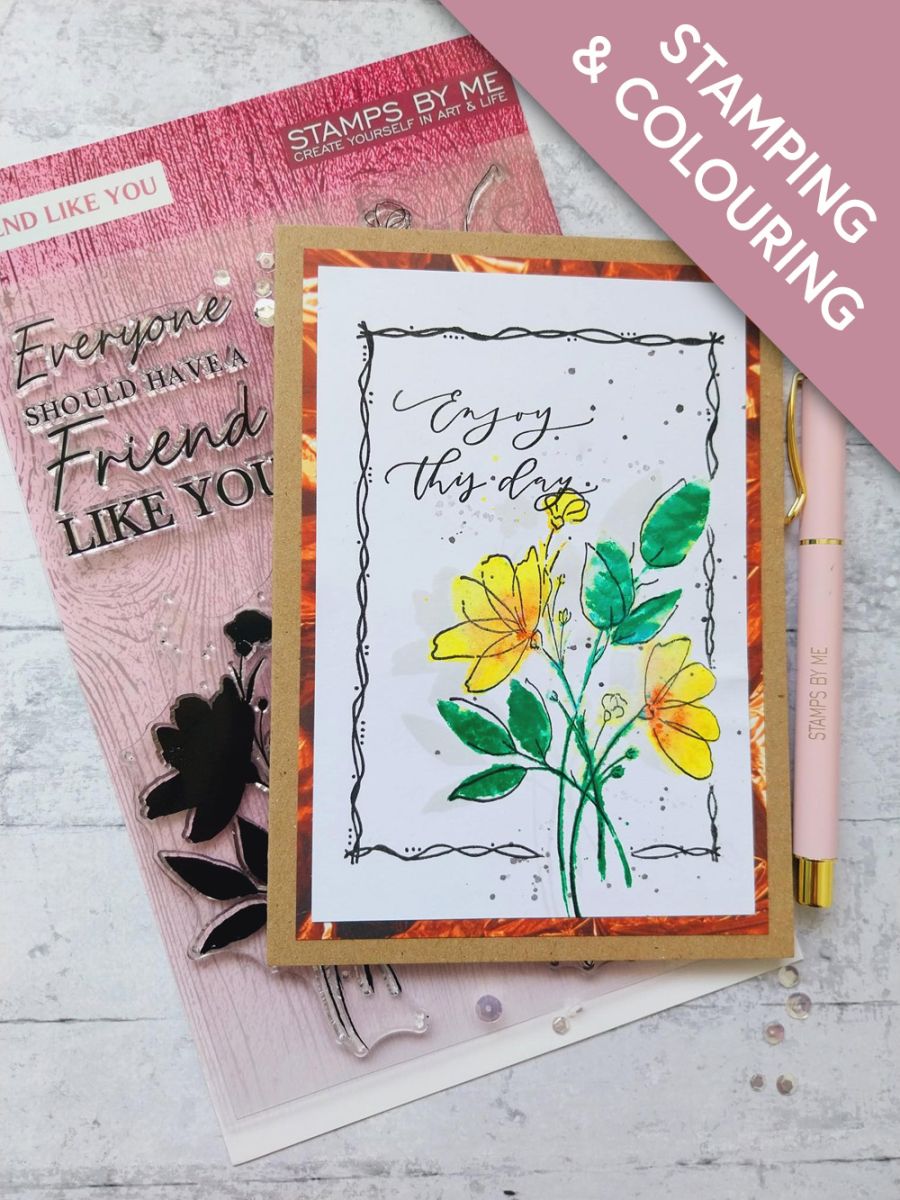
Ink up the solid stamp from Friend Like You, with the no-line ink pad and stamp centrally on to the white card.








Prices change straight away. Every language is our own translation, not Google.
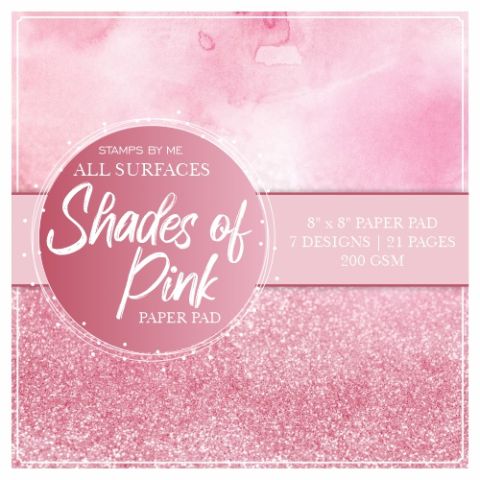 STAMPS BY ME - ALL SURFACES - SHADES OF PINK - 8 x 8 PAPER PAD£12.99BUY✓ ADDED
Ink up the solid stamp from Friend Like You, with the no-line ink pad and stamp centrally on to the white card.
Ink the stems and foliage of the same stamp with Hedgerow, spritz the stamp with water and stamp slightly to the right of the first image. This will create the illusion of a drop shadow and give your artwork dimension and perspective.
Wipe the stamp then ink up the flower heads with the Sherbet and Bittersweet, spritz with water and stamp. You can stamp one colour at a time but, depending on the colours I'm using, I like to do both together, so they bleed in to each other, giving a beautiful, loose watercolour effect.
Dry the ink thoroughly.
Use the Midnight Hybrid to ink the detailed stamp, from the same set and stamp over the coloured image. These are loose, lamination designs so they do not line up perfectly.
Apply the Midnight to your glass mat, add water and use a paint brush to splatter over your artwork. I love lots of splats but the choice is yours.
Remove the 2nd biggest frame, from the Dot Frame Stamp collection and ink with Midnight. Hovering it over your stamped image, wipe off the ink from any areas of the frame that would stamp on to the floral image, then stamp the frame in place.
Ink the sentiment stamp with Midnight and stamp to the top left of your artwork.
Set to one side to dry.
Remove this decorative sheet from the Copper All Surfaces Paper Pack and trim to 6 1/2 x 4 1/2".
Adhere your artwork on to the decorative paper and finally, on to your kraft card blank.
Share your make with the Stamps By Me community - and keep this guide for next time.
Prefer the previous layout? Open the old page.



