


Step 1 of 11
Use a blending tool to blend Tiffany around the white card, leaving an area un-inked, as seen here. Blend Iced Spruce around the card but don't go so far in and finally blend with the Black Soot, to darken the outer edges.








Prices change straight away. Every language is our own translation, not Google.
 Blending Tool RectangleBlending tool
Use a blending tool to blend Tiffany around the white card, leaving an area un-inked, as seen here. Blend Iced Spruce around the card but don't go so far in and finally blend with the Black Soot, to darken the outer edges.
Tear a piece of copy paper to cover the un-inked area of the background.
Swirl the Pearlywinks Glitter Pearl Mist, to activate the mica. Spray on to your glass mat, then use a paint brush to splatter over your inky background.
Remove the mask and blast with a heat tool.
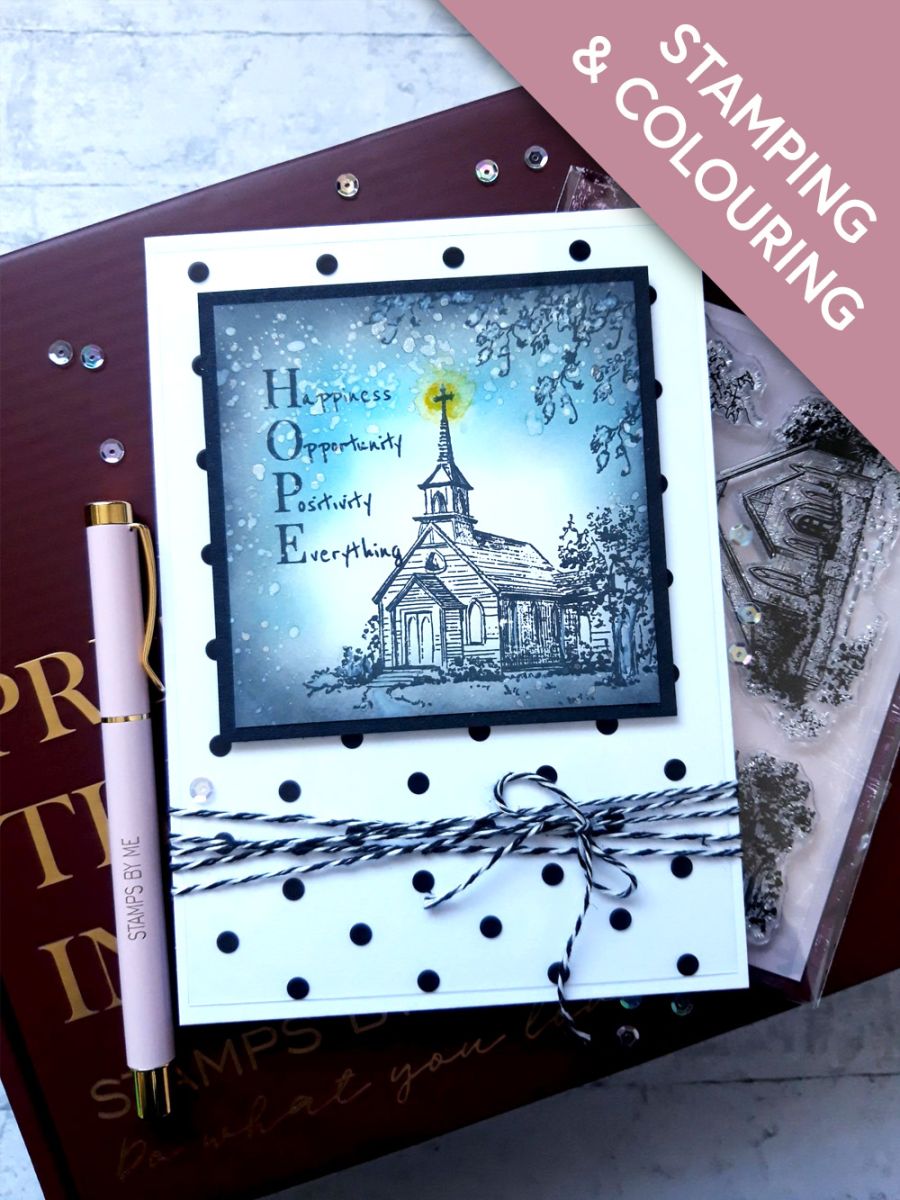
Ink up the Church stamp, from I'll Be There, with the Midnight ink and stamp off the right hand side of your background.
Ink up the foliage stamp, from the same set, with Midnight and stamp coming down from the top right corner.
Blend a little of the Sherbet ink around the top of the Church Spire.
Ink up the sentiment stamp, from the Love & Hope set, with Midnight and stamp to the left of your artwork.
Adhere your artwork on to the black card and set to one side.
Trim the black dotty acetate to fit on the front of your 7 x 5" card blank.
Adhere your artwork on to the acetate, towards the top centre. Apply glue on the reverse of the acetate, where the topper is positioned only, then adhere to the front of your card blank.
To finish, wind twine around the bottom of your card and secure with a knot or bow.
Share your make with the Stamps By Me community - and keep this guide for next time.
Prefer the previous layout? Open the old page.



