tap a picture to see it big · tap DONE as you go - this device remembers
Step 1 of 9
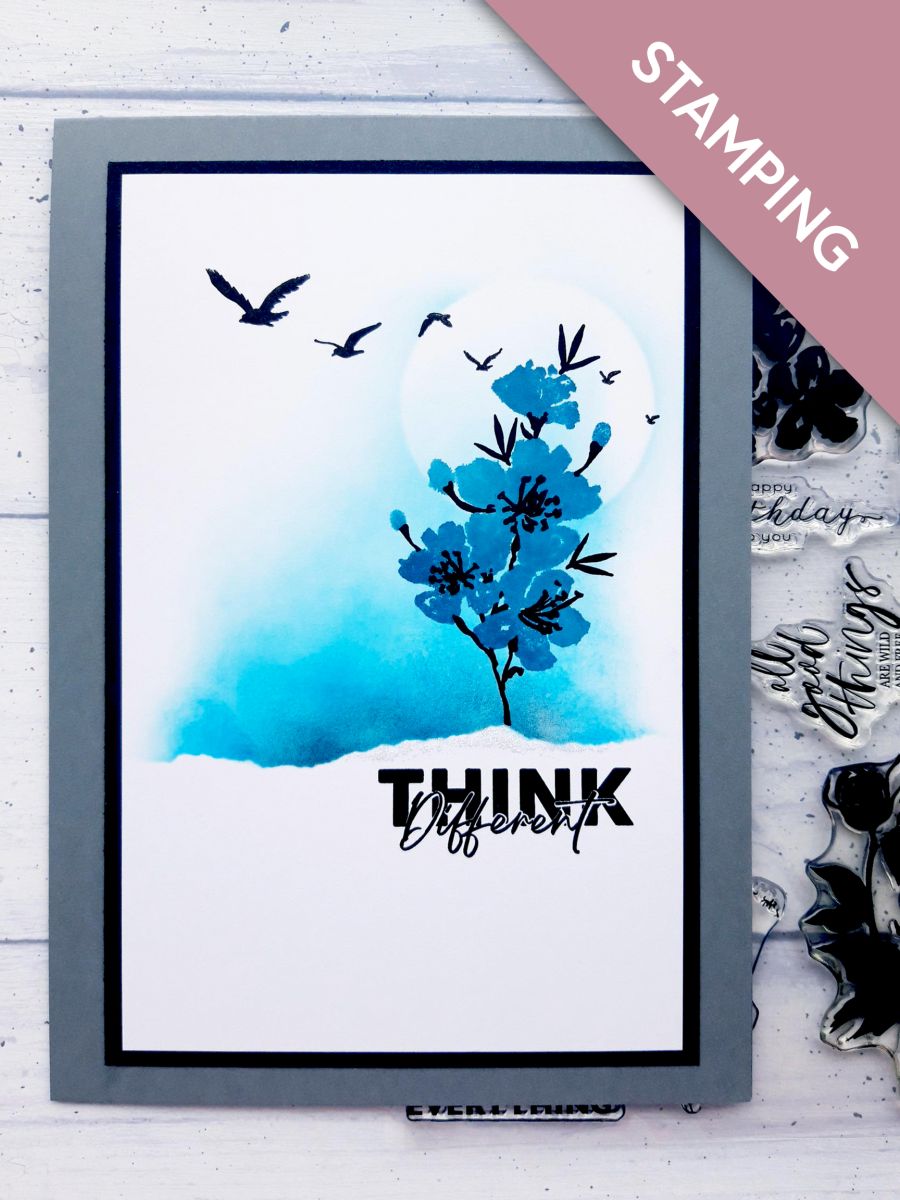
Tear a piece of paper and lay across the white cardstock, just under halfway.
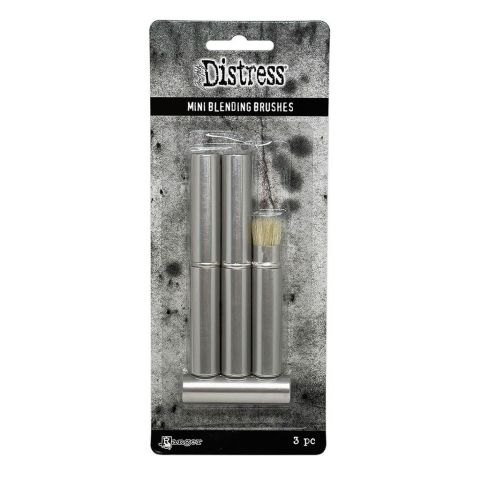
Blend the Izink Outremer ink above the torn paper, blending higher, but lighter, on the right side of the card. Blend out the colour to nothing, to create light and shade.
Blend the Izink Reglisse ink just above the edge of the torn paper, to create shadow across your skyline.
Step 2 of 9
Place the circle mask in place, to the top right of the cardstock, where your ink has faded out.
Ink lightly around the mask with the Izink Outremer ink.
Step 3 of 9
Remove your mask to reveal your sun (or moon). If you want more definition you can always place the mask back in position, and add a little more ink.
Step 4 of 9
Ink up the solid floral stamp, from Be Yourself Lamination Stamp Collection, with the Izink Petrole ink pad.
Spritz with a little water.
Stamp it to the right of the cardstock, so the top of the image sits within your sun. NB Use the detailed coordinating stamp as a guide as to where to stamp the solid image, as you want your floral image to sit just on the skyline.
Step 5 of 9
Ink up the coordinating detailed outline stamp in the Onyx Black Versafine.
Stamp in place, over the top of your stamped image, so it sits on the skyline.
Step 6 of 9
Ink up the flock of birds stamp, from the Skyline stamp set, with the Onyx Black Versafine.
Stamp across your floral image, and sun, as shown in this image.
Step 7 of 9
Ink up the sentiment stamp, from the Be Yourself Lamination Stamp Collection, with the Onyx Black Versafine.
Stamp to the right of your artwork, just below the inked skyline.
Step 8 of 9
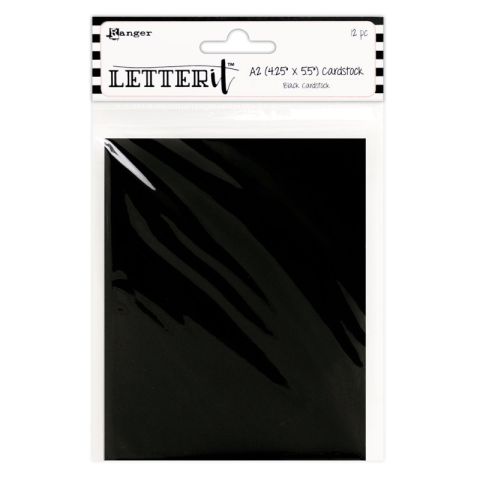
Mat your artwork on top of the black cardstock.
Mat this on top of your grey top folding card blank.
Step 9 of 9
To finish, add a little of the Izink Diamond Nacre Paint under the inked skyline, to give the effect of light, ice or snow, as desired.
You made it!
Share your make with the Stamps By Me community - and keep this guide for next time.
Hello! I'm Toni's AI craft helper - I know the projects from Toni's shows, our guides and everything in the shop. Ask me anything, like "which dies go with this stamp set?" or "what do I need to start ink blending?"
An AI helper (not Toni herself), answering from Toni's shows and our shop - please check the product page before you buy.