tap a picture to see it big · tap DONE as you go - this device remembers
Step 1 of 6
Apply a little of the Fandango ink on to your glass mat, spritz with water and "smoosh" with your Carta watercolour card, to pick up the ink. Give it a quick blast with the heat tool then repeat, using the Ocean. You can leave to dry naturally, but a heat tool will suffice if you're impatient!!
Step 2 of 6
Using your Ocean ink pad, rub it around the edges of the card, in a downward motion, to create a grungy frame around your background.
Step 3 of 6
Using your blending tool, apply the Fandango ink randomly through the Abundant Lush stencil, applying more intense colour in some areas, to give depth and dimension to your background.
Step 4 of 6
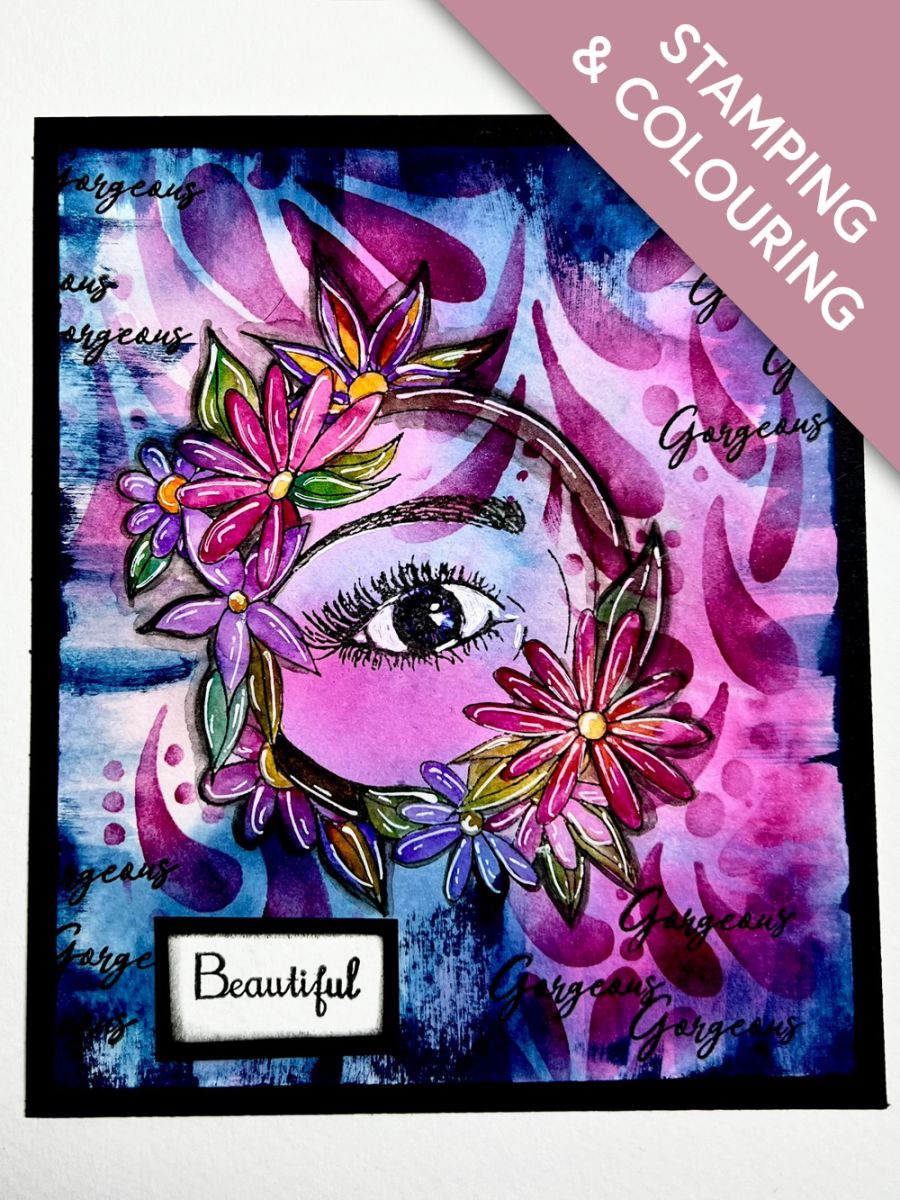
Ink up the gorgeous Beauty Is In The Eyes stamp, with the Midnight hybrid ink and stamp in the middle of your background.
Step 5 of 6
Once the ink is dry, colour in with your watercolour paints.
Step 6 of 6
Ink up the "Gorgeous" sentiment stamp,with the Midnight hybrid and stamp randomly on to your inky background, around your focal image.
Ink up the "Beautiful" sentiment stamp and stamp on to a scrap piece of Carta card. Trim down, ink around the edges with the Midnight, then adhere to a piece of black card and trim that to size. Adhere in the bottom left corner.
Use a white gel pen to add accents and highlights to your artwork, before adhering on to the black card, cut to 5 1/2 x 4 1/2".
Our Emma left this unmounted, but you can mount on to a 6 x 6" card blank, or put it in a frame or shadow box, or adhere it in an art journal...the choice is yours!!
You made it!
Share your make with the Stamps By Me community - and keep this guide for next time.
Hello! I'm Toni's AI craft helper - I know the projects from Toni's shows, our guides and everything in the shop. Ask me anything, like "which dies go with this stamp set?" or "what do I need to start ink blending?"
An AI helper (not Toni herself), answering from Toni's shows and our shop - please check the product page before you buy.