


Step 1 of 11
Adhere low tack masking tape across the front of your landscape view, white card blank, about a 3rd of the way up.








Prices change straight away. Every language is our own translation, not Google.
 Eureka 101 Replacement Bar MagnetsEureka 101£10.99BUY✓ ADDED
Adhere low tack masking tape across the front of your landscape view, white card blank, about a 3rd of the way up.
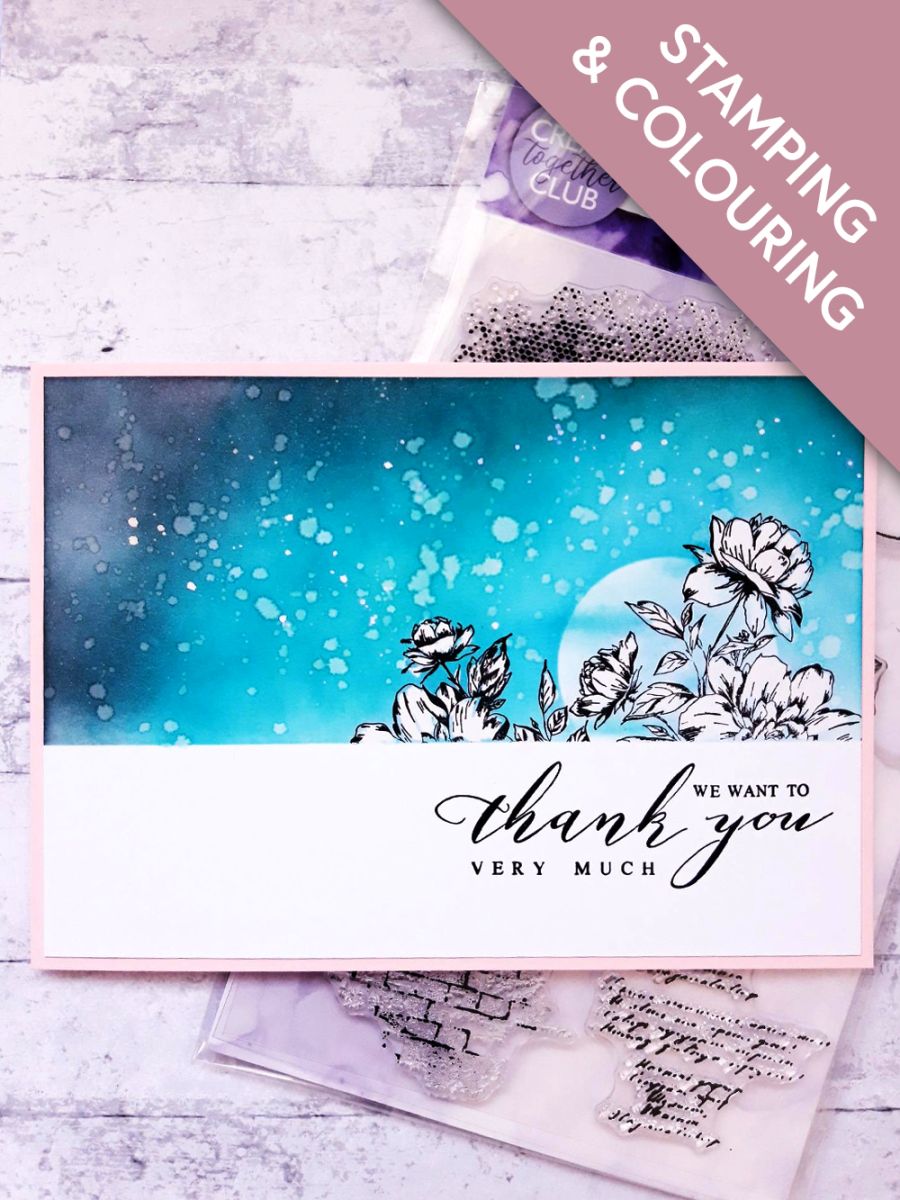
Use the low tack tape to hold your circle mask in place, so its just overlapping the top edge of the masking tape. This will be your moon/sun, so it's up to you where you position it, and how visible you want your moon to be.
Blend the Izink dye inks within the top masked off panel, the darker colour being the furthest from your moon.
NB: You can use alternative colours, from your Izink ink collection, to create a summery sky, sunset, nightime sky.....whichever is your preference.
Splatter water over your inked background. Wait a few seconds for the ink to lift, before mopping up the excess water with a paper towel.
Lightly blend a little of the Izink Ocean within the moon, just to take away the harsh whiteness of the card.
Using the side of your blending brush/tool, drag a little of the Ocean ink across your moon, to give the effect of floating, wispy clouds.
Ink up the floral image from the Create Together Beautiful Notes Stamp Set, with the Onyx Black Versafine.
Stamp it coming up from the masking tape, across your moon. NB: Be careful not to ink and stamp anything BELOW the masking tape. I always put a piece of copier paper over the area, so I don't accidently stamp there!
You can reink it, and stamp more to the left of your stamped image, if you want to extend your floral design.
Completely dry the ink, before carefully removing your masking tape.
Use a paint brush, water and a paper towel, to lift out the ink within your stamped image (faux bleach effect). This makes the image "pop" from your inked background.
Tip: Instead of water you can use diluted, household bleach, for a more dramatic "lift".
Ink up the sentiment, from the All the Best Lamination Stamp Collection, with the Versafine, and stamp just under your artwork.
To finish, adhere your dried artwork on to the front of your pink, landscape view card blank.
Share your make with the Stamps By Me community - and keep this guide for next time.
Prefer the previous layout? Open the old page.



