


Step 1 of 10
Apply your Gossip Glitter pens randomly, on to the white card (8 x 6 1/2"), to create a sparkly, vibrant background!! You will be using this to die cut the sentiments from, so the more mixed up and vibrant it is, the better!!








Prices change straight away. Every language is our own translation, not Google.
 Eureka 101 Replacement Bar MagnetsEureka 101£10.99BUY✓ ADDED
Apply your Gossip Glitter pens randomly, on to the white card (8 x 6 1/2"), to create a sparkly, vibrant background!! You will be using this to die cut the sentiments from, so the more mixed up and vibrant it is, the better!!
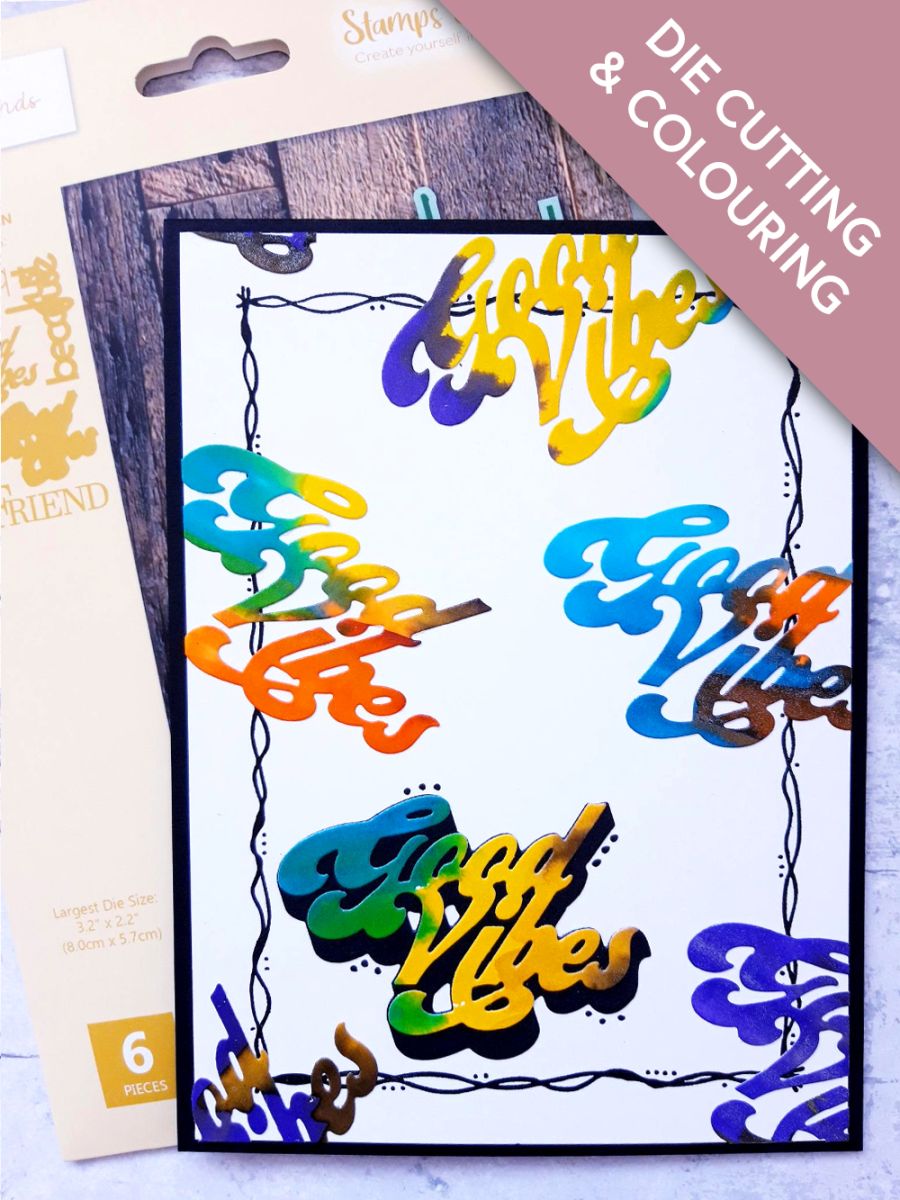
Use the detailed GOOD VIBES die, from the Kind Friends Die Collection, to die cut out as many sentiments as you can, from your sparkly background.
Set them all to one side.
Place the coordinating, GOOD VIBES solid die, on to the black card (3 1/2 x 3"), and run it through your die cutting machine.
Choose which of your sparkly GOOD VIBE die cuts, you want for the focal image on your artwork.
Adhere it on to the black, die cut mat.
Set it to one side.
Ink up the largest frame stamp, from the Dot Frame Stamp Collection, with the Onyx Black Versafine.
Stamp it on to the white card (7 1/2 x 5 1/2").
Adhere your chosen sentiment die cut, in the bottom left hand corner, of the stamped frame.
Adhere your sparkly, die cut sentiments, randomly on to your stamped card, ensuring some are overhanging the edges of the card. You may not need to use all your die cuts, so any leftover can be kept, for future use.
Once they are all firmly stuck down, you can trim off all the overhanging pieces.
Mat your artwork on to the front of your black, top folding card blank.
To finish, use your black pen to add some "dots" around your focal GOOD VIBES element. This will tie it together with the "dots" in the stamped frame.
Share your make with the Stamps By Me community - and keep this guide for next time.
Prefer the previous layout? Open the old page.



