tap a picture to see it big · tap DONE as you go - this device remembers
Step 1 of 12
Wipe the anti static bag over your vellum.
Ink up the Imala You Got This stamp, with the Versamark sticky ink, and stamp just off the bottom, right hand side of the vellum.
Apply the black embossing powder over your sticky stamped image.
Make sure your heat gun is hot, then heat set the embossing powder, following it as soon as it turns, to avoid burning or warping your vellum.
Step 2 of 12
Colour in your image, on the REVERSE side of the embossed vellum, with your Gossip Alcohol Markers.
Set to one side to dry.
Step 3 of 12
Tear out this decorative paper, from the Imala Collage Collection pad, and cut to 8 1/4 x 4 1/2".
Set the rest of this paper to one side, as you will need it for a later step.
Step 4 of 12
Lay the embossed vellum over the decorative paper, so it is flush with the top and bottom edges. Tuck the 2 side edges behind the paper, and adhere in place with red liner tape.
Step 5 of 12
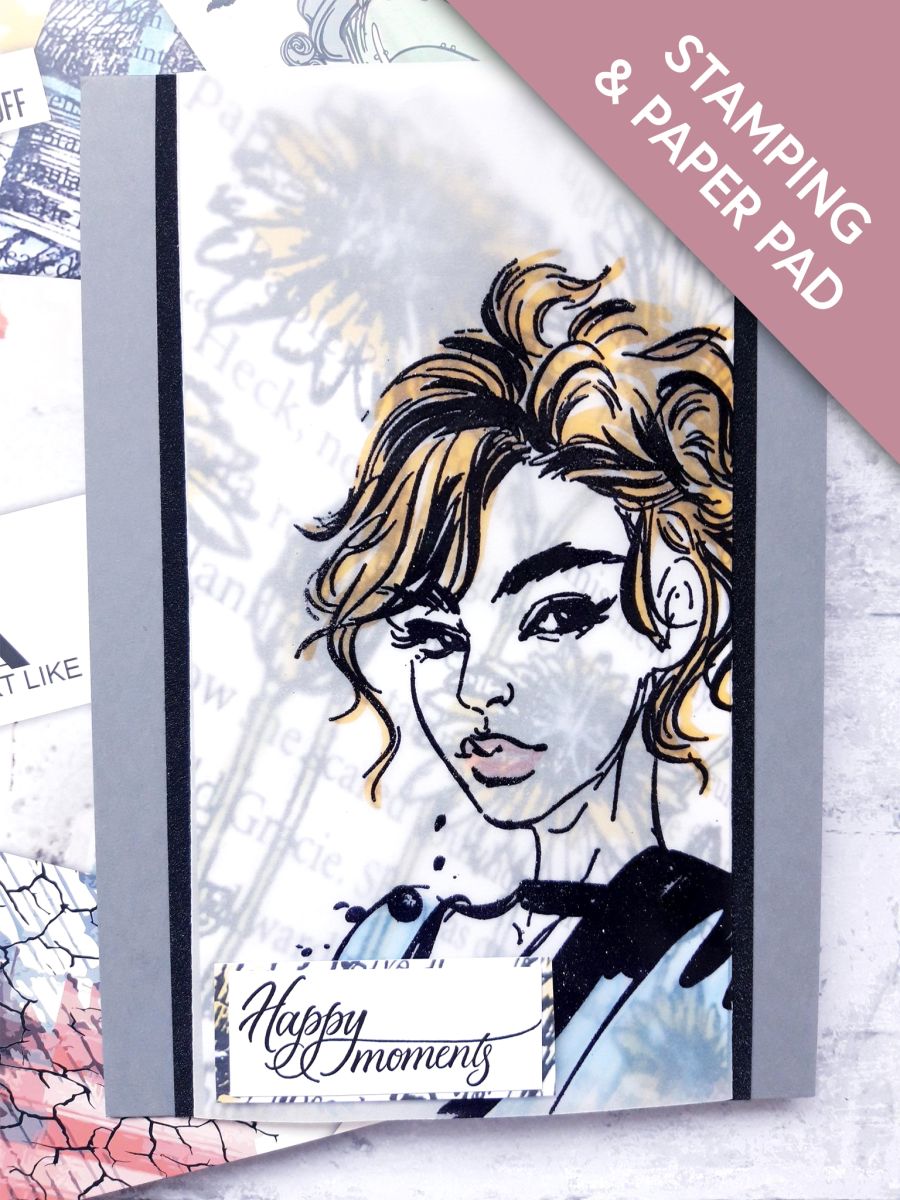
When turned over, you will have an embossed vellum overlay, as shown here.
Step 6 of 12
Cut the black Gossip Glitter card to 8 1/4 x 4 3/4".
Step 7 of 12
Adhere your artwork on to the glitter card, so the top and bottom edges are flush and an equal amount of glitter card is visible, on the left and right hand sides.
Step 8 of 12
Adhere this on to your grey, top folding card blank, so the top and bottom is flush, and the grey card blank is equally visible left and right.
Set to one side.
Step 9 of 12
Ink up the sentiment stamp, from My Sunshine Lamination Stamp Collection, with the Onyx Black Versafine.
Stamp on to the white card (2 1/4 x 1").
Set to one side to dry.
Step 10 of 12
From the decorative paper, set to one side earlier, cut a piece 2 3/4 x 1 1/2".
Step 11 of 12
Adhere the stamped sentiment on to the decorative paper.
Step 12 of 12
Adhere this on to the bottom left of your artwork, with either wet glue, or foam pads for added dimension.
You made it!
Share your make with the Stamps By Me community - and keep this guide for next time.
Hello! I'm Toni's AI craft helper - I know the projects from Toni's shows, our guides and everything in the shop. Ask me anything, like "which dies go with this stamp set?" or "what do I need to start ink blending?"
An AI helper (not Toni herself), answering from Toni's shows and our shop - please check the product page before you buy.