


Step 1 of 13
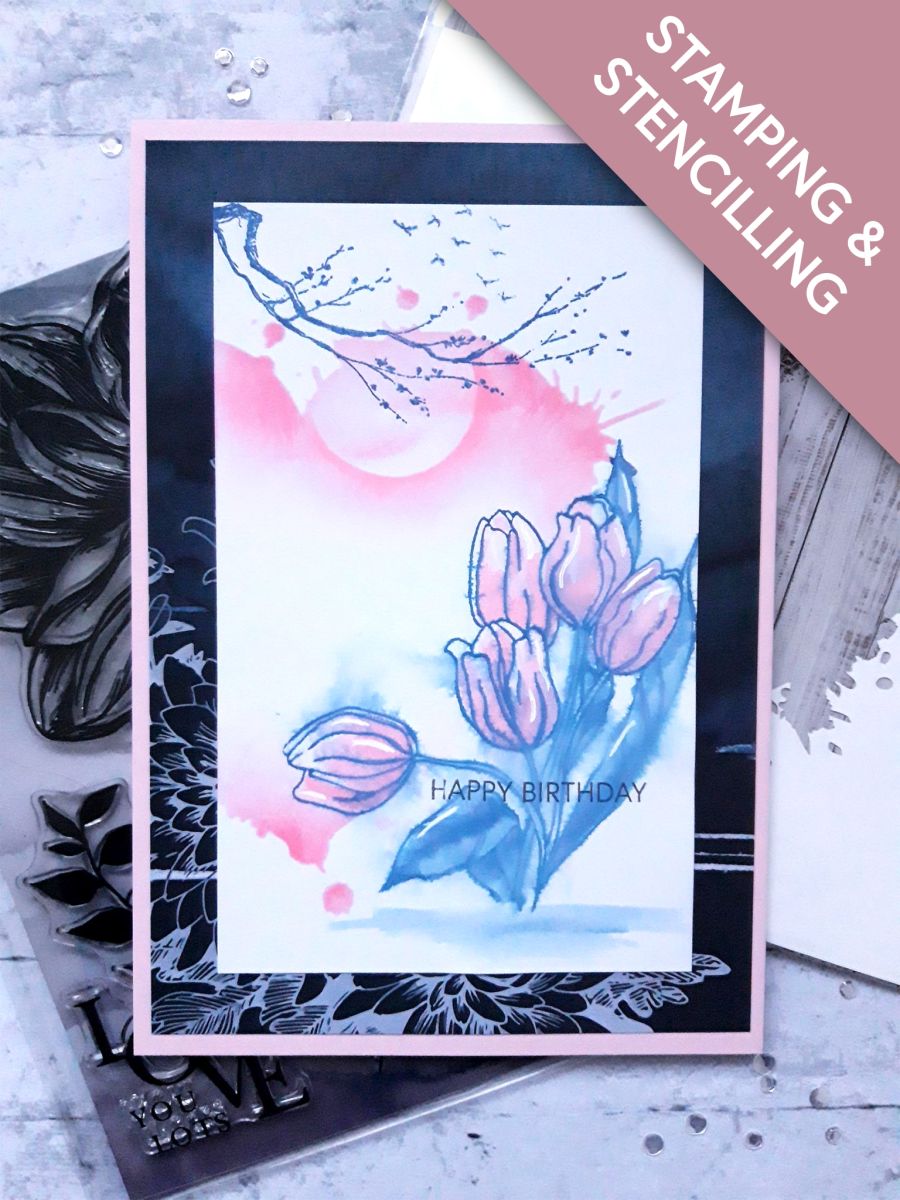
Place the Heart Splash stencil just off the left hand edge of the white card (6 3/4 x 4 1/4").
Blend the Kitsch Flamingo Distress Ink through the stencil, fading the colour out towards the centre.








Prices change straight away. Every language is our own translation, not Google.
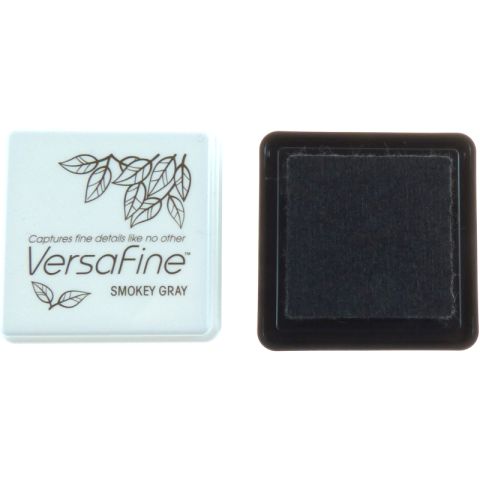 Smoky Grey Versafine Small PadVersafine: Smoky Grey
 Eureka 101 Replacement Bar MagnetsEureka 101£10.99BUY✓ ADDED
Place the Heart Splash stencil just off the left hand edge of the white card (6 3/4 x 4 1/4").
Blend the Kitsch Flamingo Distress Ink through the stencil, fading the colour out towards the centre.
Splatter water droplets on to your inked heart, with a paint brush, wait a few seconds, then lift up the ink with a paper towel.
Dry the ink naturally, or with a heat gun.
Ink up the floral stamp, from the Adventure Begins Stamp Collection, with the Faded Jeans Distress Oxide.
Spritz the stamp with water, and stamp in the bottom right corner of your card.
Spray the stamped image with water, and allow it to bleed, before drying with a heat gun.
Apply the Faded Jeans and Kitsch Flamingo ink pads, on to a craft or glass mat. Spritz with water and paint your stamped flowers.
Place your circle mask on the edge of the inked heart, above your stamped floral image.
You can hold it in place by popping some low adhesive tape, on the back.
Blend some of the Kitsch Flamingo around the circle, but keeping it within the inked heart frame panel. The ink needs to be darker around the edge of the circle mask, faing out as you move away from it.
Remove your circle mask to reveal your sun/moon, within your heart panel.
Using the side of your blender brush/tool, drag some of the Kitsch Flamingo across your sun/moon, to create the illusion of whispy clouds floating past.
Ink up the branch stamp, from the Pencil Sketch Elements Stamp Collection, with the Faded Jeans Oxide, and stamp coming down from the top left corner of your artwork.
Ink up the flock of birds stamp, from the same set, with the Faded Jeans, and stamp just above your branch.
Ink up the sentiment stamp, from the Adventure Begins Stamp Collection, with the Smoky Grey Versafine, and stamp across your floral image.
Set your artwork to one side.
Tear this sheet of decorative paper, from the Subtle tranquility Paper Pad, and cut to 7 3/4 x 5 1/4".
Adhere your stamped artwork on to the decorative paper.
Adhere this on to the front of your pink, top folding card blank.
To finish, use a white gel pen to add accents, and highlights, to your artwork.
Share your make with the Stamps By Me community - and keep this guide for next time.
Prefer the previous layout? Open the old page.



