tap a picture to see it big · tap DONE as you go - this device remembers
Step 1 of 8
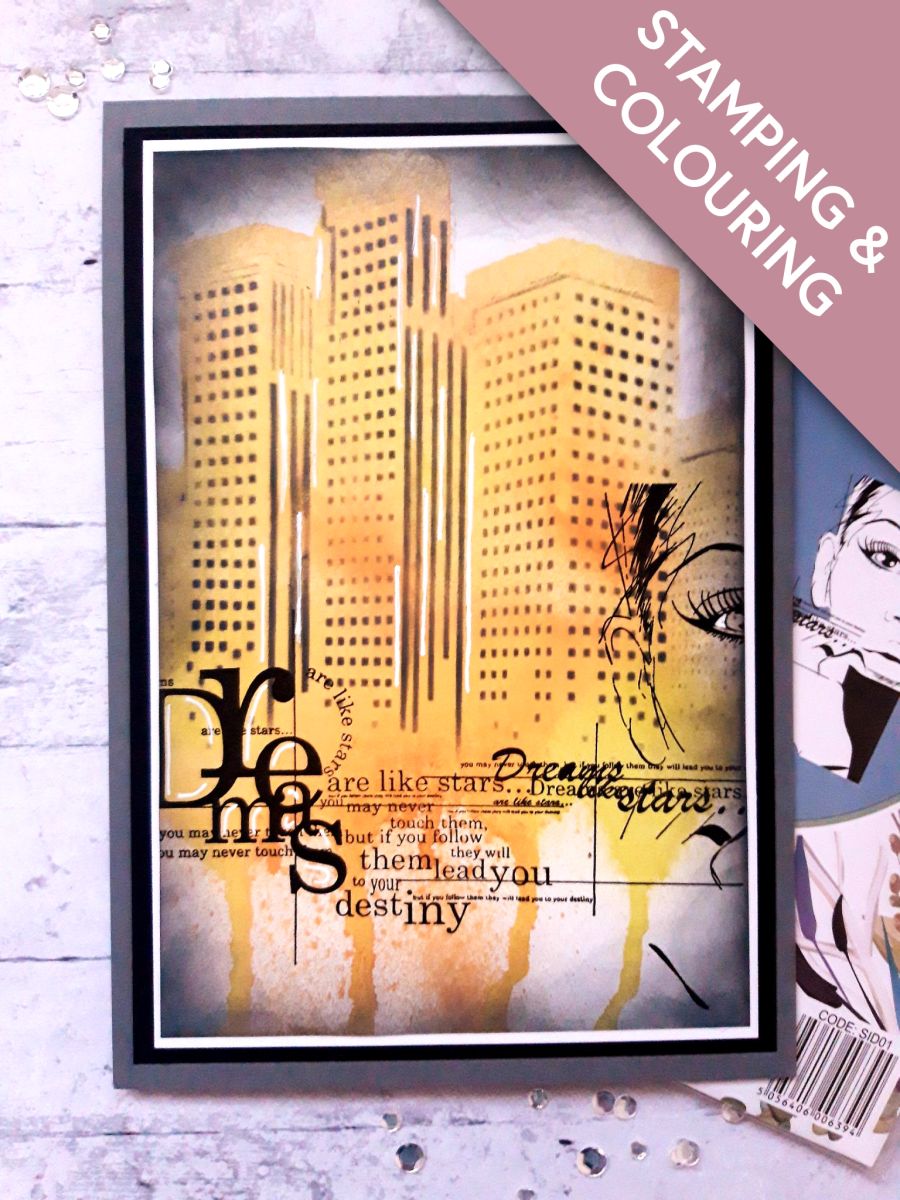
If using one, place the white card (7 1/2 x 5") in to your spray box.
Place the Imala Downtown stencil on top of the card, so the top of the stencil is just off the top edge. Lay a piece of copier paper over any visible white card below the stencil, so the ink remains within the stencil.
Spray the Izink Shiny sprays through the stencil, on to the card. Remove the stencil and copier paper. Tip the card up, and allow the ink to drip freely down the card. You can spray water on to the ink to help it move, if required.
Dry the background thoroughly, before moving on to the next step.
Step 2 of 8
Line the stencil back on top of your inked background, then place the coordinating mask within the stencil.
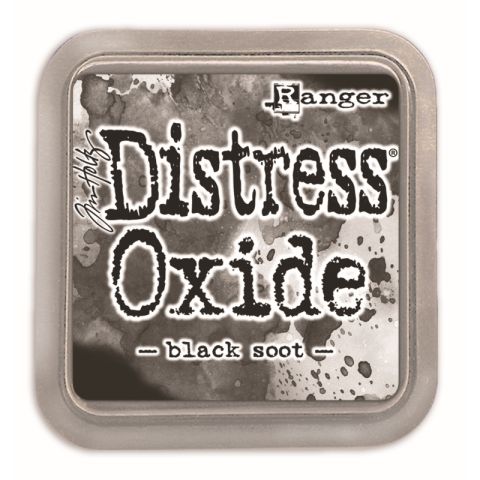
Blend the Black Soot Oxide through the mask.
Remove mask and stencil and dry off the ink.
Step 3 of 8
Blend the Black Soot Oxide around the edges of your card, making it darker around the outside, and fading out around your stencilled image.
Dry your background.
Step 4 of 8
Ink up Imala Destiny with the Onyx Black Versafine, and stamp across the lower half of your background, off the right hand edge of the card.
Dry off thoroughly before moving to the next step.
Step 5 of 8
Use a white gel pen to add accents, and highlights to your artwork, both on the stencilled background and on the Destiny stamped image.
Step 6 of 8
Adhere your dried artwork on top of the white card (7 3/4 x 5 1/4").
Step 7 of 8
Adhere this on top of the black card (8 x 5 1/2").
Step 8 of 8
Adhere on to the front of your top folding, grey card blank.
You made it!
Share your make with the Stamps By Me community - and keep this guide for next time.
Hello! I'm Toni's AI craft helper - I know the projects from Toni's shows, our guides and everything in the shop. Ask me anything, like "which dies go with this stamp set?" or "what do I need to start ink blending?"
An AI helper (not Toni herself), answering from Toni's shows and our shop - please check the product page before you buy.