¡Regala a tus amigos 10 £ de descuento en su primer pedido!
Invita a una AMIGA








 The Friday Final Cutvie 6 nov 10:00
 Community Showcaselun 9 nov 10:00
 Hobbymaker TVlun 9 nov 14:00
Los precios cambian al instante. Cada idioma es nuestra propia traducción, no Google.
Un proyecto de nuestro programa en directo MONDAY MADNESS - Únete a Simon de AVAGO-INK EN DIRECTO - Emitido el 21 de marzo · 21/03/2022
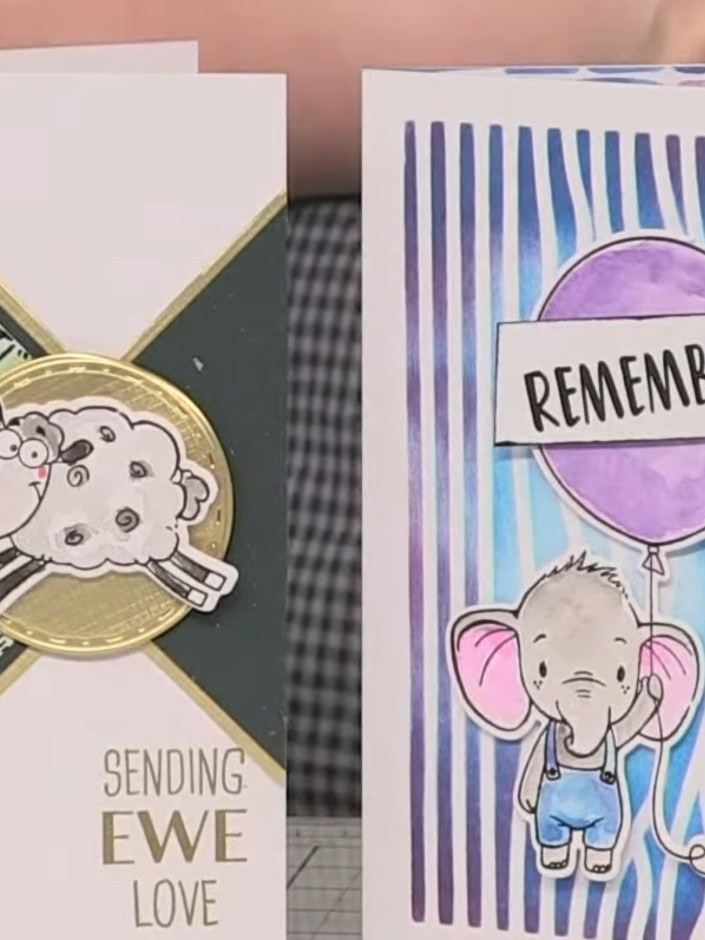
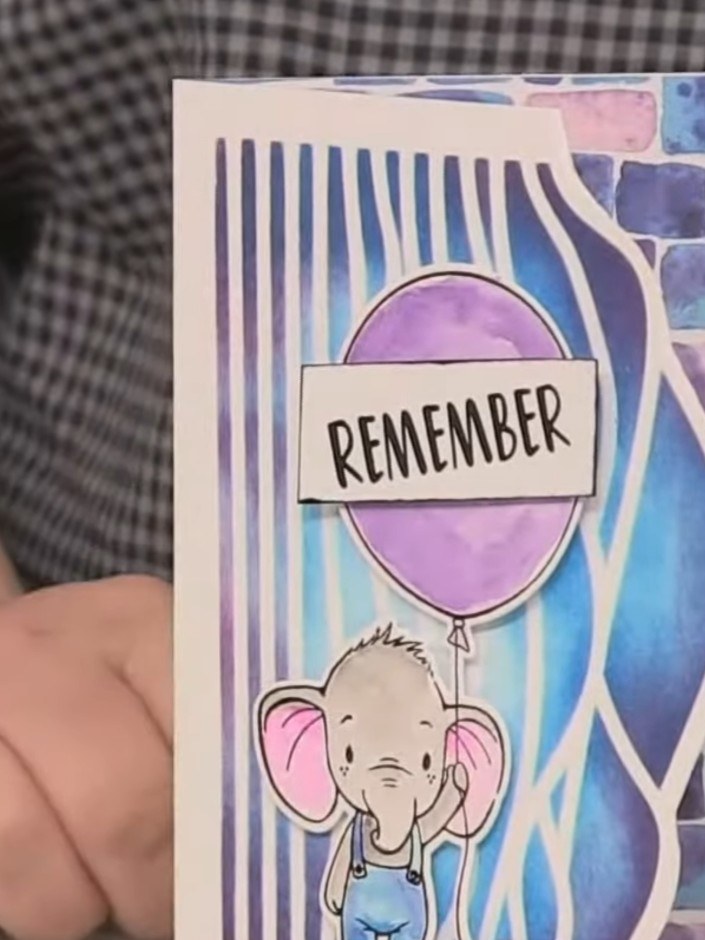
Create a stunning shaped card featuring a watercoloured elephant character holding a 'REMEMBER' balloon, paired with a bunny holding balloons on a mosaic-style background. The design combines beautiful blue and purple ink blending using the Over the Hills stencil with coordinating patterned paper, finished with embossed sentiments. This charming card is perfect for Mother's Day, friendship occasions, or any special celebration.
 1
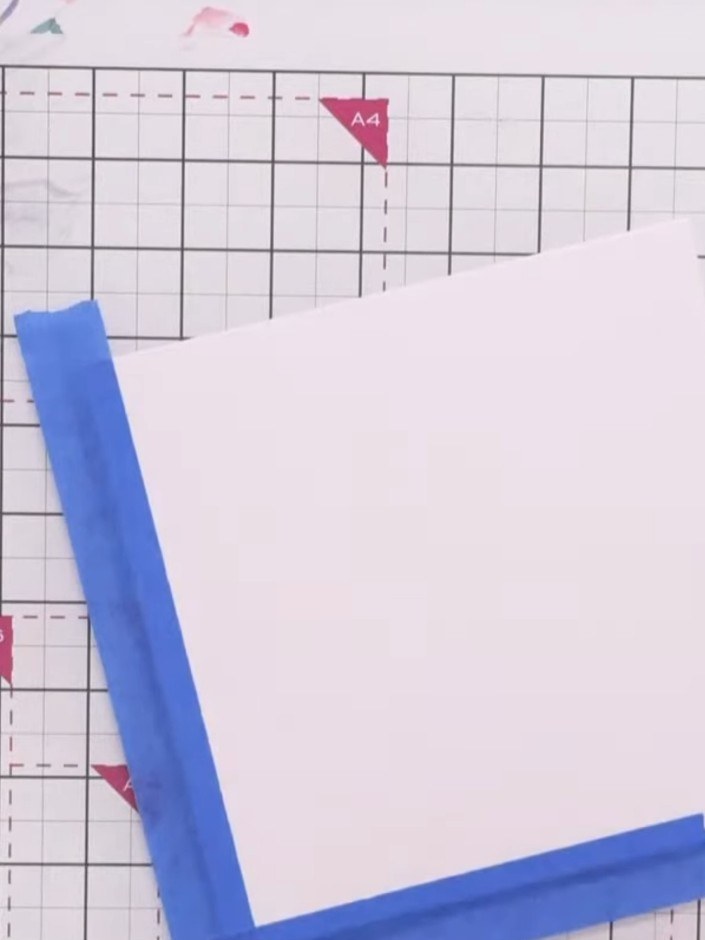
Mask off the edges of your white card blank with low-tack blue tape to create a crisp border. Position the tape along all four edges, ensuring clean, straight lines for your design area.
 2
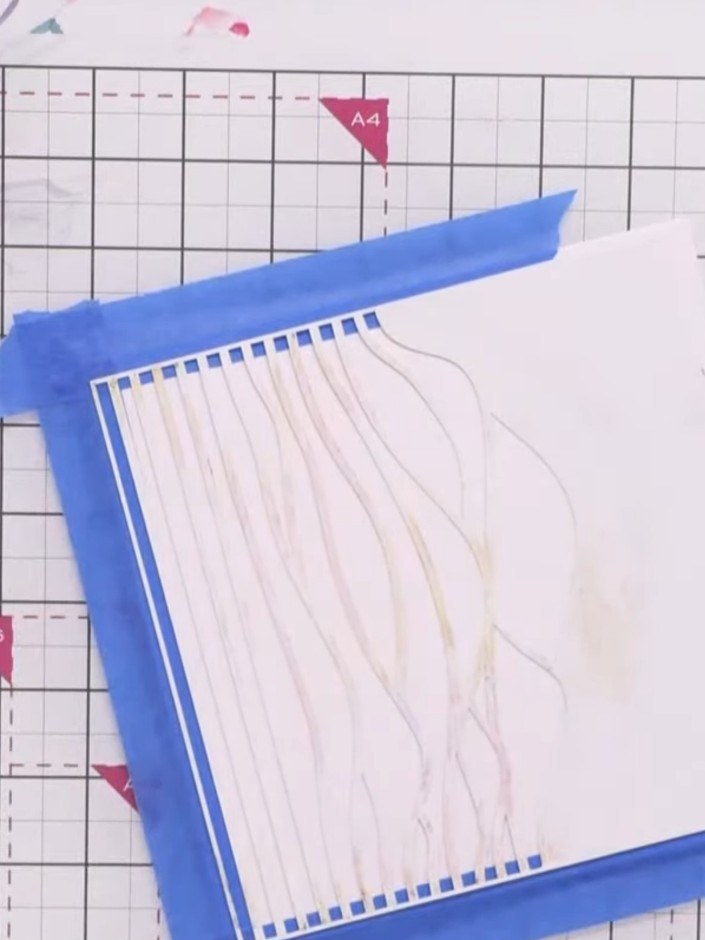
Position the Over the Hills stencil onto your masked card, ensuring the design sits within the blue taped stencil area. The stencil should be centred over the masked section.
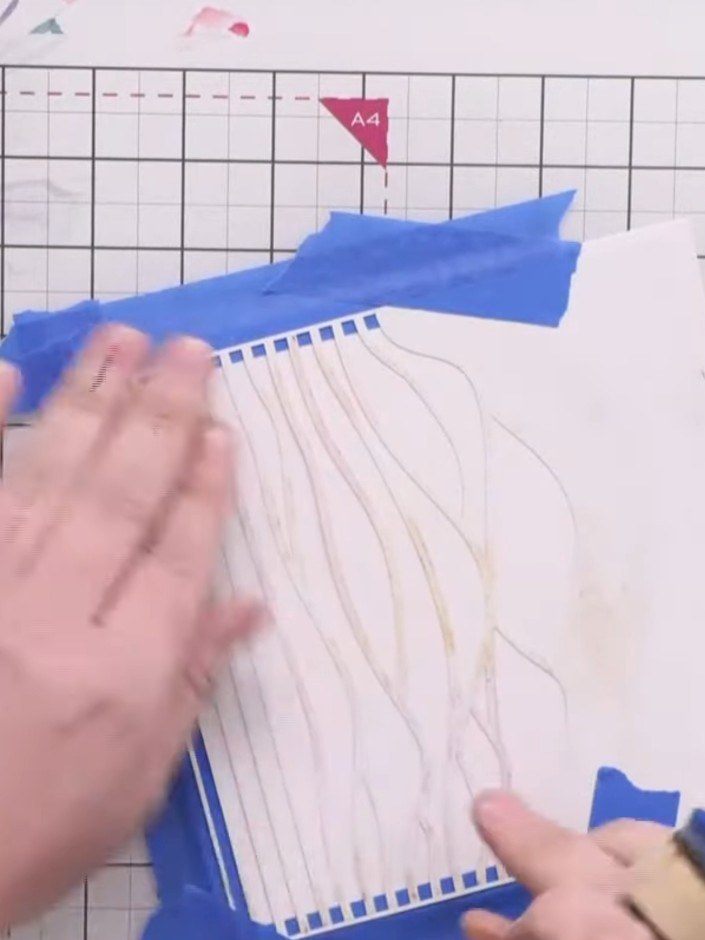 3
Apply the blue Mer du Sud ink pad to the stencil using a blending brush. Build up the colour with lighter application in the centre and darker tones at the edges to create depth.
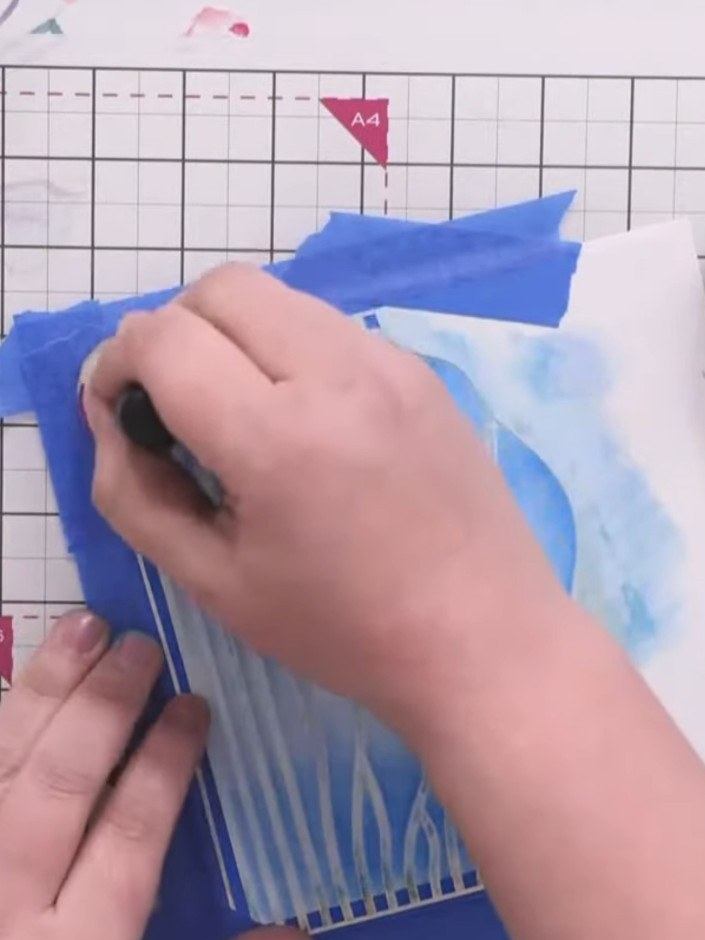 4
Apply the purple Cassis ink pad around the edges of the stencilled design to create a darker frame and add depth. Concentrate on building up colour at the outer edges whilst blending inwards.
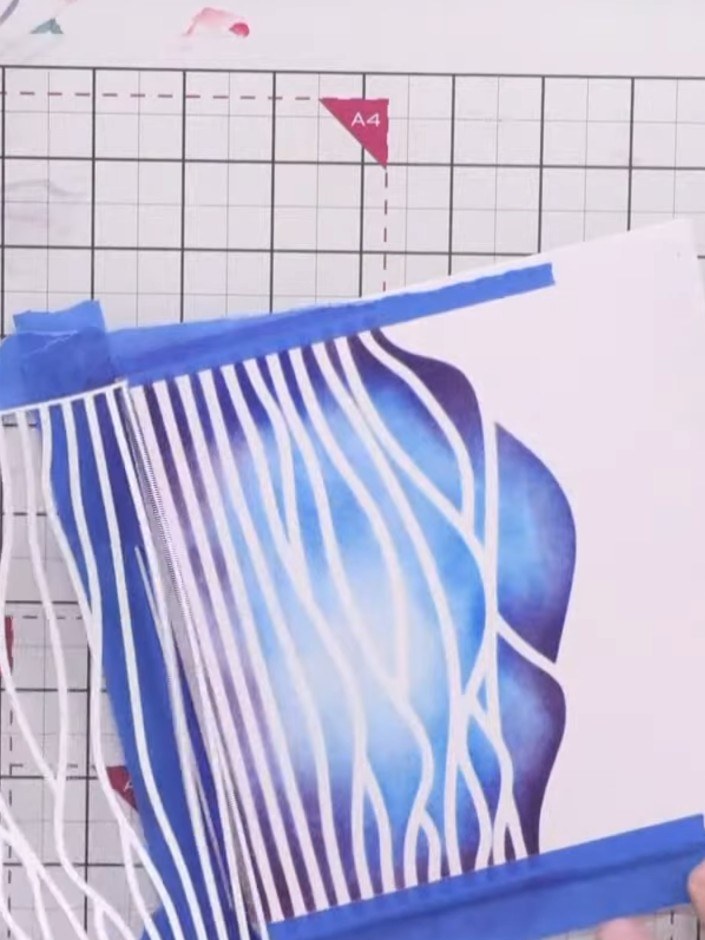 5
Carefully remove the stencil from the card panel, pulling it away gently to reveal the blended blue and purple striped background. Remove the masking tape from all sides of the panel.
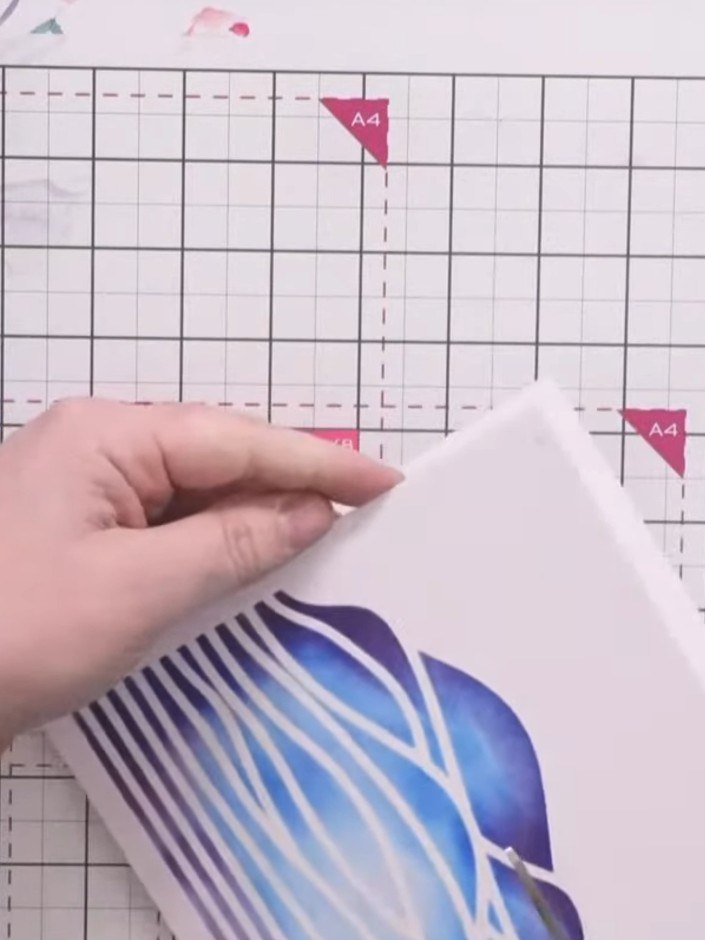 6
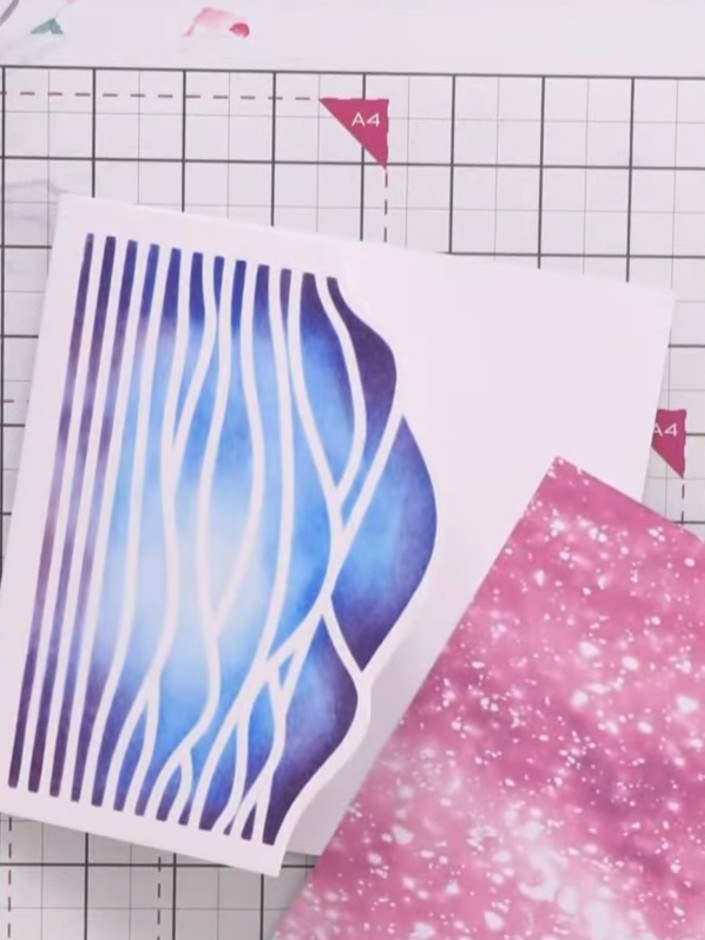
Cut around the stencilled outline using scissors to create a shaped card panel. Turn your card as you go to ensure smooth, accurate cutting along the curved edges.
 7
Pega papel estampado a juego detrás del panel con forma para crear una capa de fondo. Position the stencilled panel on top to check the placement before adhering.
 8
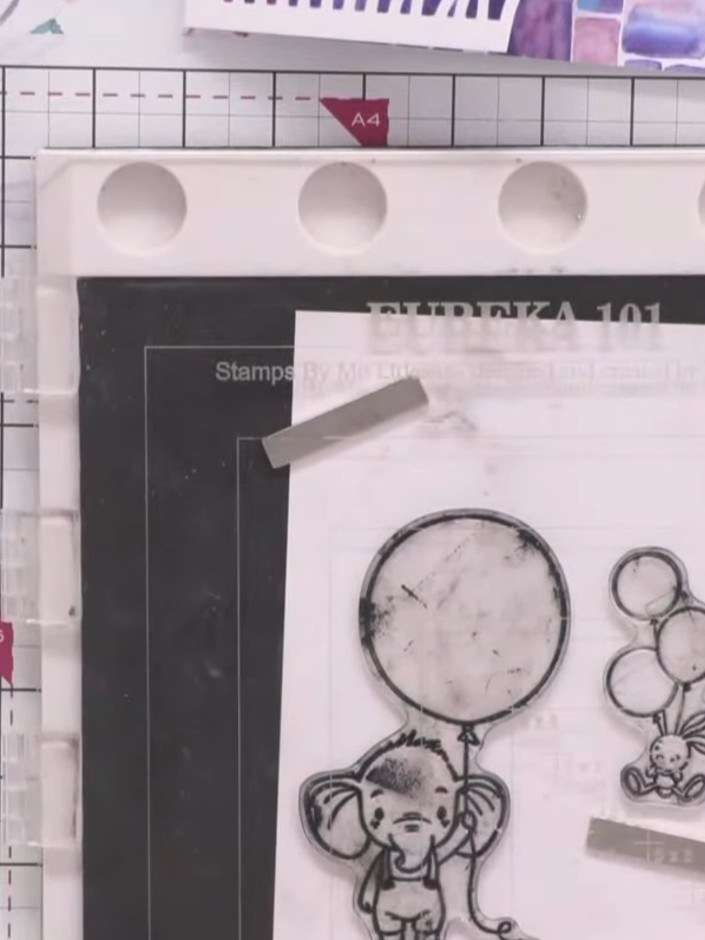
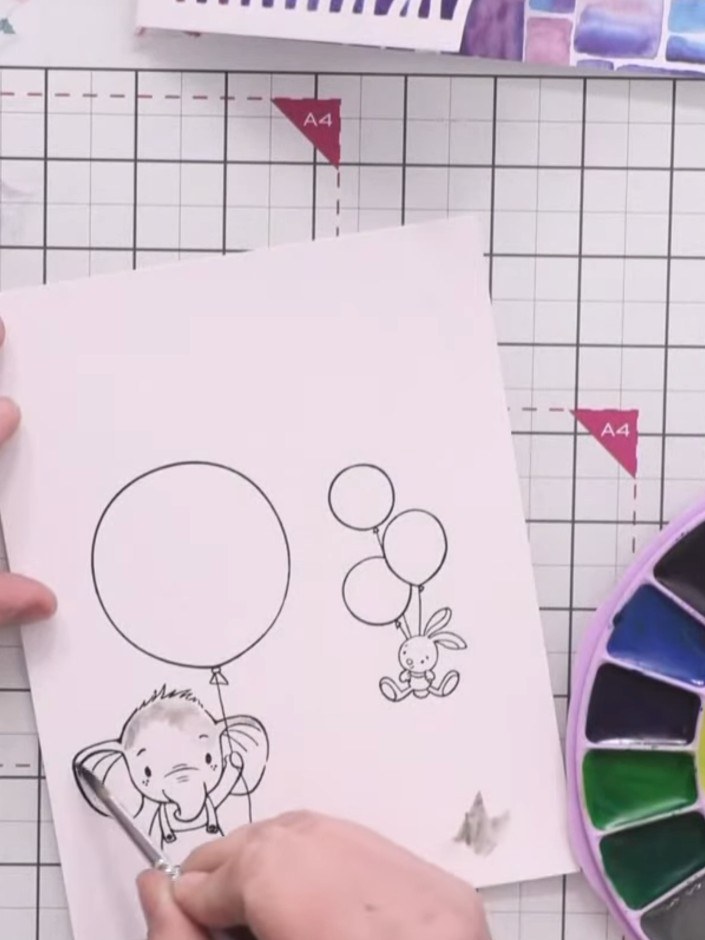
Stamp the elephant and rabbit characters from the Elephantastic stamp set onto white cardstock using Versafine Onyx Black ink. Allow the ink to dry completely.
 9
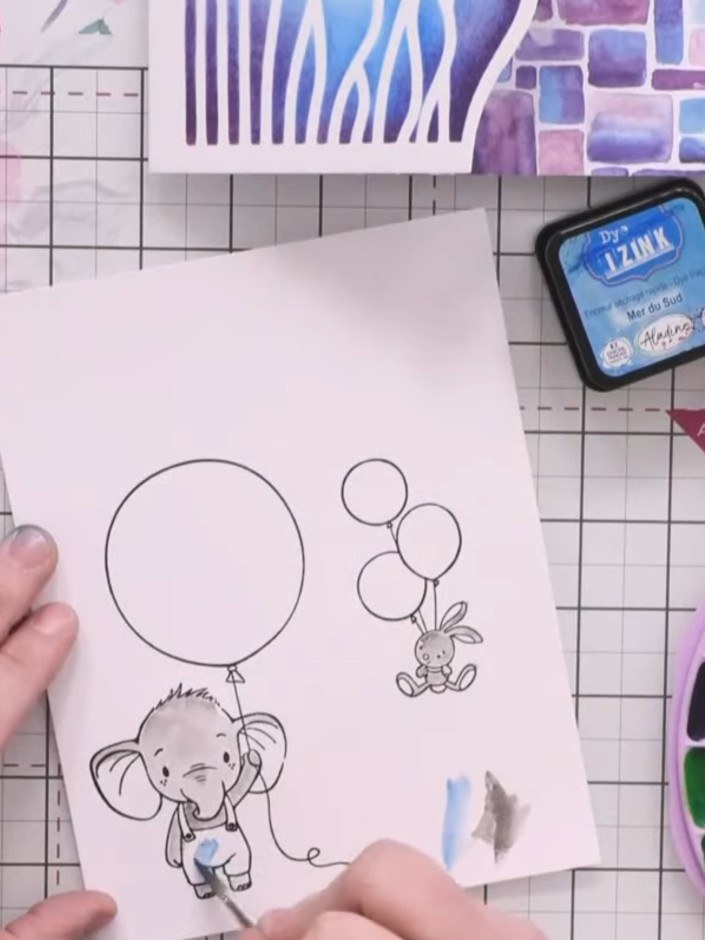
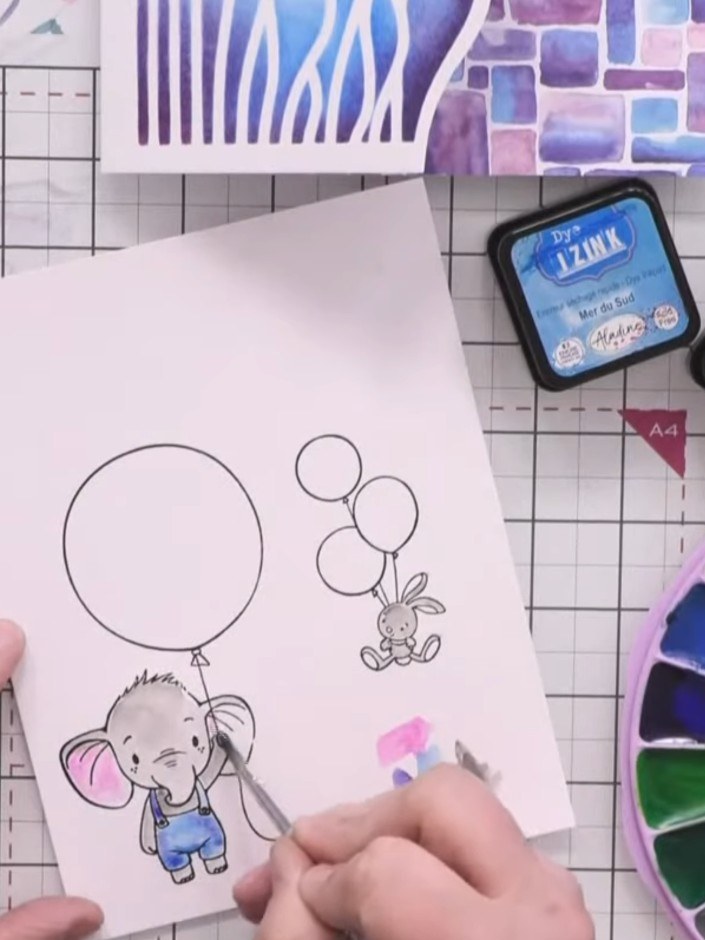
Using the Miya Himi watercolour palette, paint the elephant with a grey wash. Add darker grey tones under the chin and arms to create depth and shading.
 10
Colour the elephant's overalls using dark blue and purple watercolours from the palette, allowing the paint to dry between each colour application.
 11
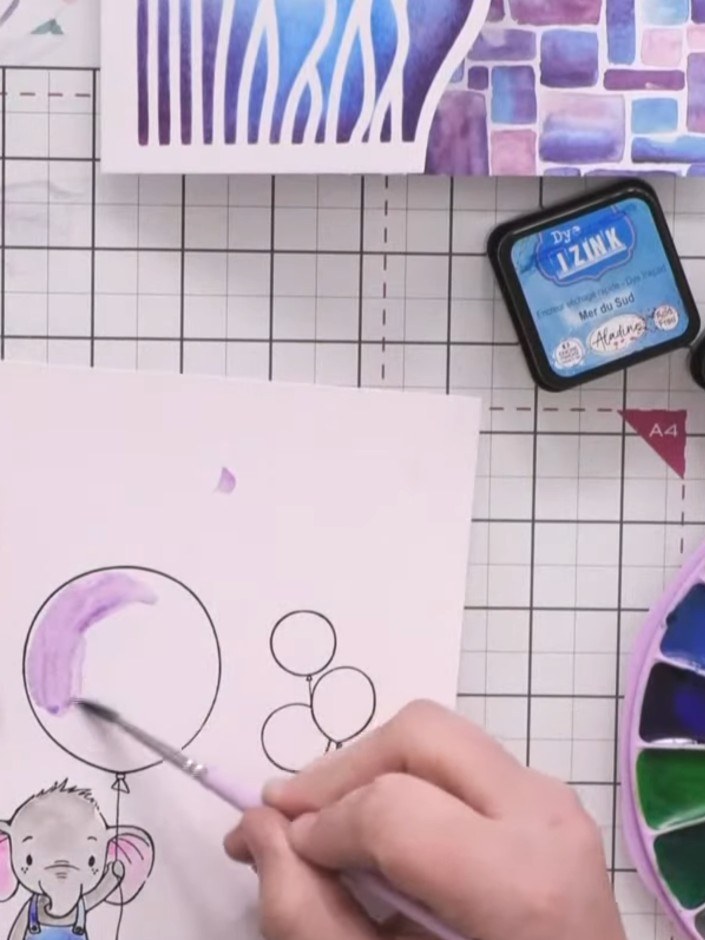
Using a water brush and pink watercolour, colour the elephant's ears. Apply purple watercolour to the large balloon, darkening slightly towards the ear. Add blue to one of the smaller balloons.
 12
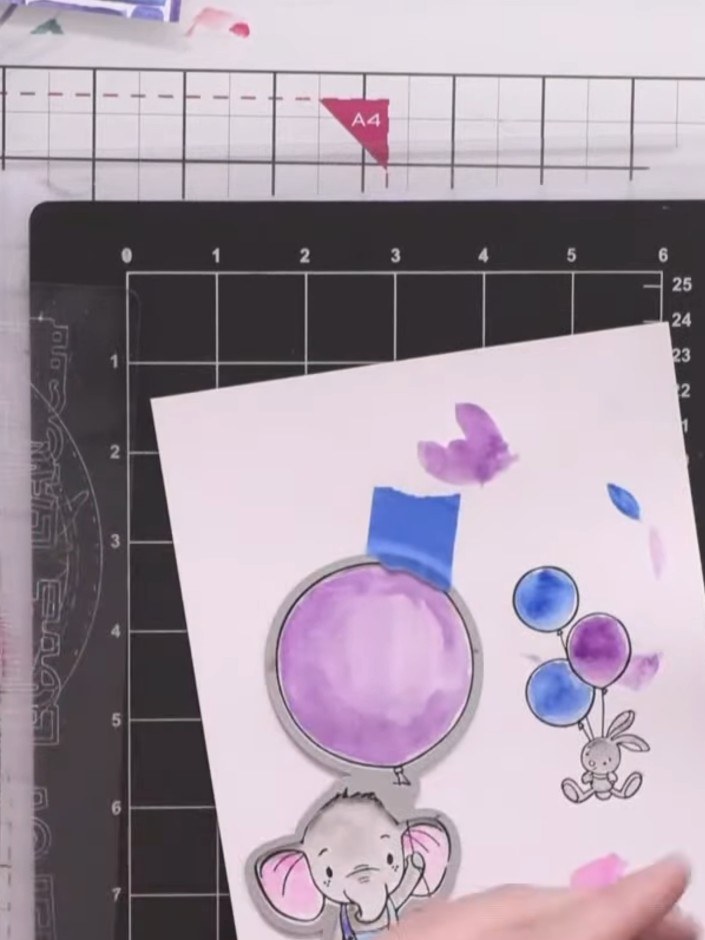
Using pink watercolour from the palette, add colour to the rabbit's feet. Once all watercolouring is complete, heat-set the images with a heat tool to dry them thoroughly.
 13
Die-cut the stamped and coloured elephant and rabbit characters using the complementary dies from the Elephantastic stamp and die set.
 14
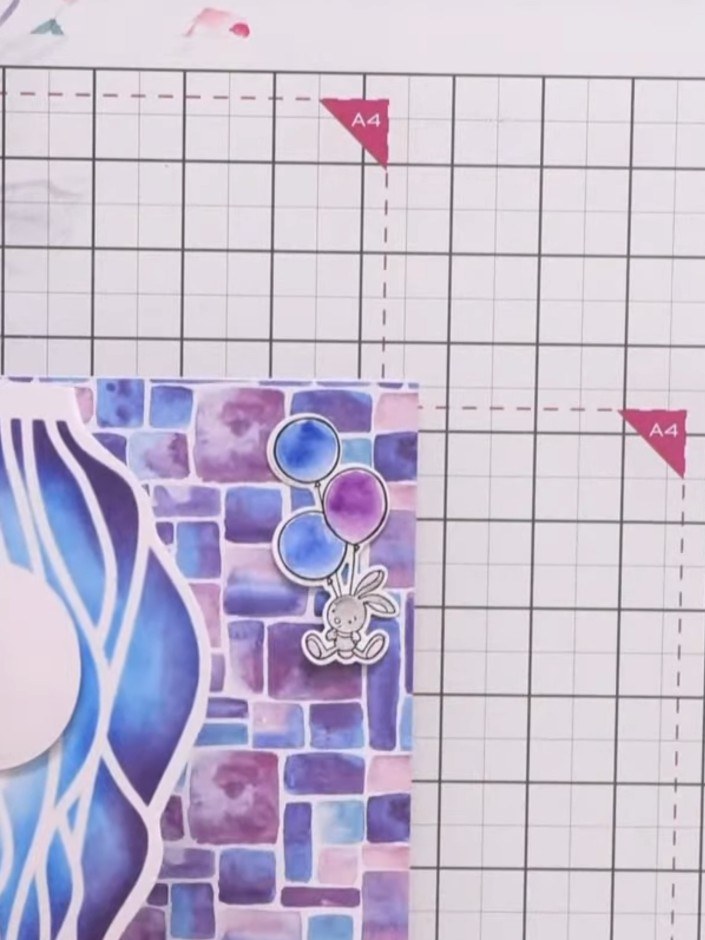
Adhere the large elephant die-cut to the centre of the shaped panel. Raise the rabbit character on foam pads and position it above the elephant with the balloons.
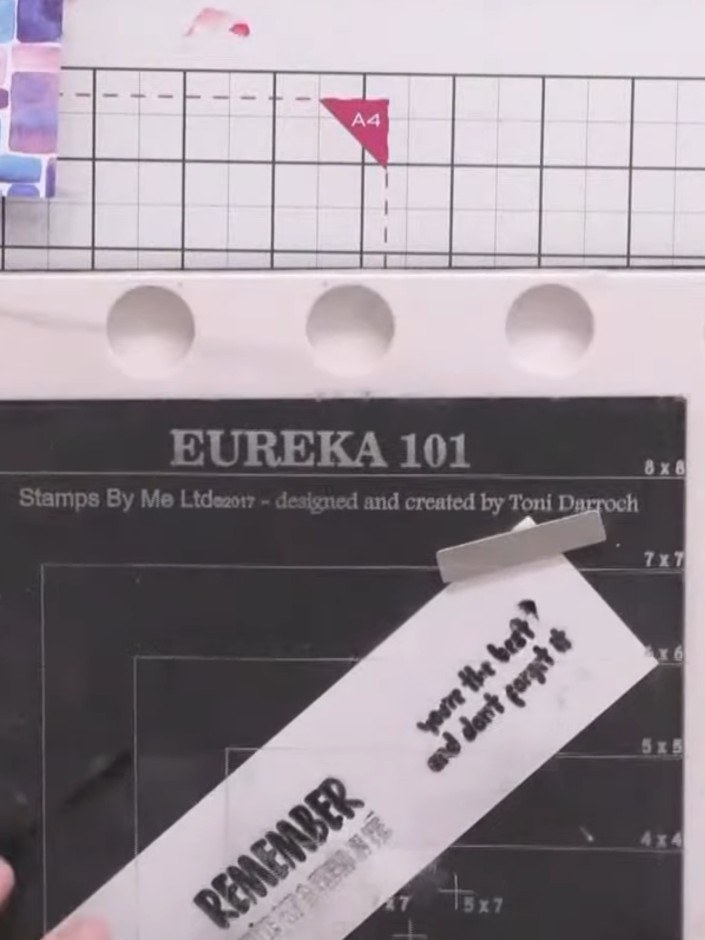 15
Stamp sentiment text onto white paper strips using Versafine Onyx Black ink. Angle the strips diagonally for a less formal, dynamic look.
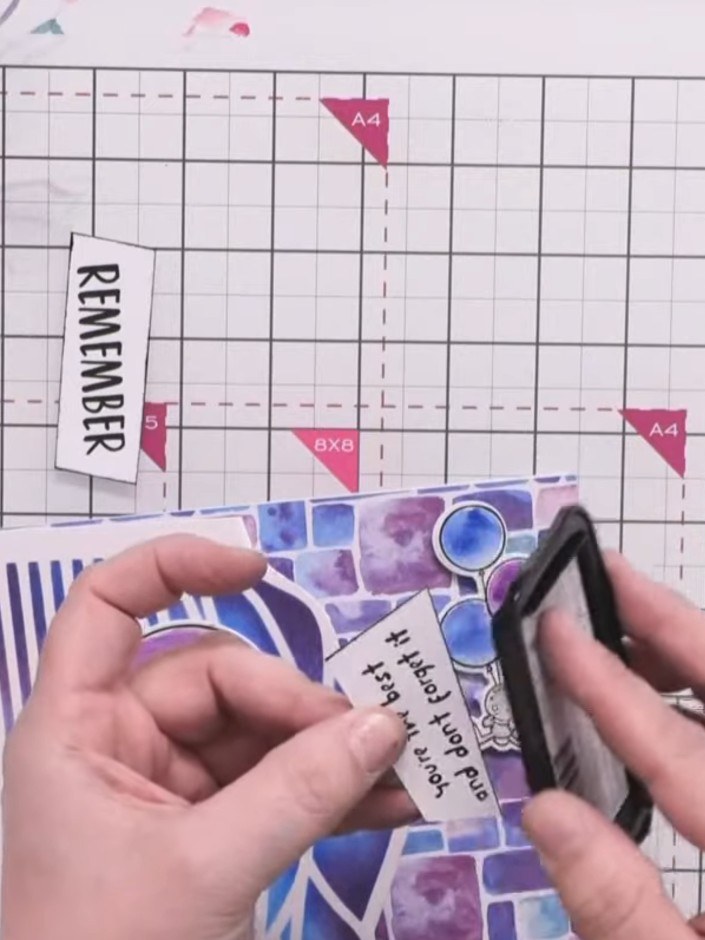 16
Edge the sentiment strips with black ink pad using a dabbing motion to add definition and help them stand out from the card.
Comparte tu proyecto con la comunidad de Stamps By Me - y guarda esta guía para la próxima vez.
Escrito a partir del propio programa. Todas las guías de nuestros programas · guías gratis · en directo en My Telly · el diseño anterior