Schenke deinen Freundinnen und Freunden 10 £ Rabatt auf ihre erste Bestellung!
Freunde WERBEN








 The Friday Final CutFr., 6. Nov. 10:00 Uhr
 Community ShowcaseMo., 9. Nov. 10:00 Uhr
 Hobbymaker TVMo., 9. Nov. 14:00 Uhr
Preise ändern sich sofort. Jede Sprache ist unsere eigene Übersetzung, nicht Google.
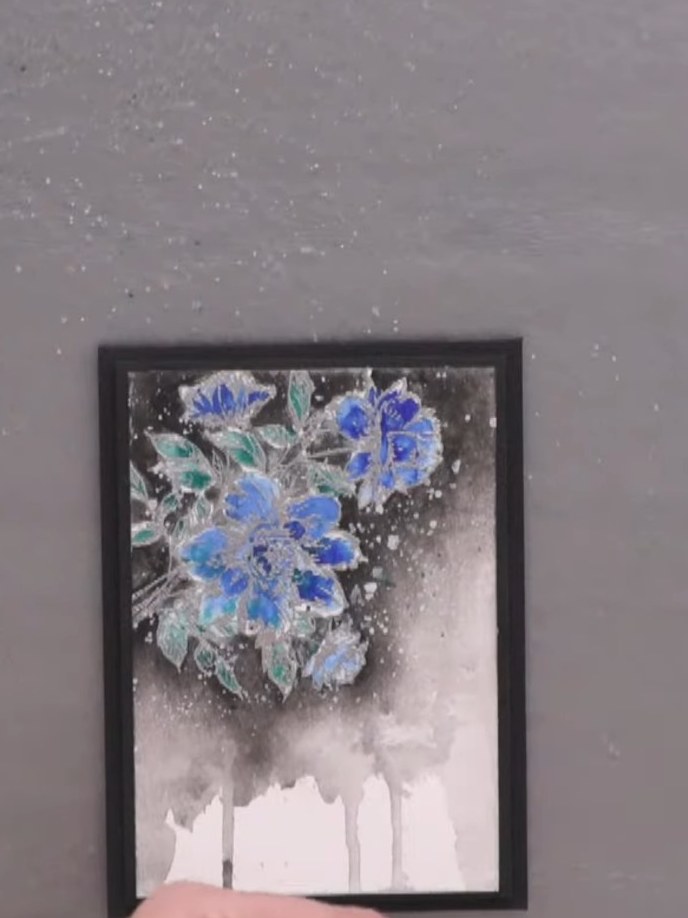
Ein Projekt aus unserer Live-Show CREATE TOGETHER CLUB - Show 3 - Sei dabei mit Toni - Ausgestrahlt am 30. März 22 · 30.03.2022
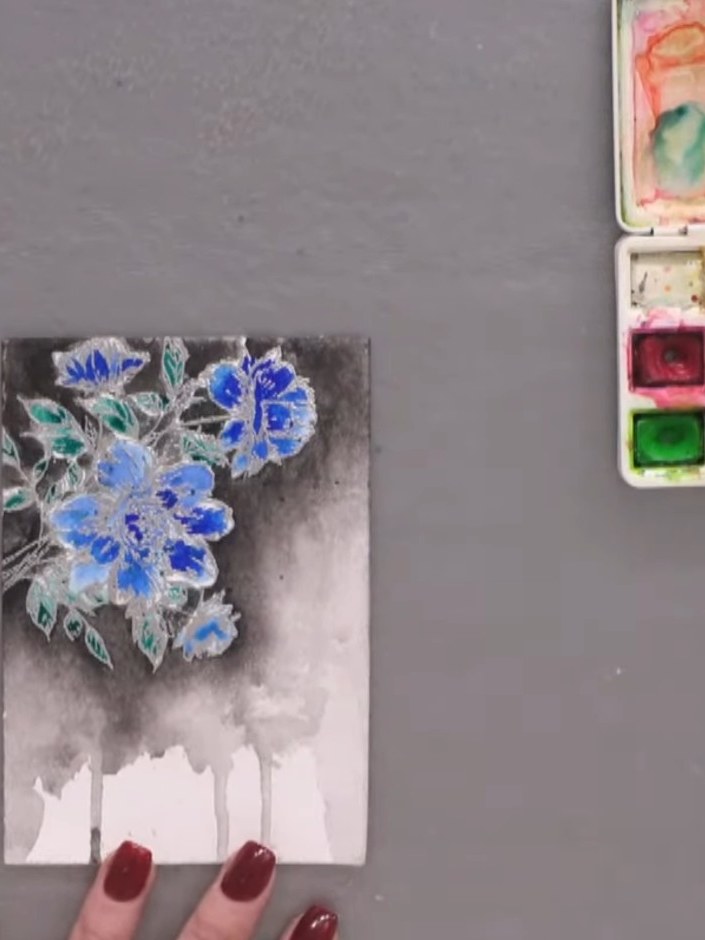
Design a striking split-panel card featuring contrasting artistic styles in a single composition. One side showcases vibrant blue and turquoise watercolour flowers with rich colour and dimension, whilst the other presents the same floral motif rendered in sophisticated grayscale tones. This mixed-media technique combines watercolour washes with pencil work to create instant depth and visual interest.
 1
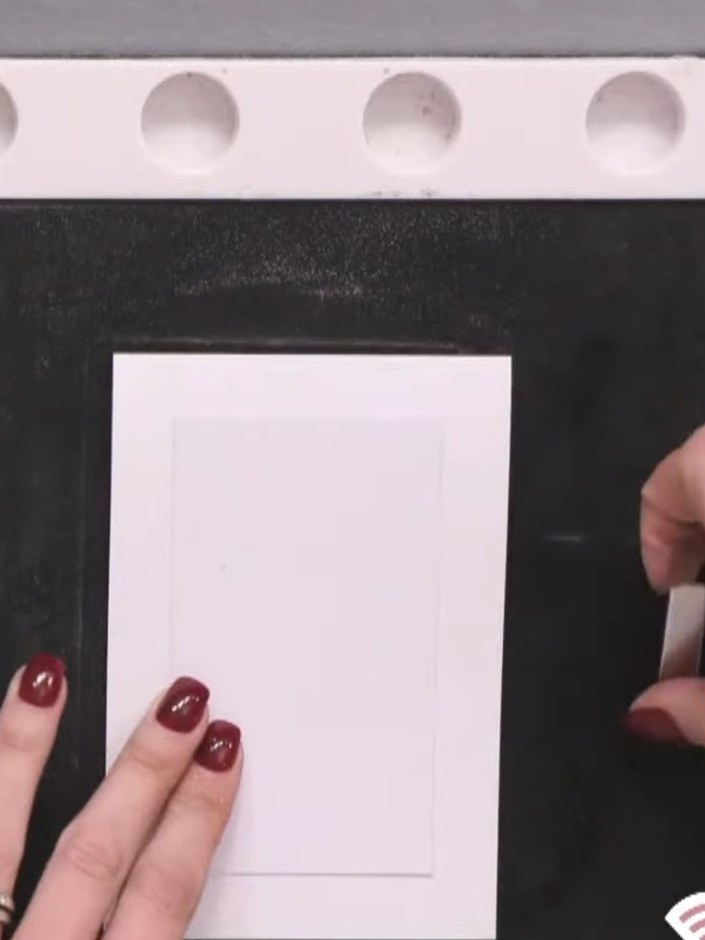
Cut a piece of white card and fold it in half to create a top-folding card base. Trim it down to a smaller size. Prepare a separate piece of white card for your design panel.
 2
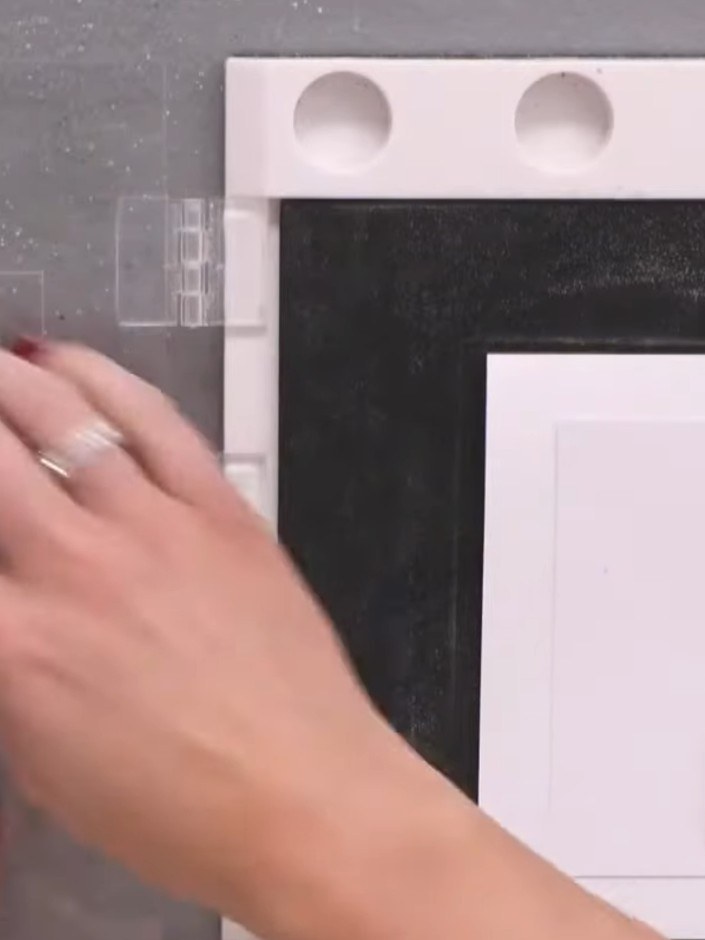
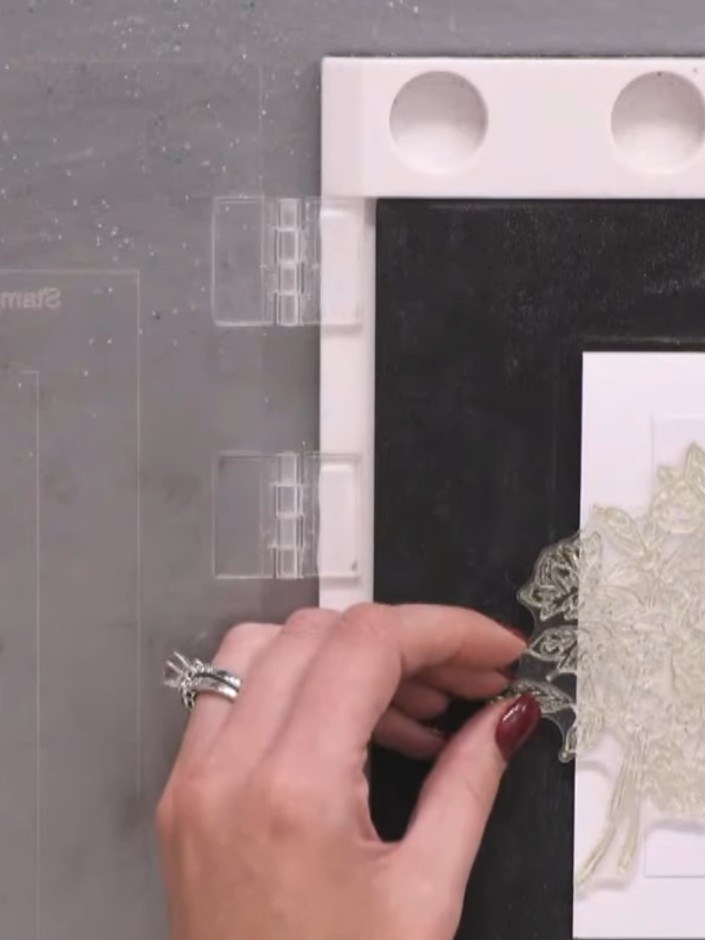
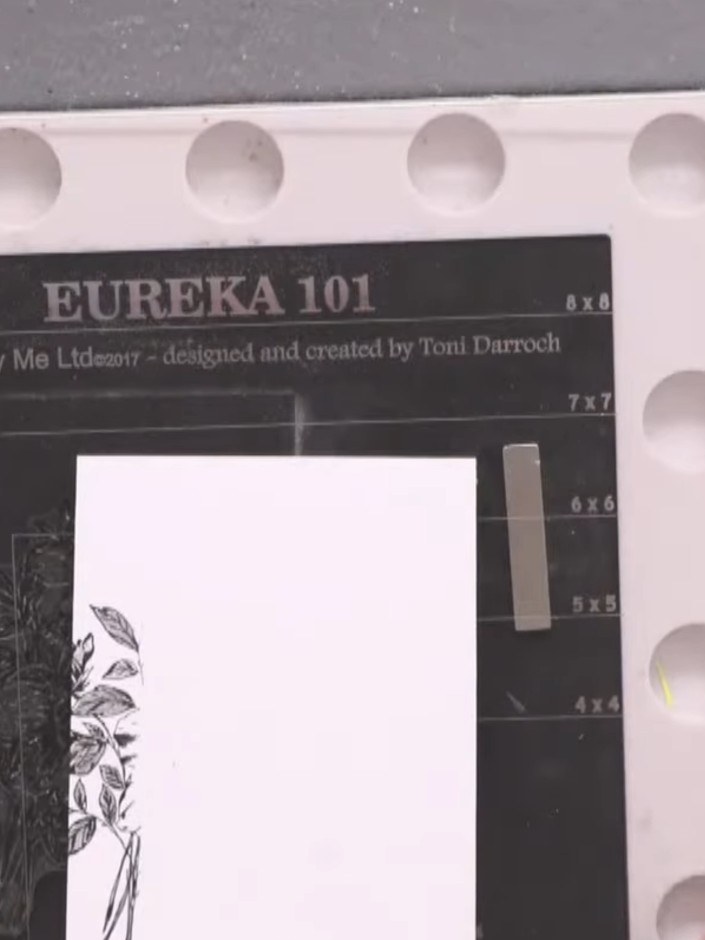
Place the white card into your stamping block and position the floral stamp to stamp the image across two sections of the card.
 3
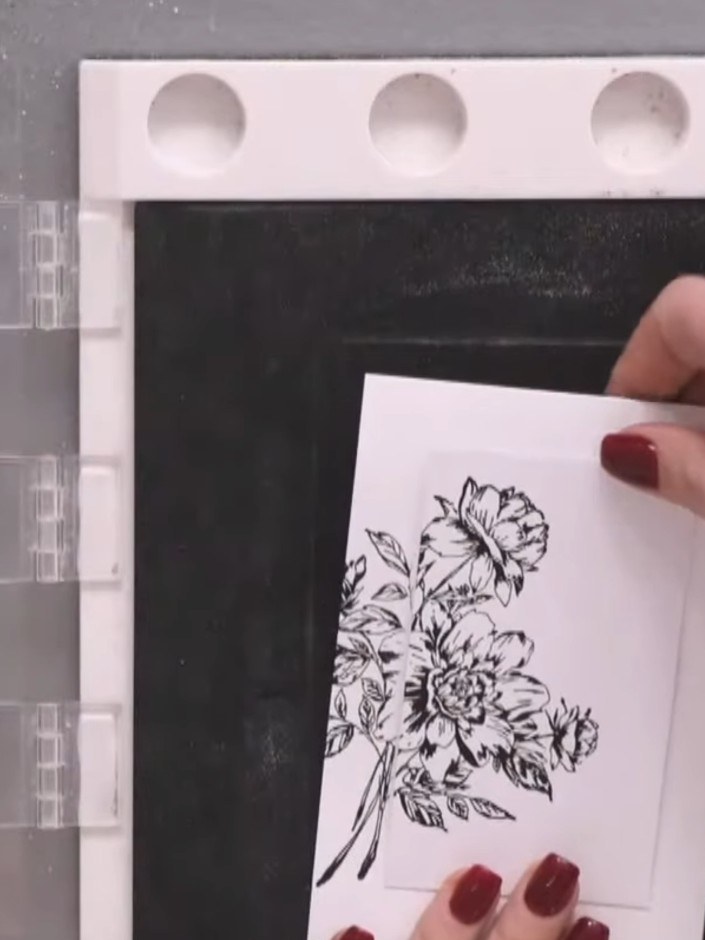
Stamp the bouquet image using black pigment ink onto your white card panel, positioning it so the design spans across both the left and right sections of the split panel.
 4
Heat set the stamped floral image using your heat gun to ensure the ink is completely dry before proceeding to the next step.
 5
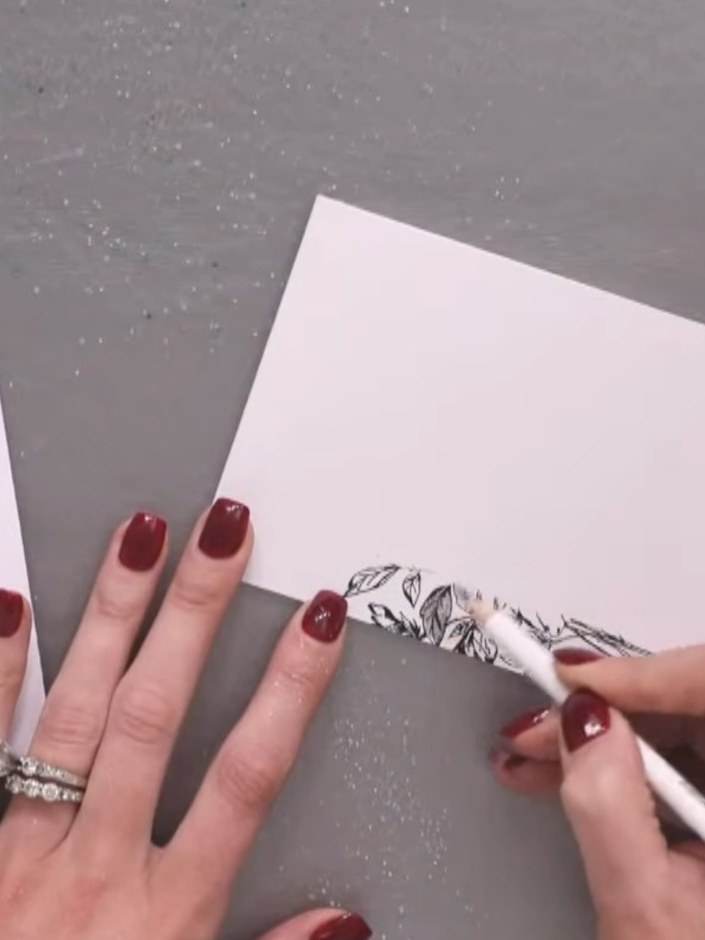
Using grey oil pencils, colour the leaves on the right panel of the design to create shading and depth.
 6
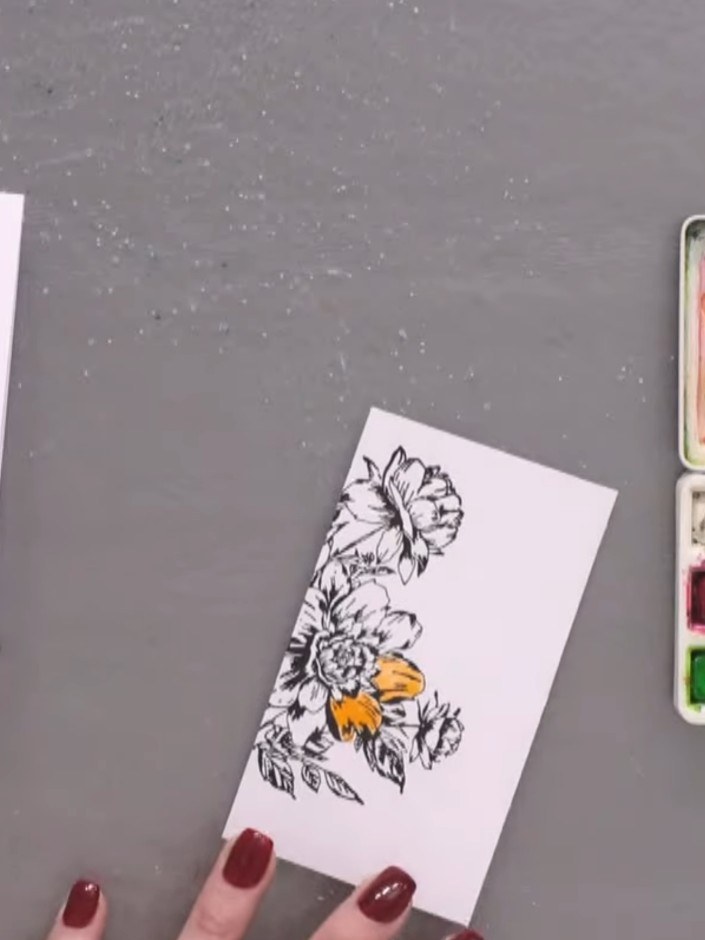
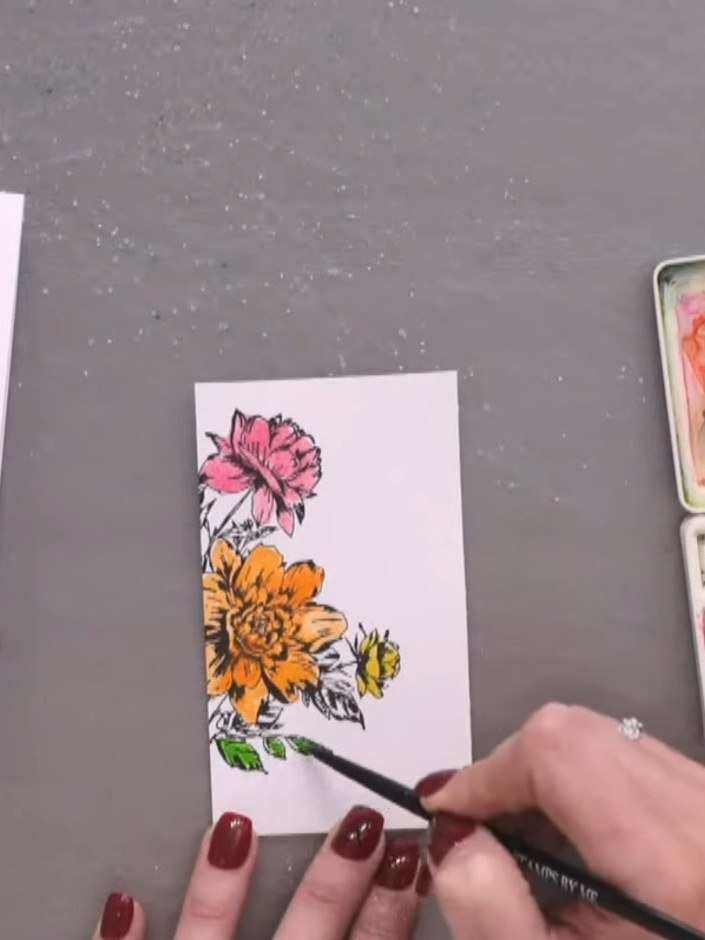
Apply bright watercolour washes directly onto the stamped design on the right panel. Use orange on the large flower, pink on another bloom, and yellow-green on the smaller flowers.
 7
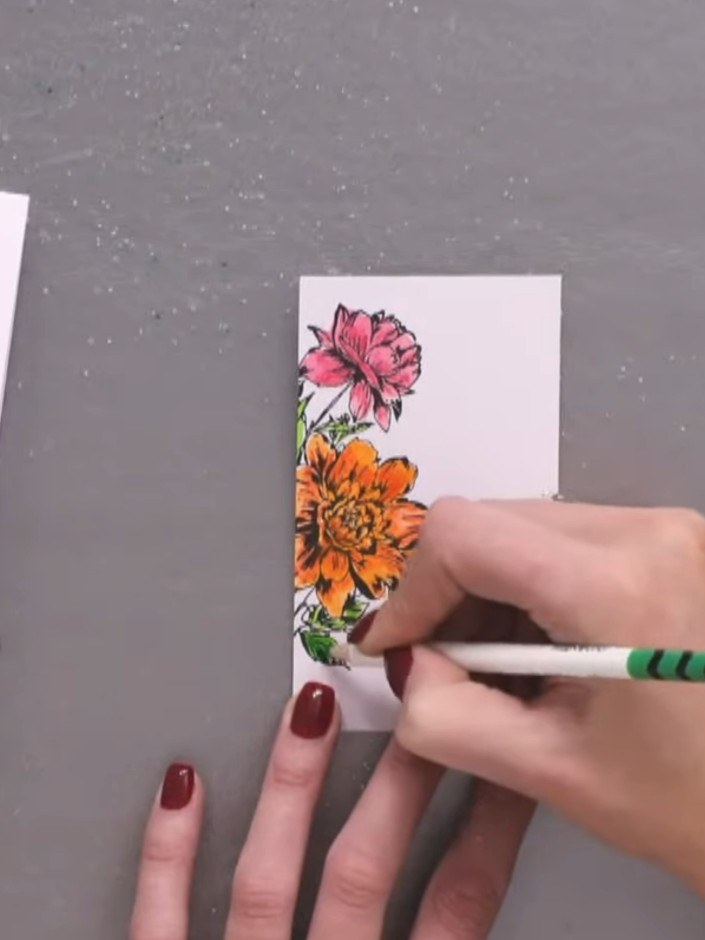
Whilst the watercolour is still wet, use darker oil pencil shades to enhance the petals and leaves, following the stamped lines. Apply vibrant colours to add depth and detail to the flowers.
Add a blue watercolour halo around the flowers on the right panel design. Use a clean, damp brush to soften and blend the edges of the blue watercolour.
 9
Once the watercolour is dry, outline the stamped floral design with a blue oil pencil to create a detailed halo effect around the flowers and leaves.
 10
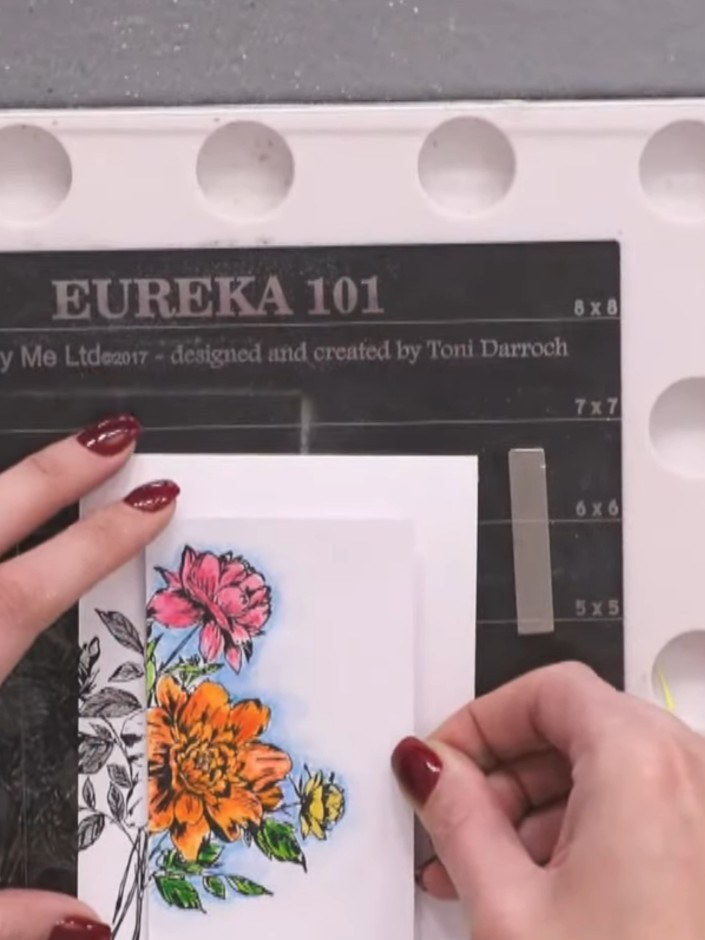
Mount the painted card panel onto black cardstock to stabilise it and prevent buckling from the watercolour.
 11
Adhere the mounted floral panel to your top-folding card base, positioning it on the left side of the card front.
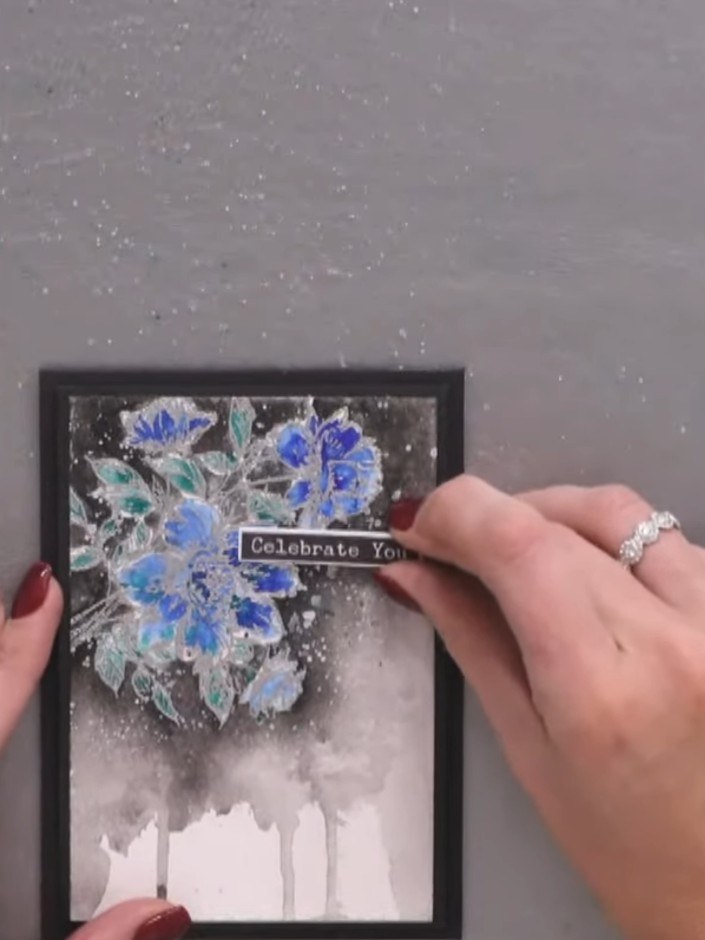 12
Add a washi tape sentiment strip across the centre of the card to complete the design. Position it over the floral image area.
Teile dein Projekt mit der Stamps By Me Community - und behalte diese Anleitung für das nächste Mal.
Direkt aus der Show aufgeschrieben. Alle Anleitungen aus unseren Shows · kostenlose Anleitungen · live auf My Telly ansehen · die bisherige Ansicht