Schenke deinen Freundinnen und Freunden 10 £ Rabatt auf ihre erste Bestellung!
Freunde WERBEN








 The Friday Final CutFr., 6. Nov. 10:00 Uhr
 Community ShowcaseMo., 9. Nov. 10:00 Uhr
 Hobbymaker TvMo., 9. Nov. 14:00 Uhr
Preise ändern sich sofort. Jede Sprache ist unsere eigene Übersetzung, nicht Google.
Ein Projekt aus unserer Live-Show CREATE TOGETHER CLUB - Show 3 - Sei dabei mit Toni - Ausgestrahlt am 30. März 22 · 30.03.2022 · ab 7:45 ansehen
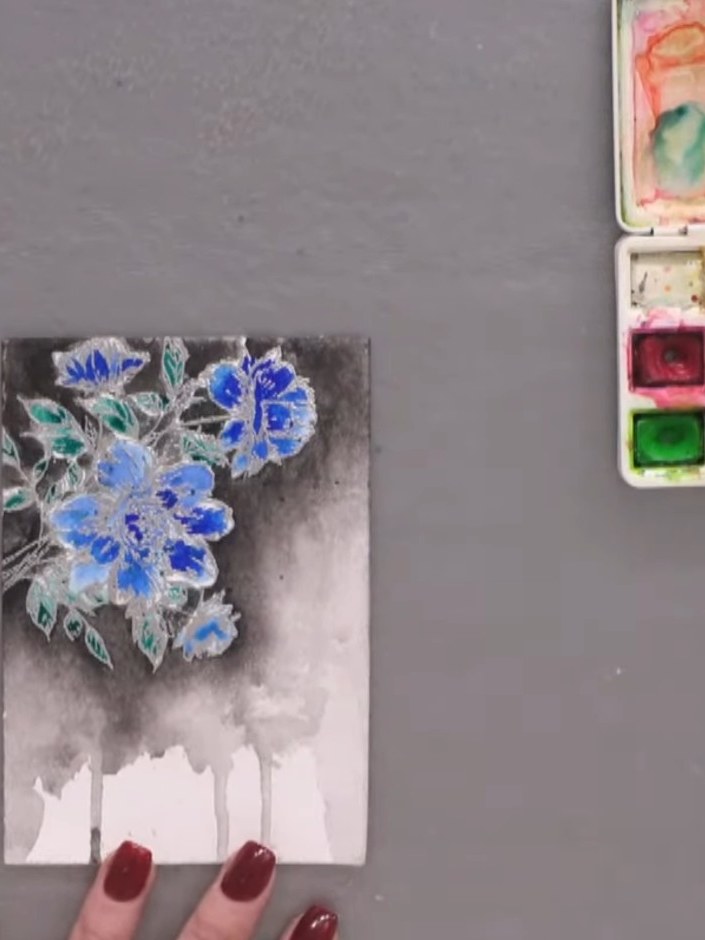
Create an elegant watercolour card featuring beautiful blue flowers with shimmering silver embossed outlines set against a soft grey graduated wash. This sophisticated design combines heat embossing with watercolour resist techniques to produce stunning depth and dimension. The flowing colour gradients blend beautifully around the embossed floral stamp, finished with delicate black ink details.
 CREATE TOGETHER CLUB- Chapter One - 030921a fblANSEHEN
 100133 - HTCN - IZINK GROSSES PIGMENT-STEMPELKISSEN-BUNDLE - TROPICAL - 201121aANSEHEN
DIESE ANLEITUNG HERUNTERLADEN (PDF)
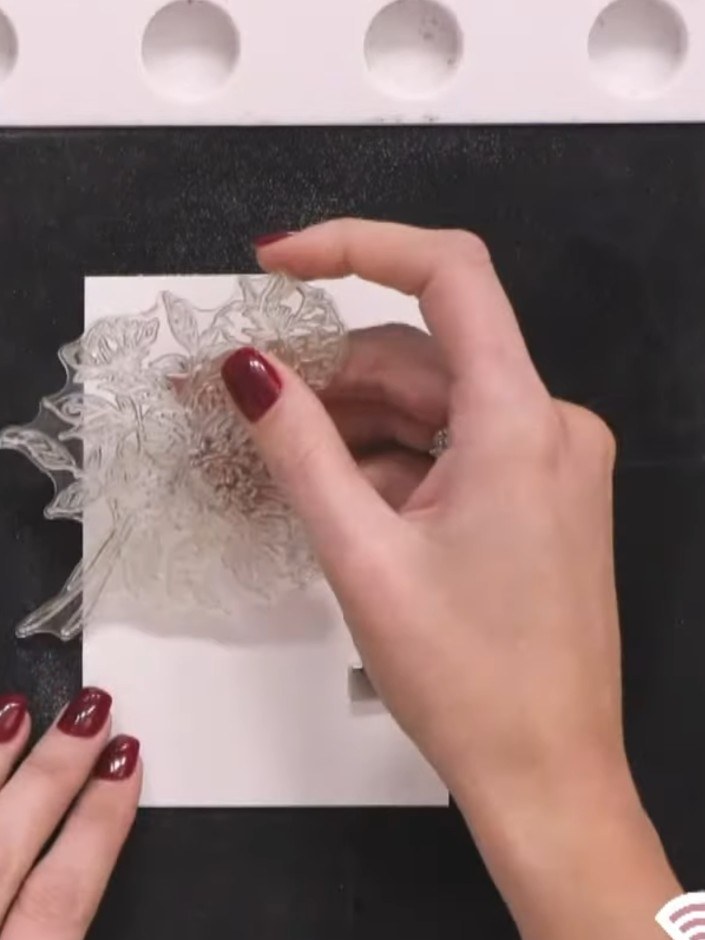
Place your watercolour card onto the stamping block. Position the bouquet stamp face down onto the card and press firmly to transfer the image.
▶ diesen Schritt ansehen (8:00)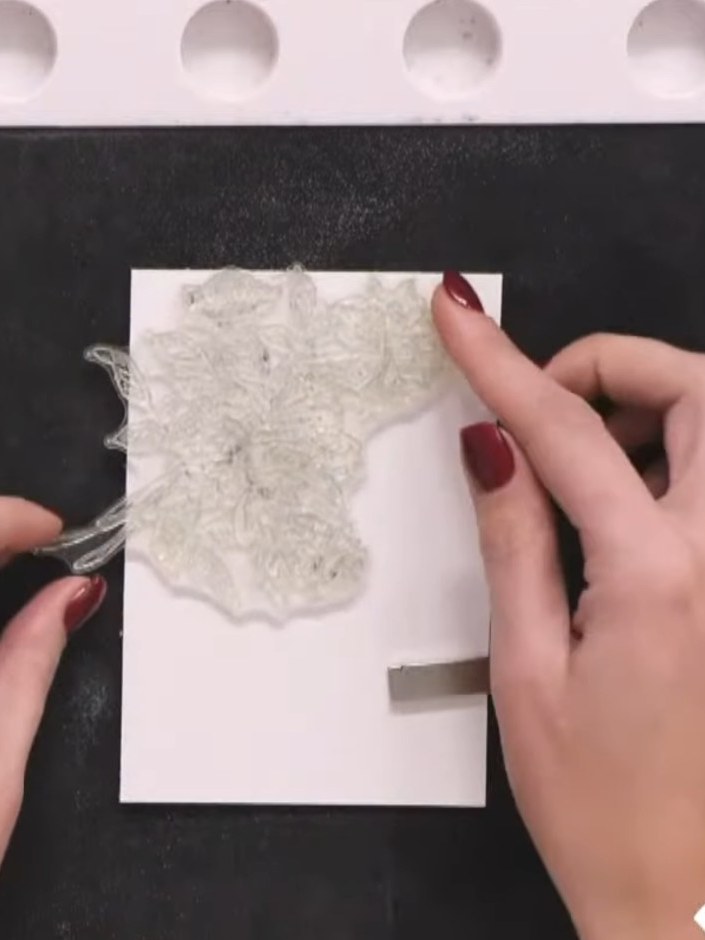
Stamp the floral bouquet image onto white watercolour card using pigment ink, pressing down firmly to capture all the detail.
▶ diesen Schritt ansehen (8:15)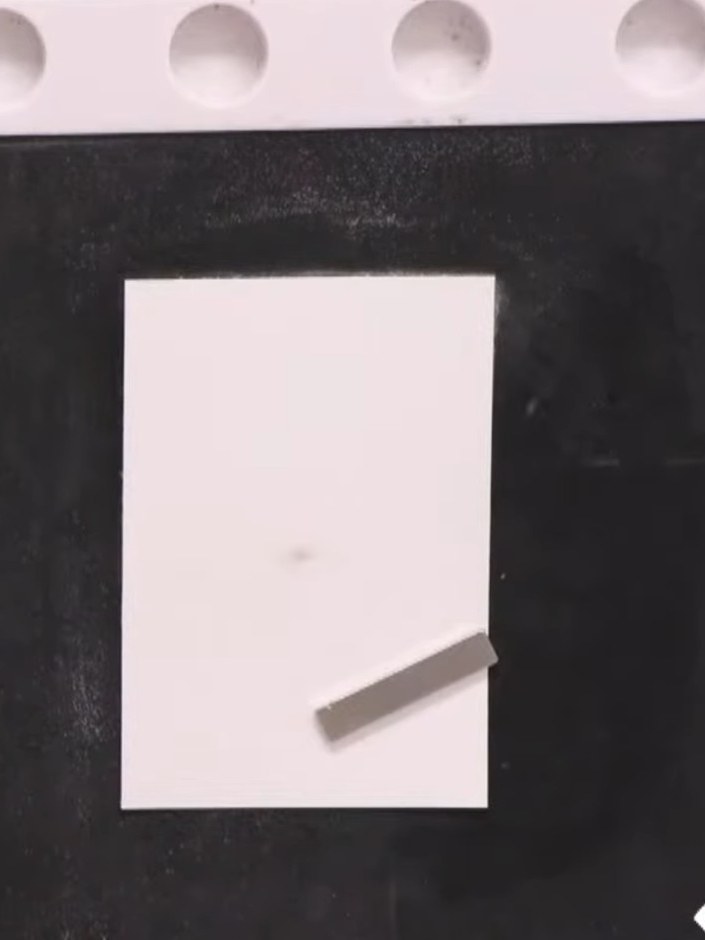
Use an anti-static bag to remove any dust or fingerprints from the stamped watercolour card panel.
▶ diesen Schritt ansehen (8:30)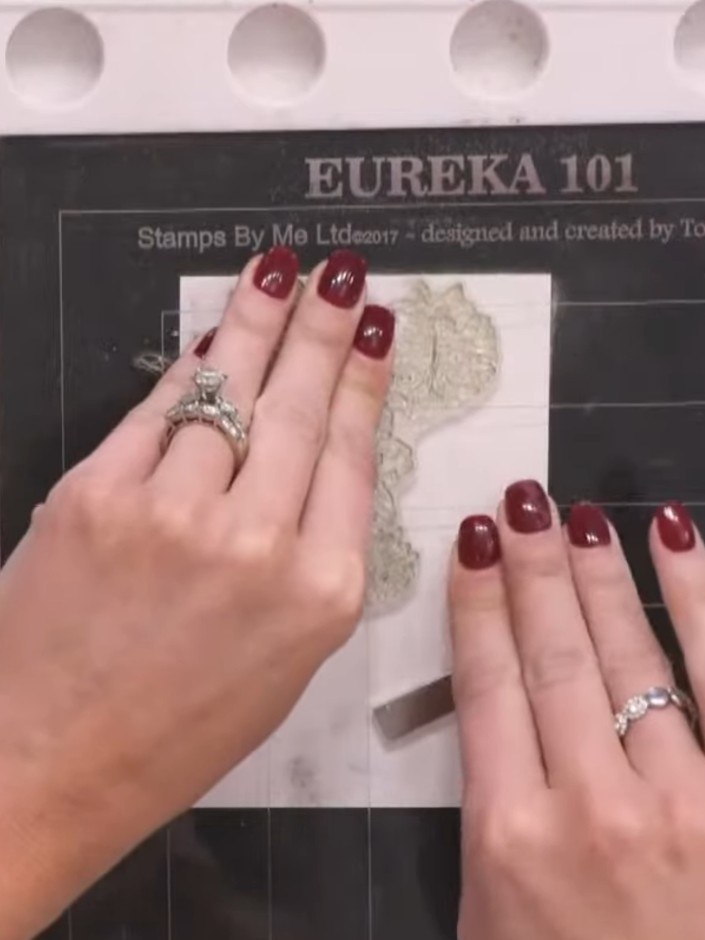
Apply silver heat embossing powder over the wet stamped image. Heat set with your heat gun until the powder melts and sparkles.
▶ diesen Schritt ansehen (8:45)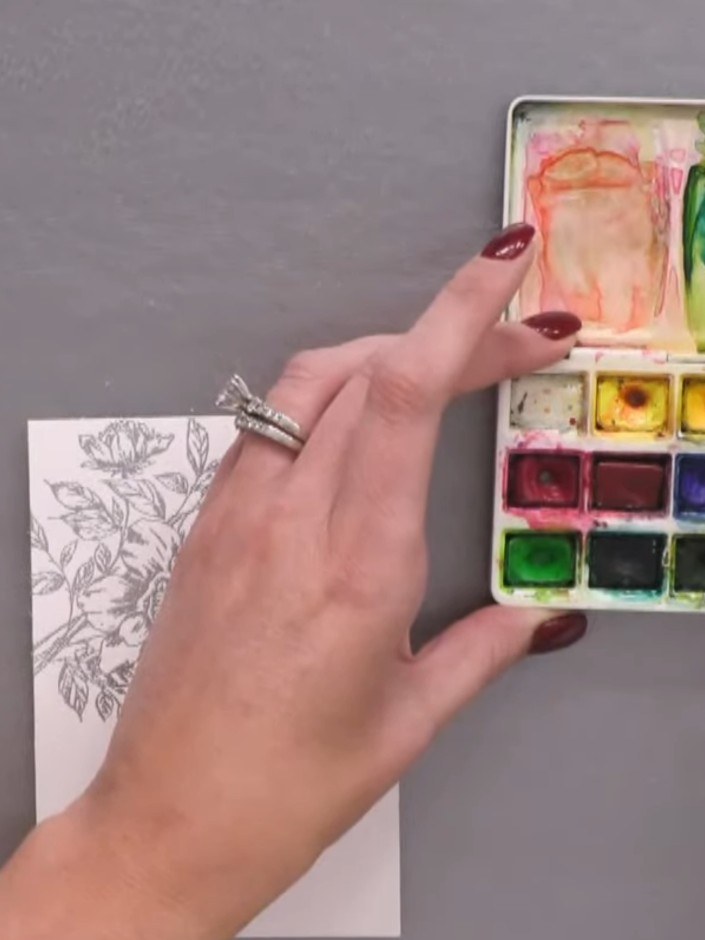
Using your brush, mix black watercolour pigment with water on your palette to create a very dark, concentrated consistency.
▶ diesen Schritt ansehen (12:30)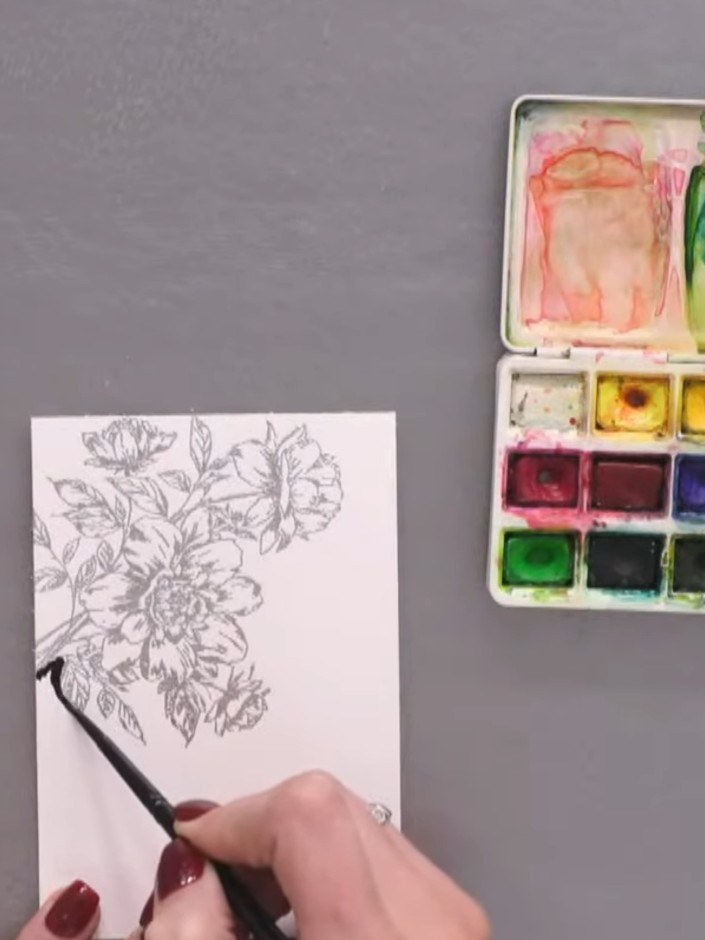
Using a fine brush and black pigment ink, carefully outline the embossed floral image. Work in small segments, following the stamped lines to create a dark black outline around the flowers and leaves.
▶ diesen Schritt ansehen (12:45)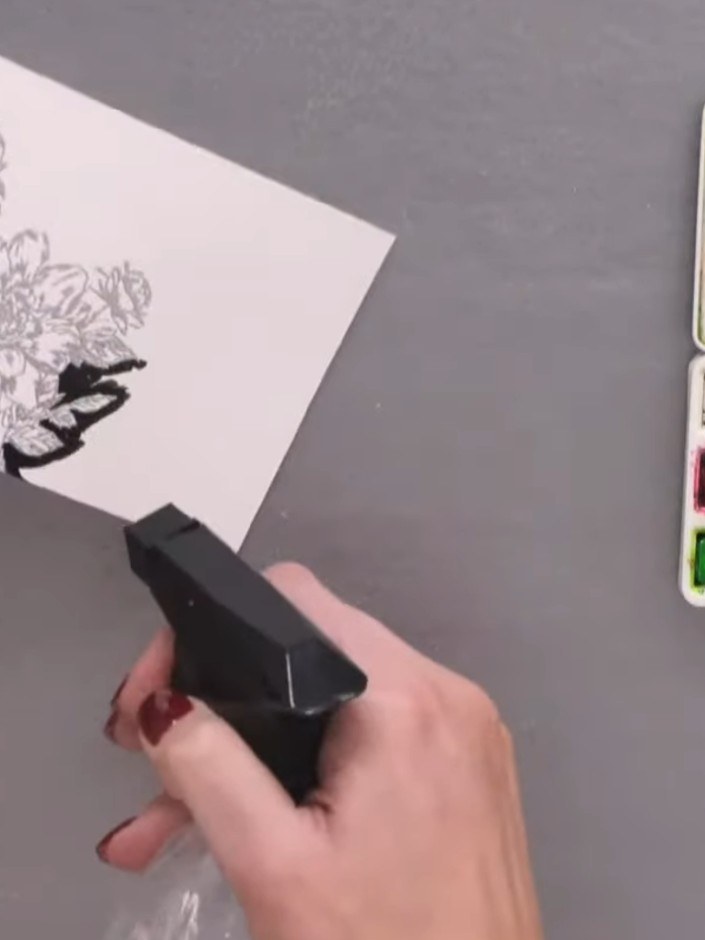
Spray the stamped card with water from a spray bottle. Hold the card at an angle to allow the black ink to flow downwards, creating a watercolour resist effect.
▶ diesen Schritt ansehen (13:30)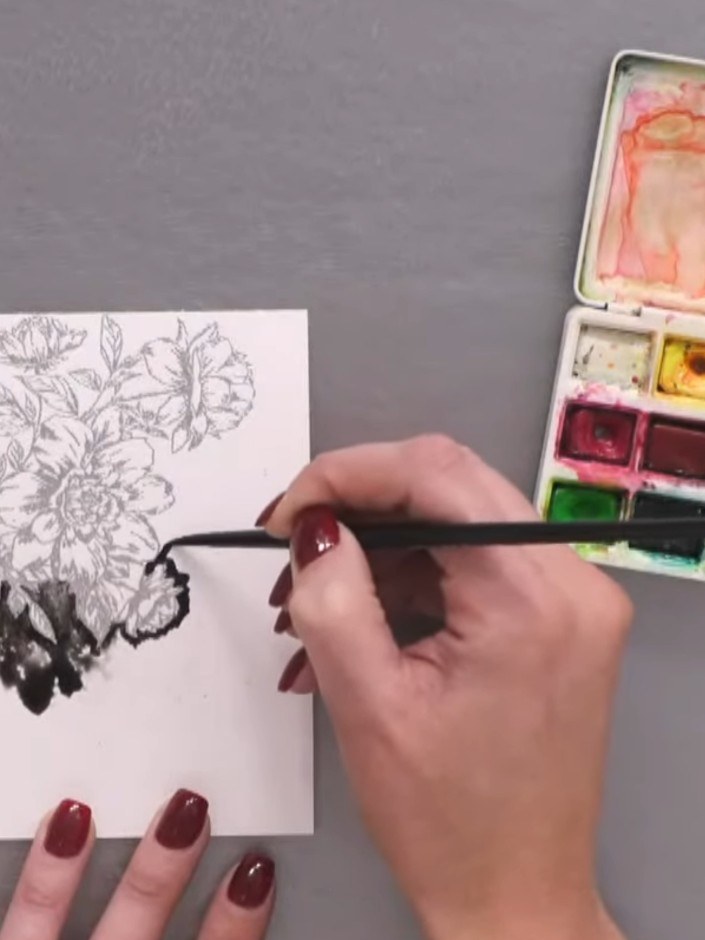
Continue adding more black pigment to intensify the design at the base of the floral image. Spray again with water to create the wash effect and allow the black ink to blend and spread.
▶ diesen Schritt ansehen (14:00)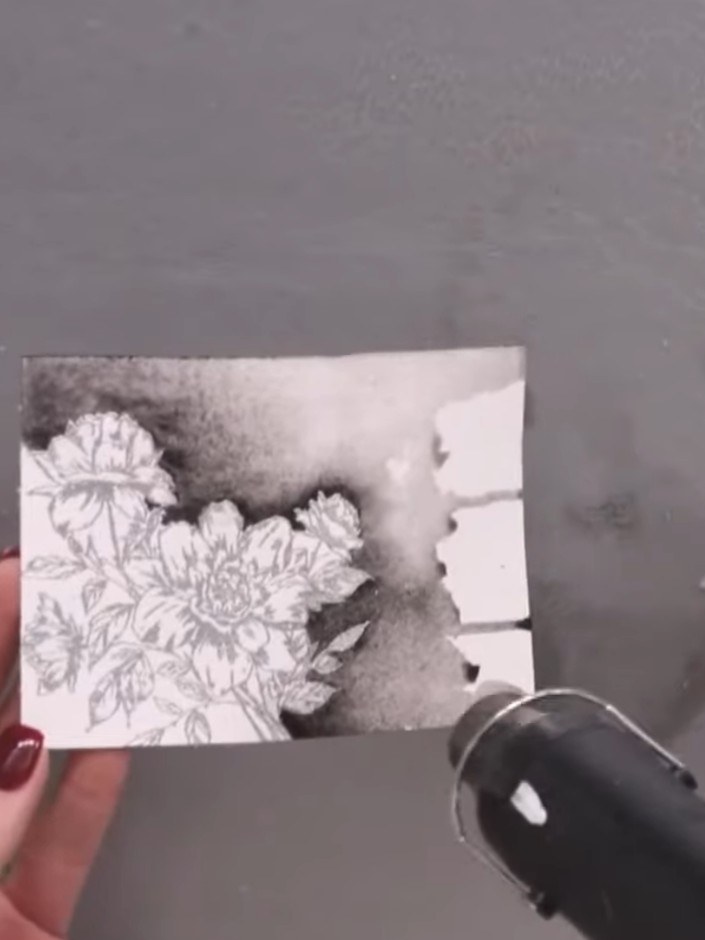
Allow the first layer to dry completely. Apply a second glaze layer using less water to add depth to the watercolour wash.
▶ diesen Schritt ansehen (16:45)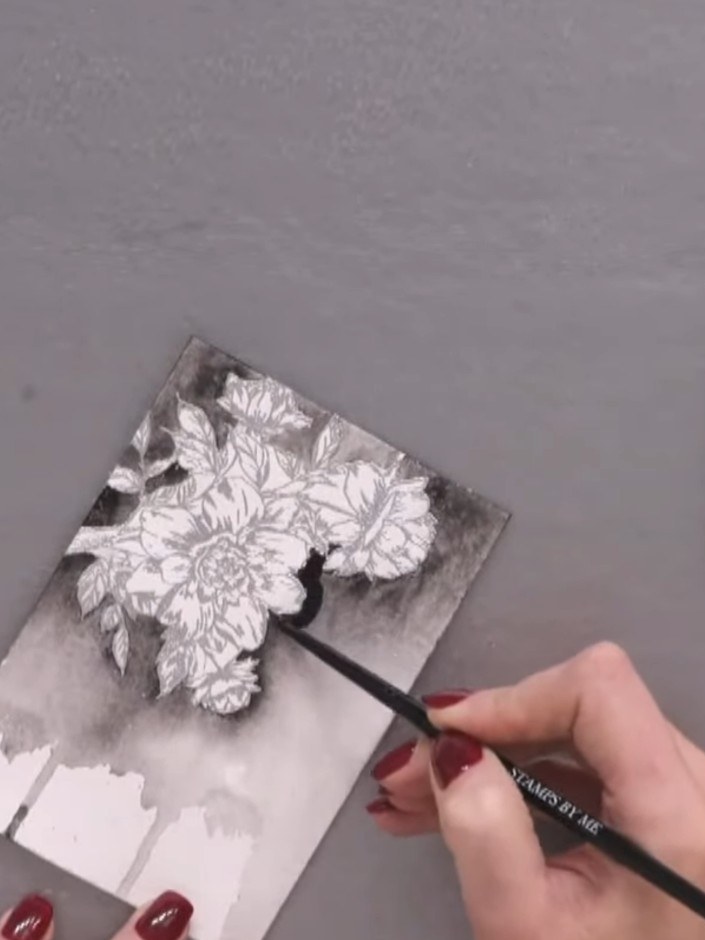
Add blue watercolour into the flower areas and green into the leaf areas, layering darker shades whilst still wet to create depth and dimension.
▶ diesen Schritt ansehen (20:00)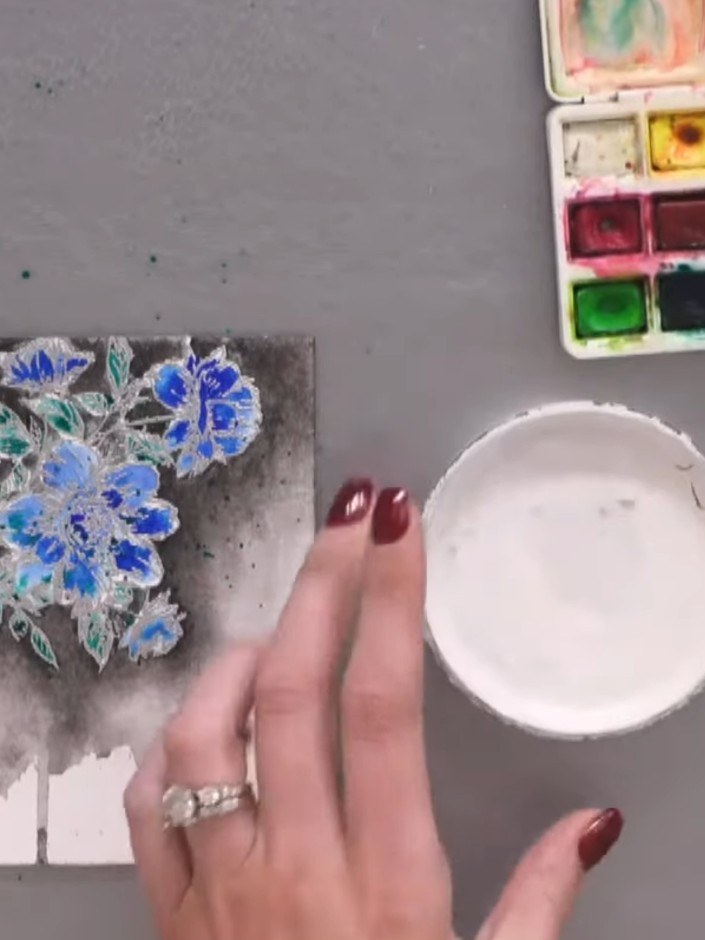
Verteile mit weißem Konfetti- oder Spritzmedium weiße Sprenkel auf der Karte – das hält das ganze Design schön zusammen.
▶ diesen Schritt ansehen (27:30)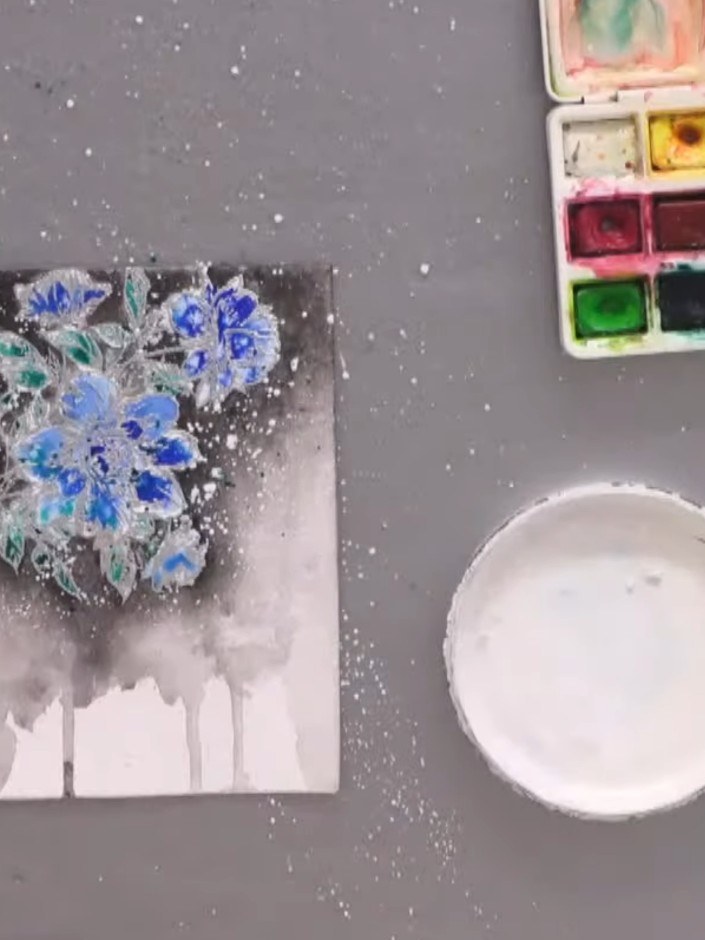
Lass die Karte vollständig an der Luft trocknen, bevor du sie anfasst oder mit dem Heißluftfön fixierst. This ensures the watercolour and resist technique is fully set.
▶ diesen Schritt ansehen (28:15)Direkt aus der Show aufgeschrieben. Alle Anleitungen aus unseren Shows ansehen · kostenlose Anleitungen · live auf My Telly ansehen