Give your friends £10 off their first order!
Refer a FRIEND








 Hidden GemsWed 18 Nov 10am
 The Thursday DropThu 19 Nov 6pm
 The Friday Final CutFri 20 Nov 10am
Prices change straight away. Every language is our own translation, not Google.
A project from our live show THE THURSDAY DROP - Latest Products from Toni - Broadcast 11th June 2026 · 11/06/2026 · watch it from 42:30
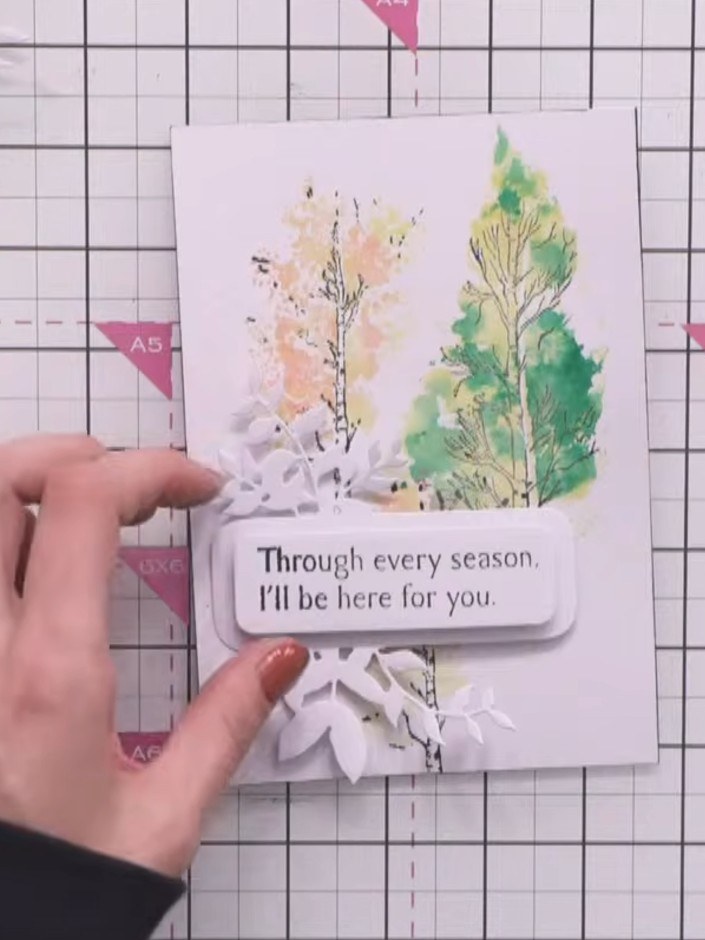
Create a beautiful card-on-card design featuring laminated trees in soft watercolour tones with added sparkle. The trees are built up using green and pink inks with black outline details for a hand-painted effect, finished with layered sentiment banners and crystal-clear glitter accents. This dimensional piece combines watercolour techniques with lamination for a stunning seasonal greeting card.
 Stamps By Me Lamination Stamp Bundle - Beauty of Nature & Grow Stronger - 121125ASEE IT
 Stamps By Me - Floral Dimensions - Floral Banners - 190225JSEE IT
 Stamps By Me - Floral Dimensions - Foliage Adornments -190225ISEE IT
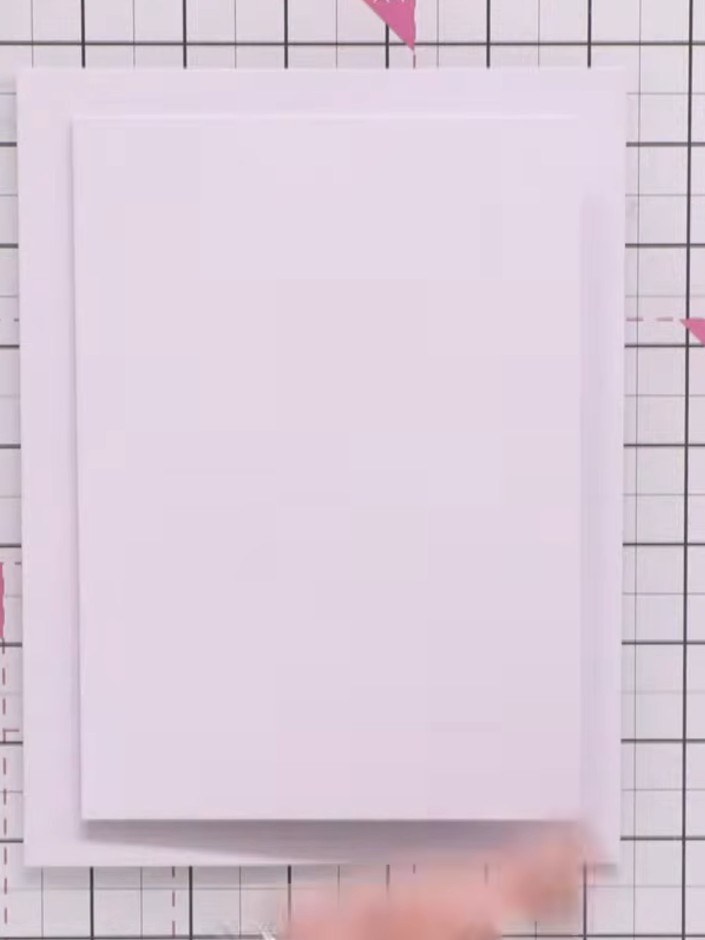
Cut two card blanks from white cardstock: one measuring 8 by 6 inches and one measuring 5 by 7 inches. The smaller card will open as a flap on the larger card.
▶ watch this step (45:30)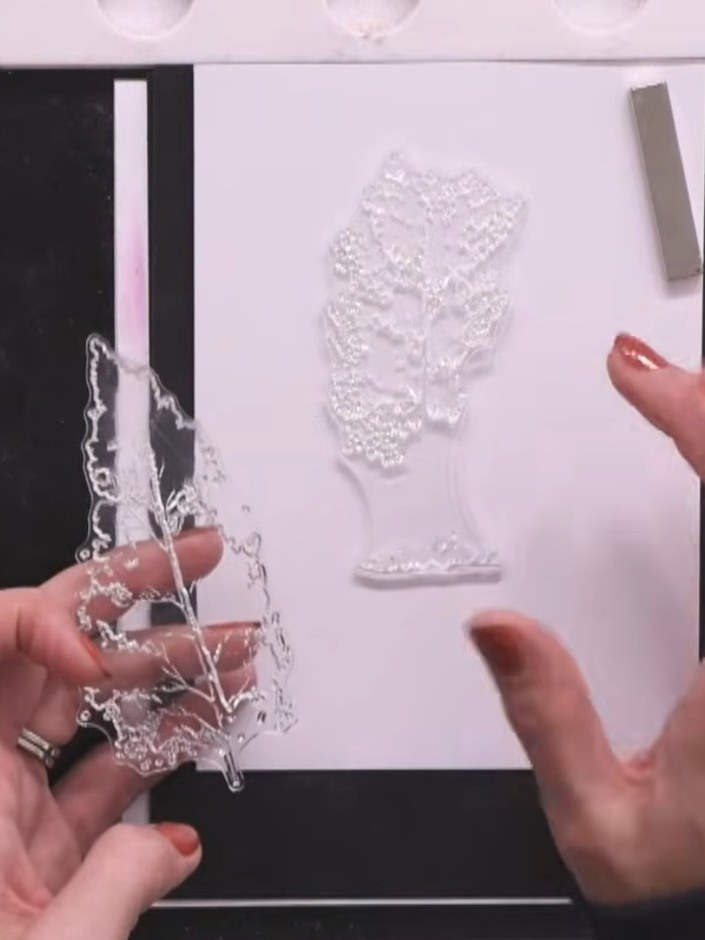
Position the stamped tree elements onto your card front. Arrange them with one element slightly lower than the other to create visual interest and depth.
▶ watch this step (46:00)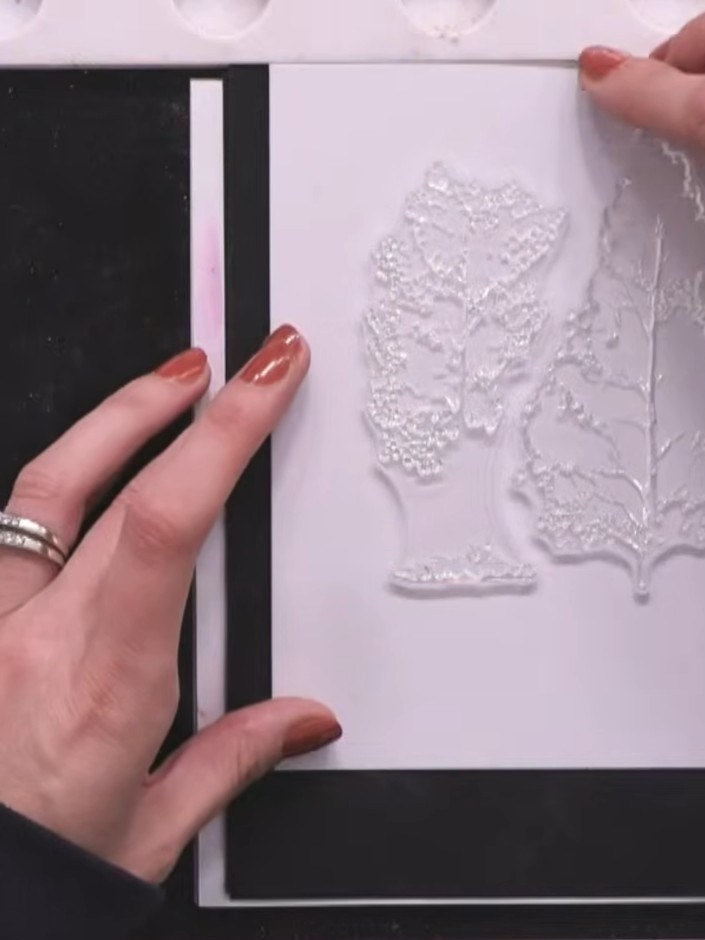
Add pink ink to the flower heads of one tree stamp. Spray the stamp with water to blend the colours together.
▶ watch this step (46:30)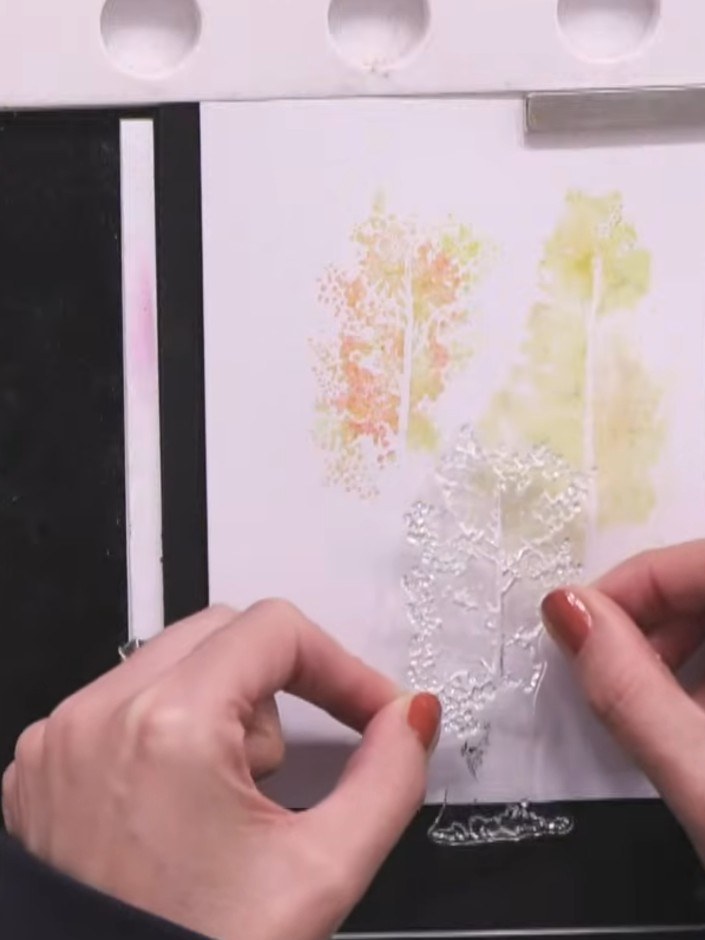
Stamp the inked trees onto the smaller white card blank. Position the trees at different heights to create visual interest in your composition.
▶ watch this step (48:00)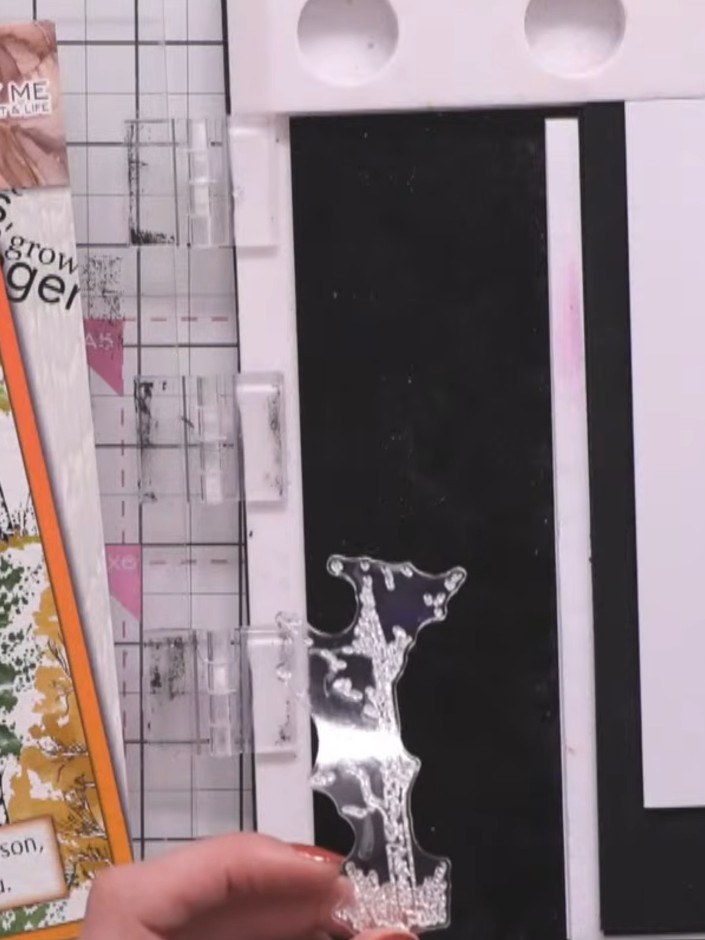
Using black ink, stamp the detail portions of the tree stamps over the dried watercoloured trees to add branch and outline definition.
▶ watch this step (50:45)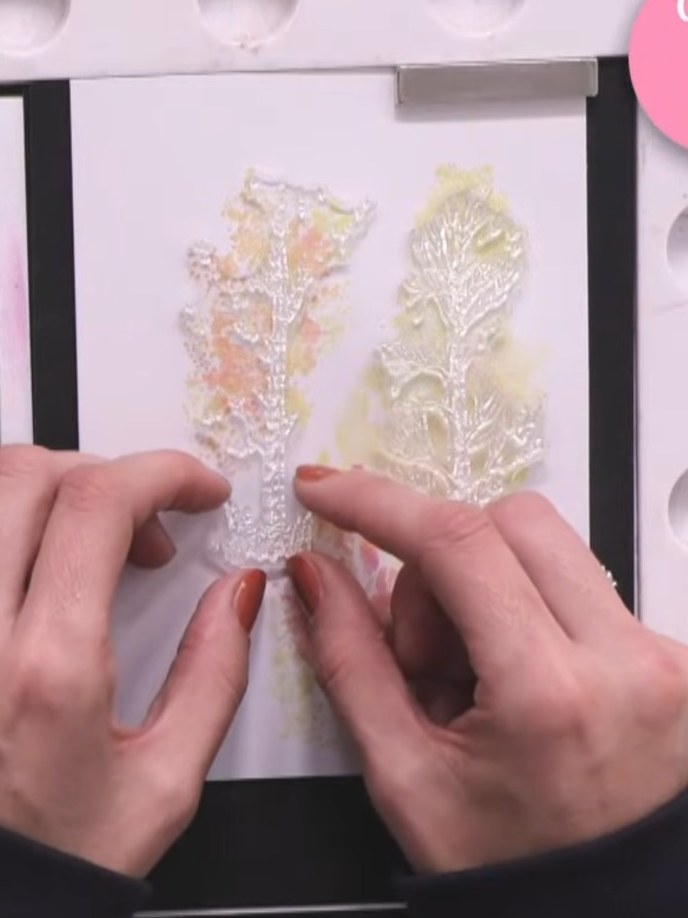
If the black stamped detail appears too dark, go back over the trees with green ink to soften and balance the contrast. This will help blend the colours and create a more harmonious effect.
▶ watch this step (52:00)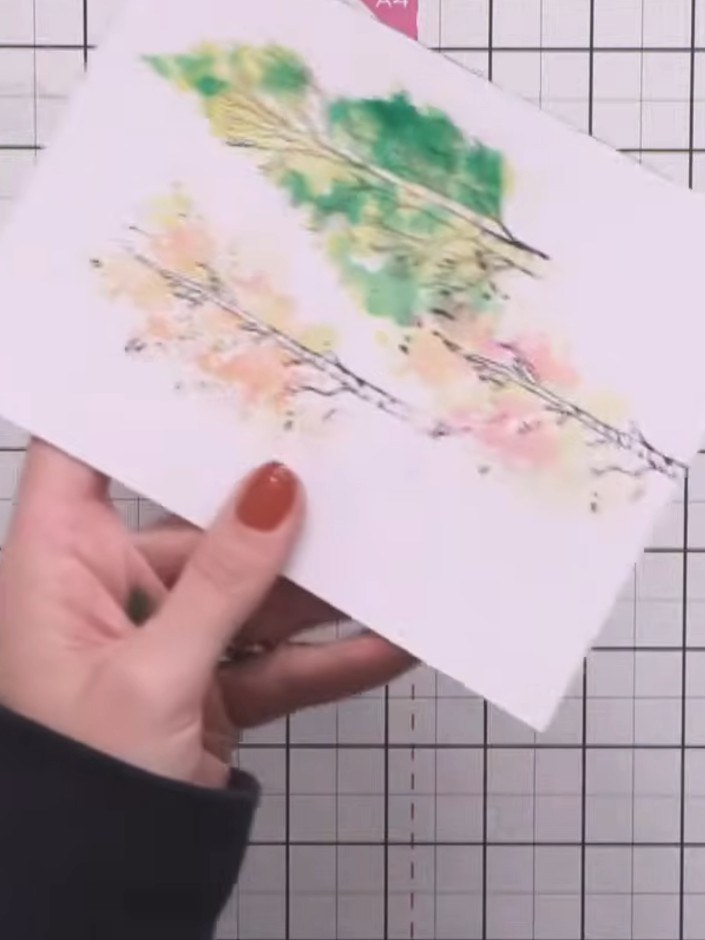
Die-cut the floral banner and foliage adornment dies from white card. Use a pokey tool to carefully pop out all the die-cut pieces from the card.
▶ watch this step (1:04:45)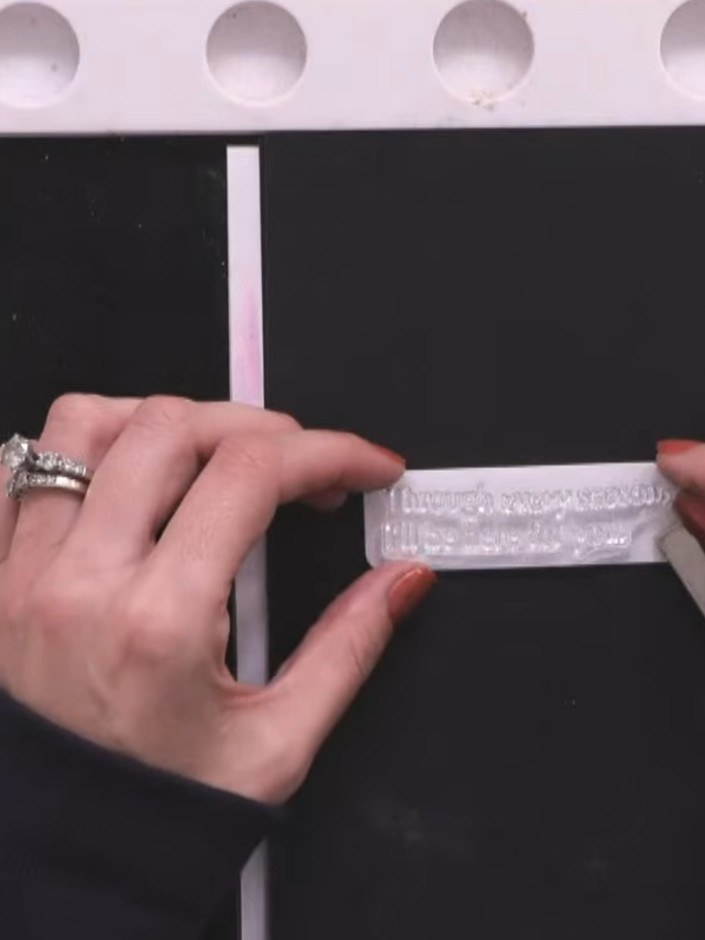
Stamp a sentiment into the white banner die-cut using a stamp that fits the space. Position the stamp centrally on the banner and press firmly to create a clear impression.
▶ watch this step (1:07:45)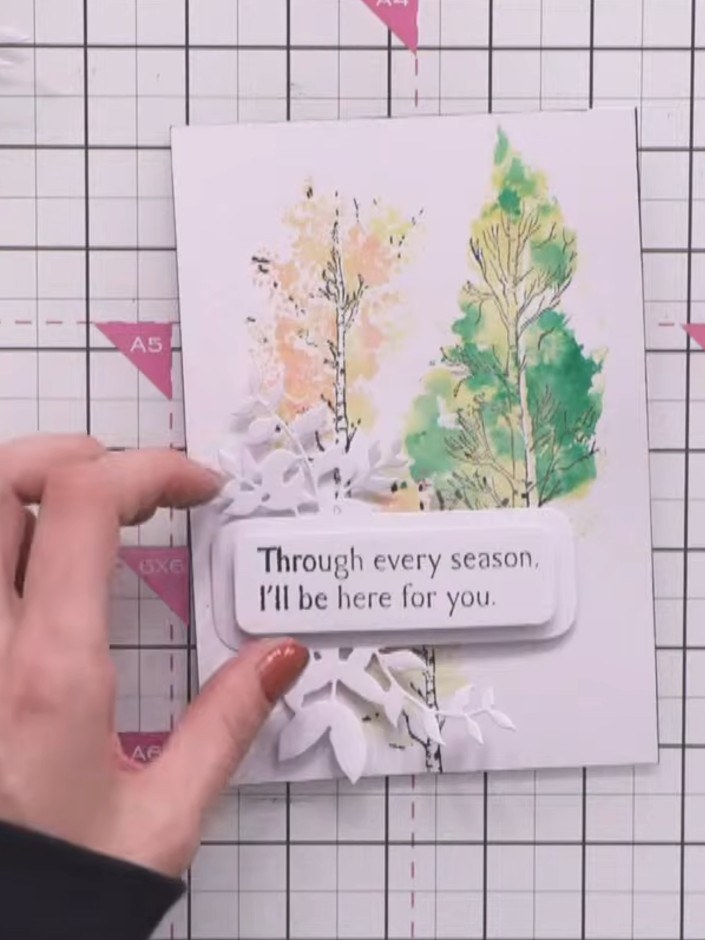
Adhere the stamped tree card to the front of the larger card blank using a tape pen or glue. Position it centrally on the card front, ensuring the sentiment panel and foliage elements are visible.
▶ watch this step (1:11:00)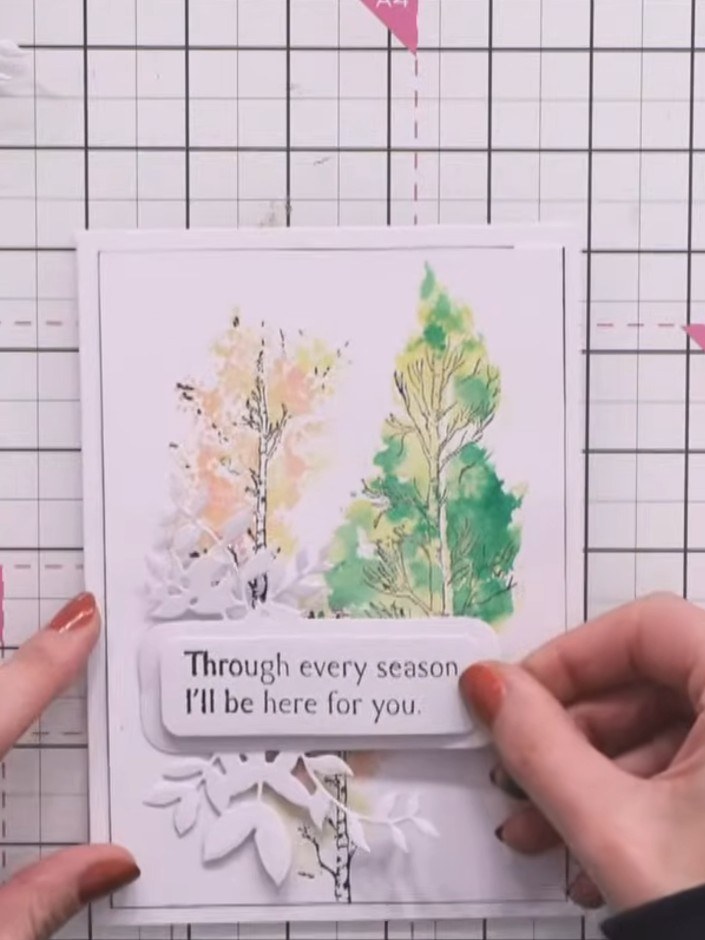
Adhere the sentiment banner to the inside of the card as a focal point. Position the white foliage adornment die-cut below the sentiment for added dimension and layering.
▶ watch this step (1:12:15)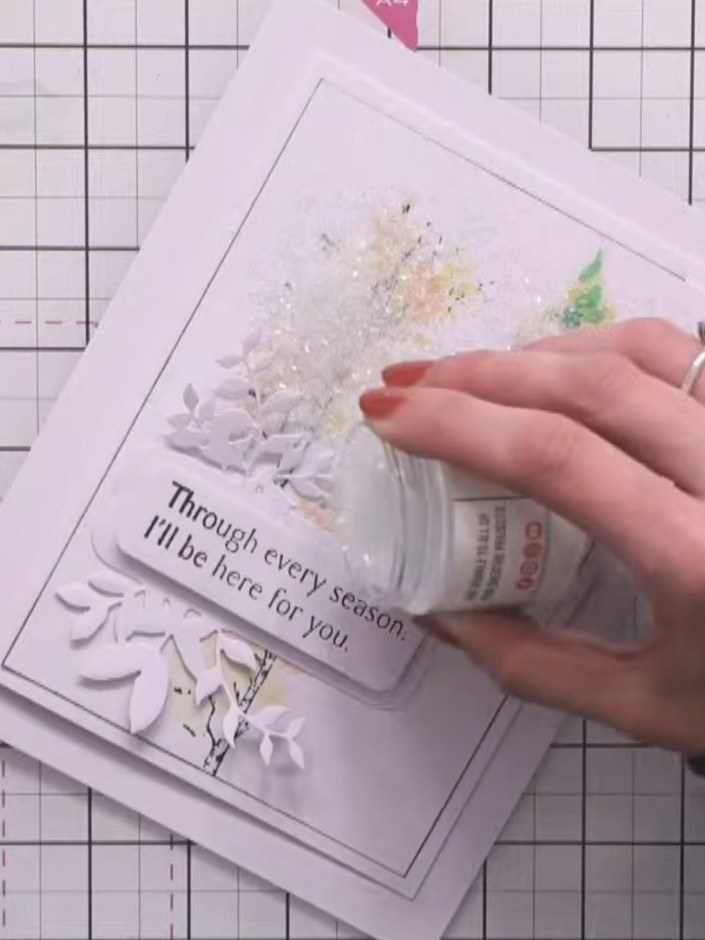
Apply chunky colourless glitter glue to the watercoloured trees to add crystal-clear shimmer. Allow the glue to dry completely before proceeding.
▶ watch this step (1:15:30)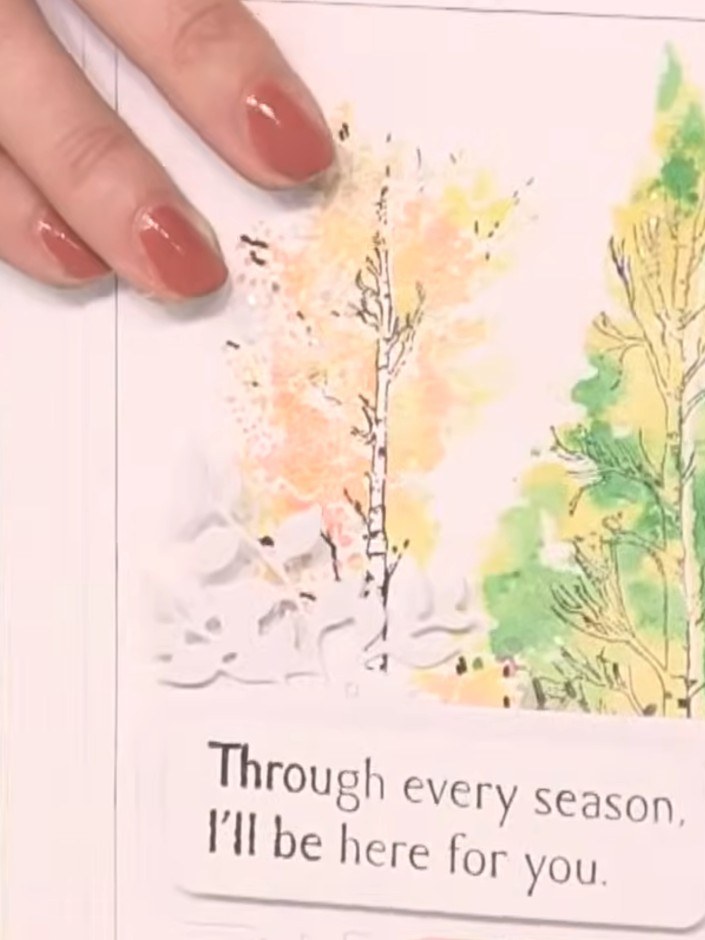
Edge the smaller card panel with black ink pad to define the mat layer and add dimension to the card-on-card design.
▶ watch this step (1:20:30)Written up from the show itself. See every guide from our shows · free how-to guides · watch live on My Telly