Give your friends £10 off their first order!
Refer a FRIEND








A project from our live show THE ART OF CARDISTRY - Join me for my Creative Card Session with all my wonderful USA following - Broadcast 11th SEP 23 · 11/09/2023 · watch it from 34:15
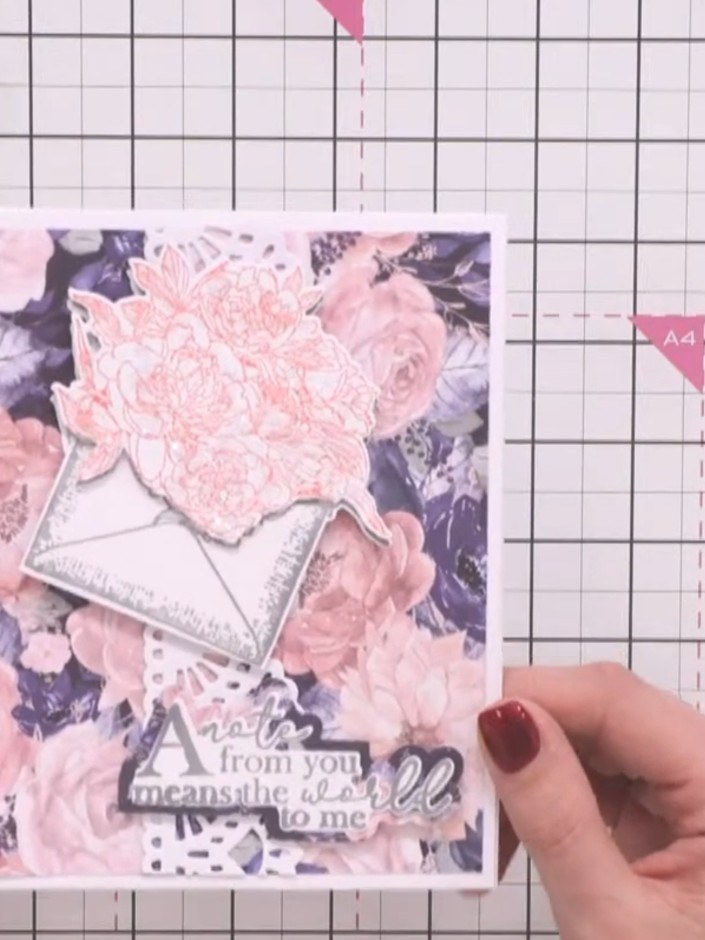
Create an elegant greeting card using the Midnight Blooms collection in navy and pink. This project features a beautiful floral patterned background, a decorative vellum envelope overlay with dimensional layered flowers, and a heartfelt sentiment. The design combines stamping, die-cutting, and layering techniques to achieve a sophisticated finish.
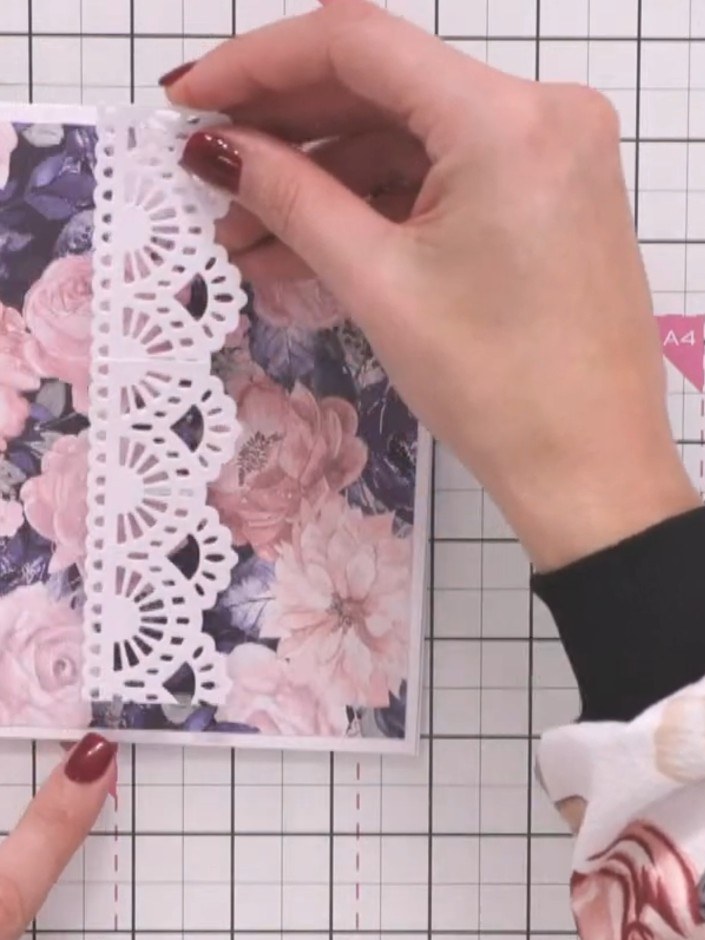
Cut two decorative lace border dies and overlap them on the floral patterned paper until the pattern repeats seamlessly. Secure the overlapped dies at the back with tape.
▶ watch this step (34:15)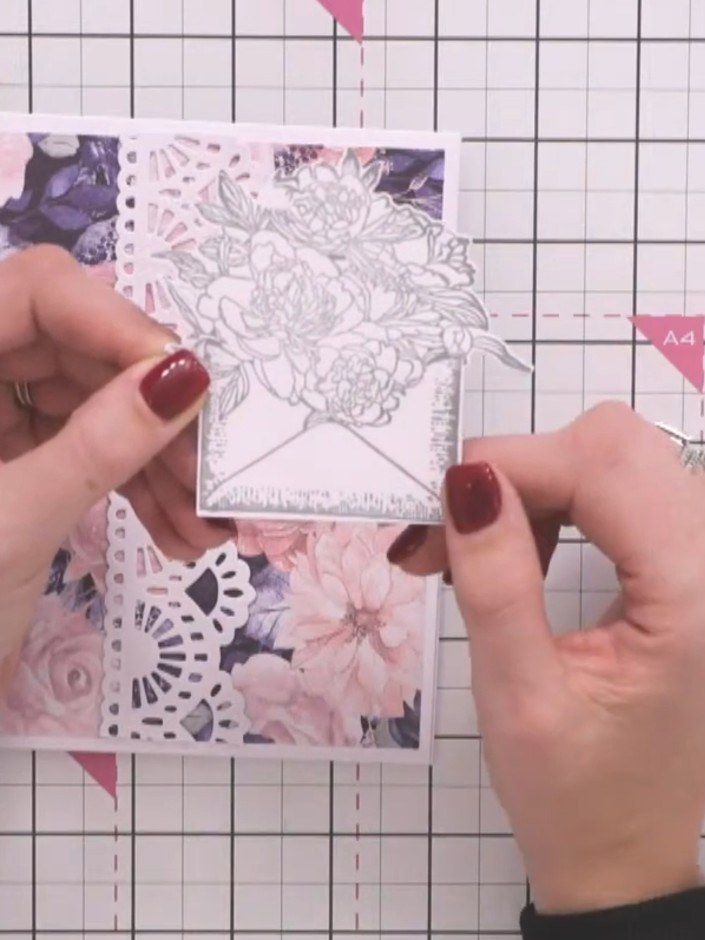
Position the decorative lace border down one side of your floral card base, placing it slightly off-centre. Adhere the border in place, choosing either grey or pink to complement your design.
▶ watch this step (34:30)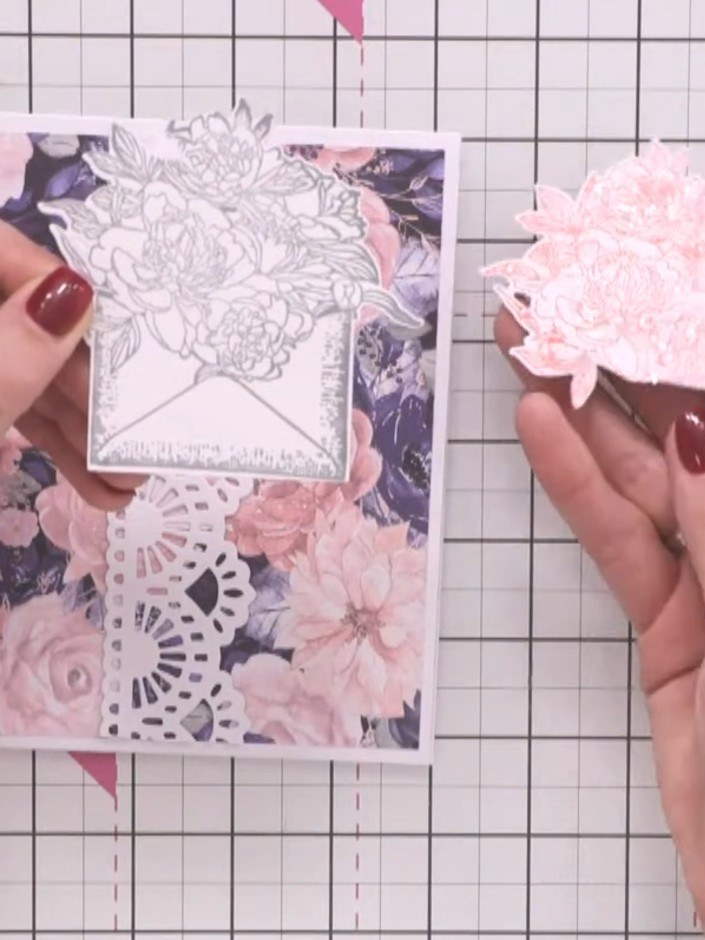
Stamp the envelope with the floral design twice—once using grey ink and once using pink ink. Position the stamped flowers decoratively on the envelope.
▶ watch this step (34:45)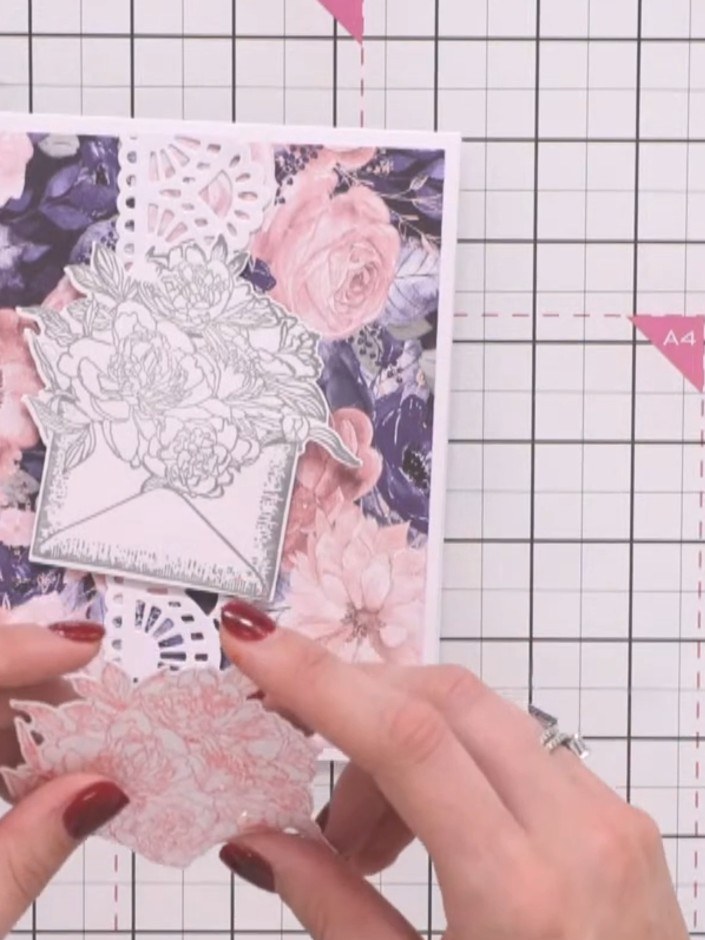
Fussy cut the flowers from the pink stamped version, carefully cutting around the floral details whilst leaving the envelope outline intact.
▶ watch this step (35:00)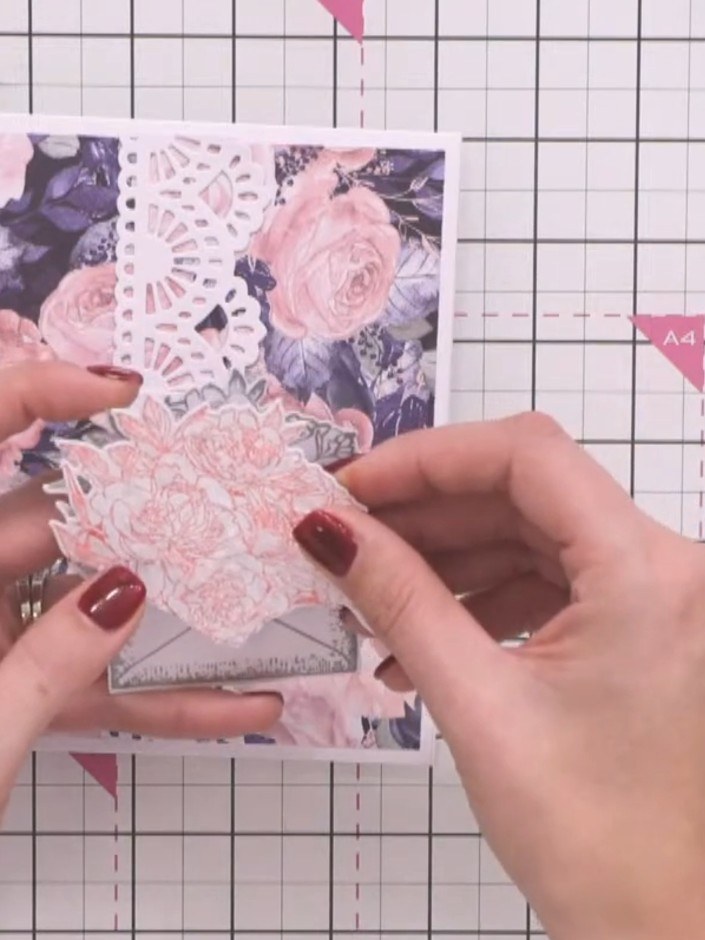
Layer the pink flower die-cut on top of the grey envelope stamp to create a 3D bouquet effect. Position the pink flowers over the stamped image on the card front.
▶ watch this step (35:15)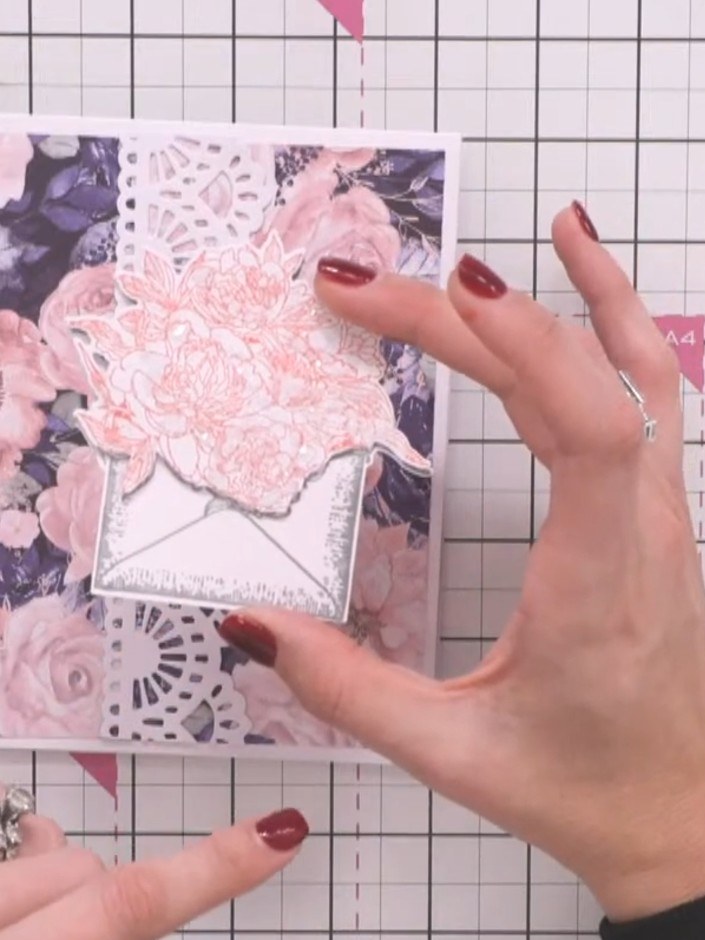
Add sparkle embellishments to the floral bouquet on your card. Position them amongst the flowers to add dimension and shine to the design.
▶ watch this step (35:30)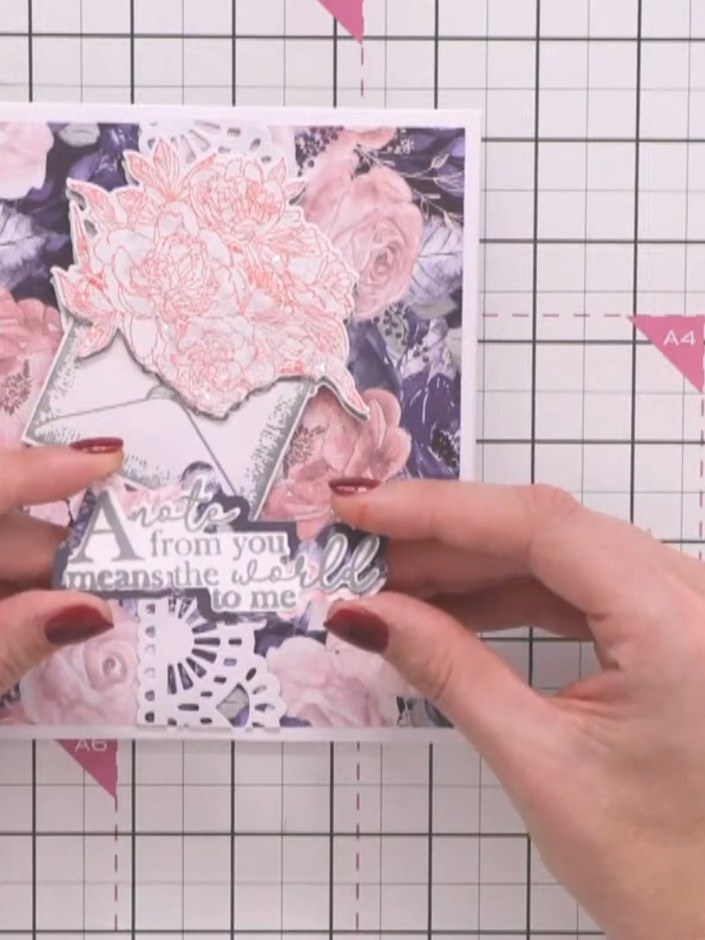
Adhere the 3D layered envelope embellishment onto the card front using foam pads or adhesive.
▶ watch this step (35:45)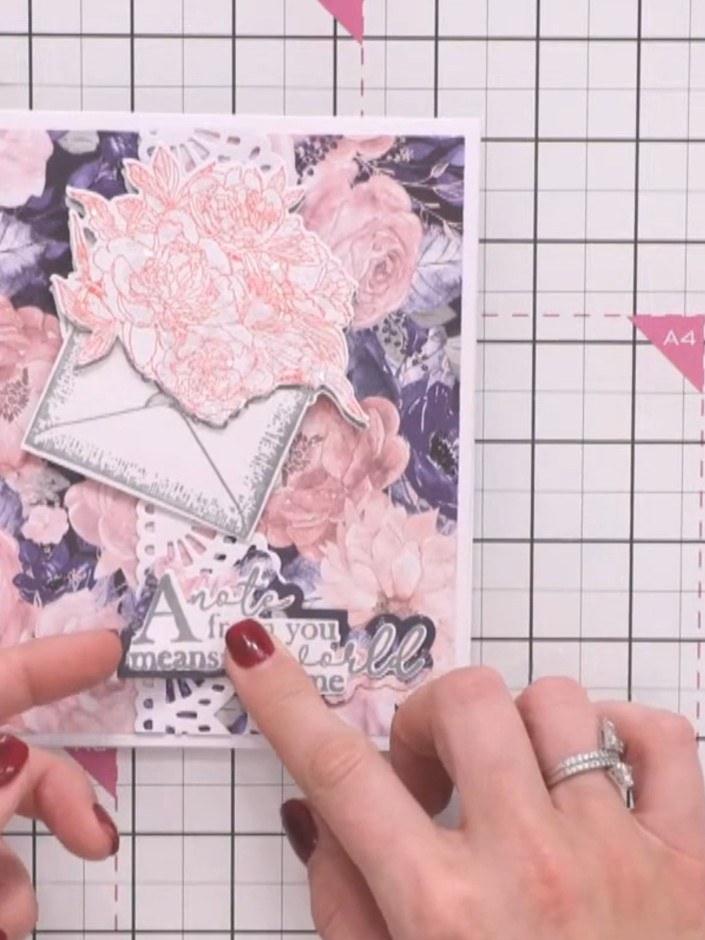
Stamp the sentiment 'A note from you means the world to me' onto coordinating paper. Add a matte layer beneath the sentiment to create depth and dimension.
▶ watch this step (36:00)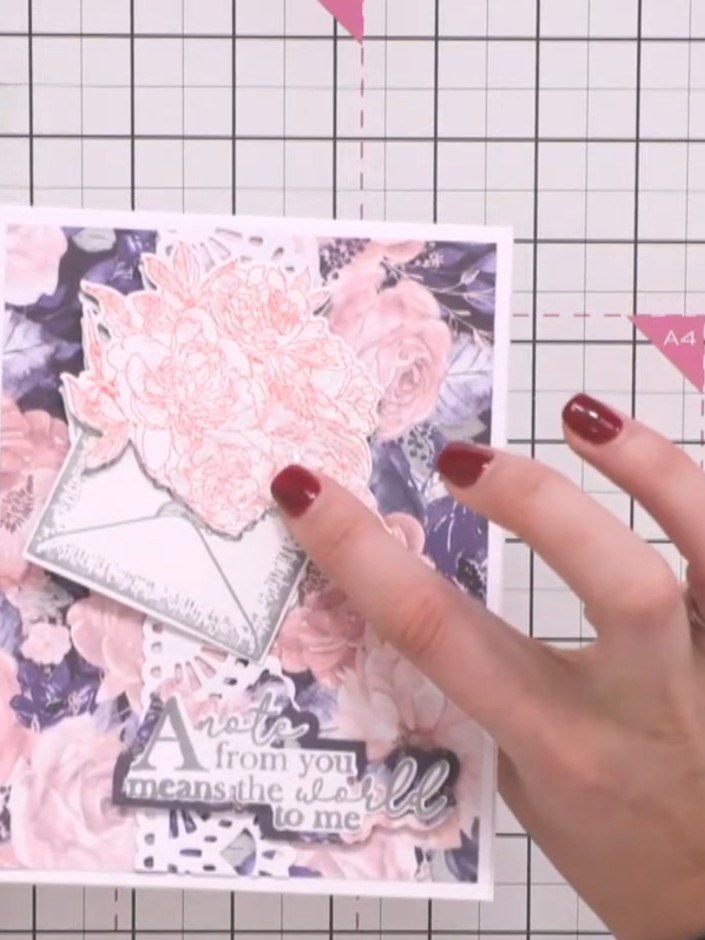
Adhere the sentiment matte layer to the card front using foam pads or adhesive.
▶ watch this step (36:15)Written up from the show itself. See every guide from our shows · free how-to guides · watch live on My Telly
