Give your friends £10 off their first order!
Refer a FRIEND








A project from our live show CREATE TOGETHER CLUB CHAPTER 3 - SHOW 7 - Broadcast 5th Oct 23 · 05/10/2023 · watch it from 7:00
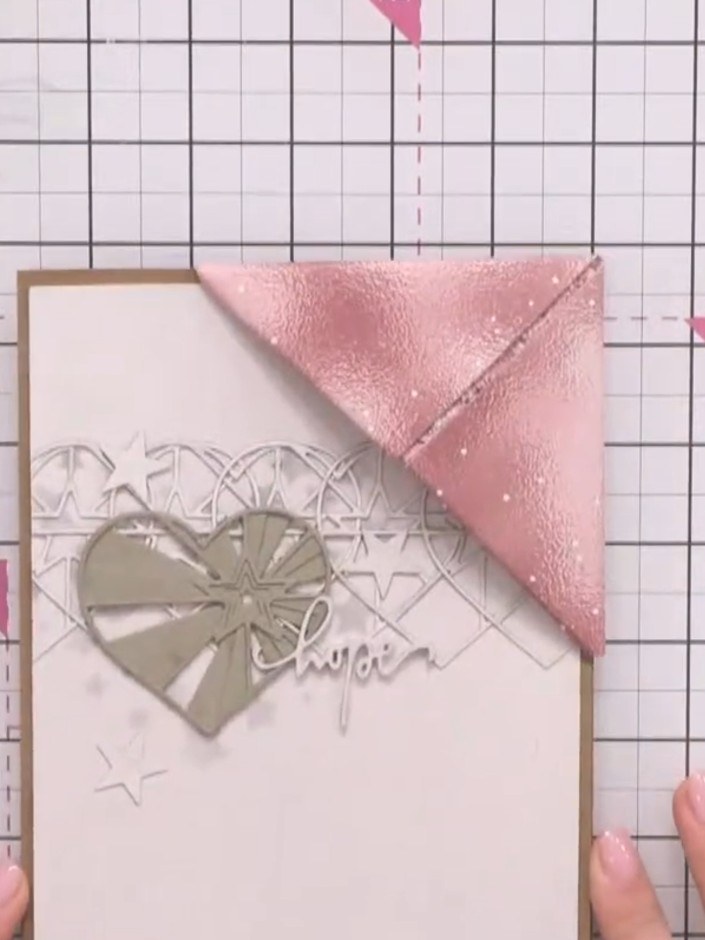
Create charming folded paper bookmarks with layered heart decorations that slip neatly over the corner of a page. These elegant bookmarks feature soft pink and gold tones with decorative patterned papers and embossed heart embellishments. Using simple paper folding techniques and layering, you'll make practical yet beautiful gifts perfect for tucking into greeting cards.
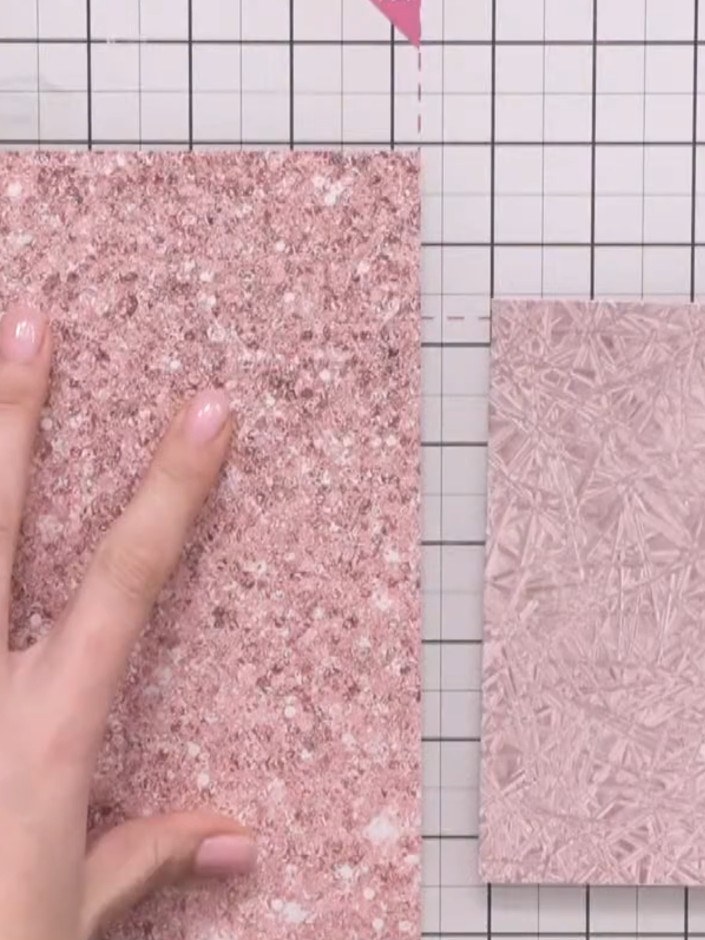
Take an 8×8 inch piece of square paper and fold the bottom edge up to meet the top edge, creasing firmly with your hand or a burnishing tool.
▶ watch this step (7:15)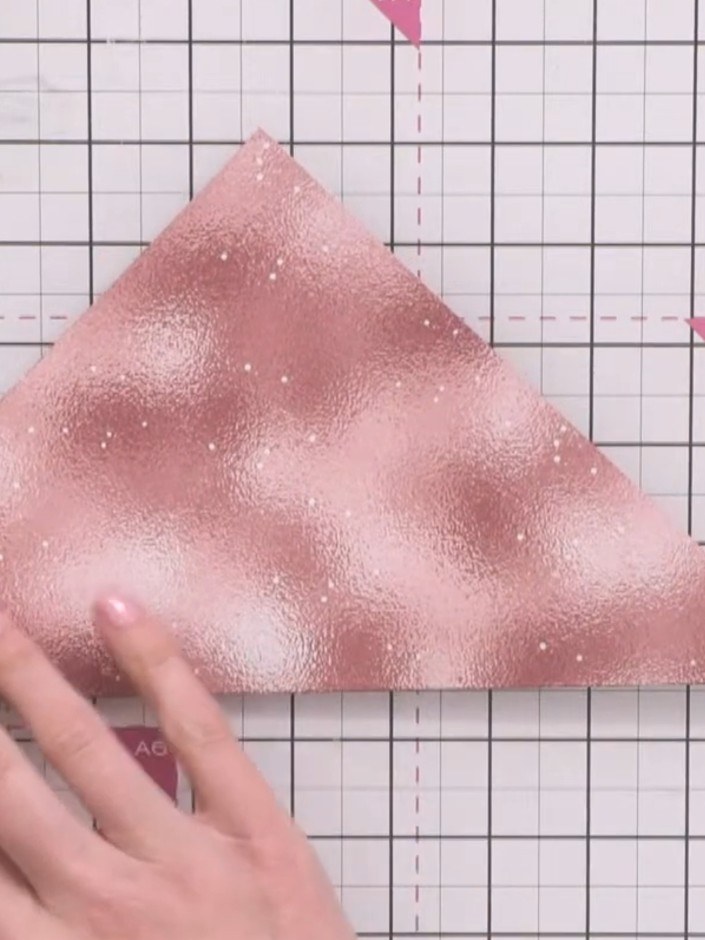
Fold the bottom left corner of the pink glitter paper up to align with the top point, creating a triangle. Press down firmly to crease the fold.
▶ watch this step (8:00)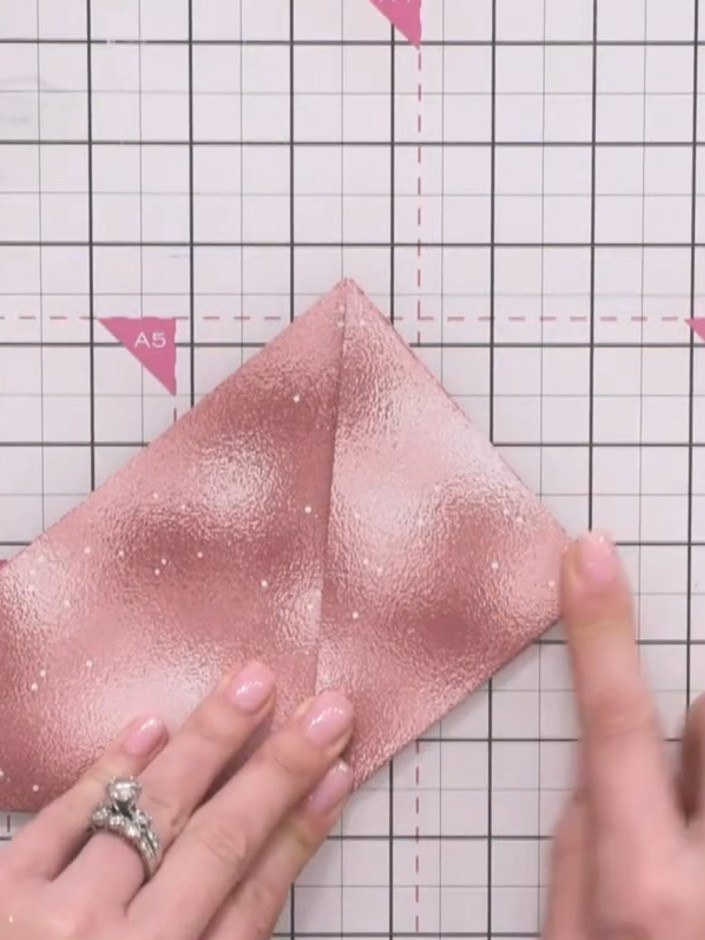
Fold the bottom right corner up to align with the top point, creating a triangular shape. Line up the edges as accurately as possible and press down firmly to create a sharp crease.
▶ watch this step (8:30)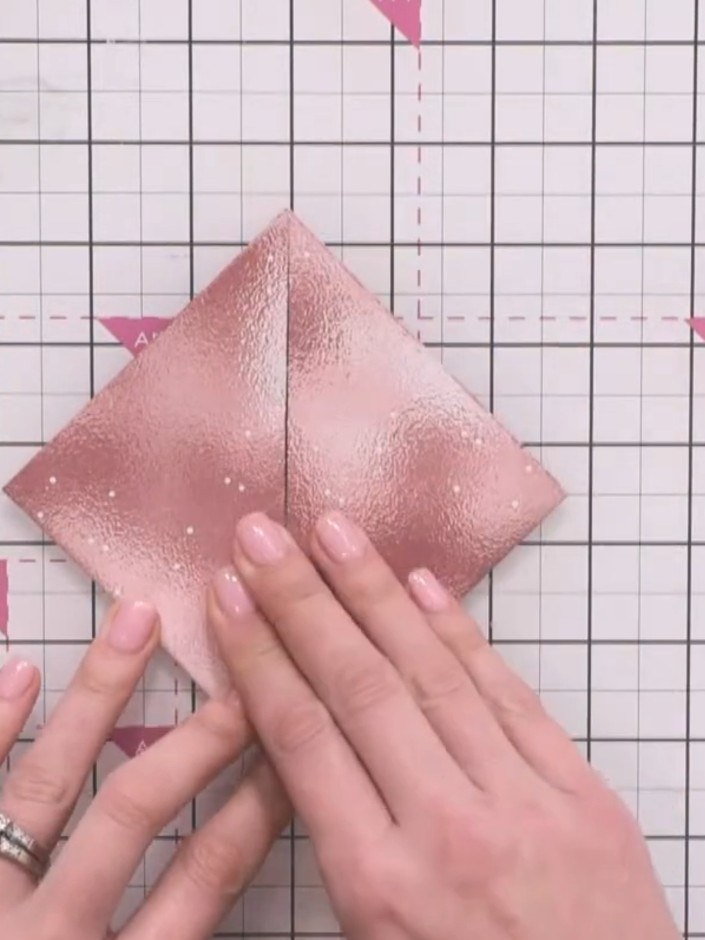
Pull the two side flaps back down to their original position, flattening them against the base to return to the diamond shape.
▶ watch this step (9:00)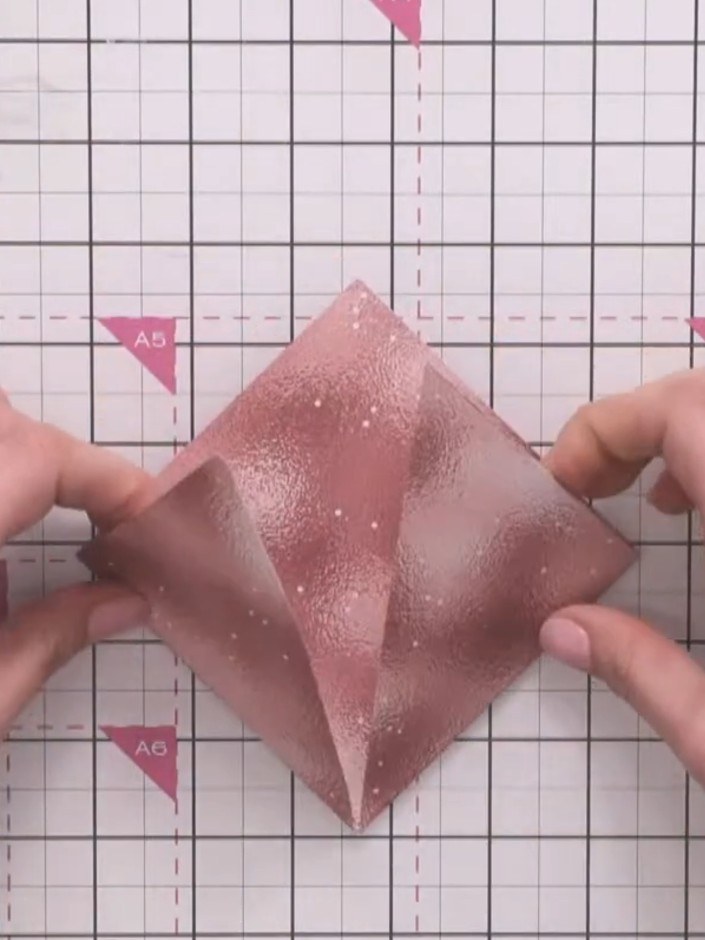
Fold the top section down towards the centre and crease it firmly. Press along the fold line to ensure a sharp, clean crease.
▶ watch this step (9:15)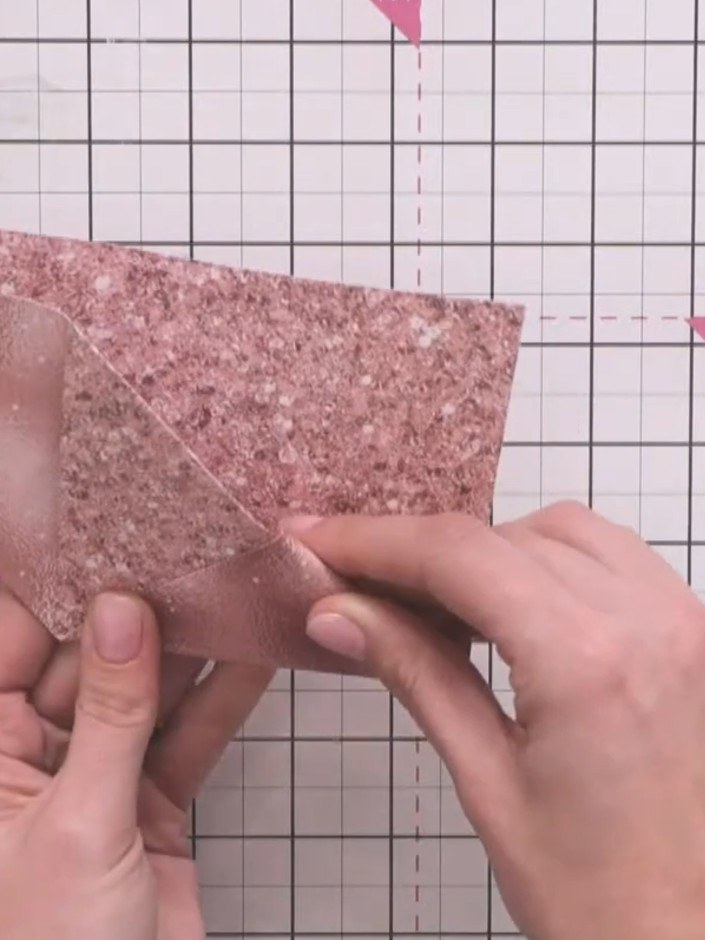
Tuck the left flap into the pocket created by the fold on the right side to secure the bookmark shape.
▶ watch this step (9:45)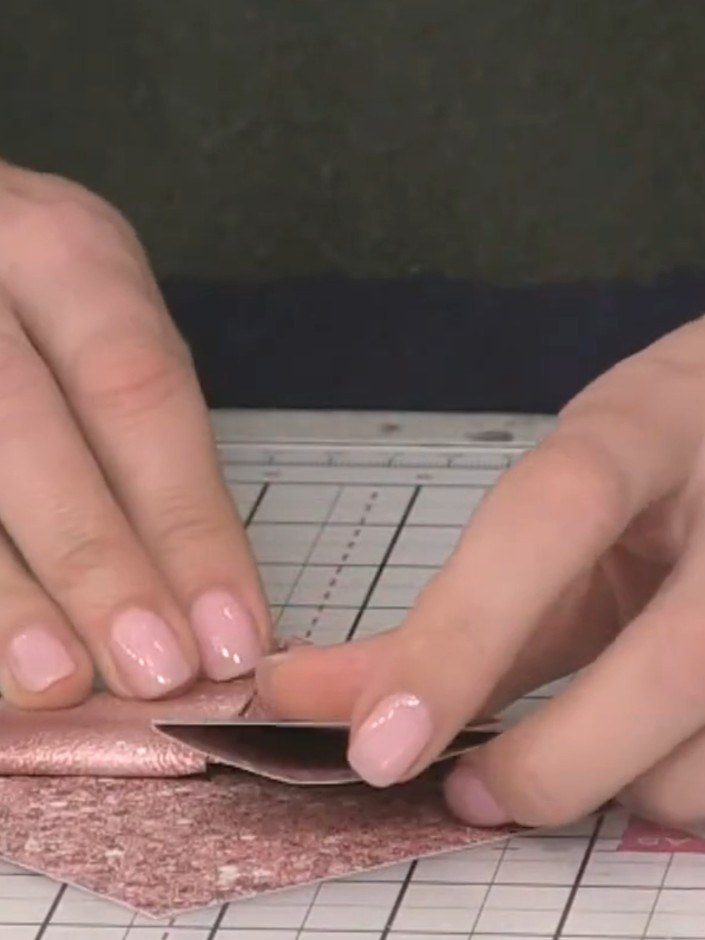
Tuck the right flap into the pocket on the opposite side. Press down firmly to secure the folded bookmark shape.
▶ watch this step (10:00)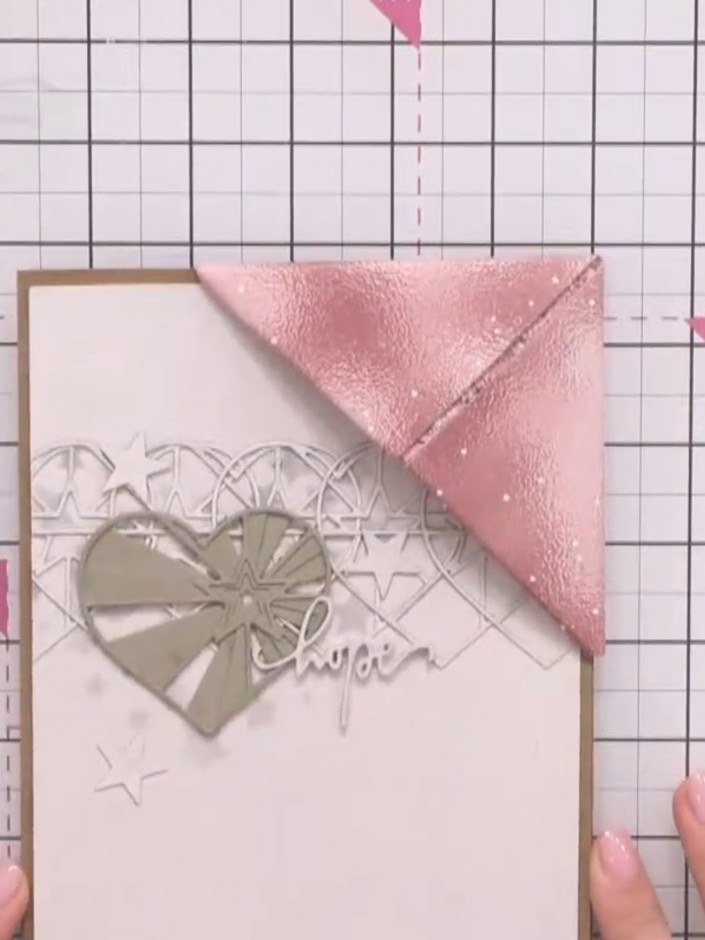
Take a 6×6 inch piece of pink glitter paper and repeat the same folding process to create a smaller bookmark. Fold corner to corner to create a triangle, then fold the two bottom corners up to meet the top point, and finally fold the tips down into the pocket.
▶ watch this step (10:30)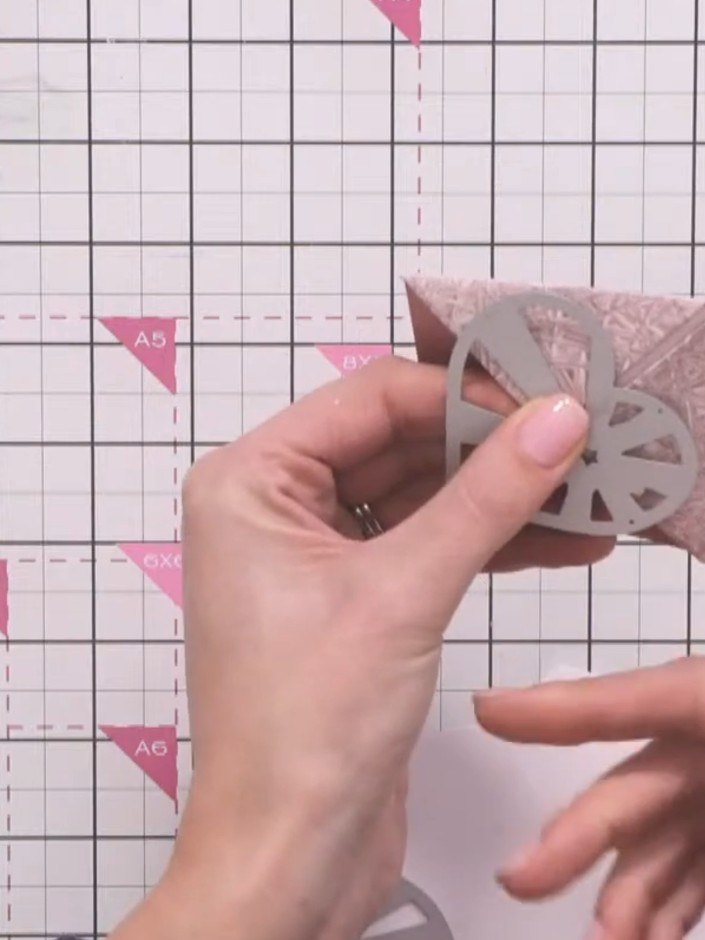
Die-cut multiple heart shapes from white card. Cut each size three times for layering - you'll need three of each heart size.
▶ watch this step (14:30)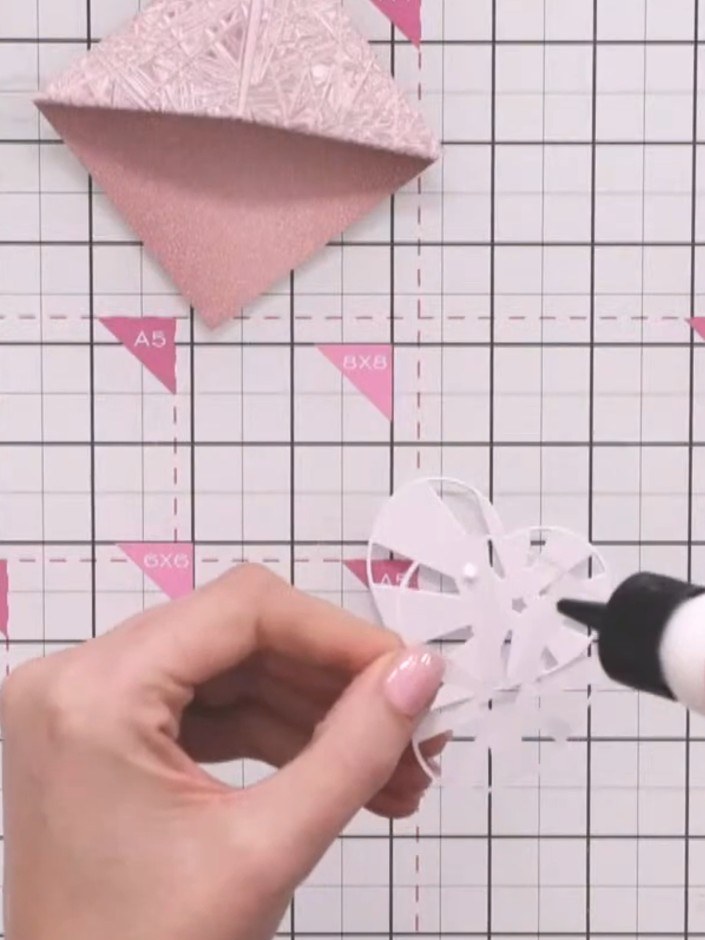
Layer the heart die-cuts together using glue. Stack the largest piece first, then the medium piece, and finally the detailed top layer with the decorative pattern.
▶ watch this step (19:00)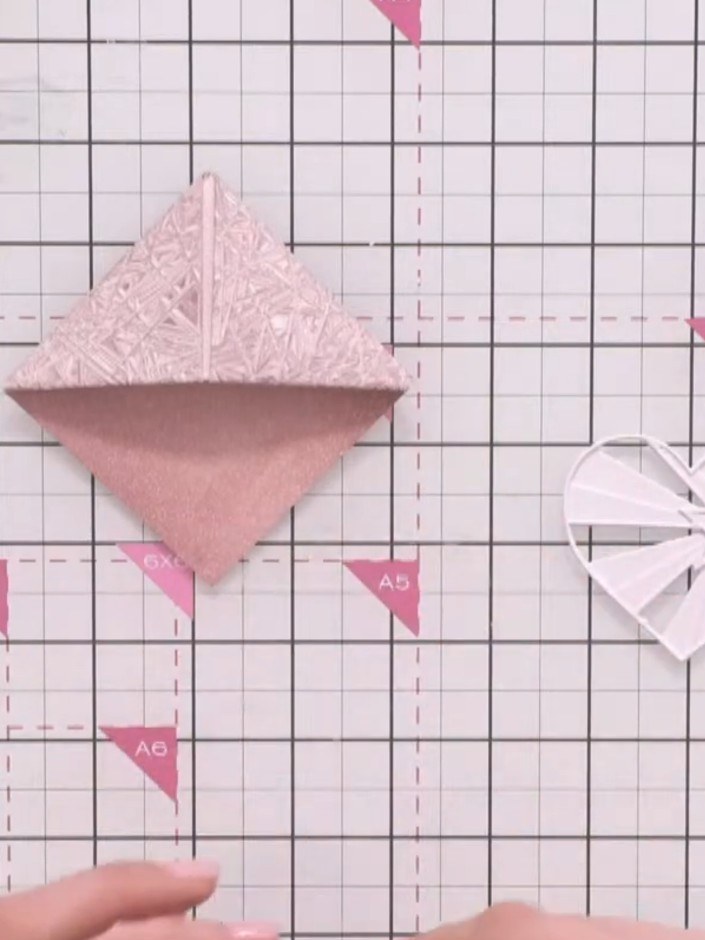
Glue the layered heart decoration to the corner point of your folded bookmark, aligning the point of the heart with the point of the bookmark.
▶ watch this step (22:30)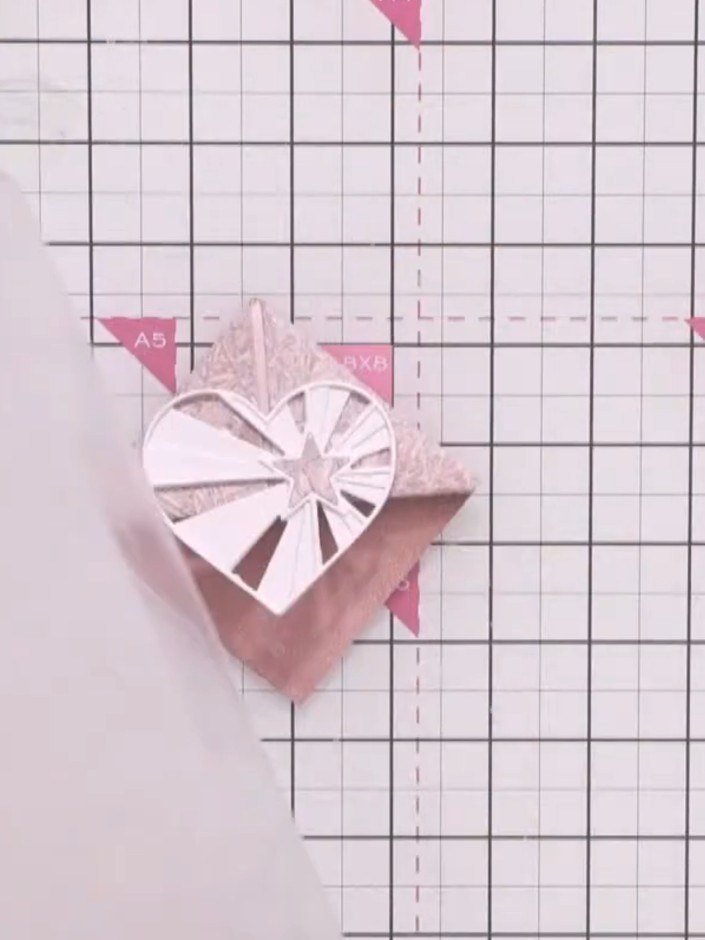
Add decorative elements around the heart using glue. This could include washi tape characters, banners, or floral designs to embellish your bookmark.
▶ watch this step (26:00)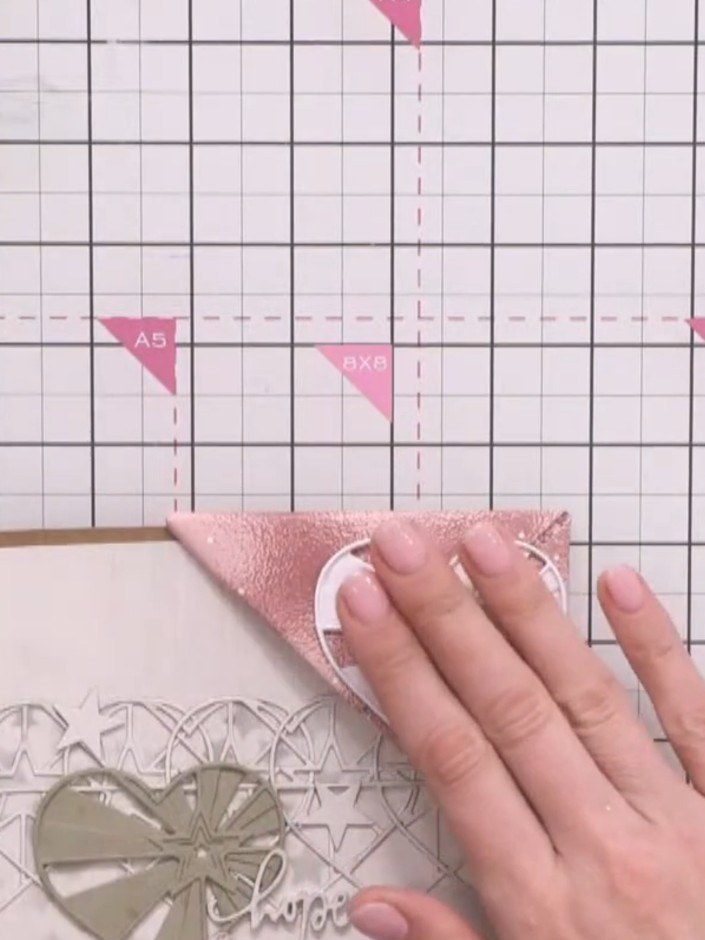
Place the finished bookmark under a heavy weight, such as a book, to flatten and set all the layers. This will ensure the bookmark lies flat and all adhesive bonds properly.
▶ watch this step (31:00)Written up from the show itself. See every guide from our shows · free how-to guides · watch live on My Telly