Give your friends £10 off their first order!
Refer a FRIEND








A project from our live show THE ART OF CARDISTRY - Join me for my Creative Card Session with all my wonderful USA following - Broadcast 9th Oct 23 · 09/10/2023 · watch it from 26:00
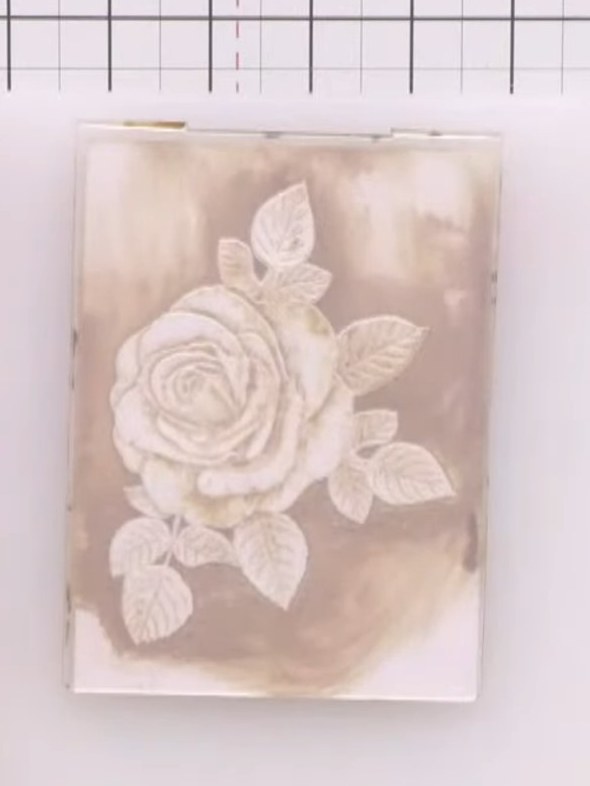
Create a stunning vintage-style rose card featuring a beautifully embossed yellow rose with green leaves. Using a water-misting technique with coloured inks in an embossing folder, you'll achieve a soft, painterly watercolour effect with dimensional texture. The distressed finish gives your card an elegant, artistic quality perfect for special occasions.
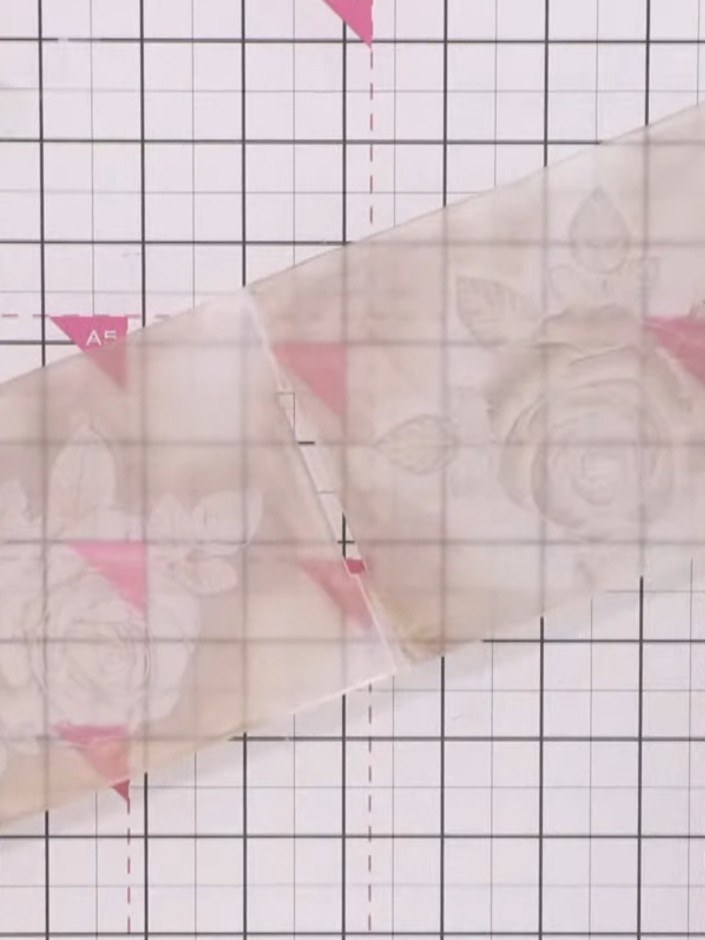
Spray both sides of the inked embossing folder lightly with water to soften the ink before use.
▶ watch this step (26:30)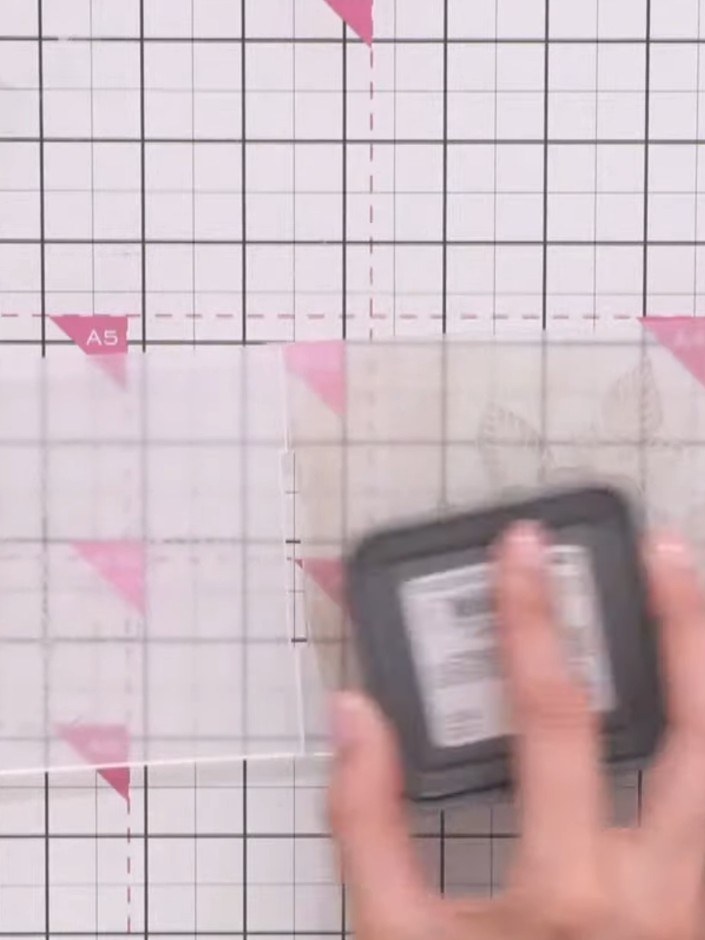
Place a piece of white card into the embossing folder, positioning it centrally within the folder.
▶ watch this step (26:45)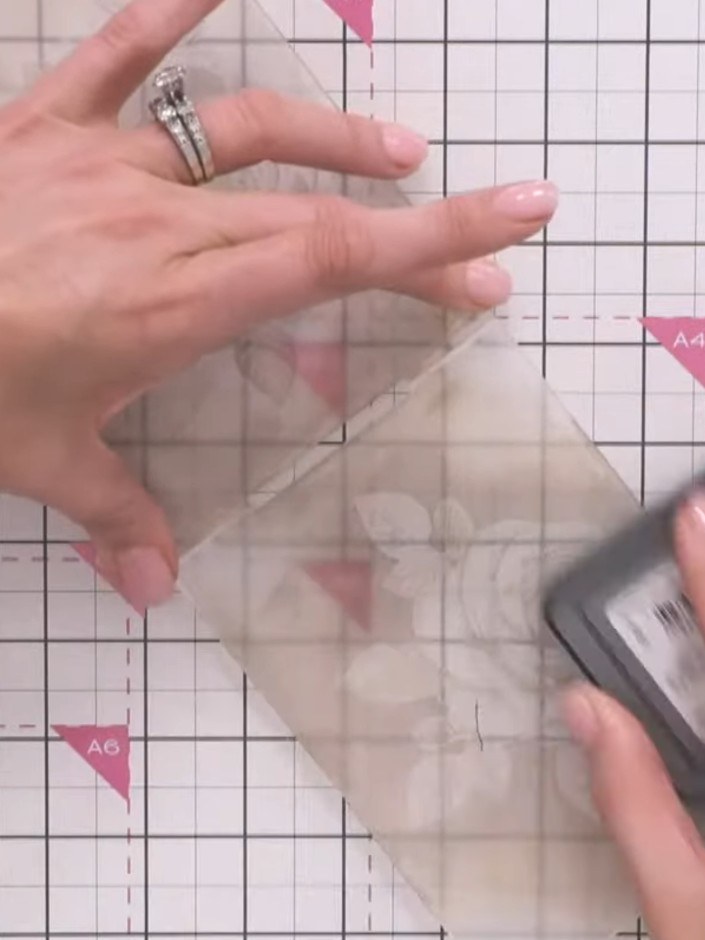
Close the embossing folder and run it through your die-cutting machine using the appropriate embossing plates.
▶ watch this step (27:00)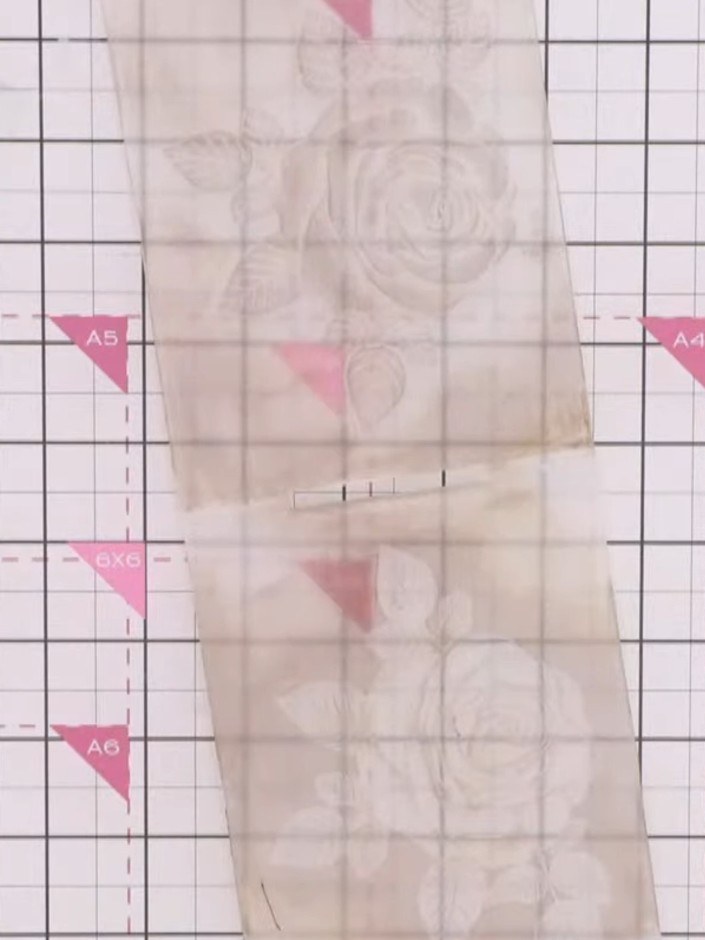
Remove the card from the embossing folder and examine both sides. Choose whether you prefer the raised embossed side or the recessed debossed side for your design.
▶ watch this step (27:30)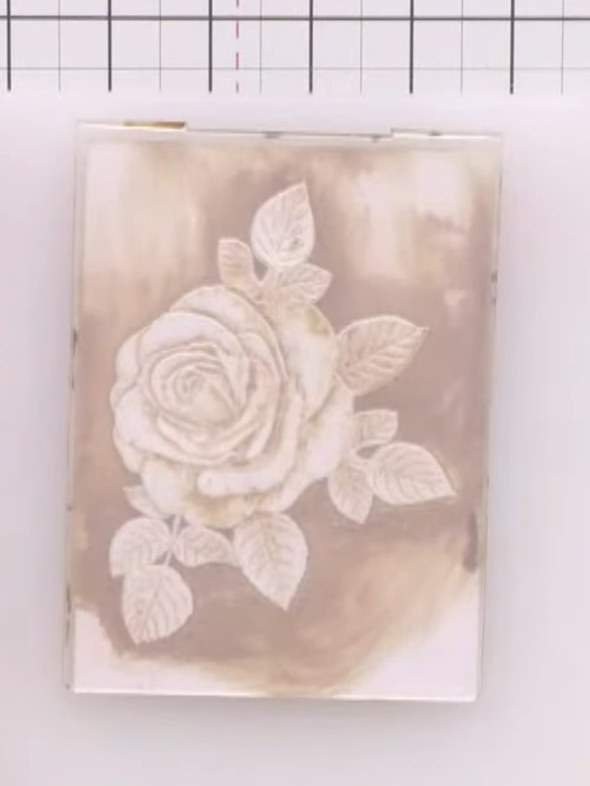
Lightly wet your embossed card with water. Use a brush to apply yellow ink to the centre of the rose flower.
▶ watch this step (28:00)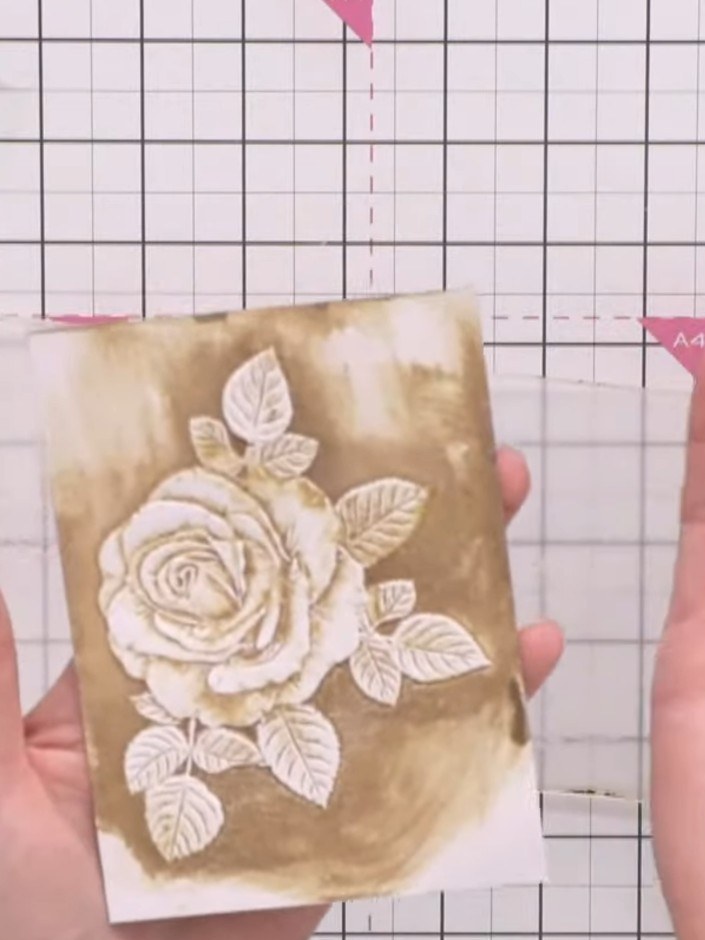
Drop pink ink into the darker areas of the flower petals whilst the card is still wet. Work quickly to allow the ink to blend naturally into the damp surface.
▶ watch this step (28:15)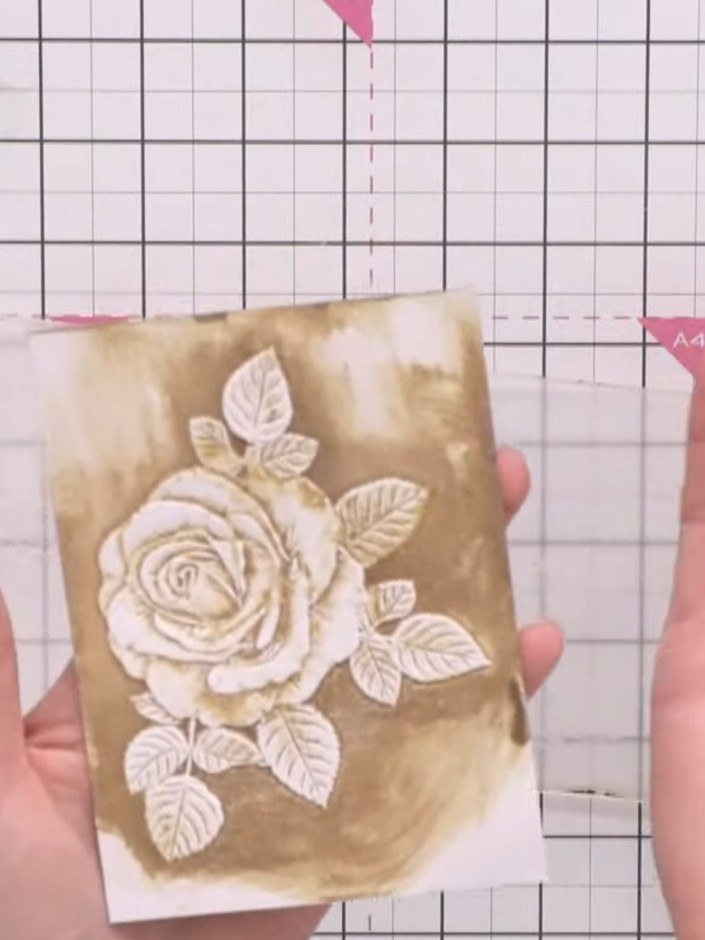
Apply green ink to the leaves of the embossed rose design, varying the intensity. Leave some areas lighter to create depth and dimension.
▶ watch this step (28:45)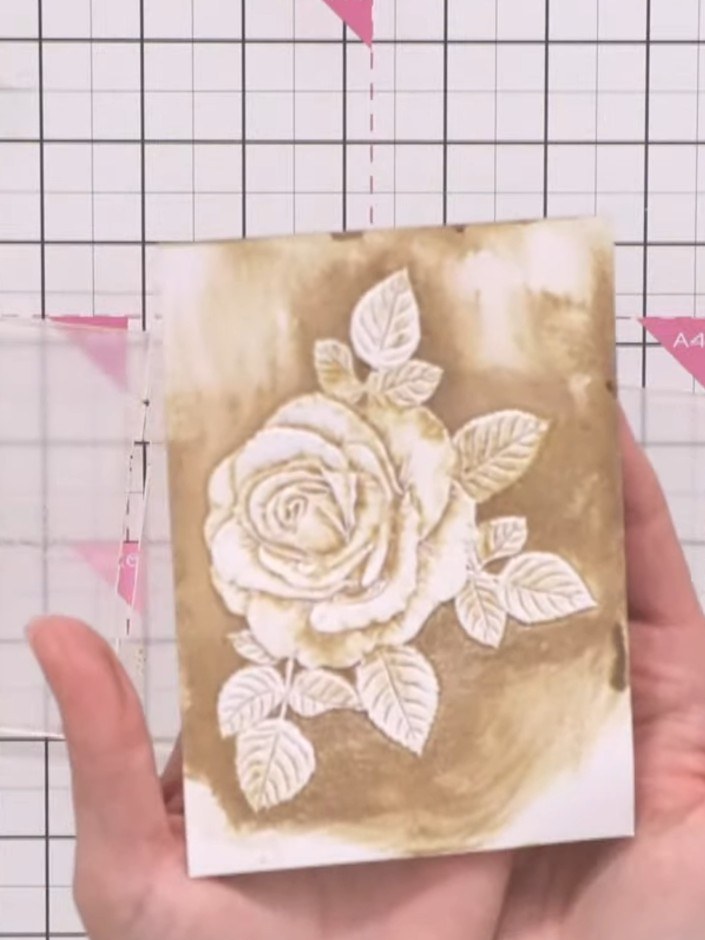
Add teal ink to selected areas of the embossed rose image for additional depth and colour variation. Apply the ink sparingly to enhance the watercoloured effect.
▶ watch this step (29:00)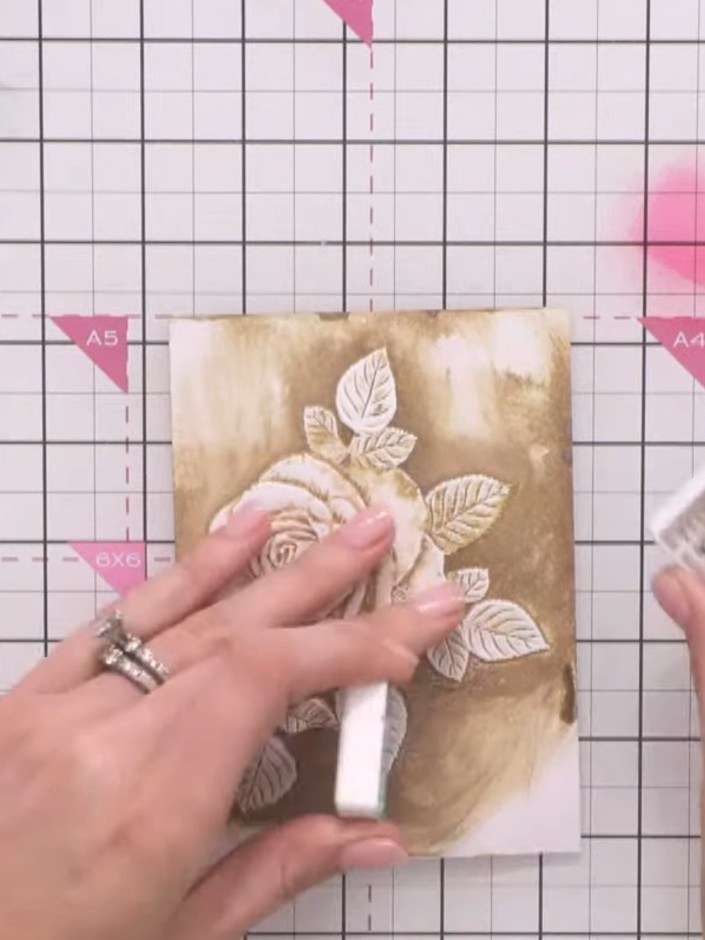
Re-ink the embossing folder with the brown ink pad, applying it directly to the raised design. Do not spray with water this time.
▶ watch this step (29:30)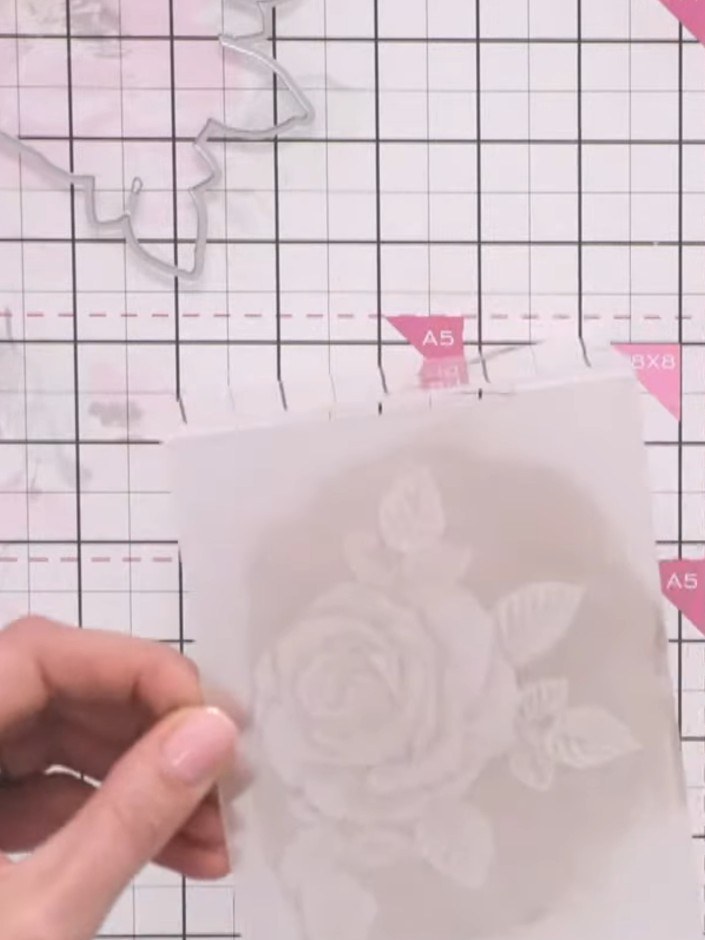
Place your painted vellum card back into the embossing folder, ensuring it lines up with the original embossed design. Run the folder through your die-cutting machine again to intensify the embossed detail.
▶ watch this step (34:00)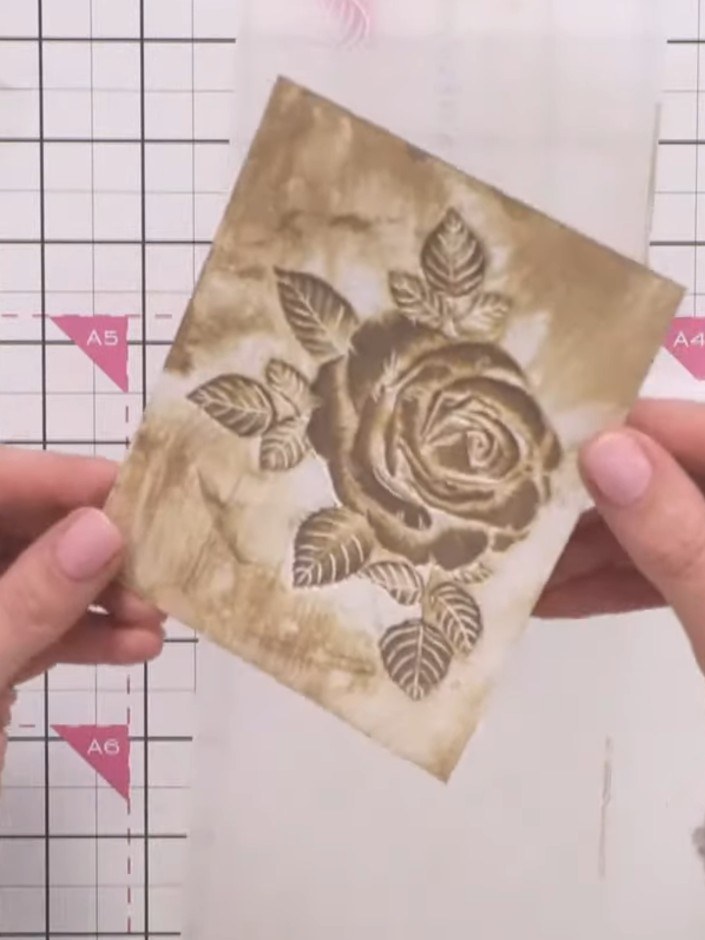
Alternatively, use the coordinating die to cut out the rose design from the embossed card. Layer the die-cut rose onto a white card blank for a clean and simple finish.
▶ watch this step (35:00)Written up from the show itself. See every guide from our shows · free how-to guides · watch live on My Telly
