Give your friends £10 off their first order!
Refer a FRIEND








A project from our live show CREATE AND CRAFT TV - Join Toni for her brand new launch show 2 - broadcast 16th Oct 23 · 16/10/2023 · watch it from 55:00
Make an elegant card with a split sentiment that appears to float across a scenic winter landscape. The 'Greetings' word is die-cut and separated into top and bottom sections, revealing the detailed black and white village scene beneath with touches of pink watercolour. This clever layering technique creates dimension and draws the eye through the card design.
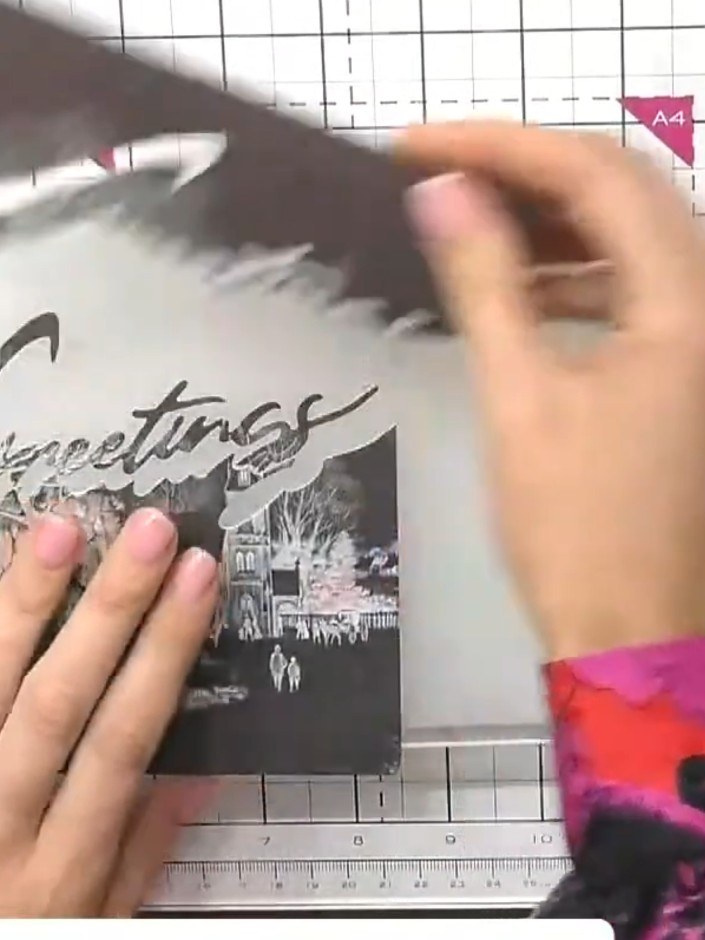
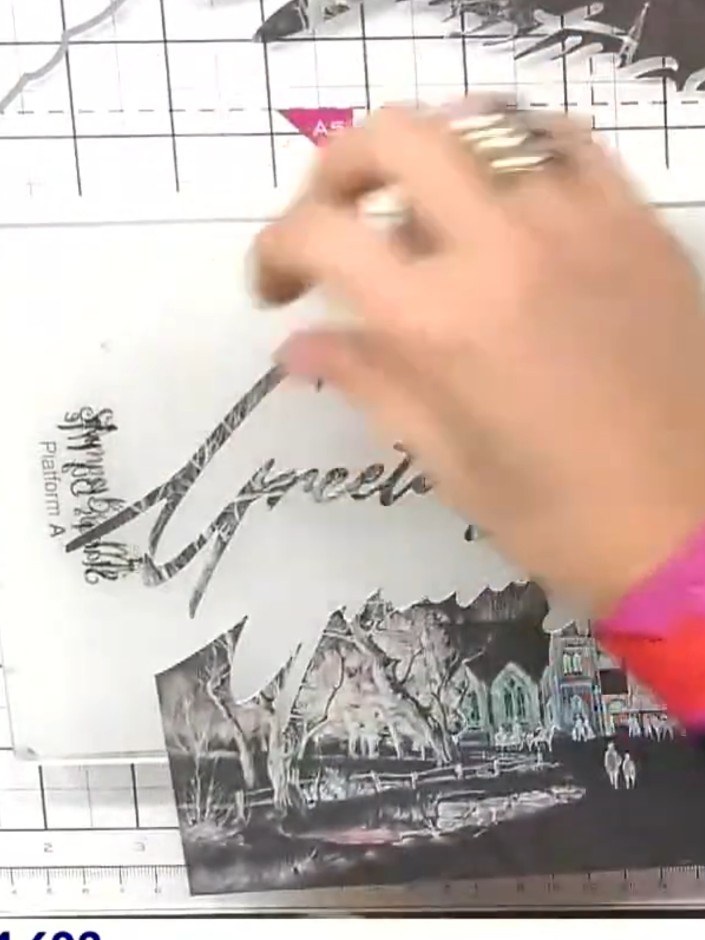
Select a patterned paper mount from the Painted Mounts collection and position your word die (such as 'Greetings' from the Christmas Snow Drift die set) on top of it, ready to cut through the mount.
▶ watch this step (55:30)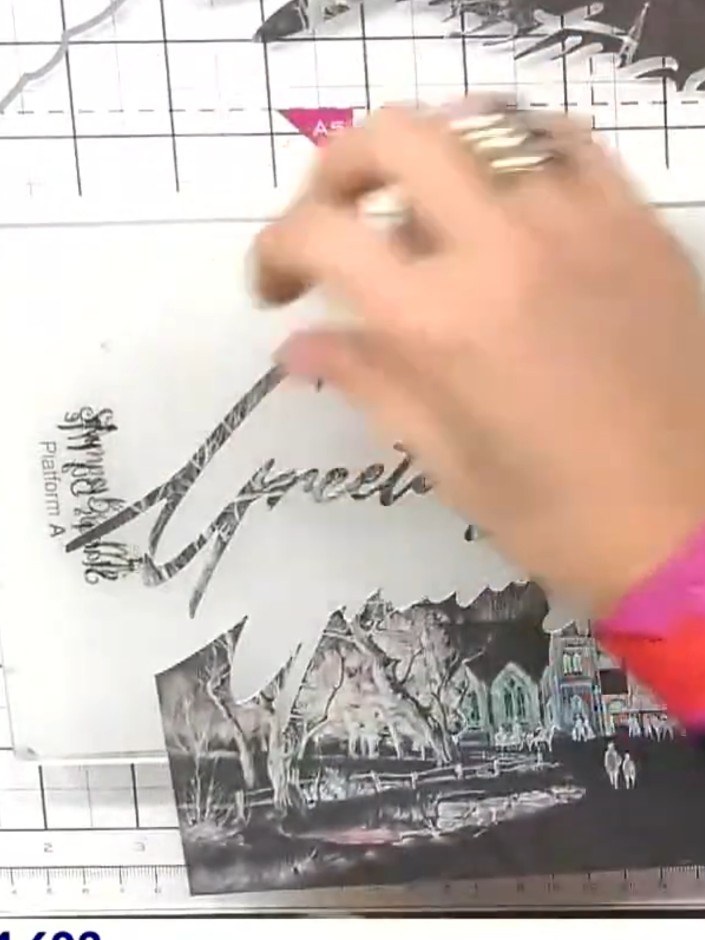
Die-cut the word through the top portion of the patterned paper using the Christmas Snow Drift die. Position the die over the painted scene and run through your die-cutting machine.
▶ watch this step (56:00)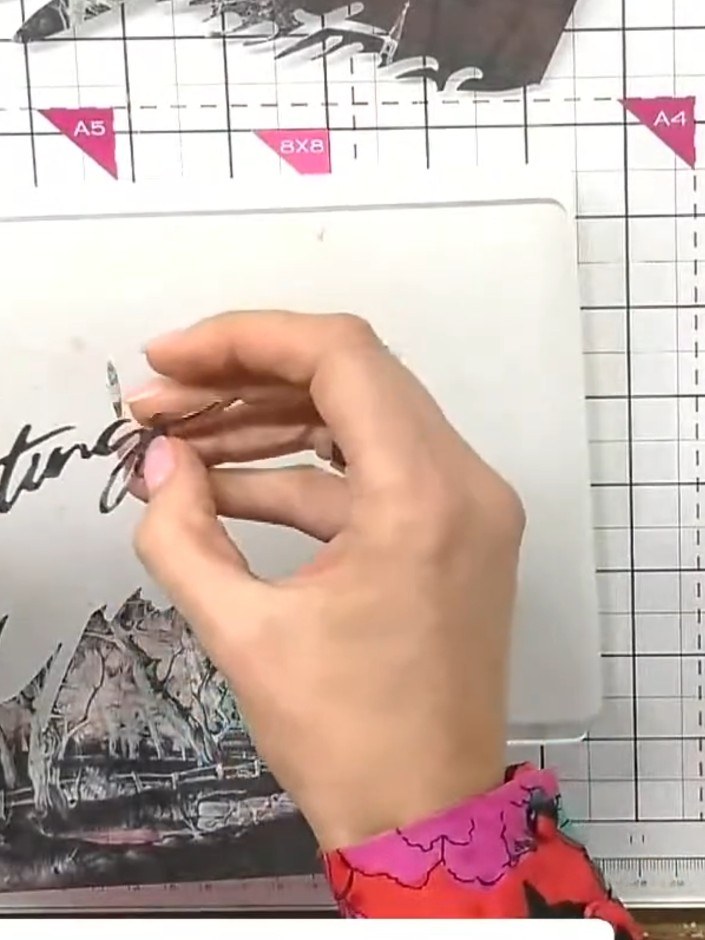
Carefully remove the top die-cut 'Greetings' word piece from the painted mount and set it aside for later use.
▶ watch this step (56:30)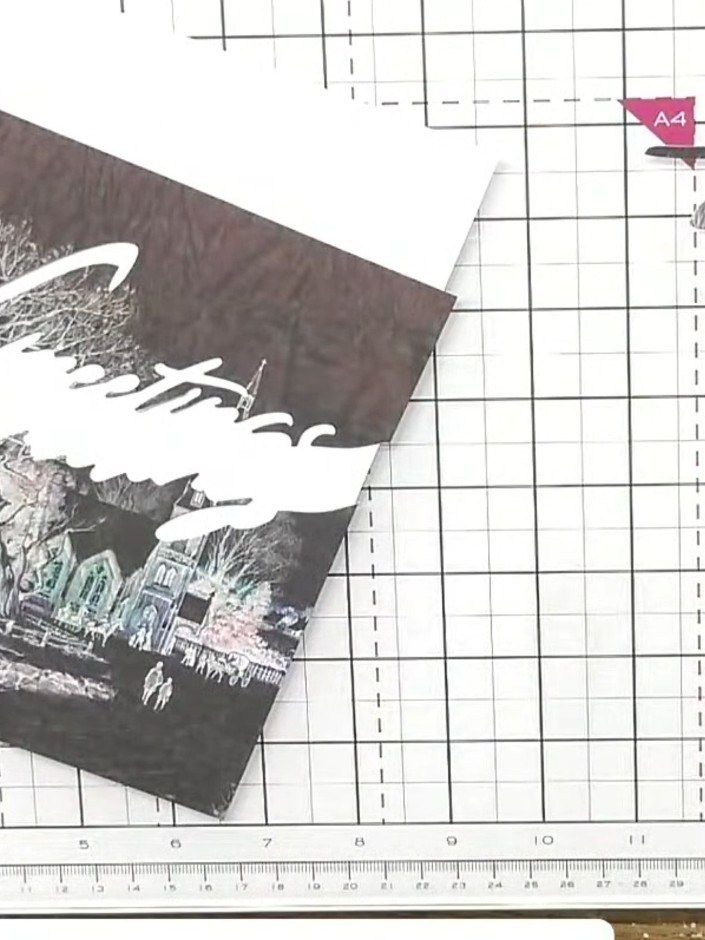
Reposition the word die lower on the same patterned paper. Cut the bottom portion of the greetings word using your die-cutting machine.
▶ watch this step (57:00)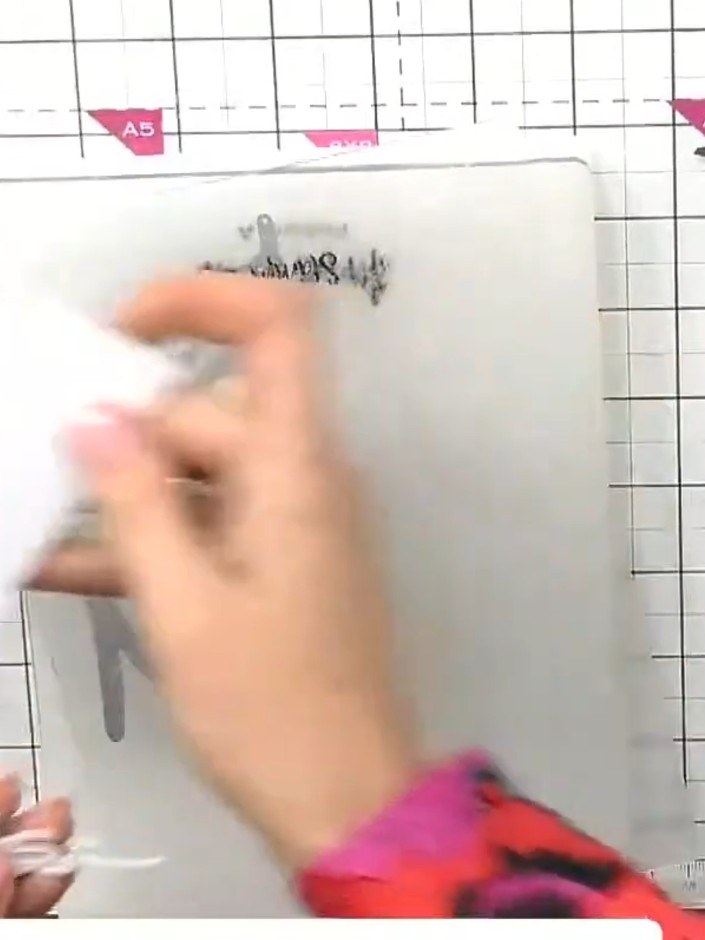
Die-cut the bottom portion of the card using the greetings die and remove the cut piece from the card front.
▶ watch this step (57:30)
You now have three pieces: the top patterned layer, the word die-cut in the middle, and the bottom patterned layer.
▶ watch this step (58:00)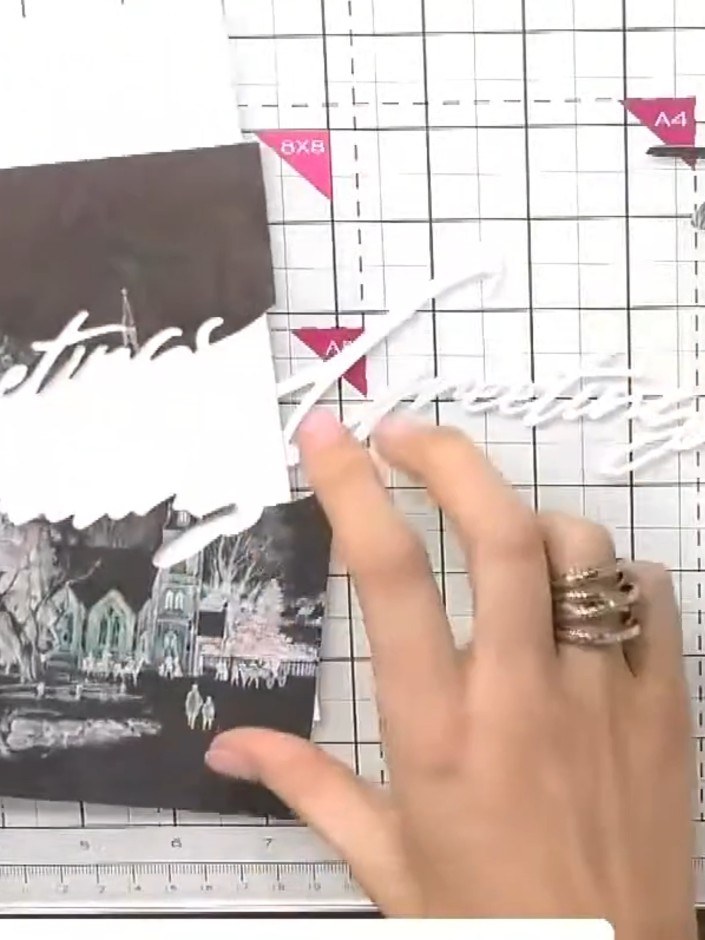
Die cut the word 'Greetings' from white card stock using the Christmas Snow Drift Greetings die. Pop out the die-cut word from the die.
▶ watch this step (58:30)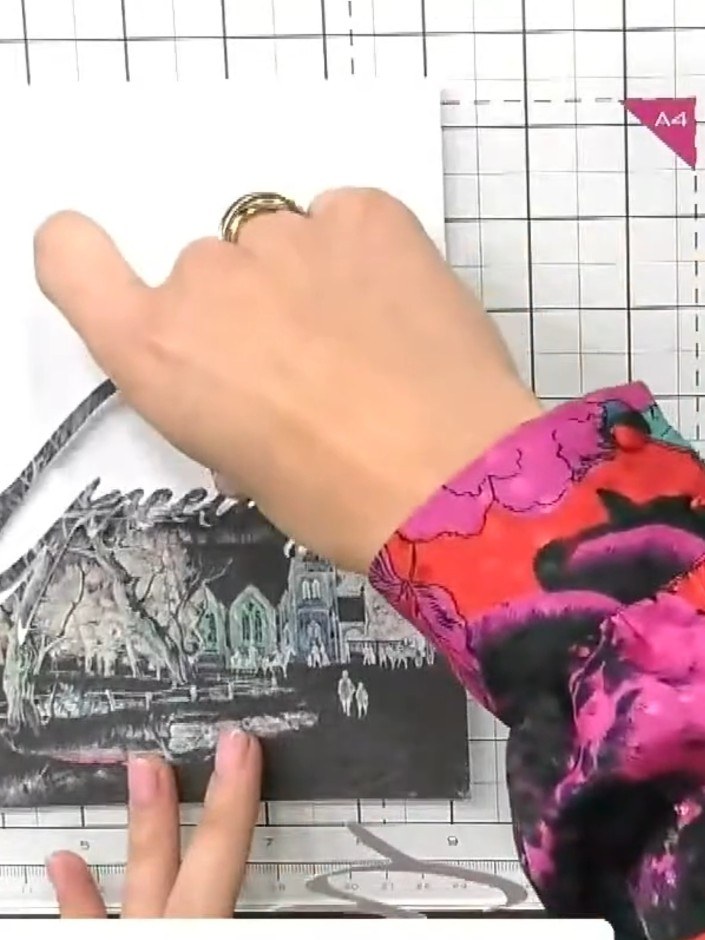
Position the stamped and die-cut patterned piece onto your card base. Glue it down securely to complete the layered design.
▶ watch this step (59:00)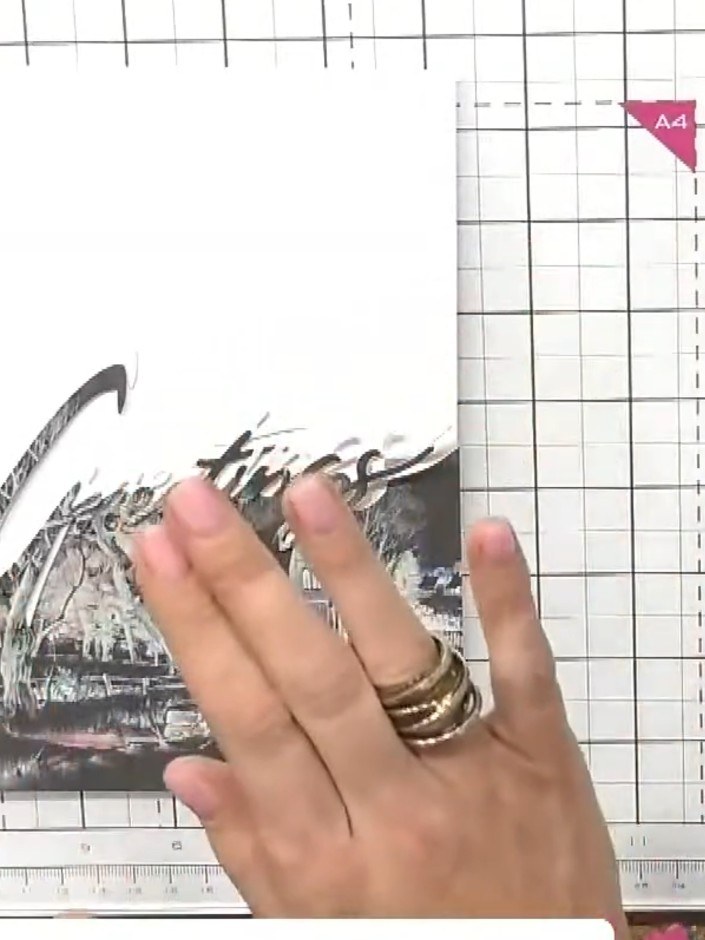
Position the white die-cut word on top of the patterned paper layers, ensuring the pattern is visible both above and below the word. Adhere in place to create a floating effect.
▶ watch this step (59:30)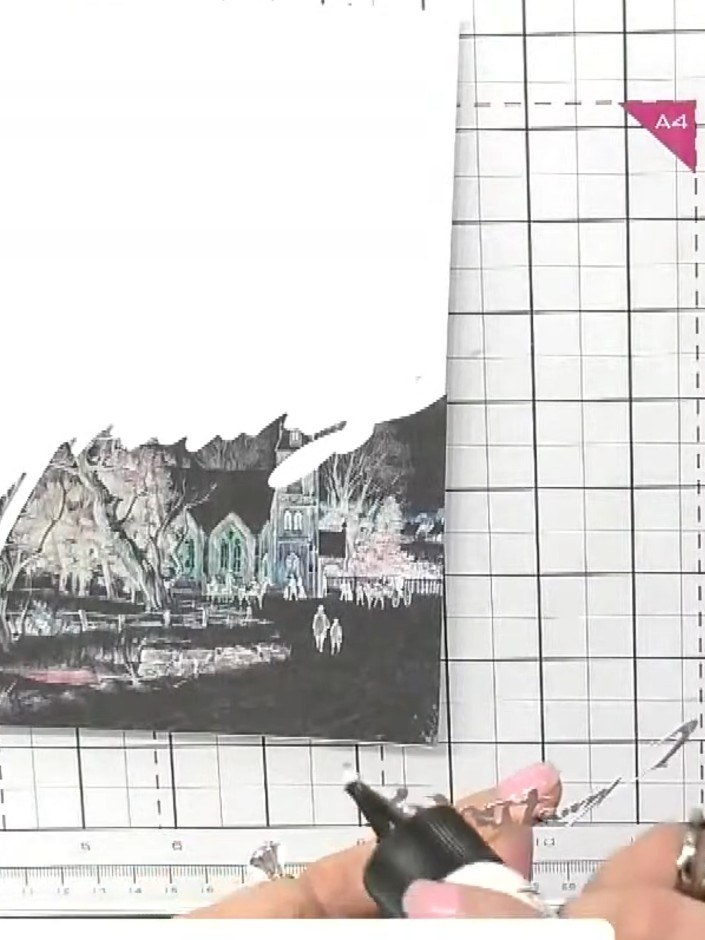
Glue the bottom patterned piece below the word die-cut to complete the layered design on your card.
▶ watch this step (1:00:00)Written up from the show itself. See every guide from our shows · free how-to guides · watch live on My Telly
