Give your friends £10 off their first order!
Refer a FRIEND








A project from our live show CREATE AND CRAFT TV - Join Toni for her brand new launch - broadcast 23rd Oct 23 · 23/10/2023 · watch it from 36:00
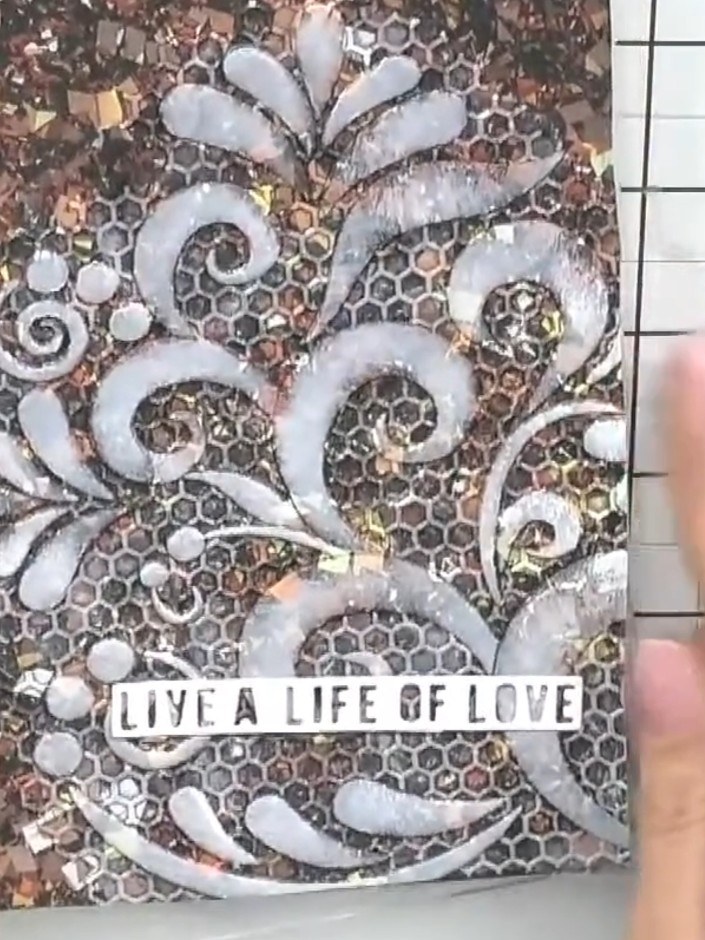
Create a stunning embossed card with restored white ink detail on a textured background. This technique uses embossing folders to create raised patterns, then applies white ink to highlight the embossed areas against copper, bronze and metallic tones. The result is an elegant card with beautiful dimensional contrast, perfect for special occasions.
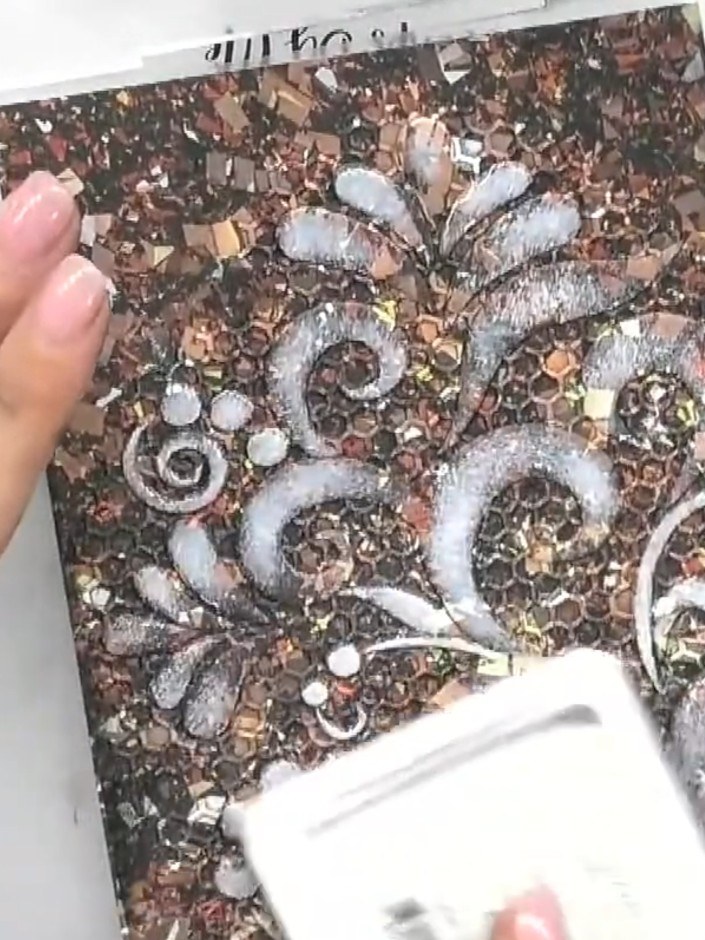
Start with embossed cardstock that has already been coloured with brown and copper tones and textured with honeycomb patterns. The white embossed design should show decorative swirls and flourishes against the coloured background.
▶ watch this step (36:00)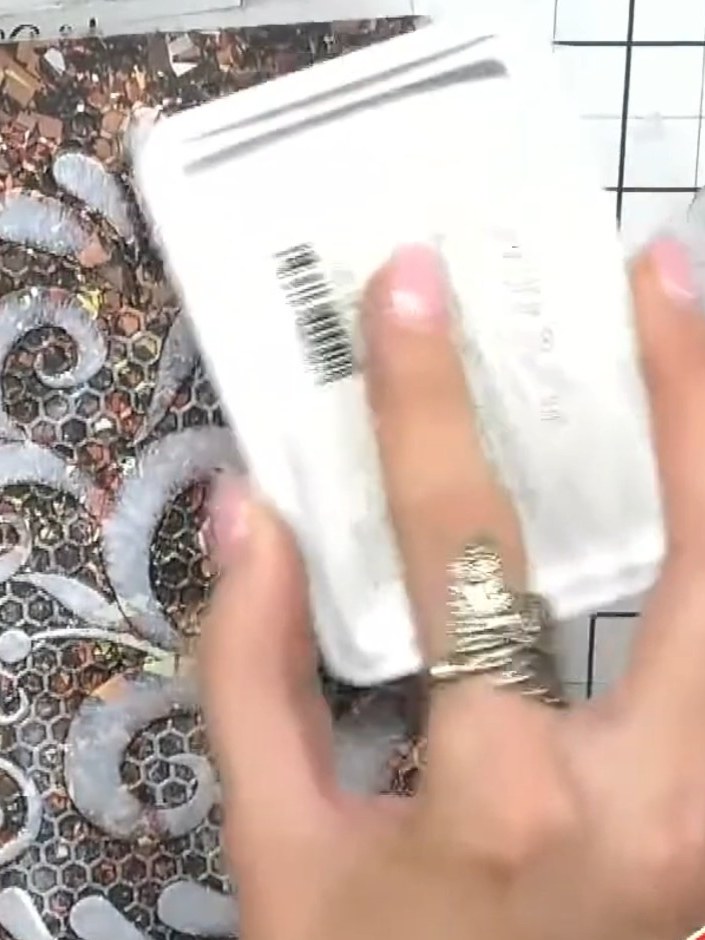
Load your white ink pad with colour by dabbing it onto the embossed card. Pick up the bronze, copper and metallic tones from the background to add depth and detail to your white ink.
▶ watch this step (36:15)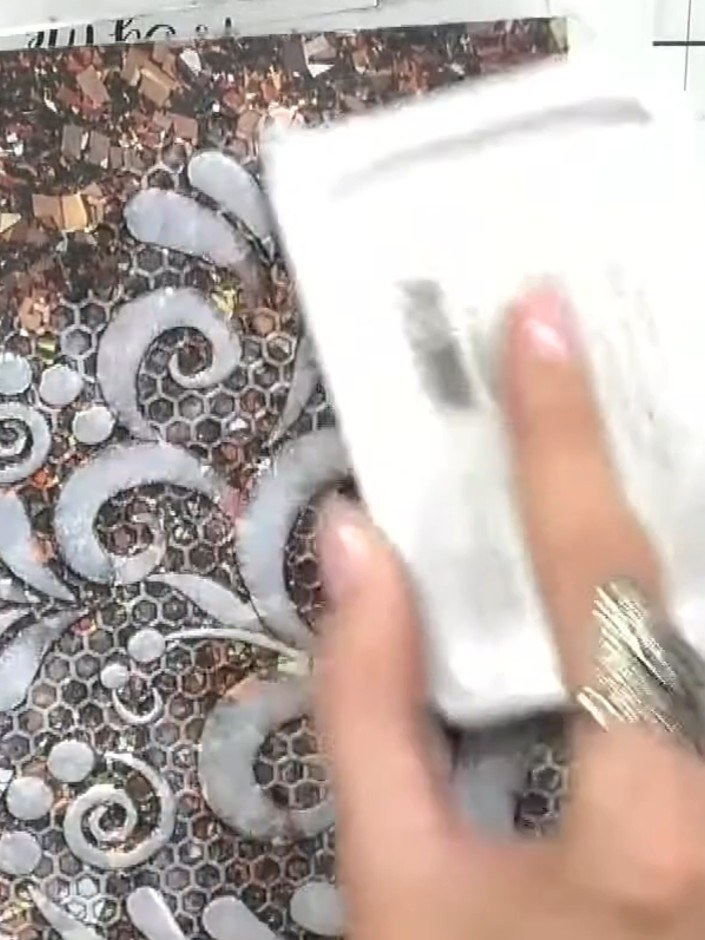
Gently press the white ink pad onto the embossed design, focusing on the raised areas to highlight the pattern. Work carefully to ensure even coverage on all the raised surfaces.
▶ watch this step (36:30)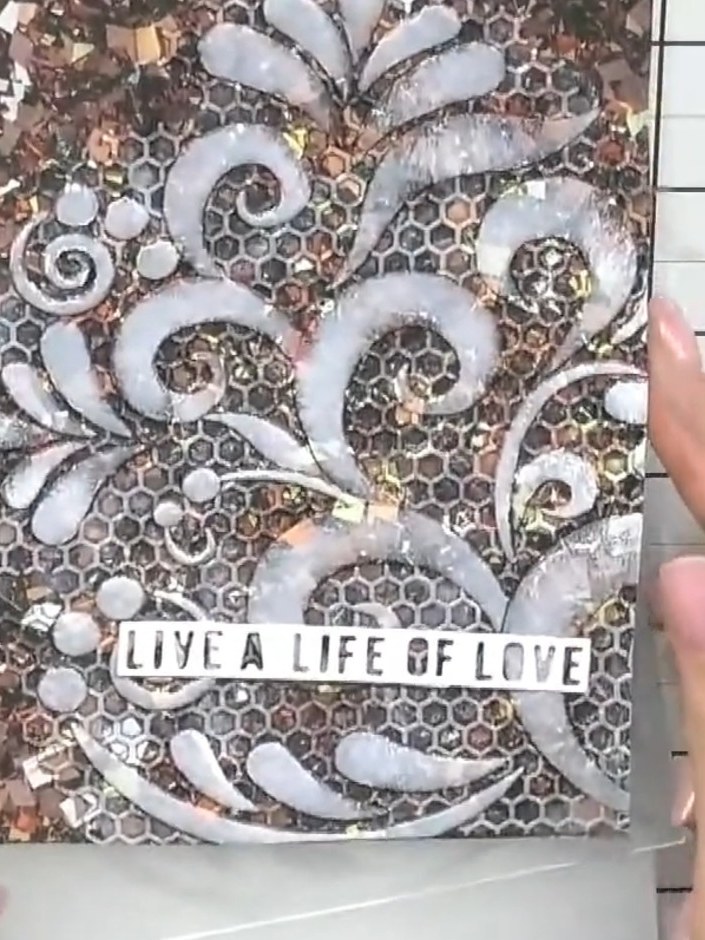
Use the corner of a white ink pad to work the ink into the fine details and crevices of the embossed design. This helps restore definition to intricate areas of the pattern.
▶ watch this step (36:45)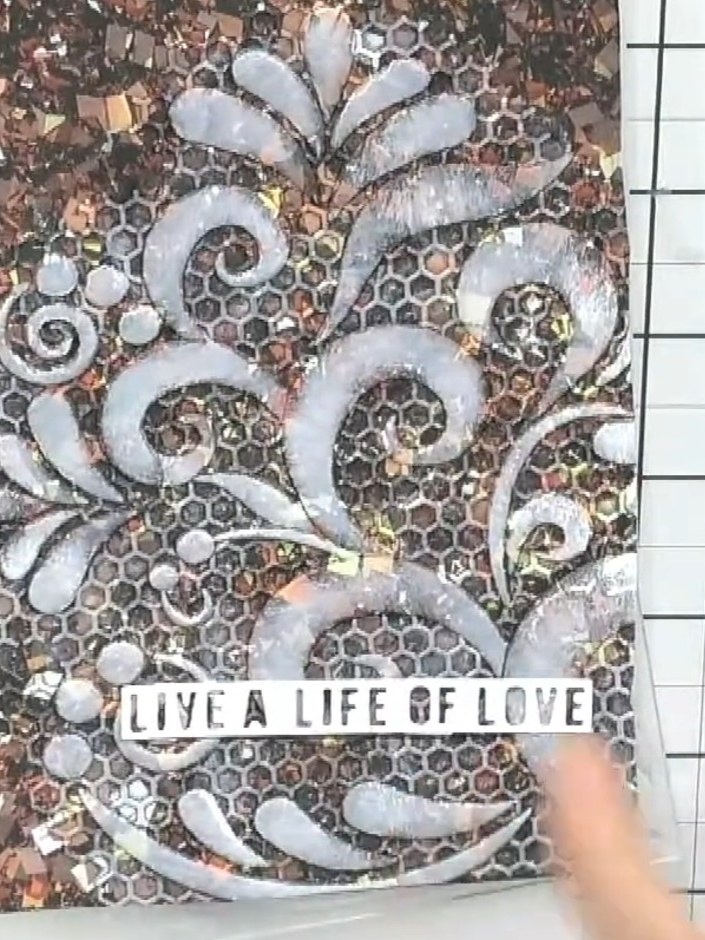
Step back to admire your finished card. The white ink has restored the dimensional detail of the embossed design, making the flourishes and patterns stand out beautifully against the coloured background.
▶ watch this step (37:00)Written up from the show itself. See every guide from our shows · free how-to guides · watch live on My Telly