Give your friends £10 off their first order!
Refer a FRIEND








A project from our live show CREATE AND CRAFT TV - Join Toni for her brand new launch show 2 - broadcast 23rd Oct 23 · 23/10/2023 · watch it from 48:15
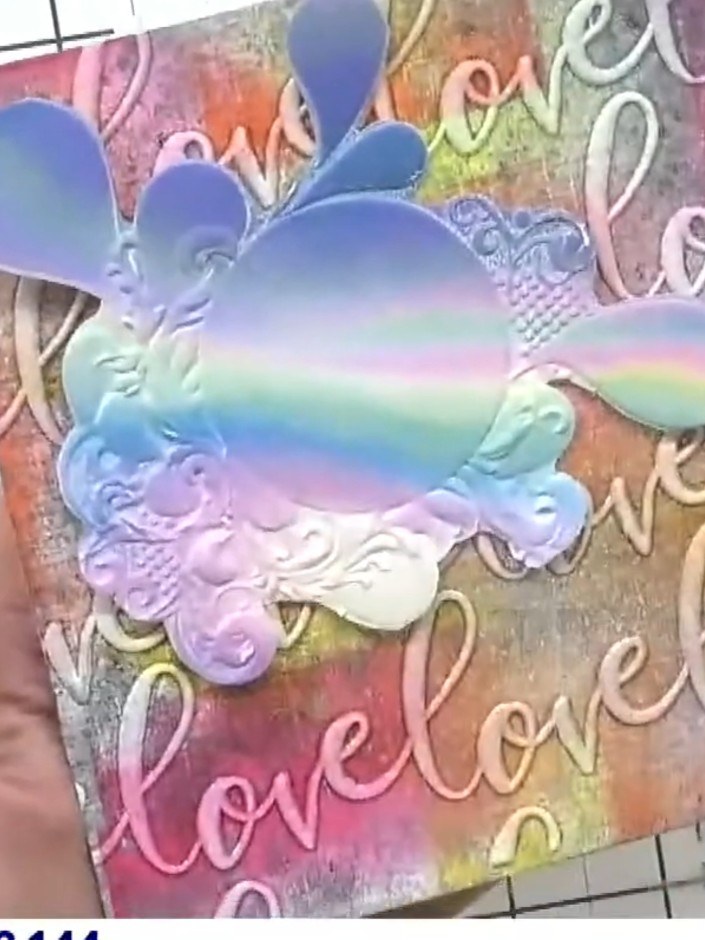
Create a beautiful textured card by embossing a honeycomb and butterfly design onto patterned paper. Add layers of coloured pigment inks over the embossed areas to create subtle colour blends and interesting visual depth. Seal your design with embossing powder for a polished, professional finish.
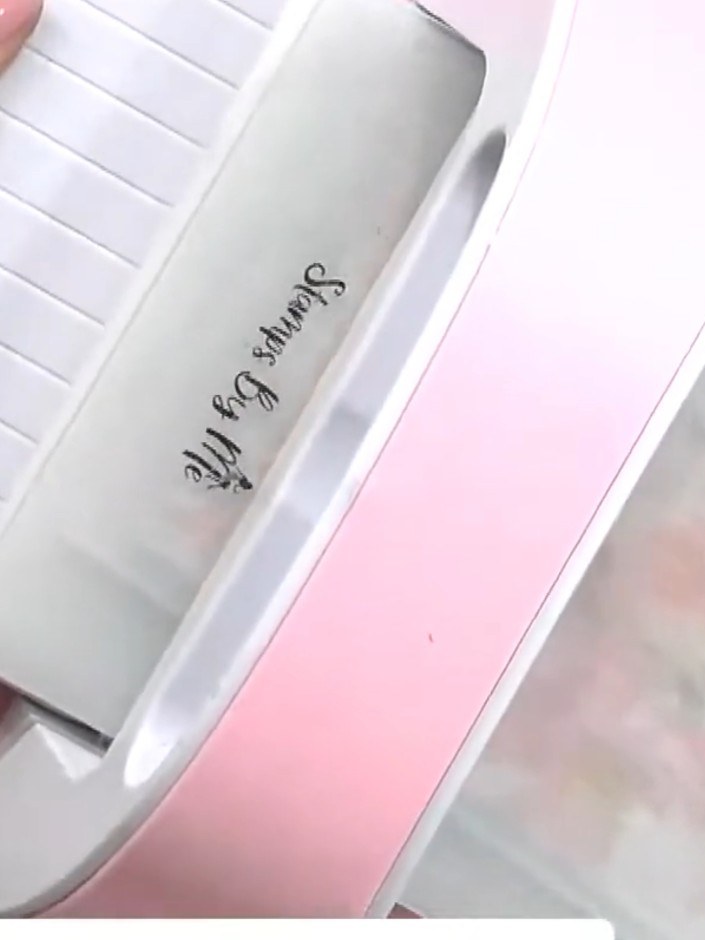
Select your chosen patterned paper and embossing folder. Place the patterned paper into the embossing folder ready for embossing.
▶ watch this step (48:30)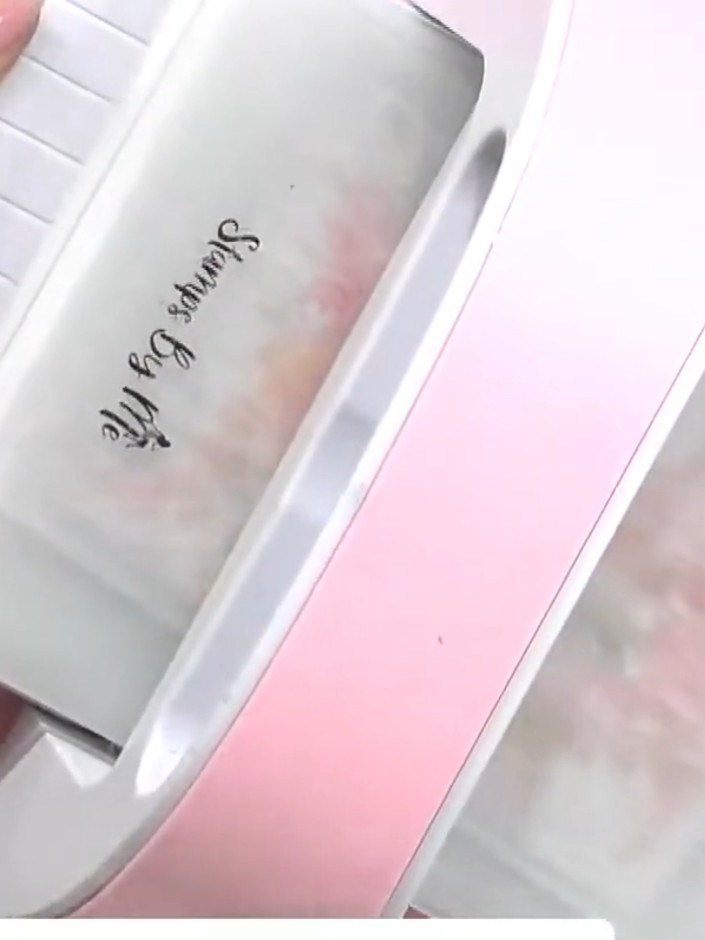
Ink both sides of the embossing folder with your chosen ink colour. Apply the ink evenly across the raised pattern on both the top and bottom sections of the folder.
▶ watch this step (48:45)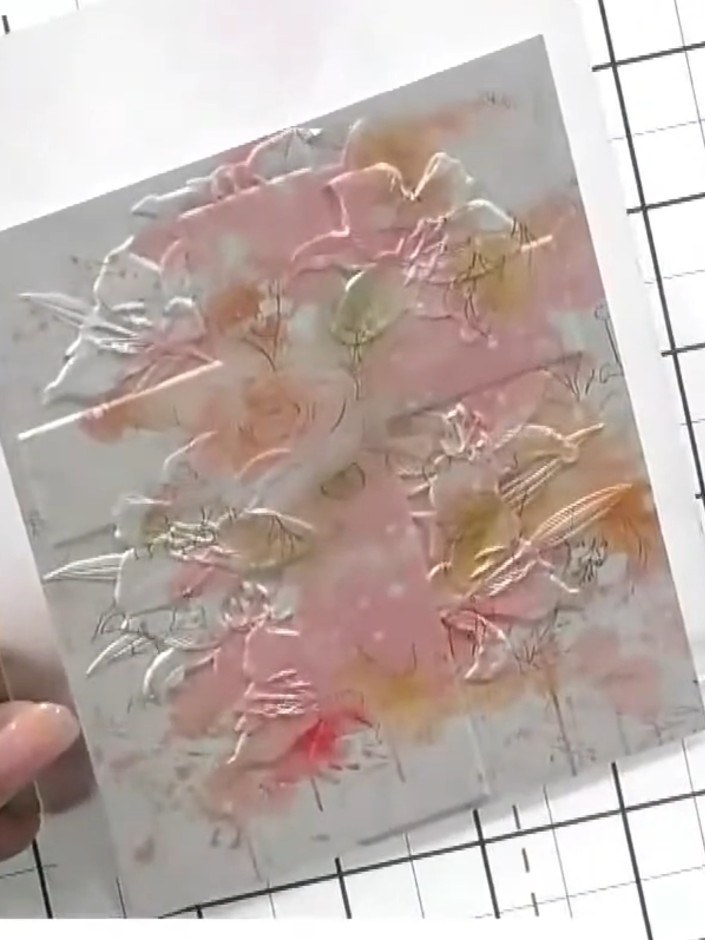
Place the patterned paper into the inked embossing folder, ensuring it is positioned centrally within the folder to capture the full embossed design.
▶ watch this step (49:00)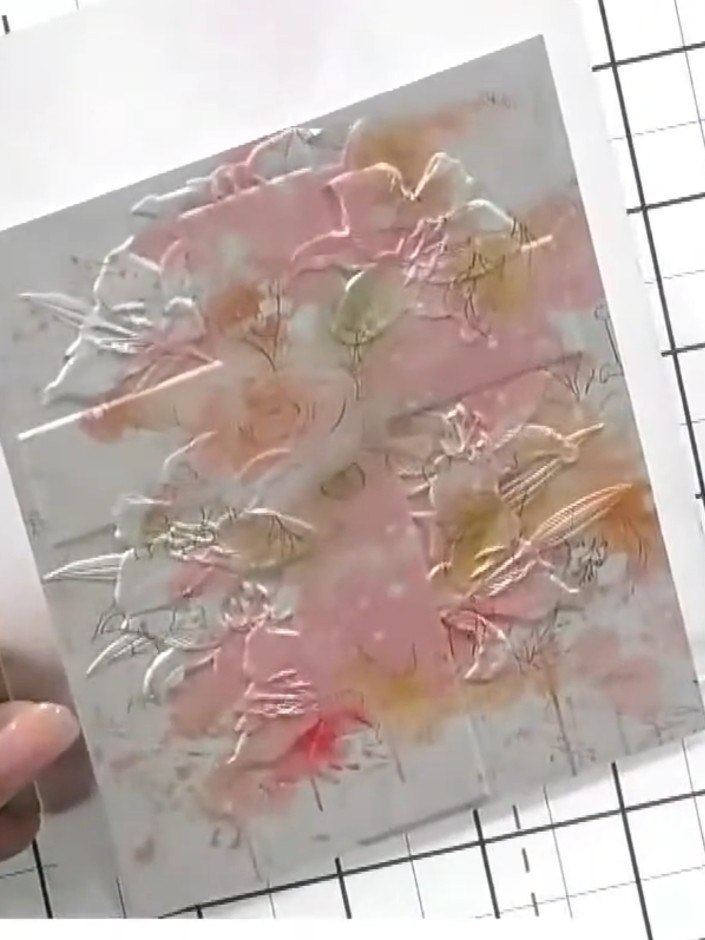
Run the patterned paper with the embossing folder through your embossing machine to emboss the design onto the paper. The embossed pattern will create a raised texture on the inked surface.
▶ watch this step (49:15)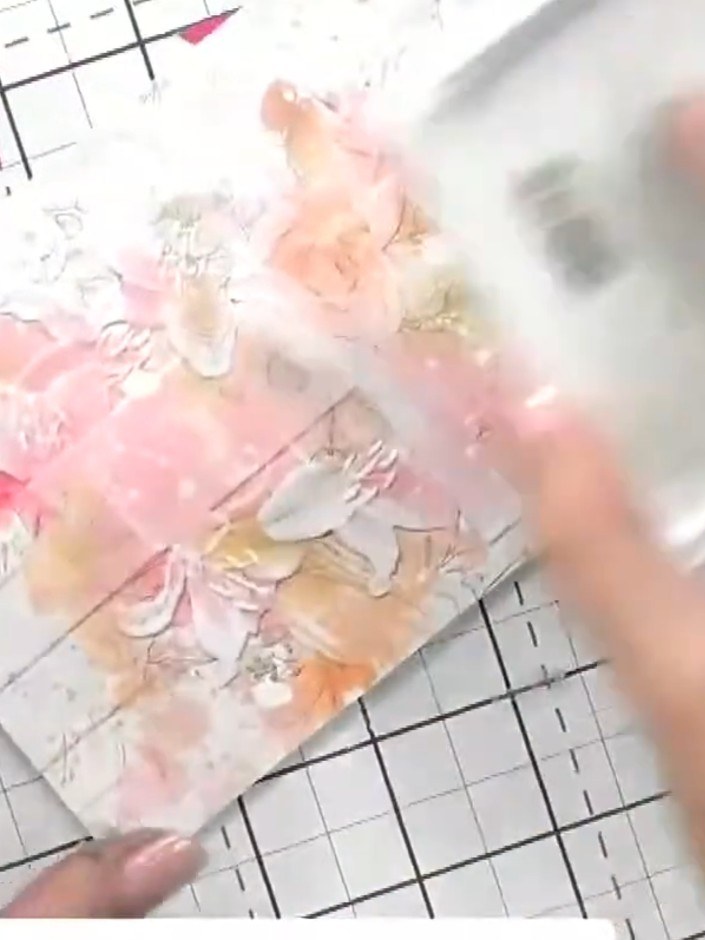
Examine the embossed result and observe how the beautiful pattern interacts with the embossed design. Note the dimensional effect created where the embossing has raised the patterned paper.
▶ watch this step (49:45)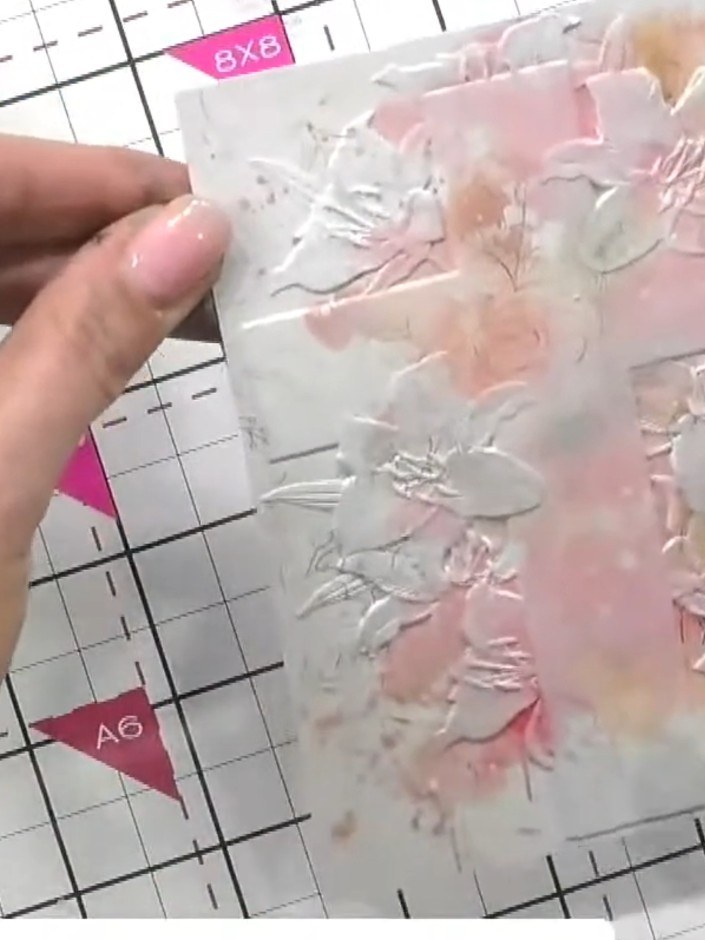
If using pigment ink, allow the embossed piece to air dry completely or use a heat gun to set the ink before handling. This prevents smudging and ensures the ink is fully dry.
▶ watch this step (50:15)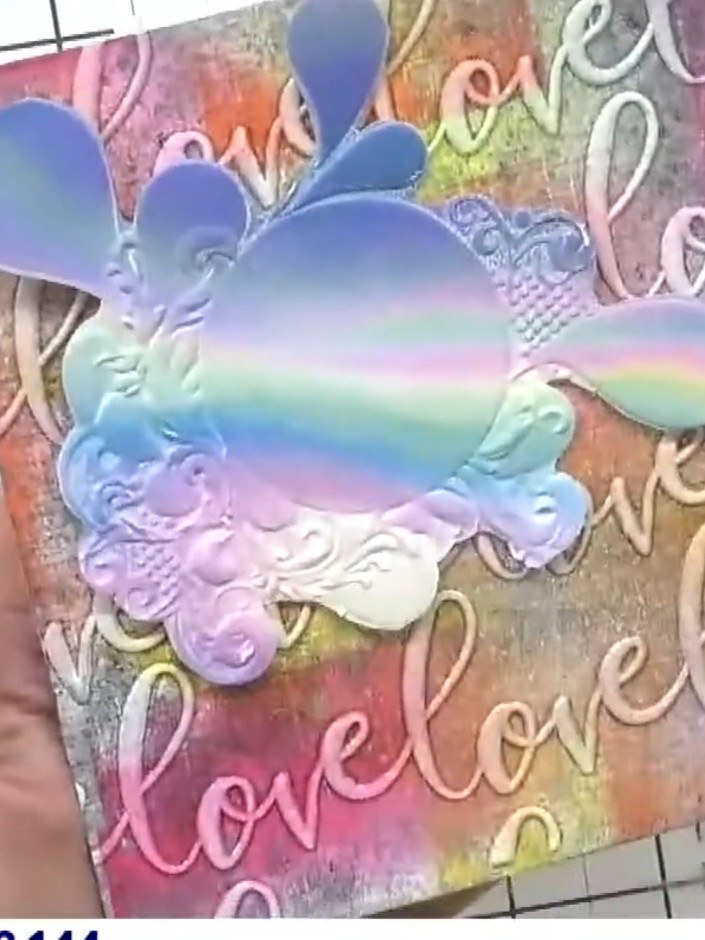
If desired, sprinkle embossing powder over the wet embossed design. Heat set with a heat tool to create a sealed, dimensional finish with an iridescent or pearlescent sheen.
▶ watch this step (50:45)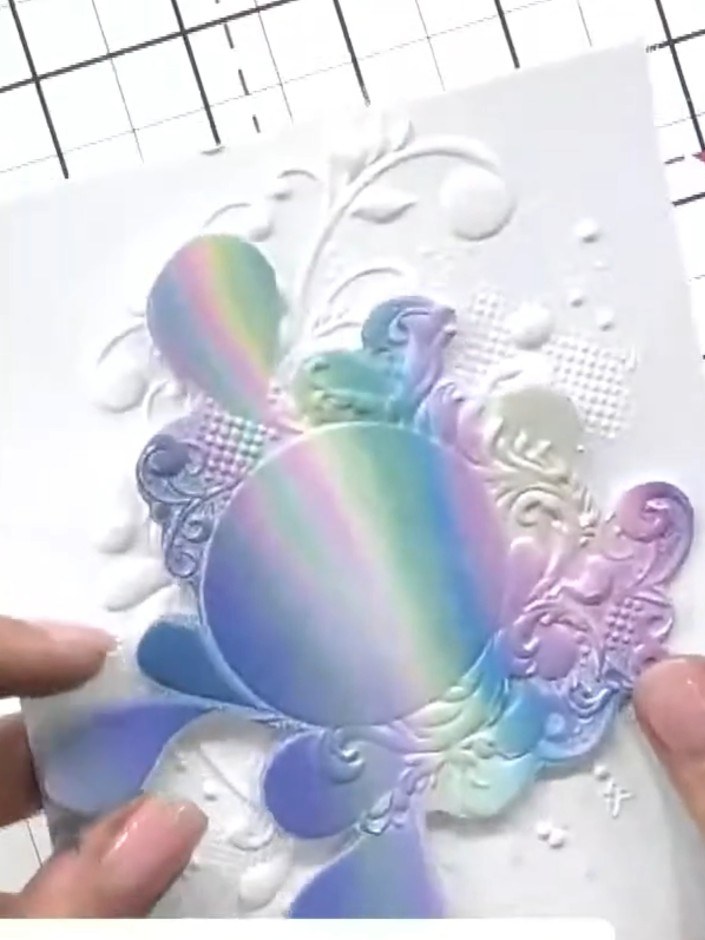
Trim the embossed patterned paper and mount it onto white cardstock. The iridescent rainbow effect created by the embossing folder and ink overlay will create a beautiful dimensional finish to your card.
▶ watch this step (51:15)Written up from the show itself. See every guide from our shows · free how-to guides · watch live on My Telly