Give your friends £10 off their first order!
Refer a FRIEND








A project from our live show THE ART OF CARDISTRY - Join me for my Creative Card Session with all my wonderful USA following - Broadcast 24th Oct 23 · 24/10/2023 · watch it from 15:00
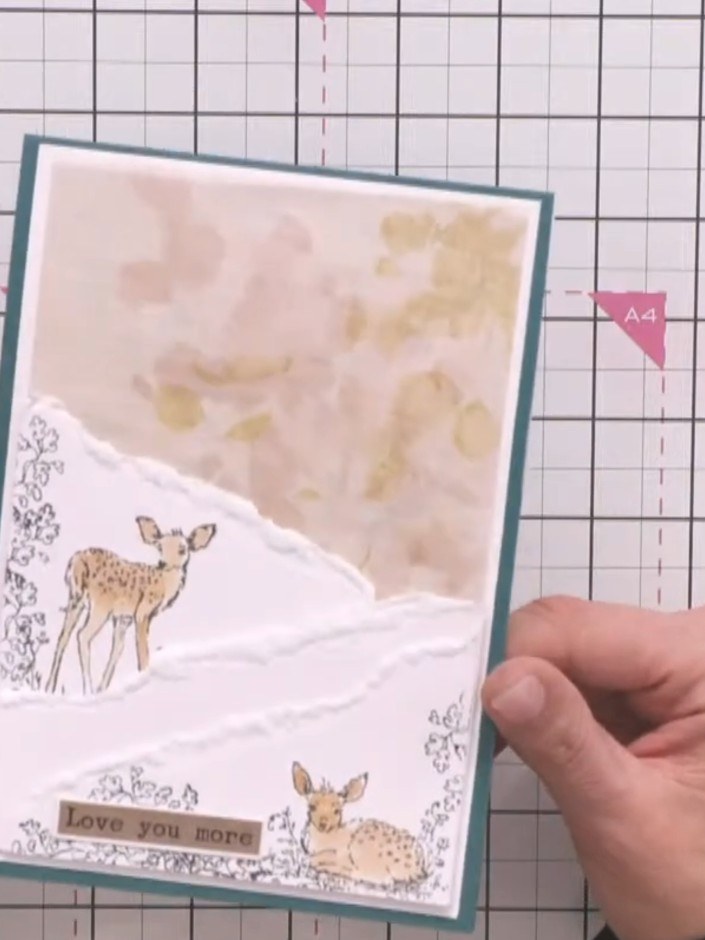
Create a charming Christmas card featuring a winter woodland scene with stamped deer and foliage against torn paper snow drifts. The design uses soft neutral tones with a teal border, layering white paper to create depth as the animals peek through the snowy landscape. Finish with white embossed details and colorless glitter for a subtle sparkle effect.
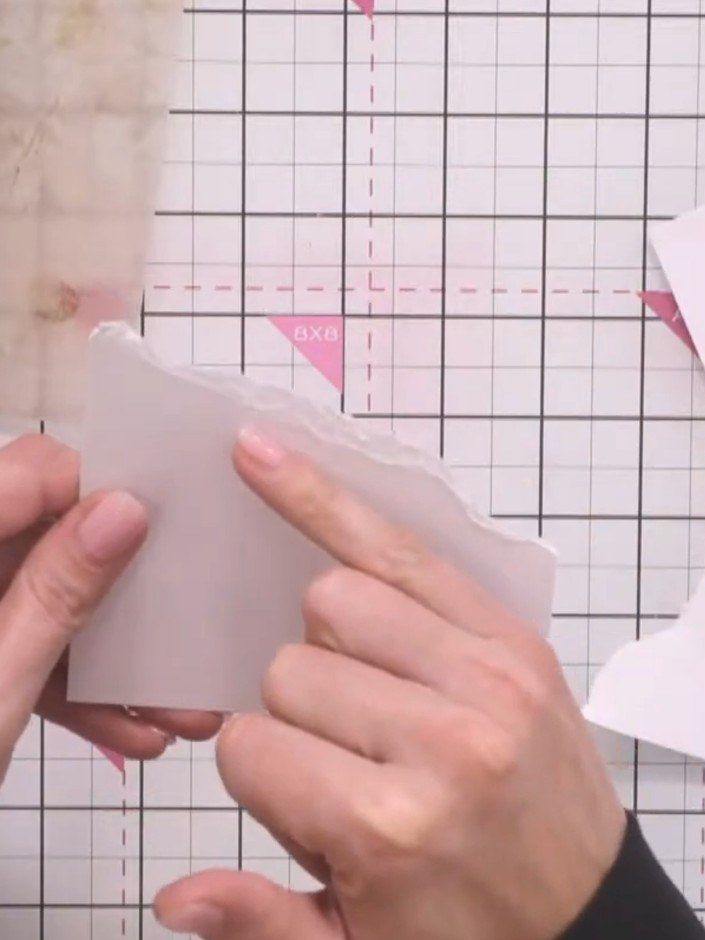
Tear pieces of white card randomly to create jagged snow drift shapes. Use both the torn edges for different effects, as both sides can be reused.
▶ watch this step (23:15)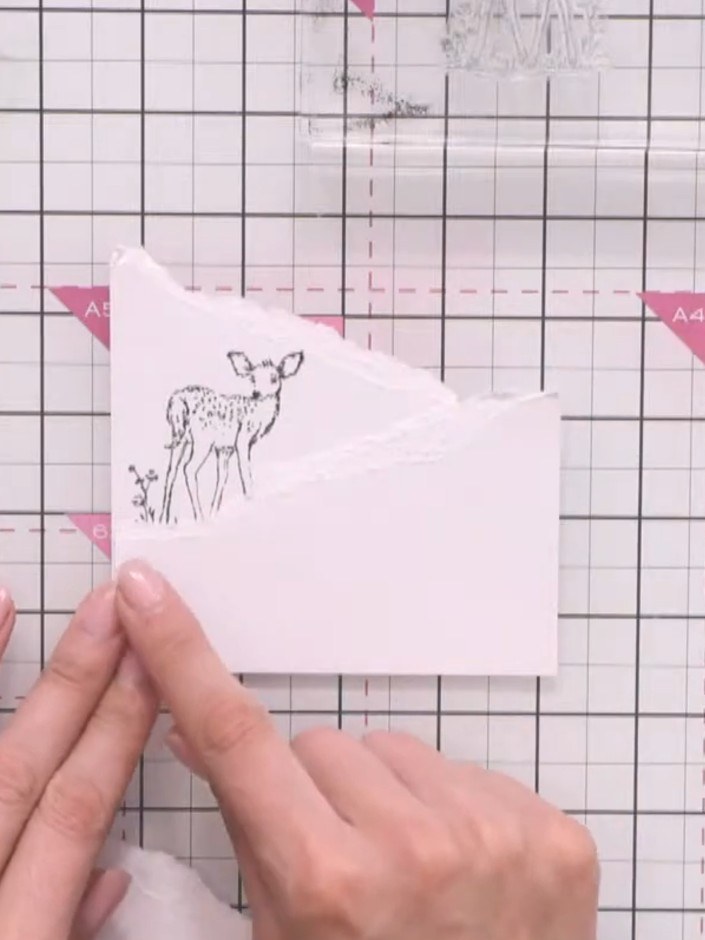
Stamp the deer image from the Secret Forest collection in black ink onto white card, positioning it as if standing behind the first snow drift layer.
▶ watch this step (24:45)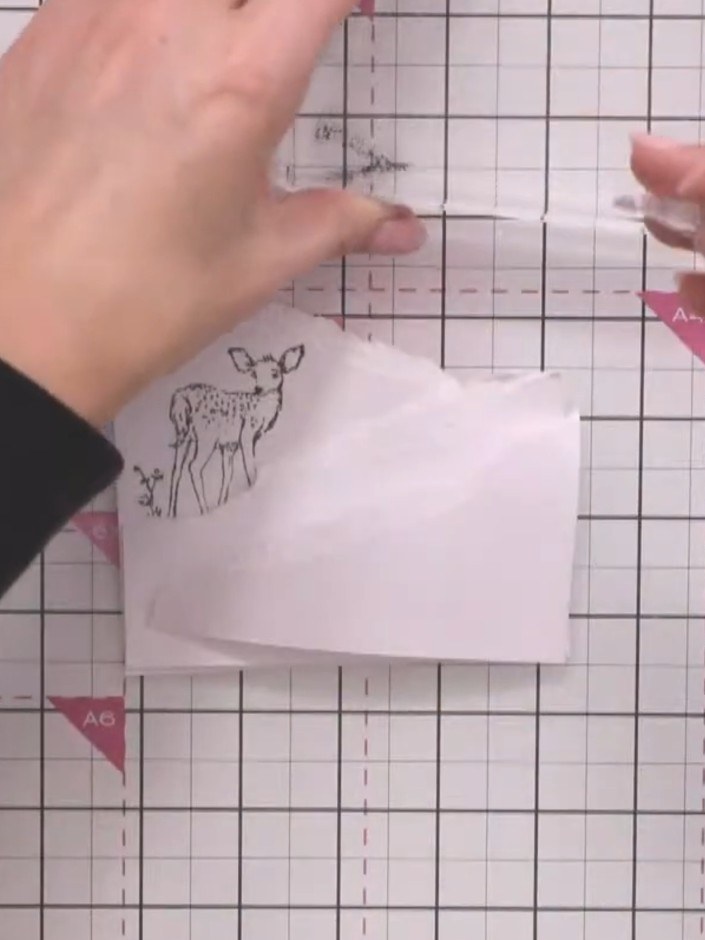
Stamp the laying-down deer image in black ink on the lower portion of the card front to create a second focal point in your winter scene.
▶ watch this step (26:45)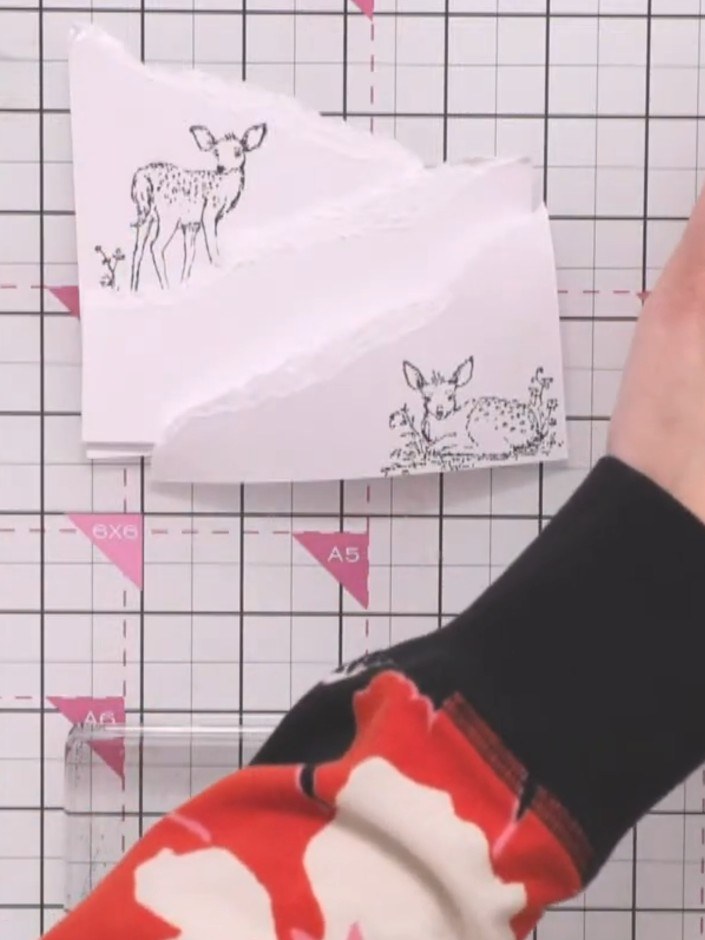
Stamp small shrub and grass details in black ink around the animals to fill in the landscape and anchor them in the scene.
▶ watch this step (27:30)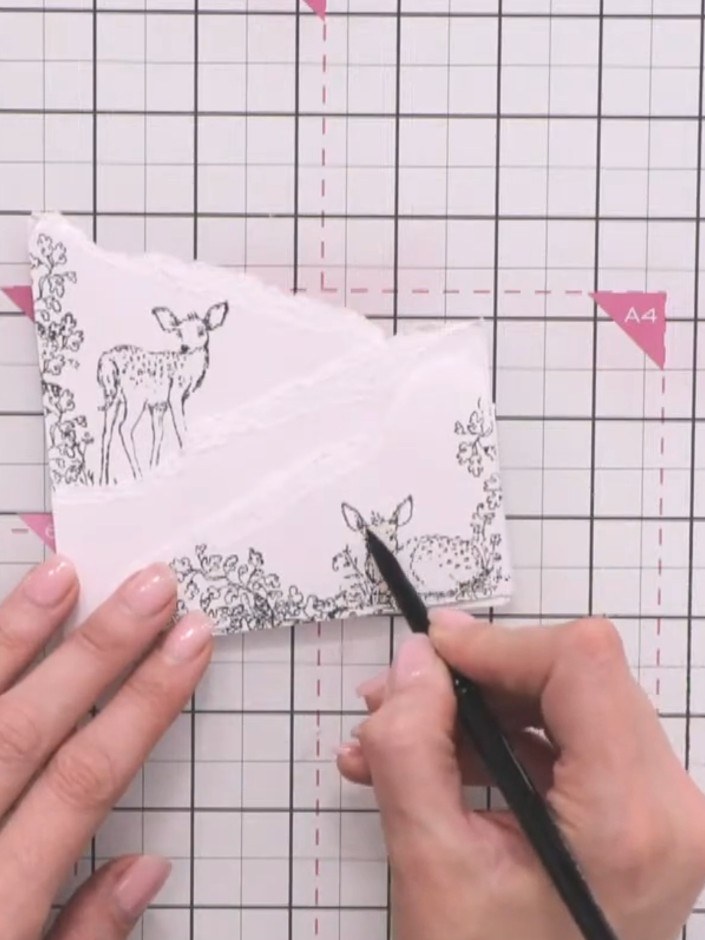
Colour the stamped stags with brown watercolour. Add shadow to the eyes, ears, and around the base of each deer, leaving a light halo on the face.
▶ watch this step (31:30)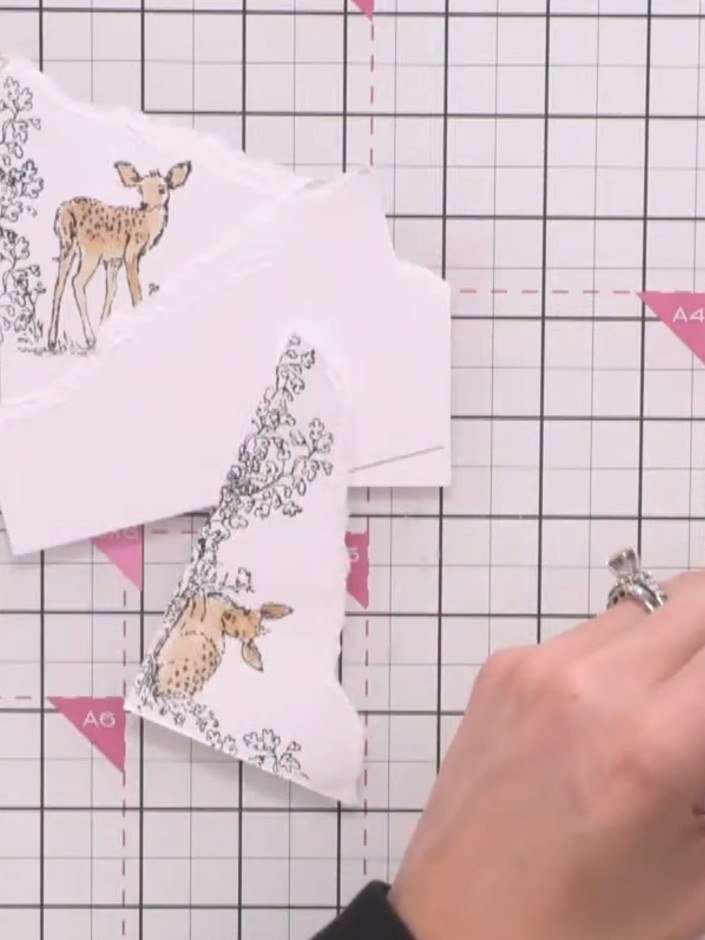
Apply glue along the edges of the torn snow drift pieces. Sprinkle colourless glitter over the wet glue to create a sparkling snow effect.
▶ watch this step (33:45)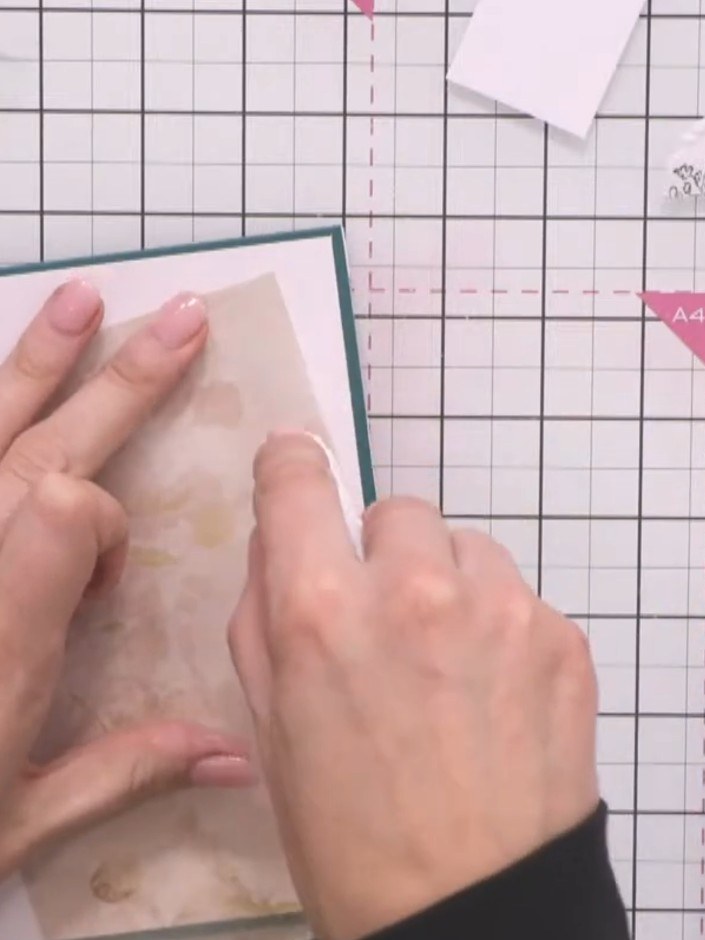
Adhere the vellum layer to the card front using a tape pen. Apply adhesive in random places around the edges and design to avoid visible adhesive showing through the translucent vellum.
▶ watch this step (38:15)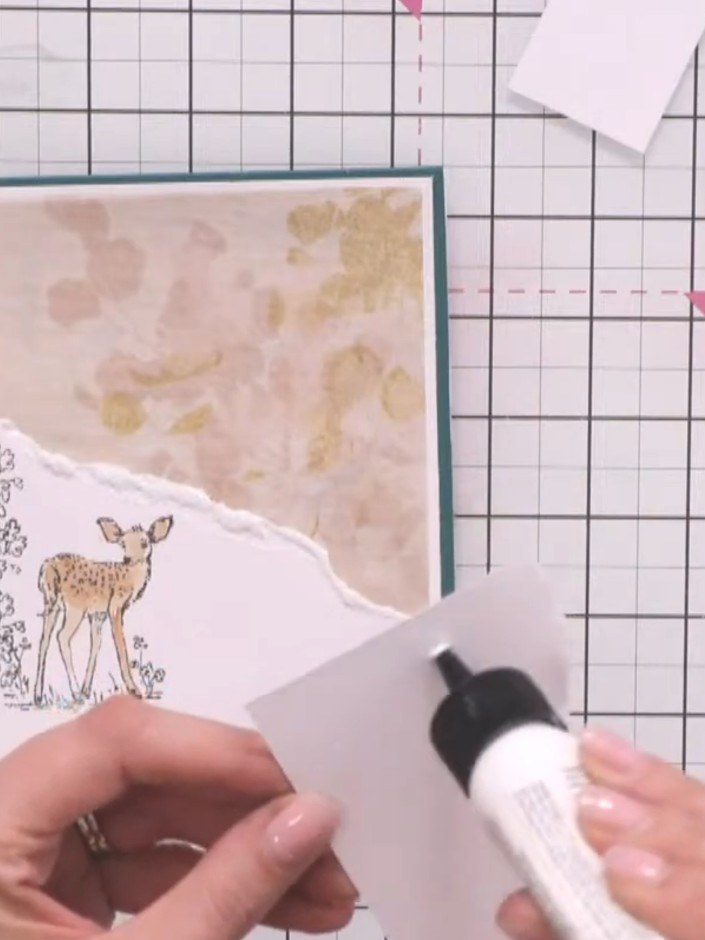
Apply adhesive to the back of the layered panel. Mount it onto a white card base, then layer onto a green card for the final backing.
▶ watch this step (39:15)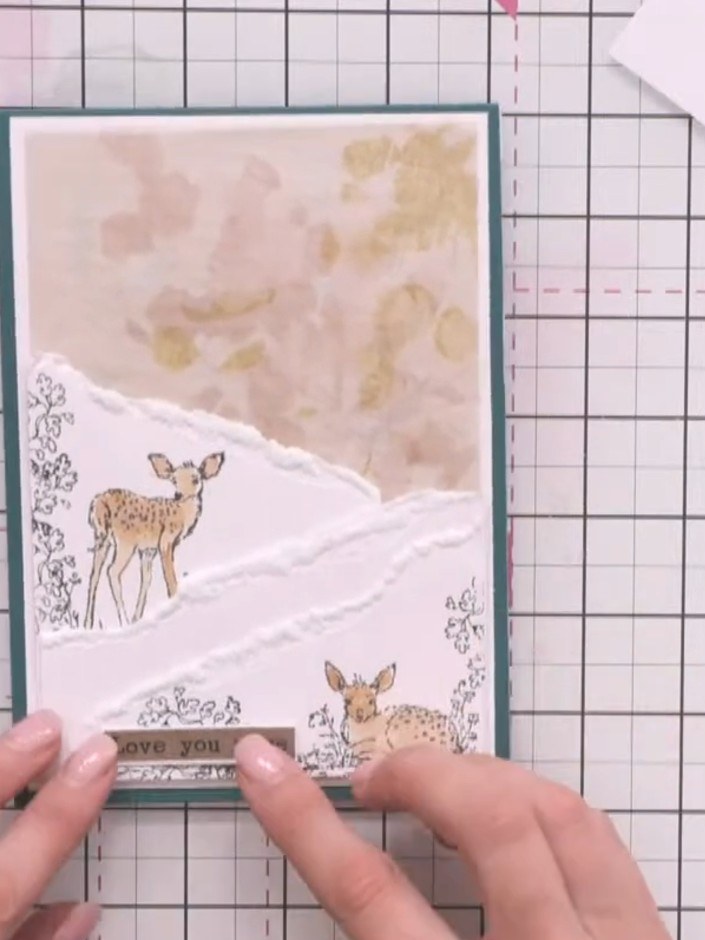
Add a sentiment banner reading 'love you more' near the base of the card, positioning it centrally below the snow drift to complete your design.
▶ watch this step (41:00)Written up from the show itself. See every guide from our shows · free how-to guides · watch live on My Telly
