Give your friends £10 off their first order!
Refer a FRIEND








A project from our live show MY PODCAST - Join me for my latest news and updates - Broadcast 24th OCT 2023 · 24/10/2023 · watch it from 36:00
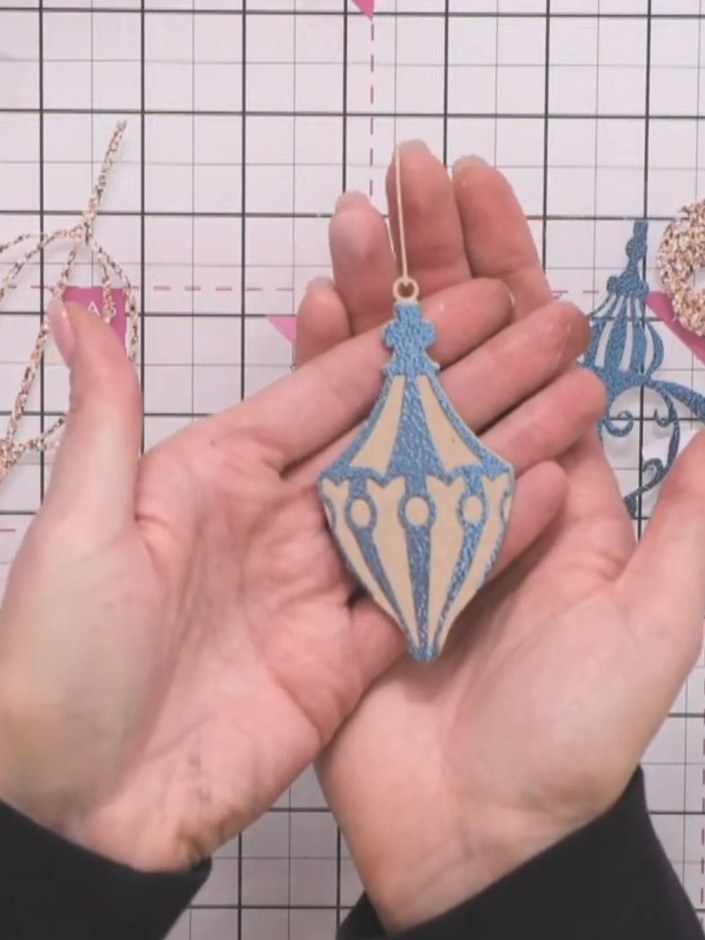
Create a stunning three-dimensional bauble ornament card using layered die-cuts in elegant champagne and rose gold tones. This festive design features multiple coordinating layers that build up to create a realistic sphere with beautiful depth and dimension. The technique combines precise die-cutting with careful assembly to achieve a sophisticated shaded effect that brings the bauble to life.
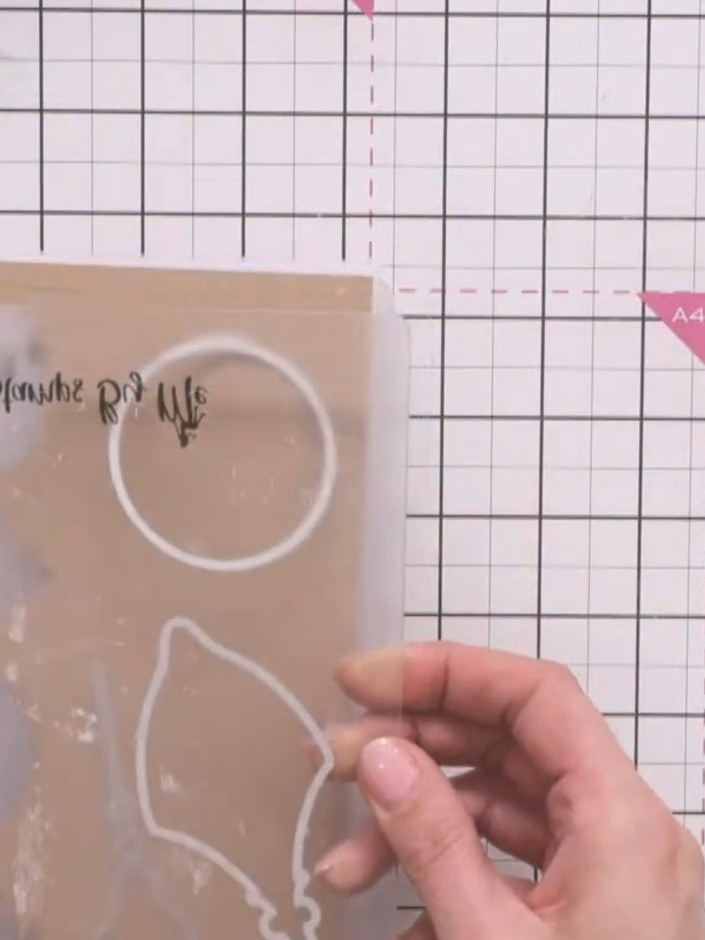
Cut the exterior bauble shape from kraft card using the die plate. The die will cut the outline shape with decorative details.
▶ watch this step (37:00)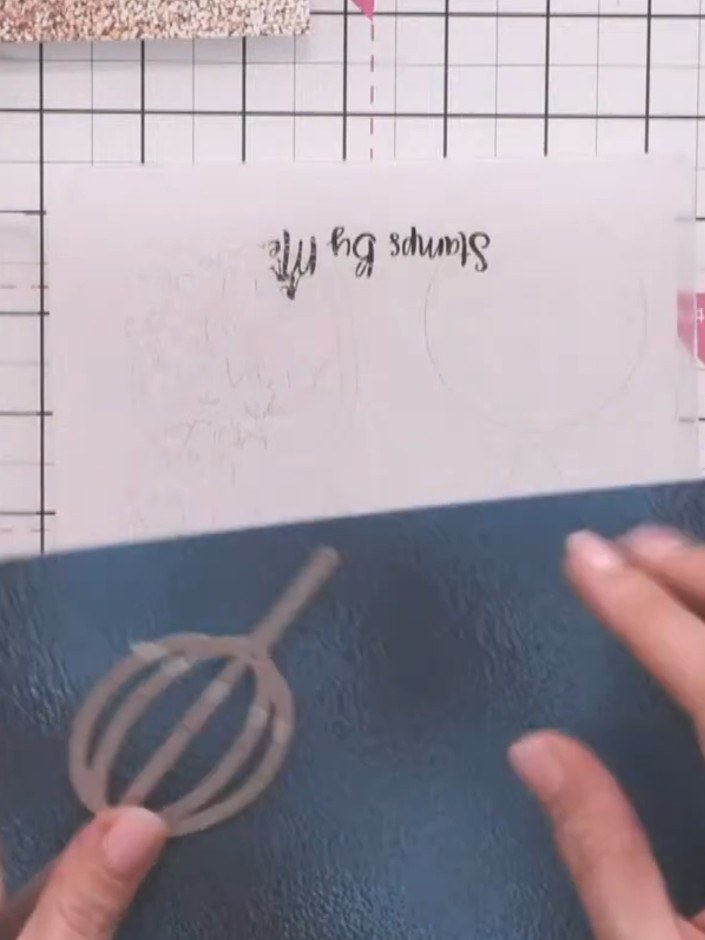
Cut out the decorative bauble overlay pieces from blue textured card using the die-cut shapes. Carefully remove all the delicate cut pieces from the card.
▶ watch this step (39:00)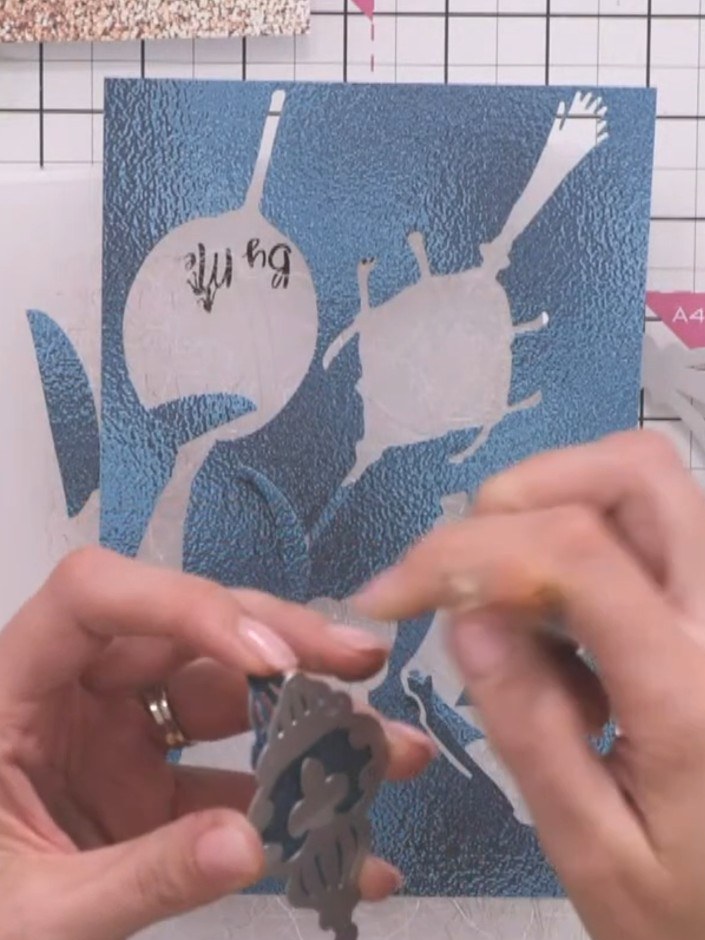
Blend white ink onto one side of the blue bauble base using a blending tool. Create a soft halo effect by working the ink in gentle circular motions.
▶ watch this step (42:00)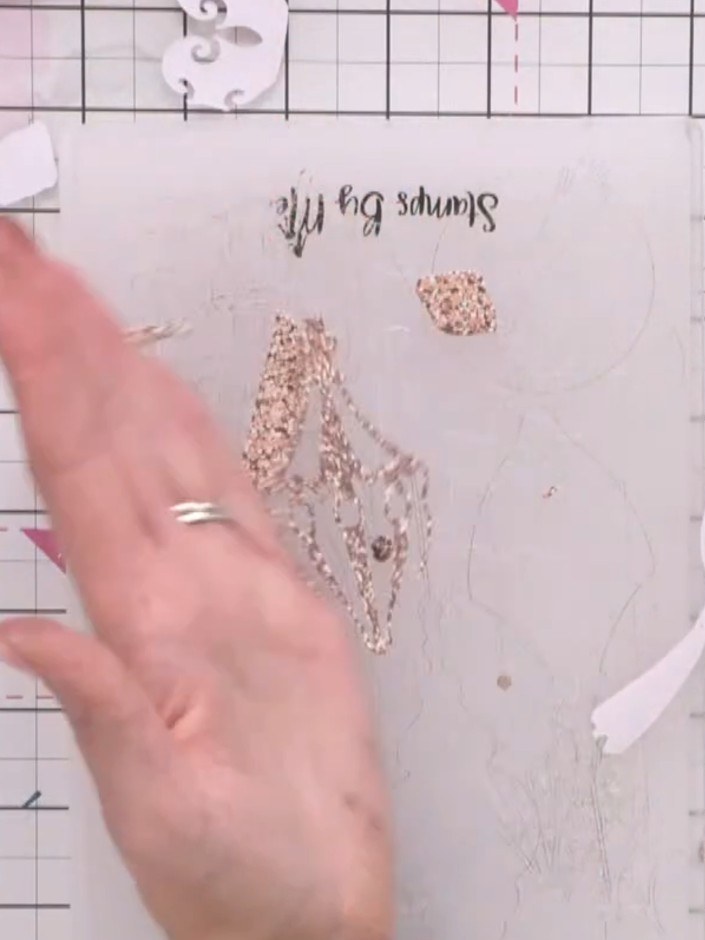
Apply darker ink from the base upward on the second bauble, creating shading from bottom to top. Use the blending tool to work the ink gradually upwards, building depth and dimension.
▶ watch this step (45:00)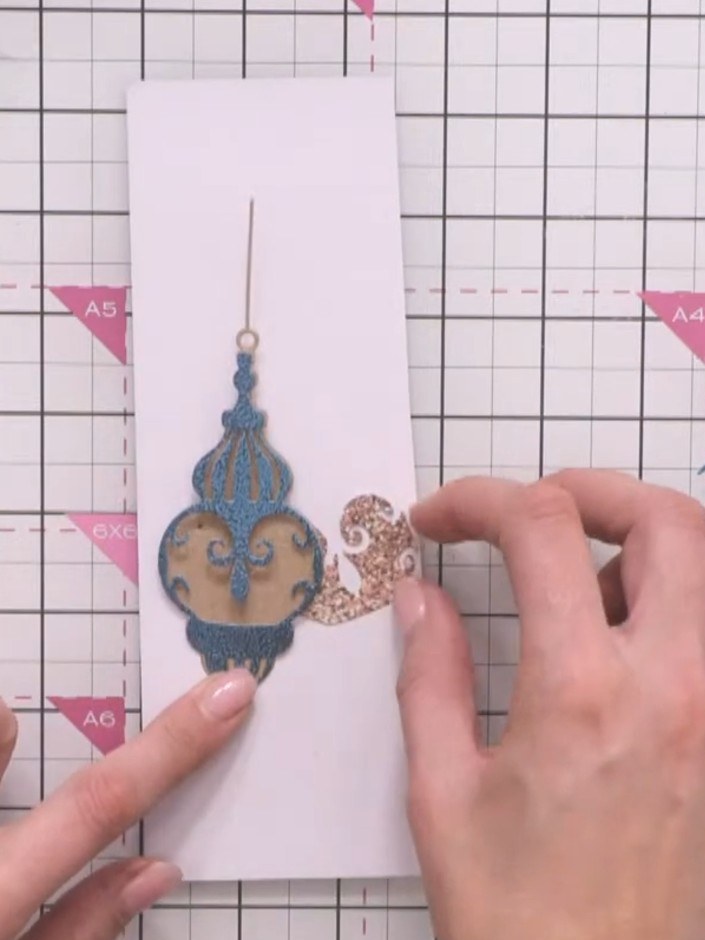
Add ink from the top downward on the sides of the bauble to create dimension and shadow. Work the ink gradually to build up depth and shading.
▶ watch this step (46:00)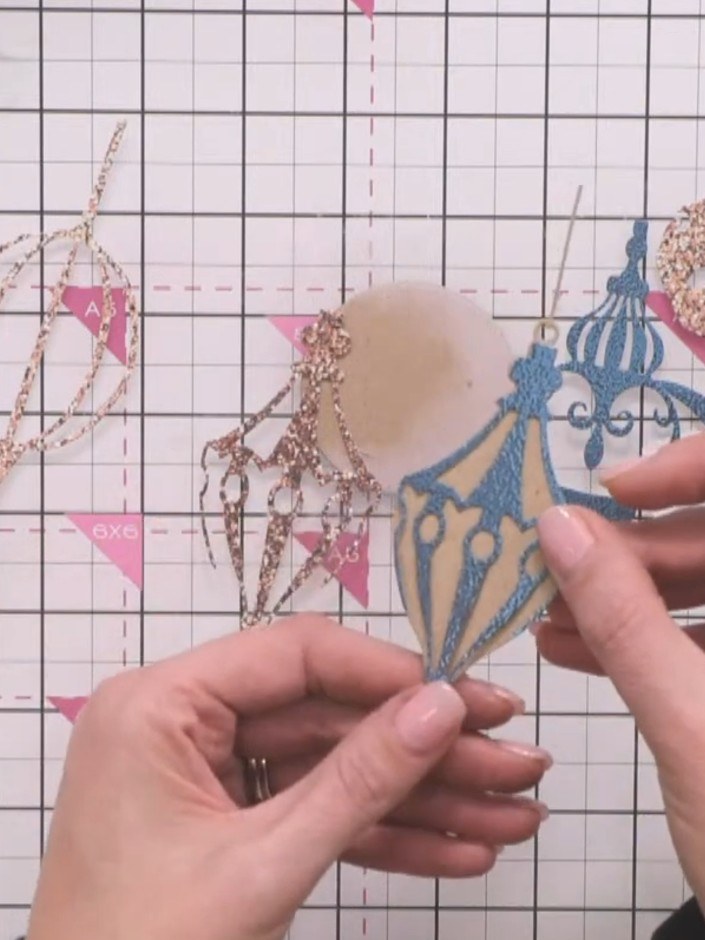
Layer the teal decorative bauble die-cut piece over the inked kraft bauble base. Align the pieces carefully to create a glowing effect with the inked background showing through the cut-out details.
▶ watch this step (48:00)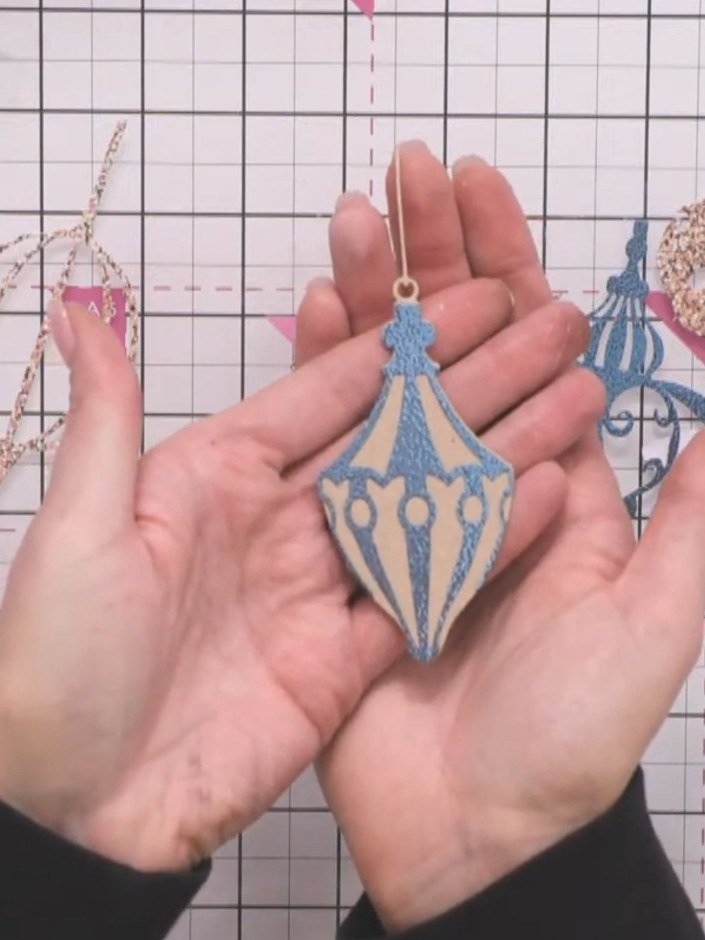
Glue the blue decorative overlay piece to the top of the bauble. Position it centrally over the bauble shape to create a layered dimensional effect.
▶ watch this step (49:00)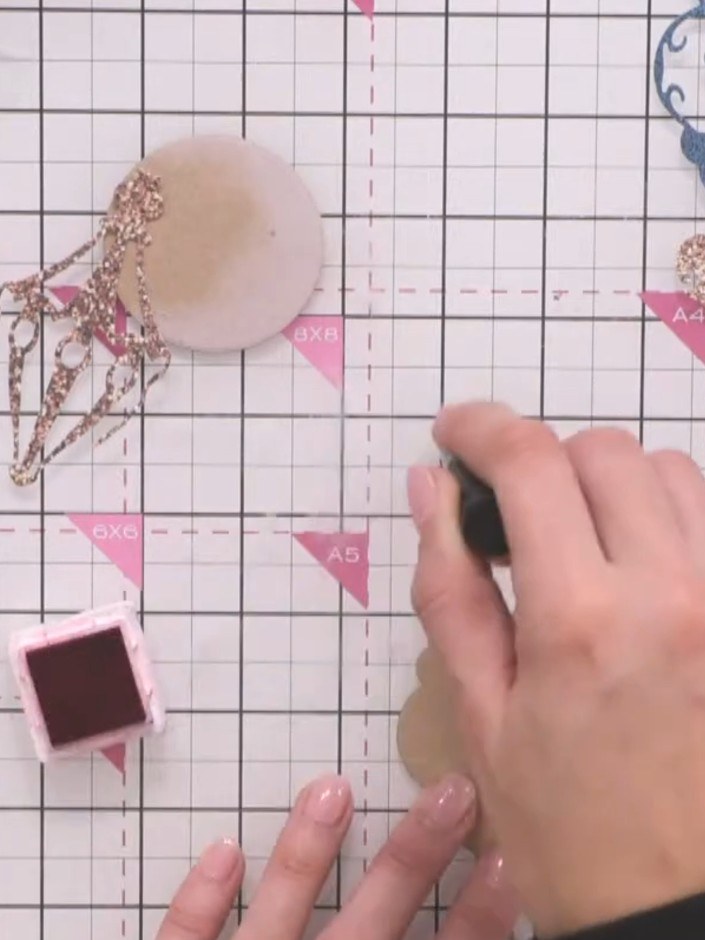
Adhere the completed bauble design to your card base, positioning it centrally to create your dimensional Christmas card.
▶ watch this step (50:00)Written up from the show itself. See every guide from our shows · free how-to guides · watch live on My Telly
