Give your friends £10 off their first order!
Refer a FRIEND








A project from our live show CREATE AND CRAFT TV - Join Toni for her brand new launch - broadcast 25th Oct 23 · 25/10/2023 · watch it from 53:00
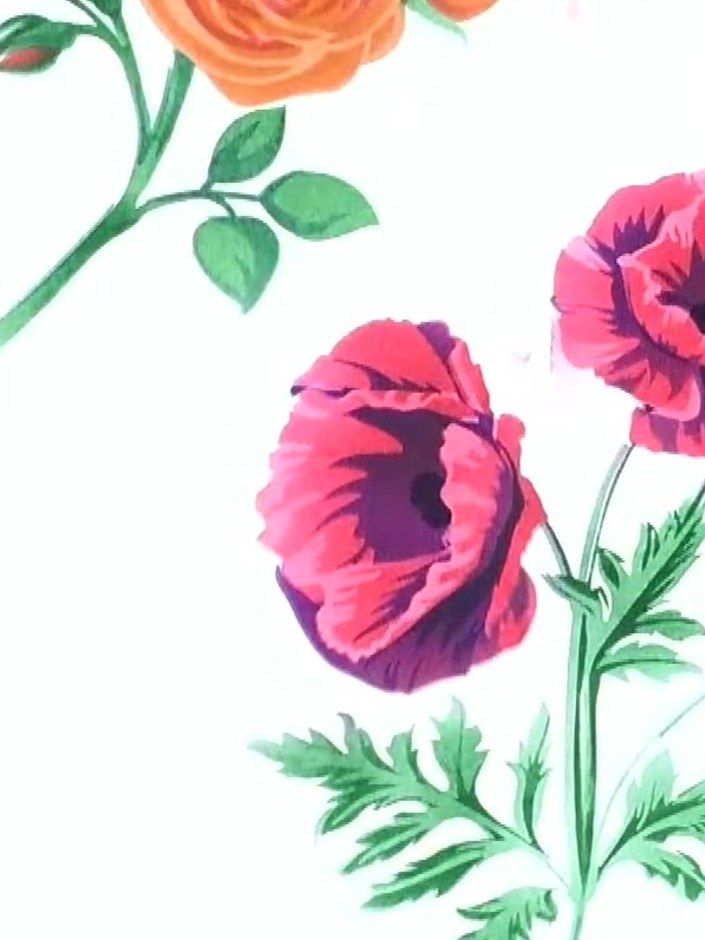
Create a beautiful layered poppy flower card using a multi-layer stencil system with soft pink and purple inks. This project demonstrates the clever positioning technique that allows you to create multiple delicate poppy blooms with realistic depth and dimension. The finished piece features elegant poppies with green foliage, perfect for special occasion cards.
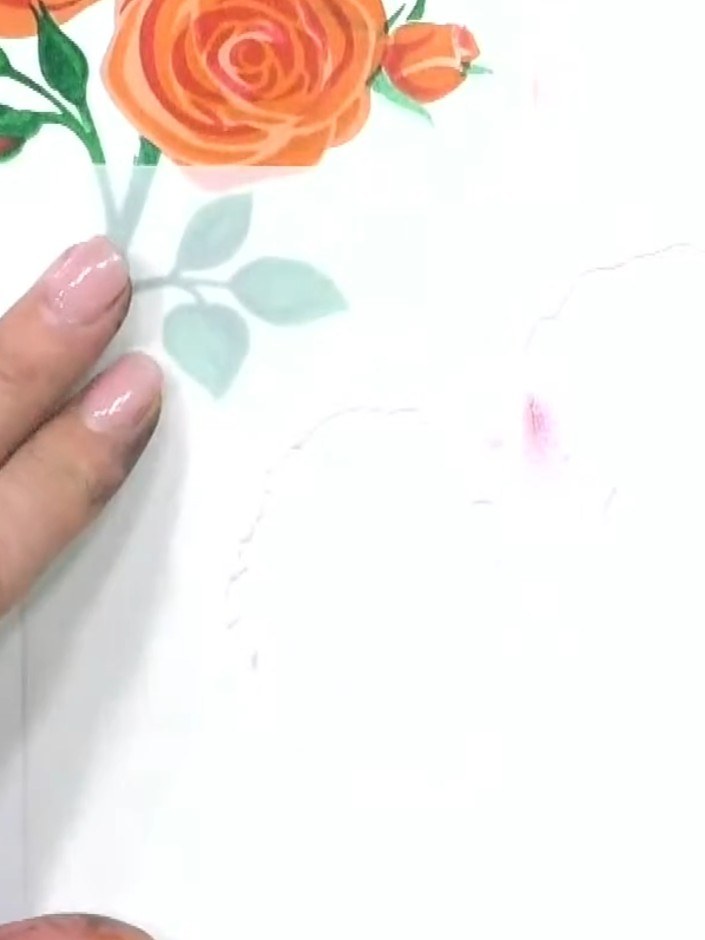
Position the poppy layering stencil on your white card stock in the bottom corner. Use the corner alignment marks on the stencil to ensure it is properly aligned.
▶ watch this step (53:00)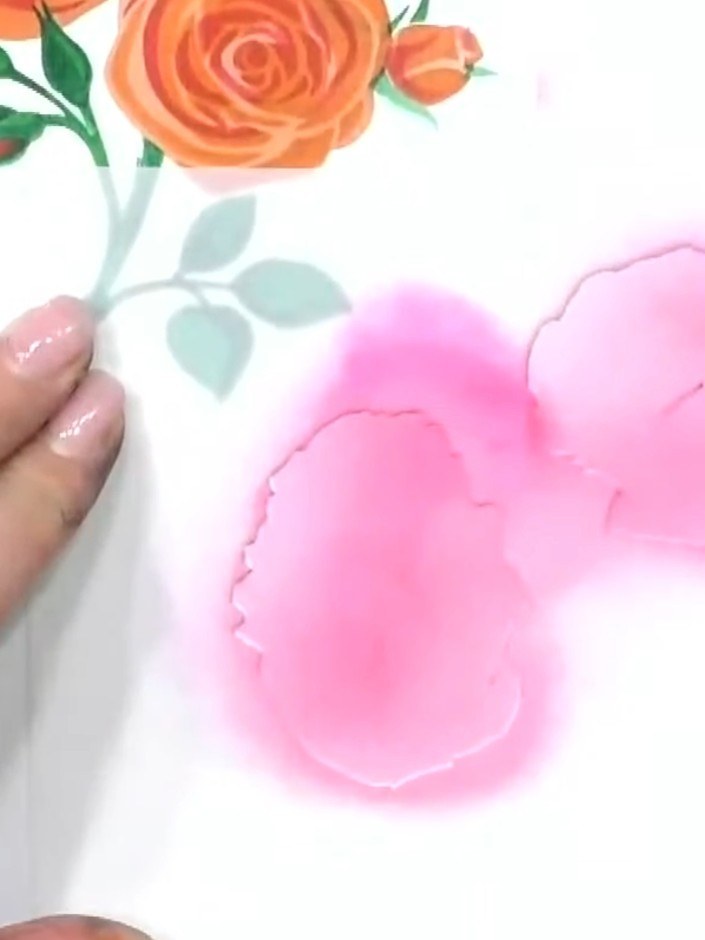
Select pink ink and use a blending brush to apply colour through the first layer of the poppy stencil onto your card.
▶ watch this step (53:15)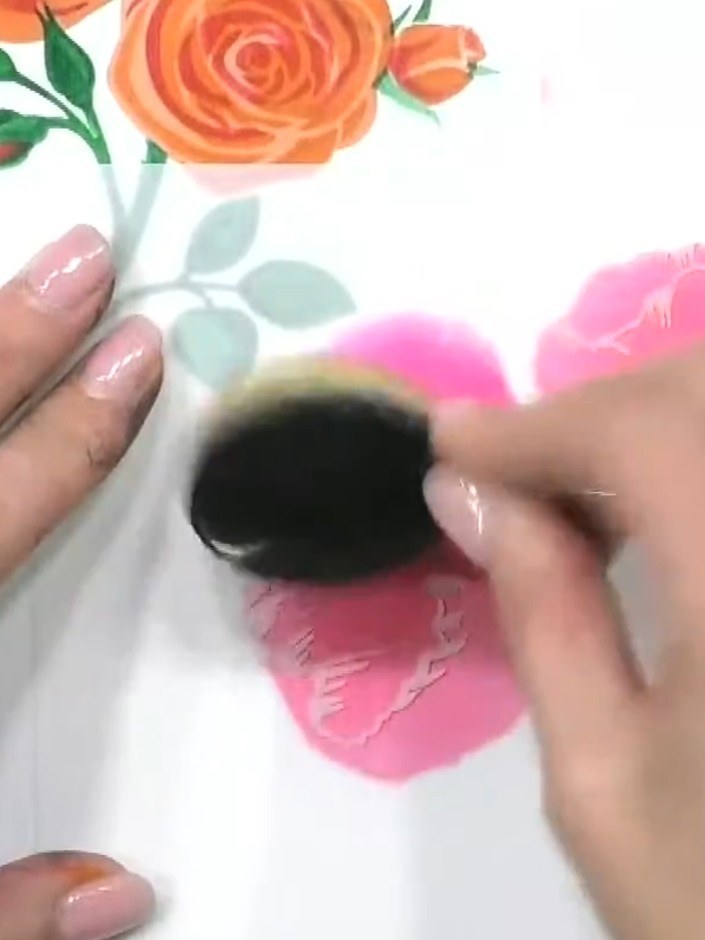
Position stencil number two over your first pink layer, carefully lining up the corner registration hearts to ensure proper alignment.
▶ watch this step (53:45)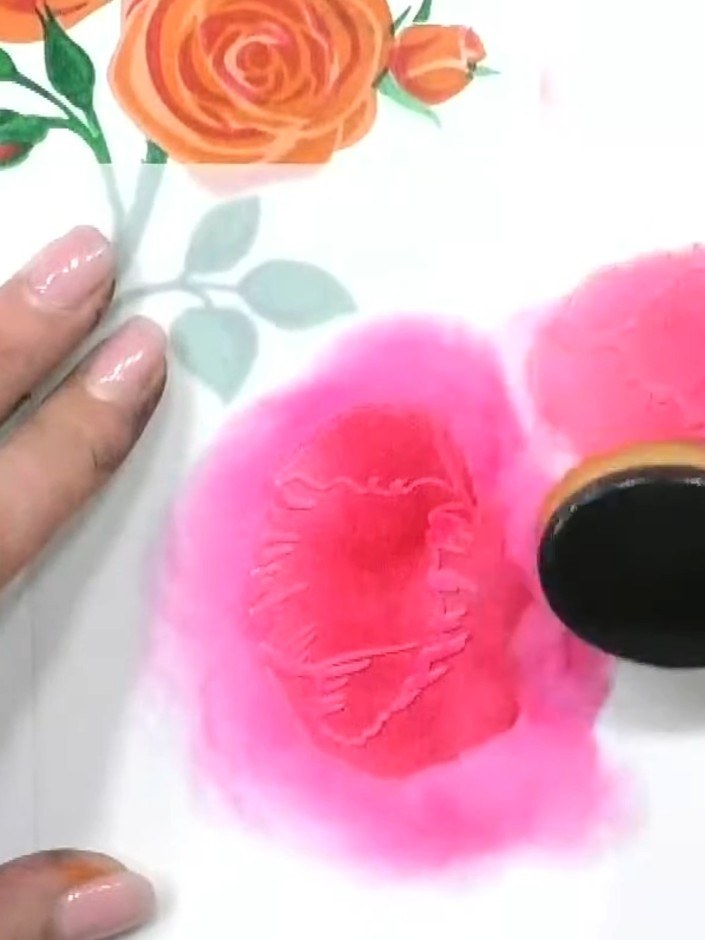
Apply pink ink through stencil number two using a blending tool, pressing firmly to achieve good colour coverage on the flower petals.
▶ watch this step (54:00)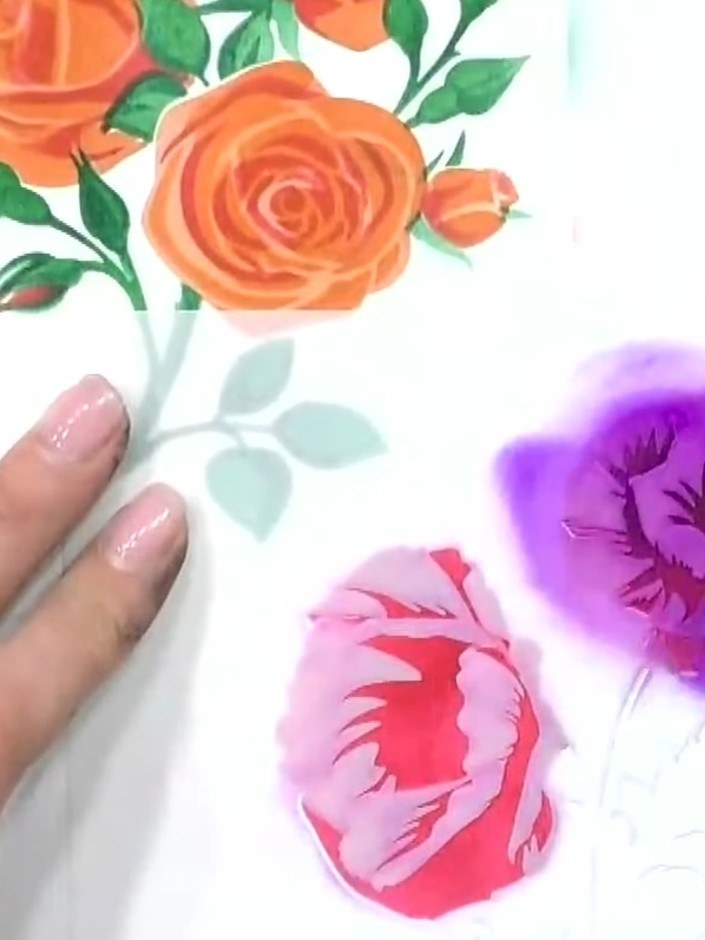
Position stencil number three over the flower and apply a purple ink colour using a blending tool. This darker shade adds depth and contrast to the layered design.
▶ watch this step (54:30)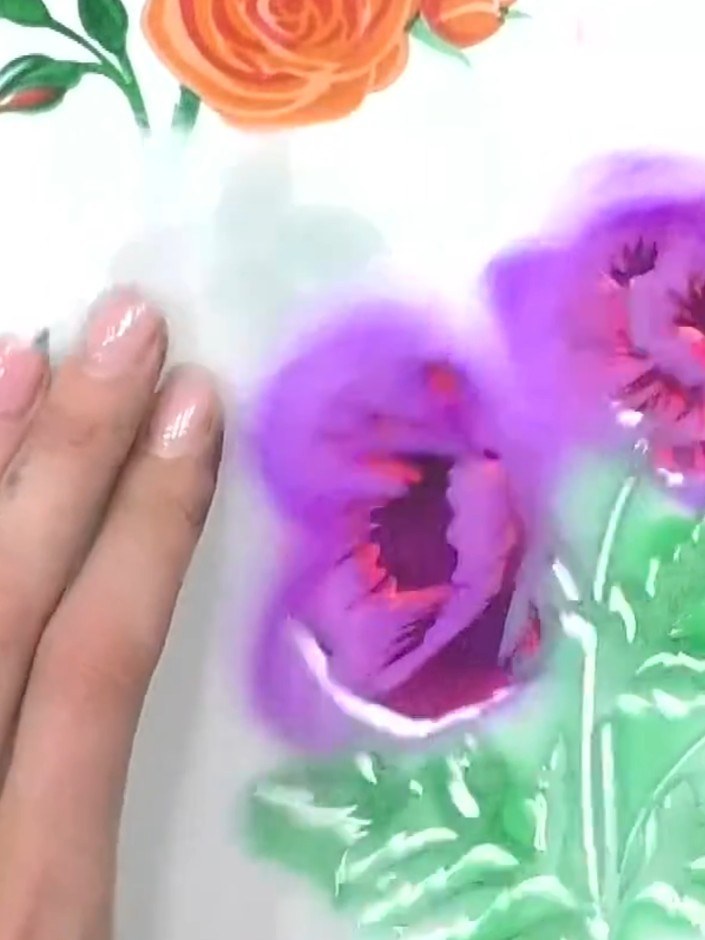
Position stencil number four over your design and apply green ink to add the poppy's foliage and stem details. Use a blending tool or sponge to apply the ink evenly through the stencil.
▶ watch this step (55:00)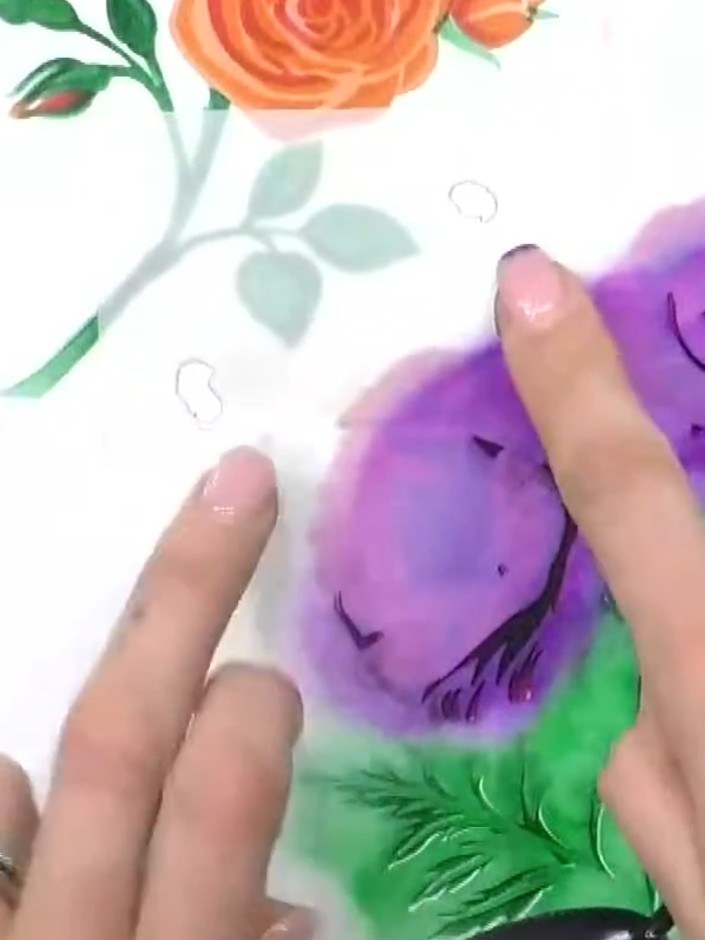
Apply stencil number five over the purple flower petals, pressing firmly to transfer the delicate petal details. Hold the stencil steady whilst applying the colour to ensure crisp definition.
▶ watch this step (55:30)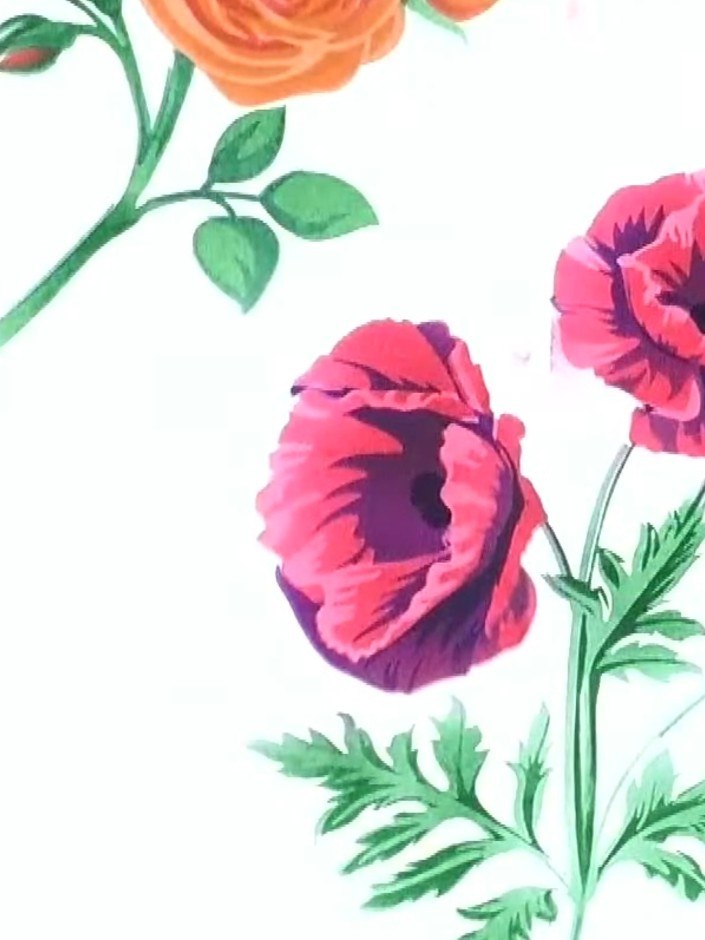
Position the poppy stencil so the next flower aligns with the two holes in the stencil design, creating a second poppy flower on your paper.
▶ watch this step (56:00)Written up from the show itself. See every guide from our shows · free how-to guides · watch live on My Telly