QUICK LINKS

info@howtocraftnetwork.com
We just got smarter - shop and watch with the SBM appGET THE APPWatch us live on your smart TVSEE HOWDiscover our dedicated IPTV channel - go to my-telly.comWATCHCollect loyalty points on every orderFIND OUT MORE
Welcome to the How to Craft Network
 
SBM SHOP
FOLLOW US
GIVE YOUR FRIENDS £10 OFF REFER A FRIEND › DISCOVER MY-TELLY.COM › WE JUST GOT SMARTER GET THE APP › AWARD WINNING CHANNEL ON YOUR TV › JOIN THE CLUB FOR SAVINGS ›
 

Vintage Father Christmas Embossed Card with Brown and Red Detail

A project from our live show CREATE AND CRAFT TV - Join Toni for her brand new launch show 2 - broadcast 25th Oct 23 · 25/10/2023 · watch it from 26:45
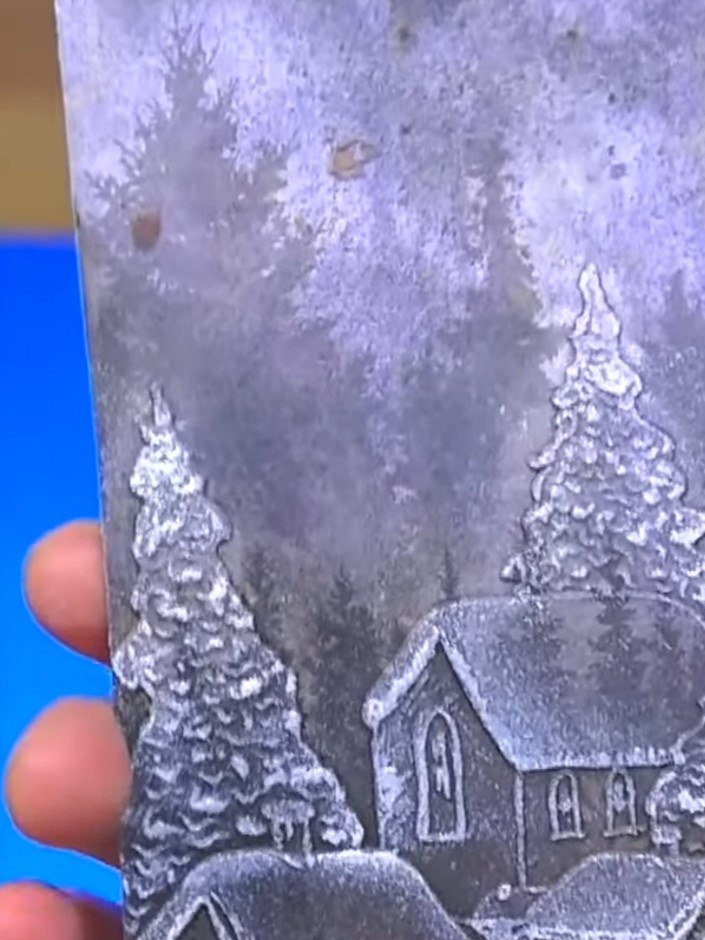
Vintage Father Christmas Embossed Card with Brown and Red Detail - the finished project
The finished project

Create a vintage-style Father Christmas card by embossing a detailed Santa design onto kraft card. Enhance the embossed image with brown ink to achieve an aged leather effect, then add hand-painted red and green details to bring warmth and character to this nostalgic festive piece.
DOWNLOAD THIS GUIDE (PDF)

Step by step

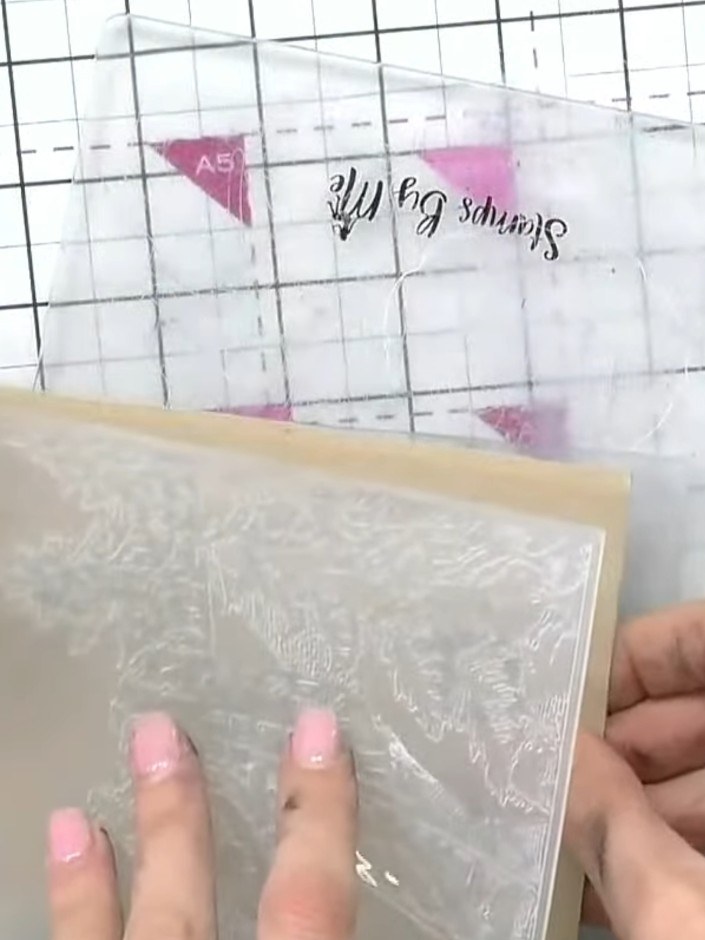
  1. Step 1: Place your craft card into the embossing folder without inking it first. Position the card carefully within th

    Place your craft card into the embossing folder without inking it first. Position the card carefully within the folder to ensure the design will emboss in the desired location.

    ▶ watch this step (26:45)
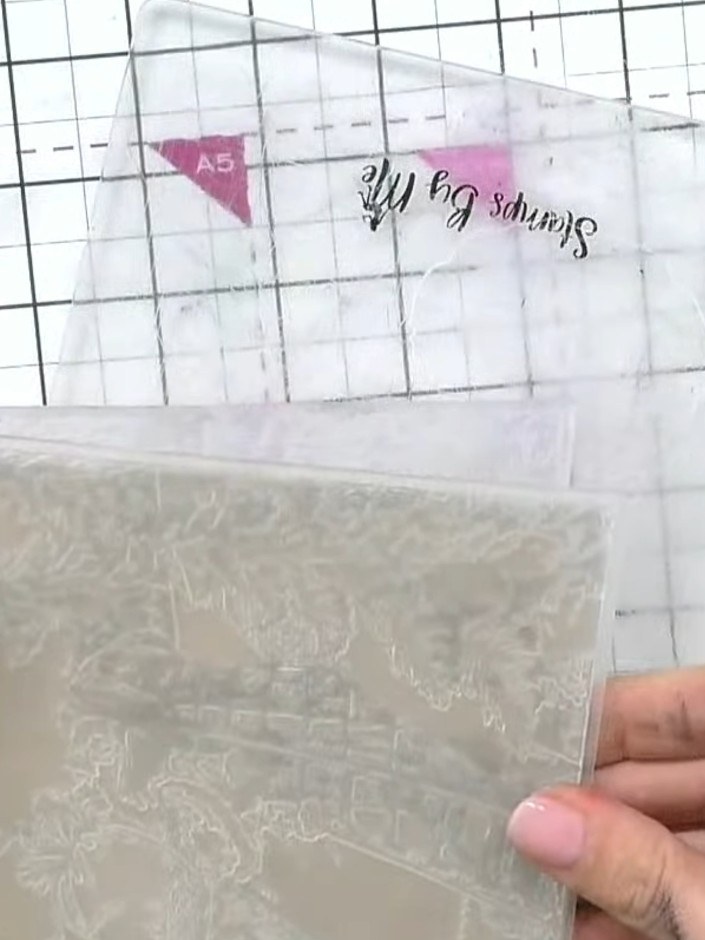
  2. Step 2: Place the embossing folder with your craft card inside through your die-cutting machine to create the embossed

    Place the embossing folder with your craft card inside through your die-cutting machine to create the embossed Father Christmas design on the card.

    ▶ watch this step (27:00)
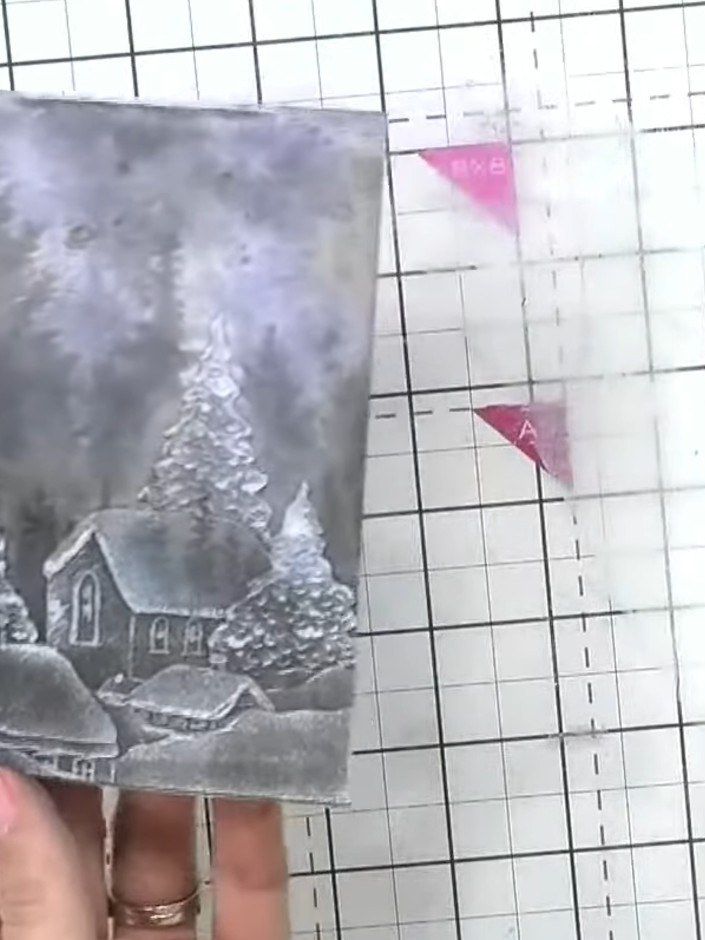
  3. Step 3: Tap a brown ink pad over the embossed surface to highlight the raised details and create definition on the win

    Tap a brown ink pad over the embossed surface to highlight the raised details and create definition on the winter scene.

    ▶ watch this step (27:30)
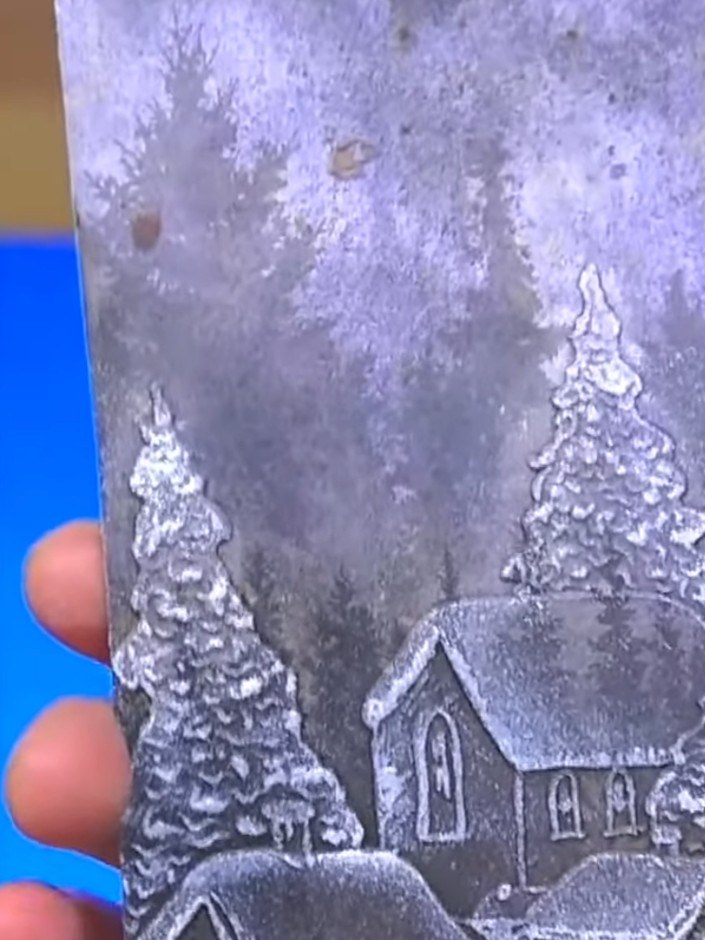
  4. Step 4: Apply darker brown ink to the top portion of the embossed design to create contrast and depth. Use a dabbing m

    Apply darker brown ink to the top portion of the embossed design to create contrast and depth. Use a dabbing motion to build up the colour gradually on the raised areas.

    ▶ watch this step (28:15)
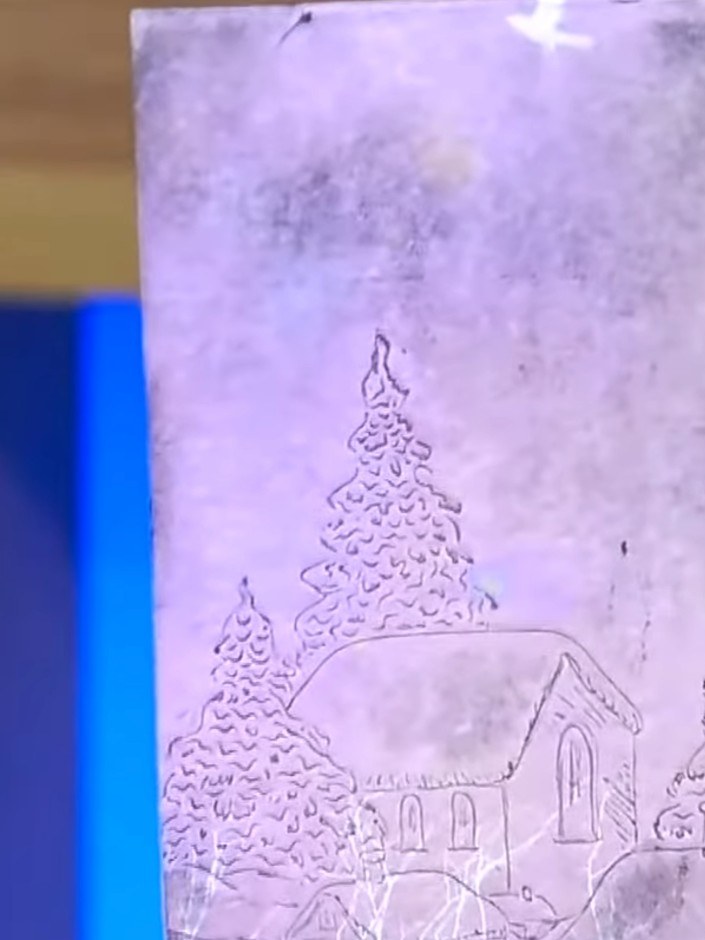
  5. Step 5: Allow the embossed ink to dry completely before proceeding to the next step.

    Allow the embossed ink to dry completely before proceeding to the next step.

    ▶ watch this step (28:45)
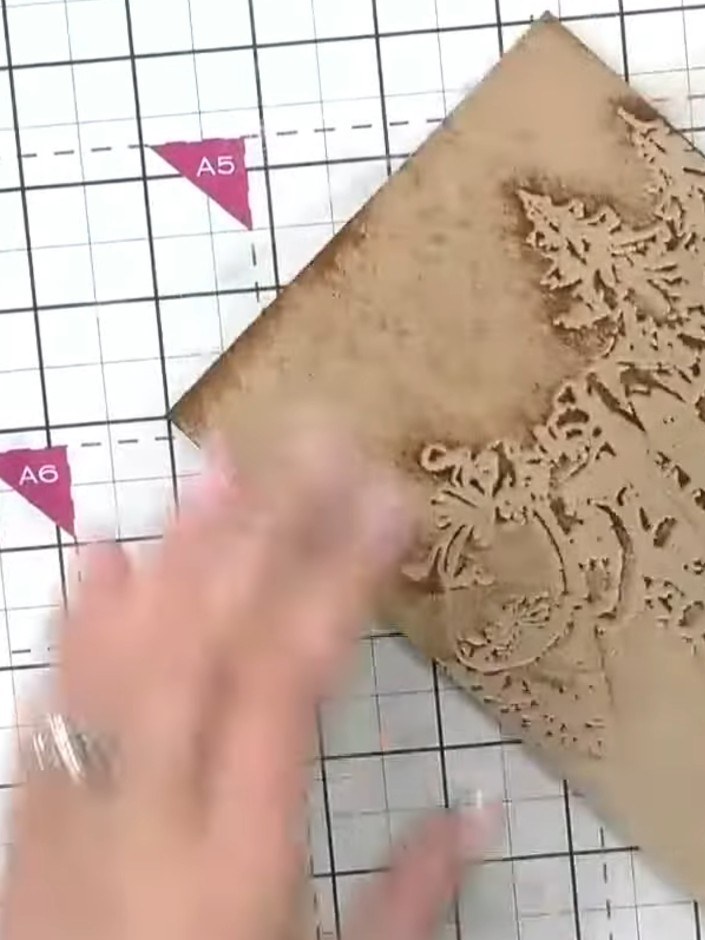
  6. Step 6: Using a small brush, carefully hand-paint red paint into the raised areas of Santa's suit on the embossed desi

    Using a small brush, carefully hand-paint red paint into the raised areas of Santa's suit on the embossed design. Pick up the excess paint from the debossed areas to keep the detail crisp and clean.

    ▶ watch this step (29:00)
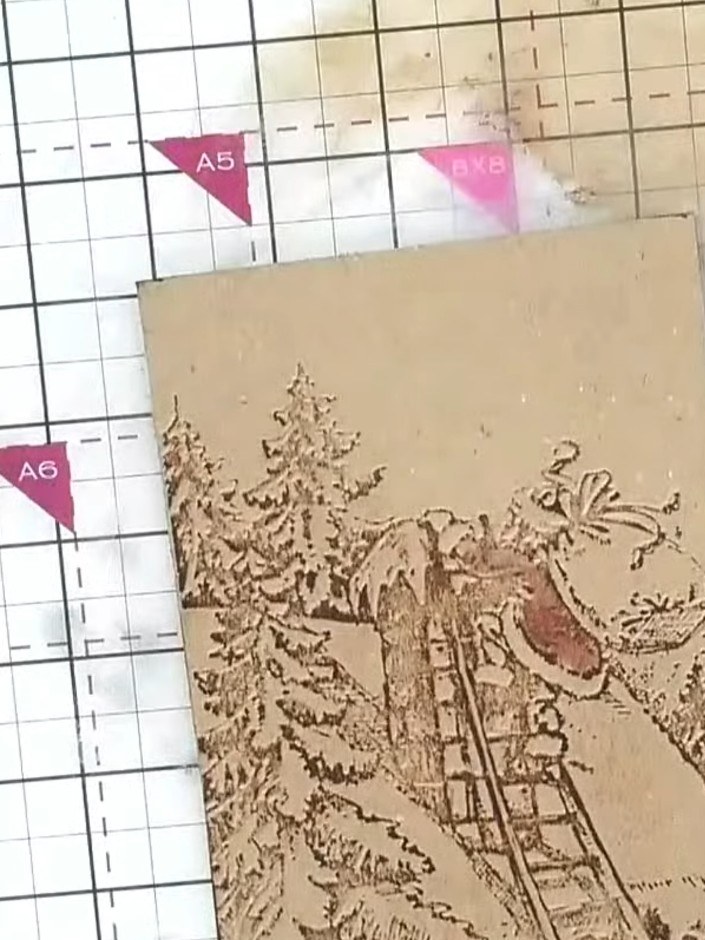
  7. Paint green details into the trees or foliage areas using a paintbrush to add further dimension and colour to the embossed design. ▶ watch 29:30
  8. Using a black pen or fine liner, add small dots and details to the embossed design to enhance the texture and create depth. Work carefully over the raised areas of the embossing to bring out the intricate details of the Father Christmas image. ▶ watch 30:00
  9. Step 9: Mount the finished embossed and painted piece onto your card base, ensuring it is centred and secure.

    Mount the finished embossed and painted piece onto your card base, ensuring it is centred and secure.

    ▶ watch this step (30:30)

Tips from the show

More from this show

Written up from the show itself. See every guide from our shows · free how-to guides · watch live on My Telly







