Give your friends £10 off their first order!
Refer a FRIEND








A project from our live show CREATE AND CRAFT TV - Join Toni for her brand new SBM launch show 3 - broadcast 3rd Jan 2024 · 03/01/2024 · watch it from 45:30
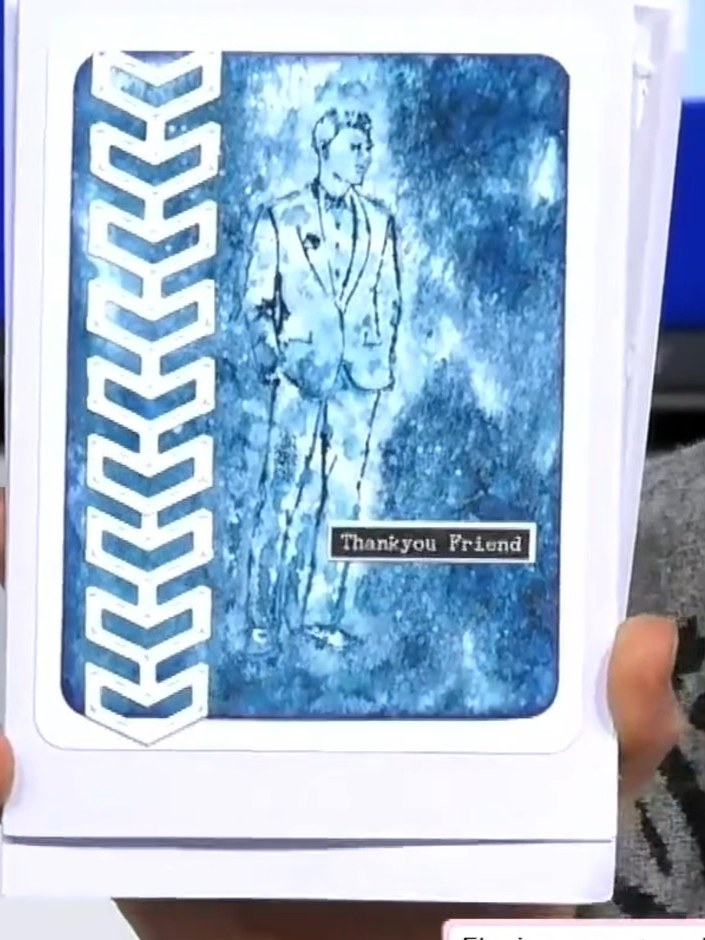
Create an elegant invitation card featuring a romantic Parisian street scene in soft watercolour tones of pink, grey and lavender. The design showcases a nested card insert with an embossed easel frame, perfect for adding a personal message or photograph. This project combines embossing techniques with layered cardmaking to produce a sophisticated, interactive piece.
Place the pink card stock into the Jasper embossing folder and run it through your die-cutting machine to emboss the design onto the card.
▶ watch this step (45:30)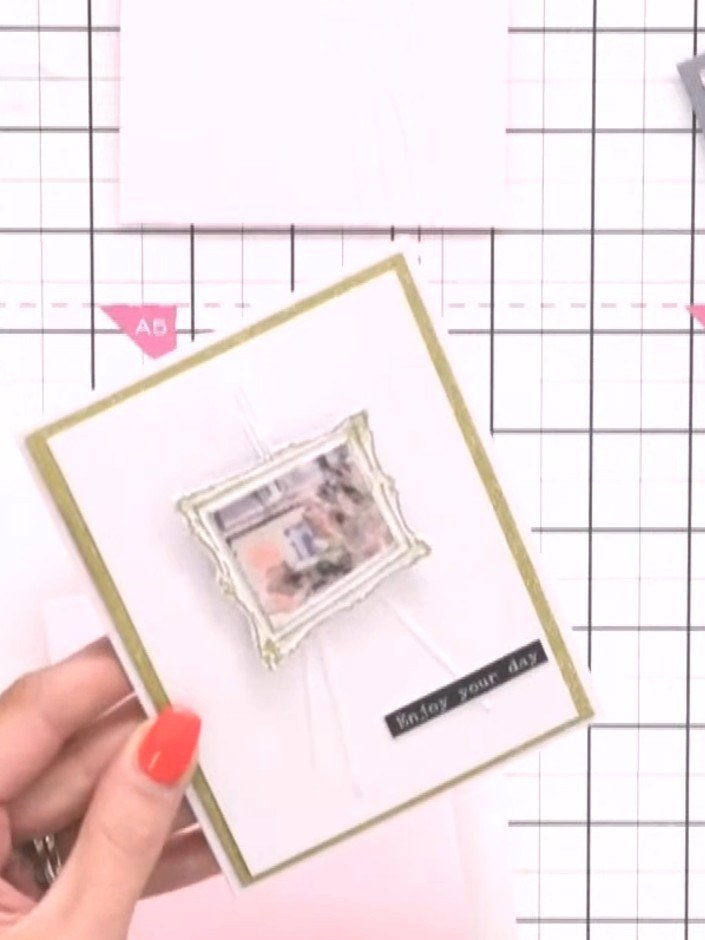
Use the 3D embossing folder to emboss the easel frame design onto a separate piece of white card stock. Run it through your die-cutting machine to create the raised frame pattern.
▶ watch this step (46:00)
Adhere the embossed Jasper piece to the front of your dove grey card blank. Position it centrally on the card front and press down firmly to secure.
▶ watch this step (47:00)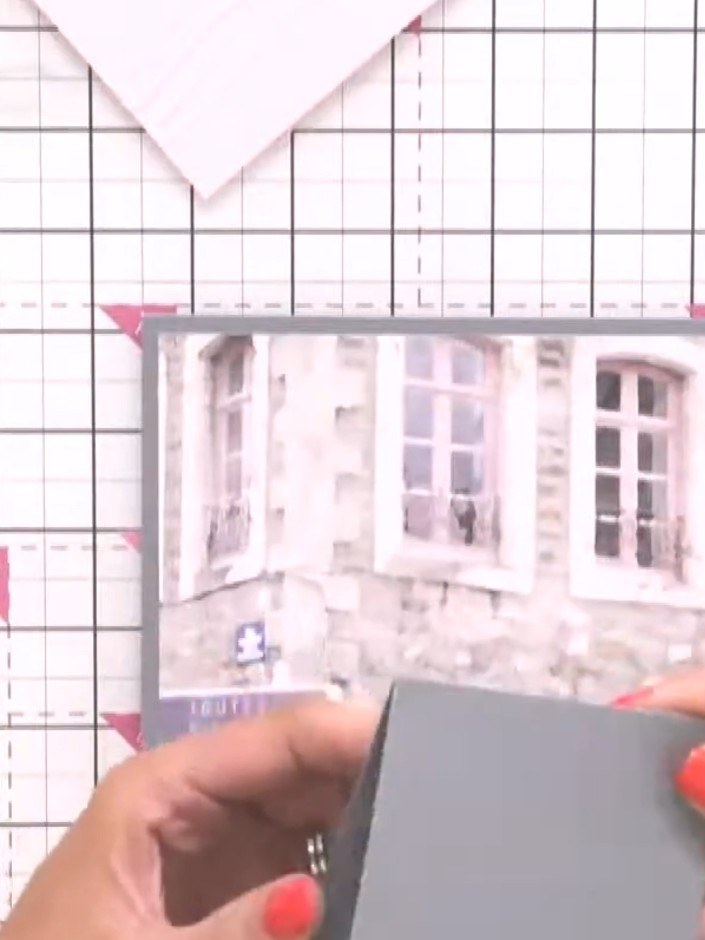
Create a tab from patterned paper offcuts. Trim the tab with scissors to create a decorative shape for visual interest.
▶ watch this step (47:30)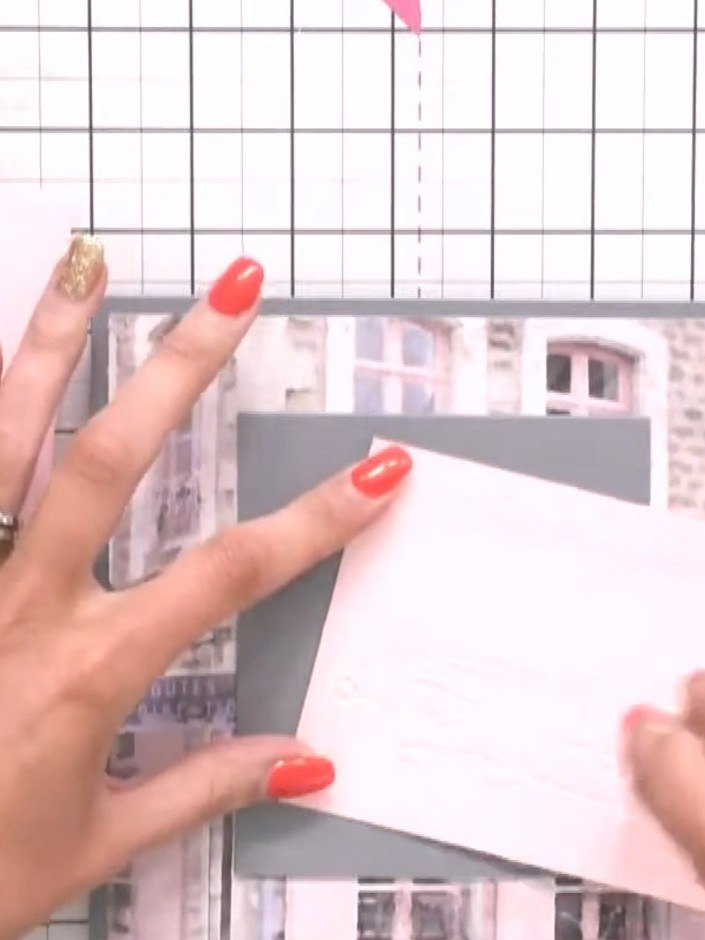
Stick the grey tab onto the front of the card to hide the embossing fold line. Position it carefully to cover the fold completely.
▶ watch this step (48:00)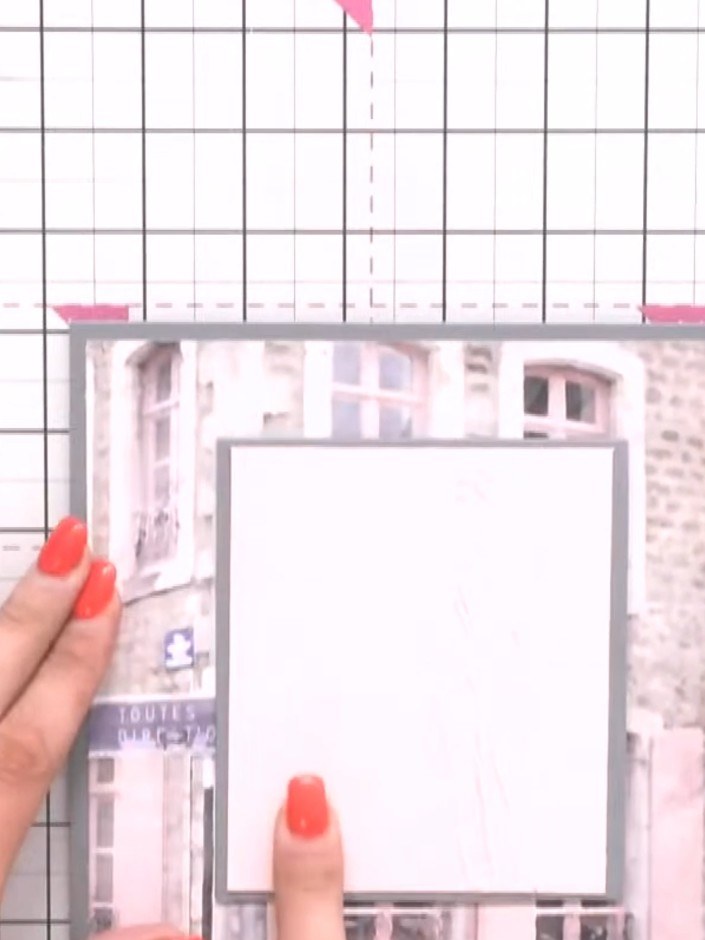
Adhere the smaller embossed easel frame inside the card as a nested insert. Position it centrally on the front panel of the card.
▶ watch this step (48:30)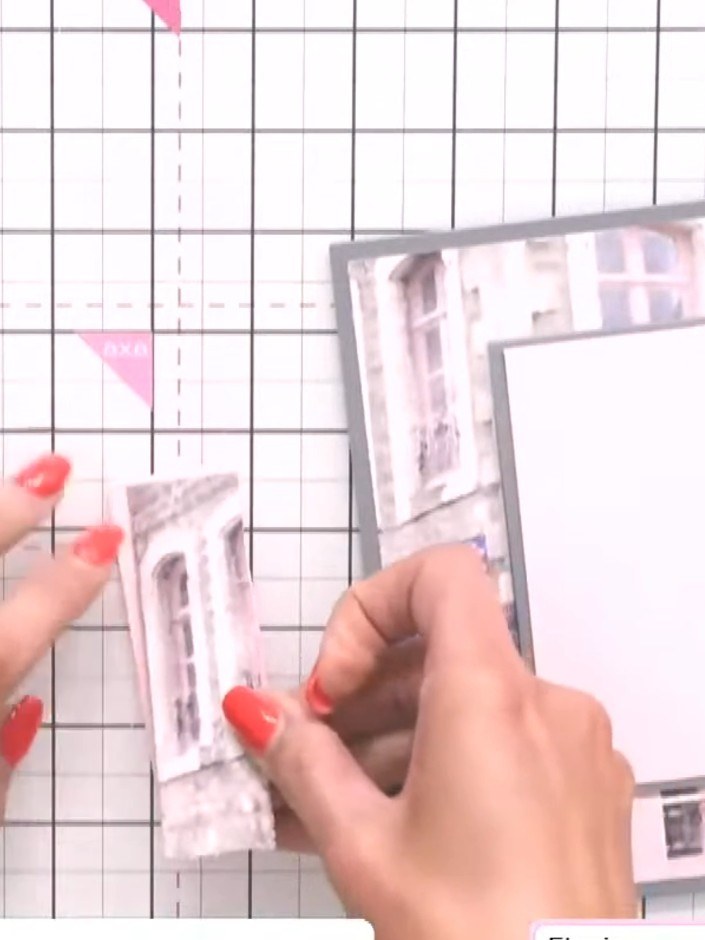
Write your invitation text or message inside the nested card insert using a pen or marker to personalise your card.
▶ watch this step (49:00)Written up from the show itself. See every guide from our shows · free how-to guides · watch live on My Telly