Give your friends £10 off their first order!
Refer a FRIEND








Prices change straight away. Every language is our own translation, not Google.
A project from our live show ONE DAY SPECIAL - Join Toni for her brand new launch - Broadcast 19th December 2025 · 19/12/2025 · watch it from 24:00
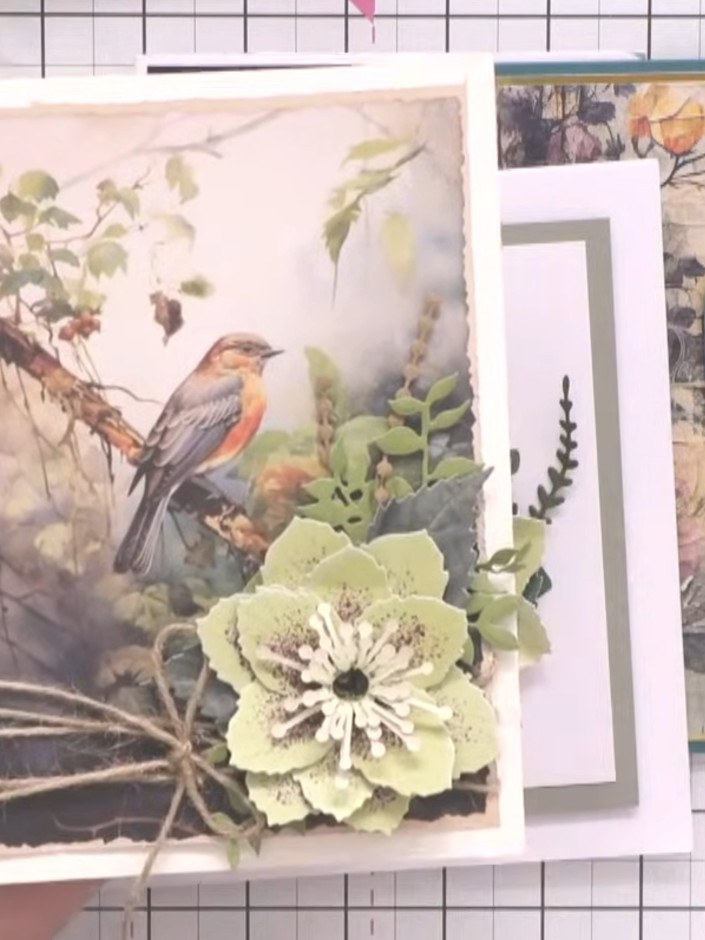
Create a beautiful layered card featuring delicate hellebore flowers with curled petals set against a moody Fern and Fog patterned background. This project combines die-cut dimensional flowers in soft yellows and creams with a nature-inspired bird scene, finished with twine embellishments. The design showcases layering techniques and how to coordinate floral elements with complementary background papers for a sophisticated, vintage-style greeting card.
 Stamps By Me - Floral Dimensions - Hellebore - 191225ASEE IT
 Stamps By Me - Fern and Fog Collection - 191225BSEE IT
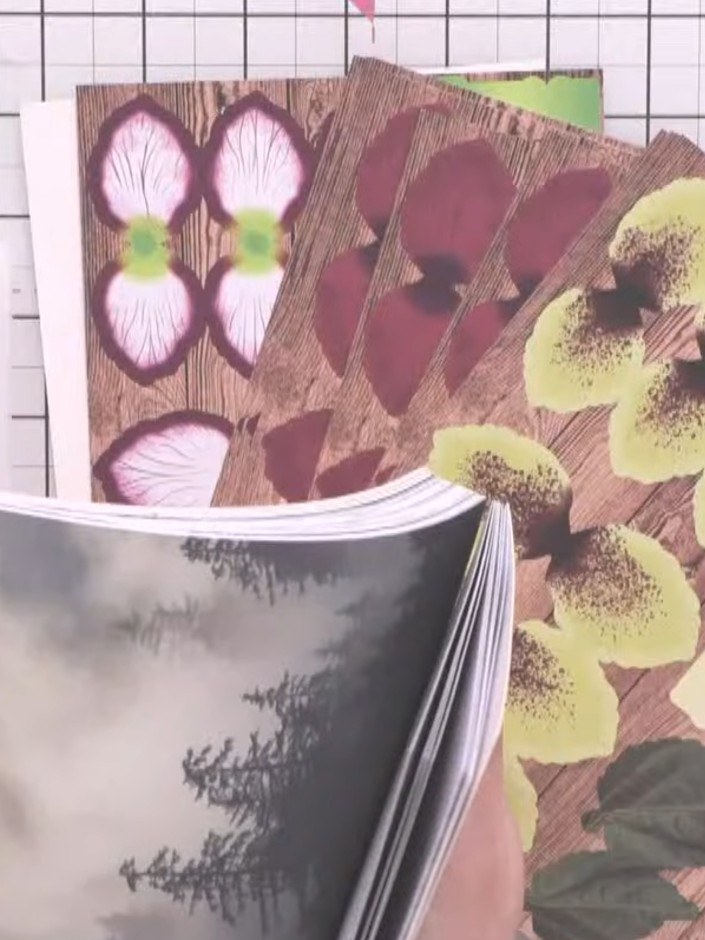
Select a coordinating page from the Fern and Fog bumper paper pack that complements your chosen flower colour. Choose a design that will work well as a background for your hellebore card.
▶ watch this step (24:15)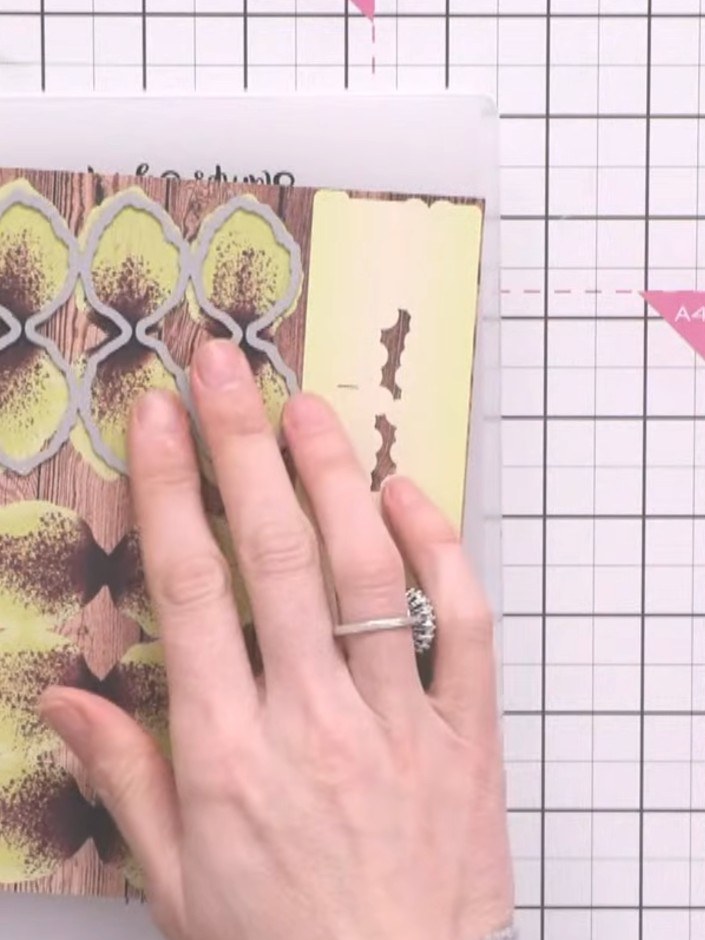
Place the preprinted Hellebore flower paper onto the die plate, ensuring the design aligns correctly. If the alignment is not quite right, flip the paper over as it is double-sided.
▶ watch this step (27:00)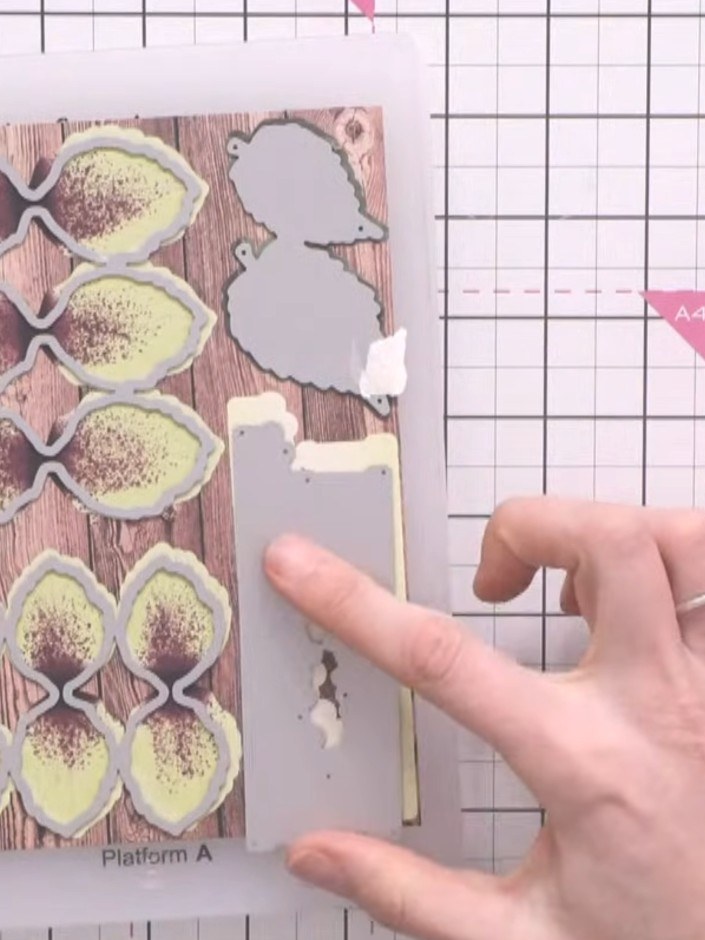
Run the paper and die through your cutting machine to cut out the flower petals and leaves. Remove the cut pieces from the backing sheet.
▶ watch this step (27:30)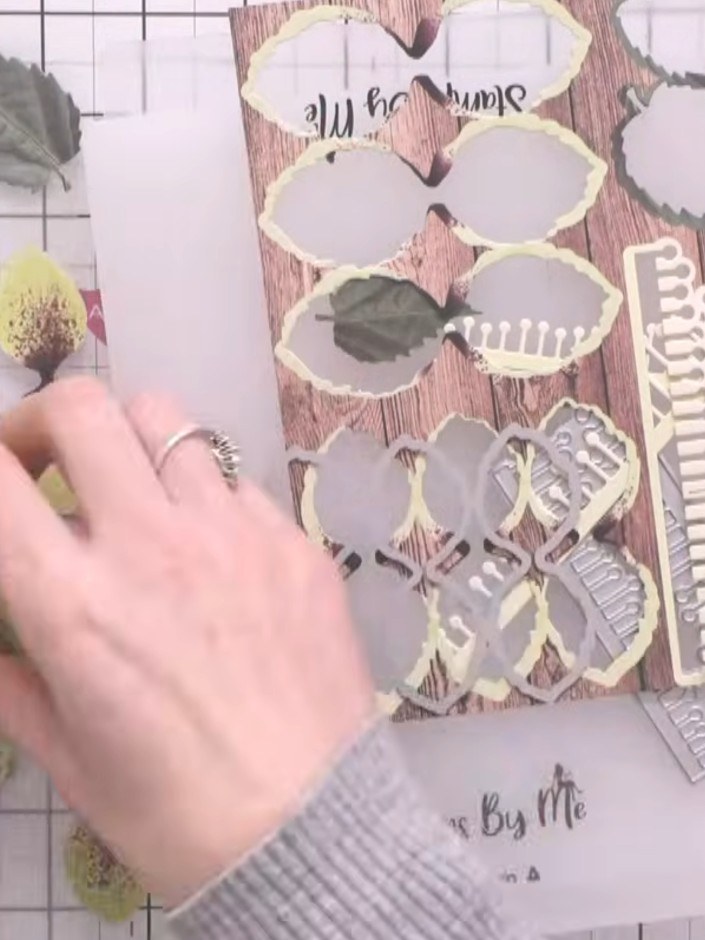
Remove all the die-cut hellebore flower pieces from the cutting plate. Carefully pop out each petal and flower element from the woodgrain patterned card.
▶ watch this step (29:15)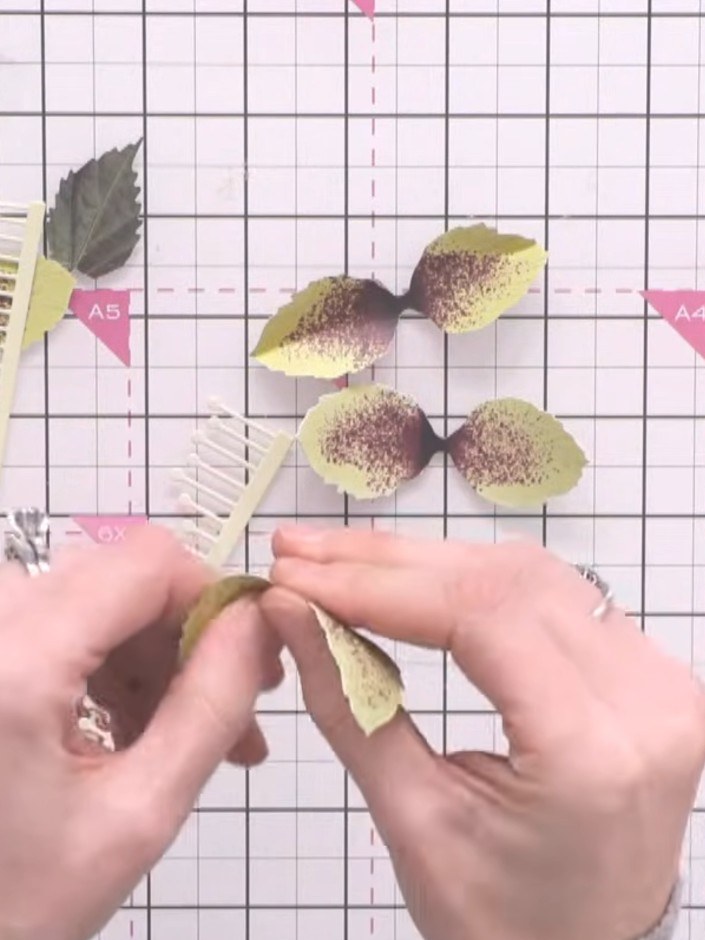
Curl the yellow and brown flower petals inward using your fingers to create dimension and shape for the hellebore blooms.
▶ watch this step (31:00)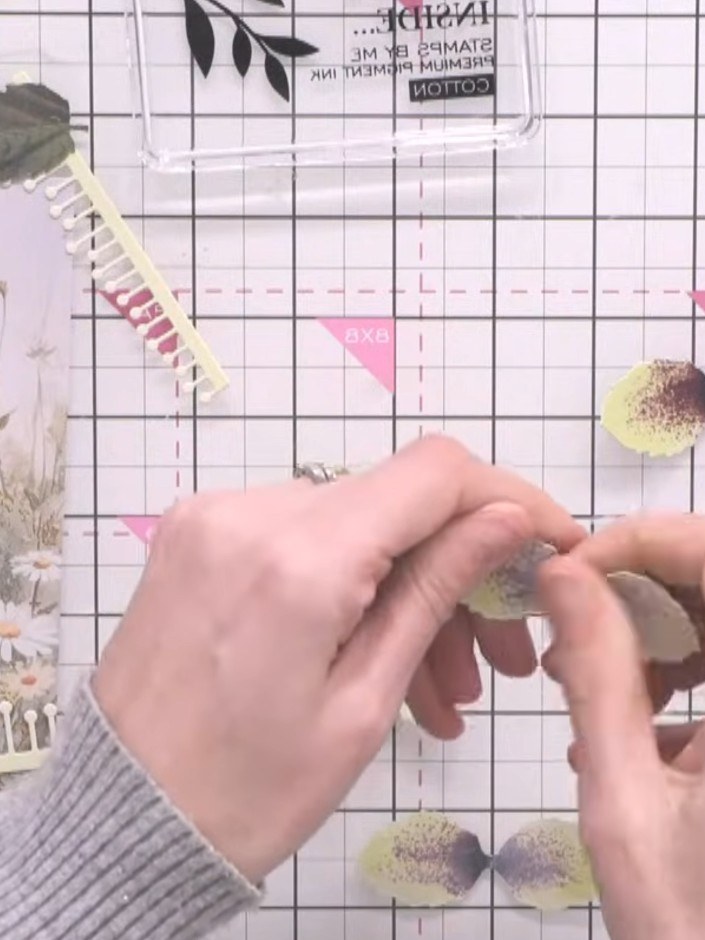
Use a white ink pad to soften the edges of the hellebore petals, blending away any harsh lines to create a more natural appearance.
▶ watch this step (33:15)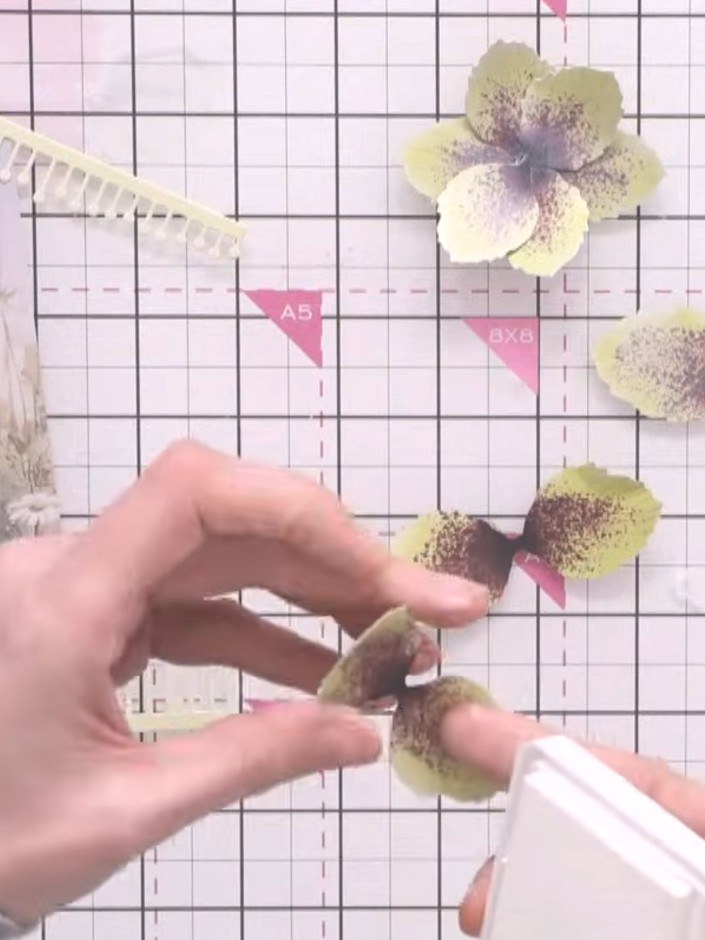
Glue the petals together to form the complete flower shape. Arrange the petals in a circular formation, overlapping them slightly to create a natural hellebore bloom.
▶ watch this step (35:00)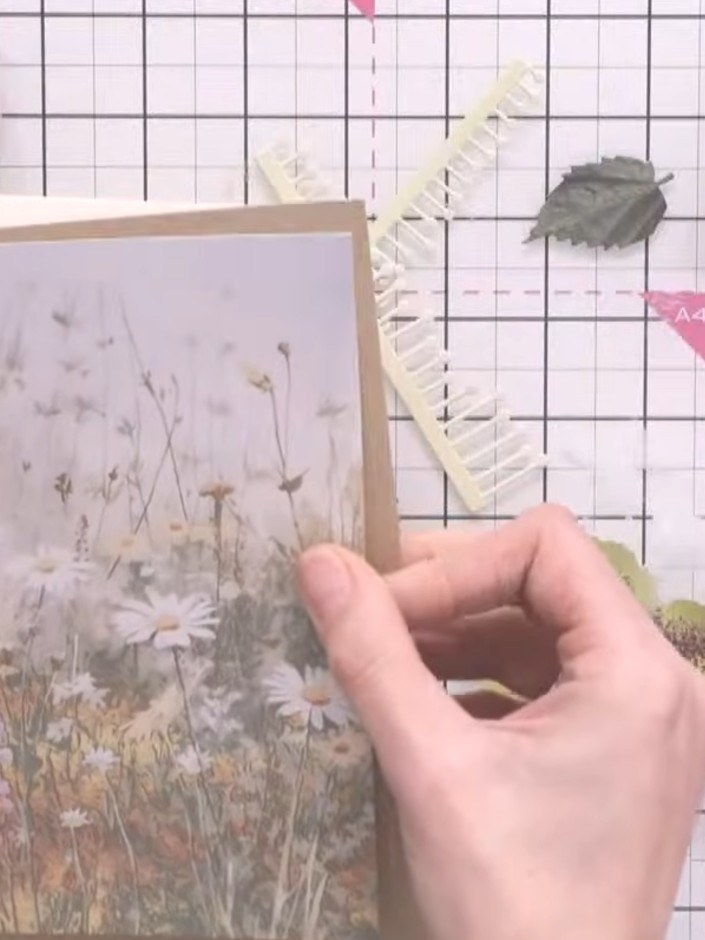
Mount the Fern and Fog patterned paper onto a cream card blank using adhesive.
▶ watch this step (36:45)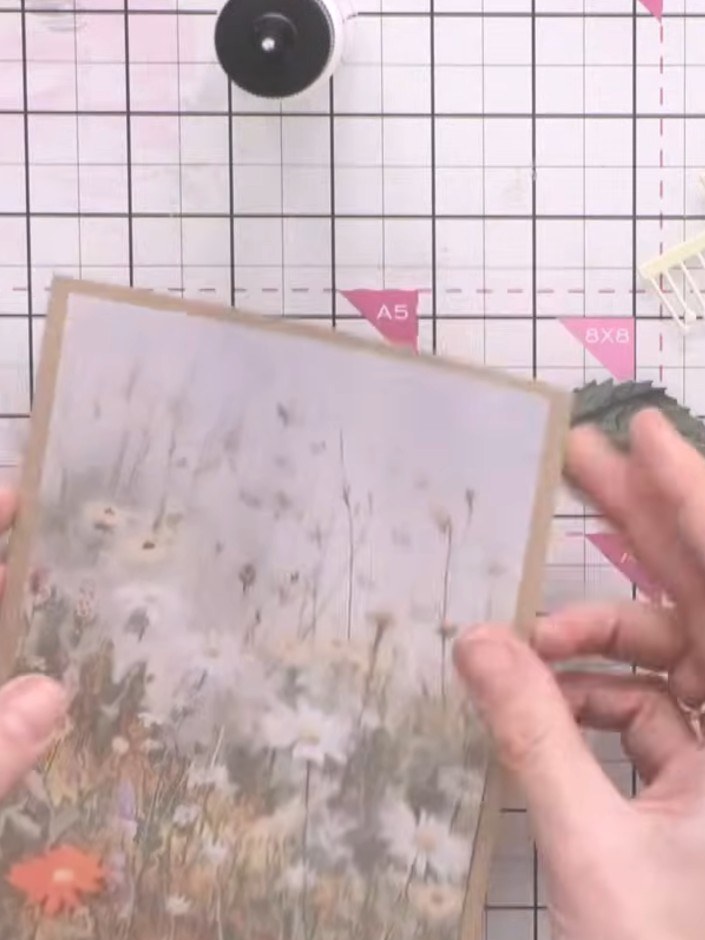
Adhere the layered hellebore flower to the centre of your card front using adhesive.
▶ watch this step (37:45)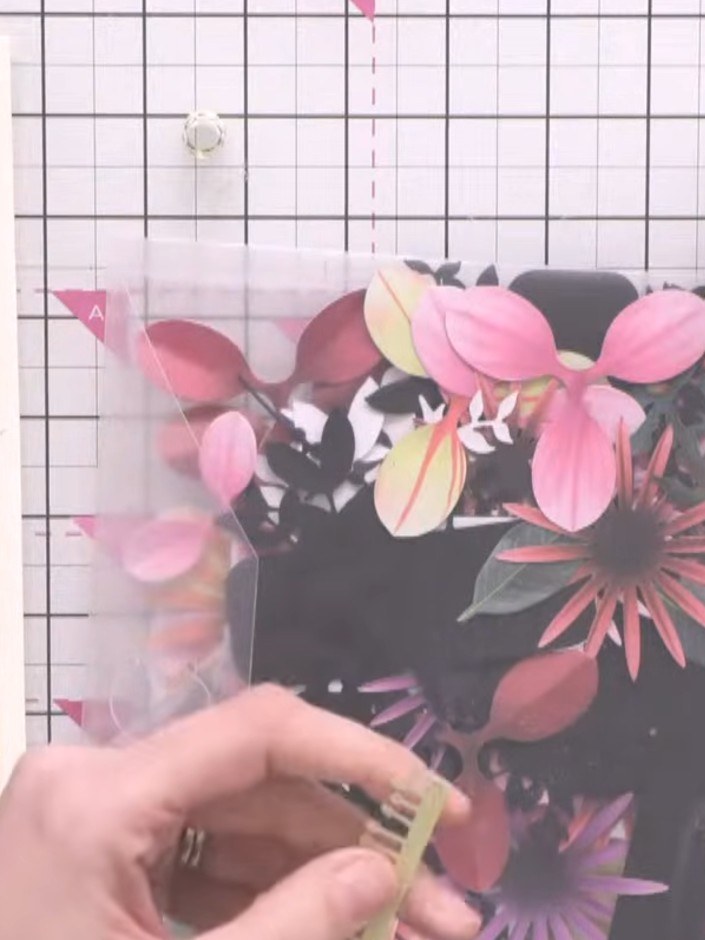
Roll additional petals around a pen or quilling tool to create extra dimension and bulk out the flower centre. Use the pink and cream petals from the floral paper to add volume.
▶ watch this step (40:15)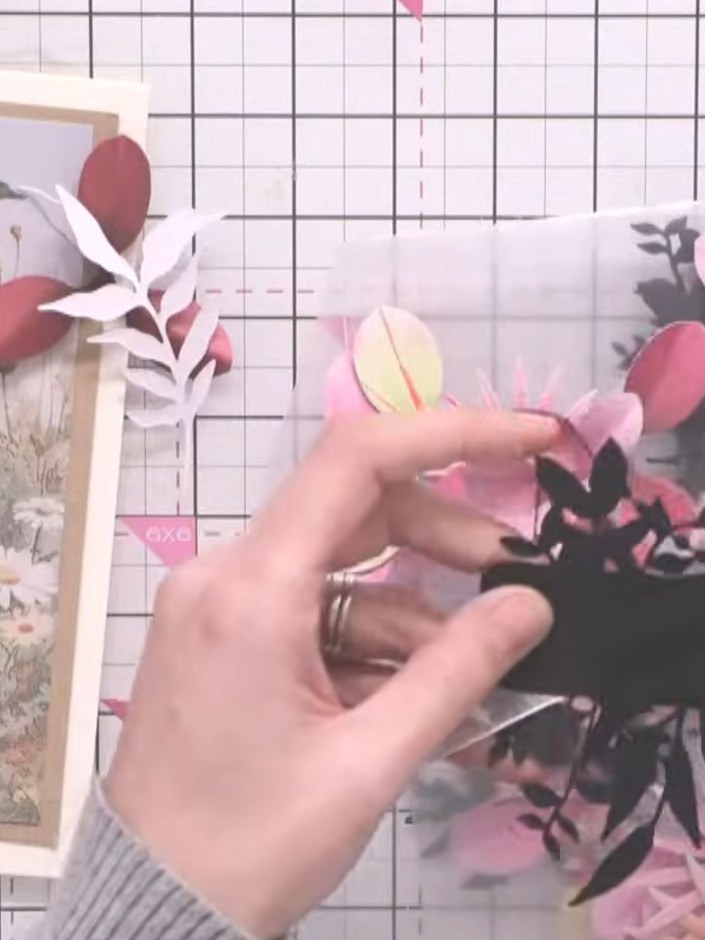
Add complementary leaves and foliage from the die-cut floral sheet around the hellebore flower to complete the arrangement. Layer different leaf shapes and sizes to create depth and balance in your design.
▶ watch this step (42:15)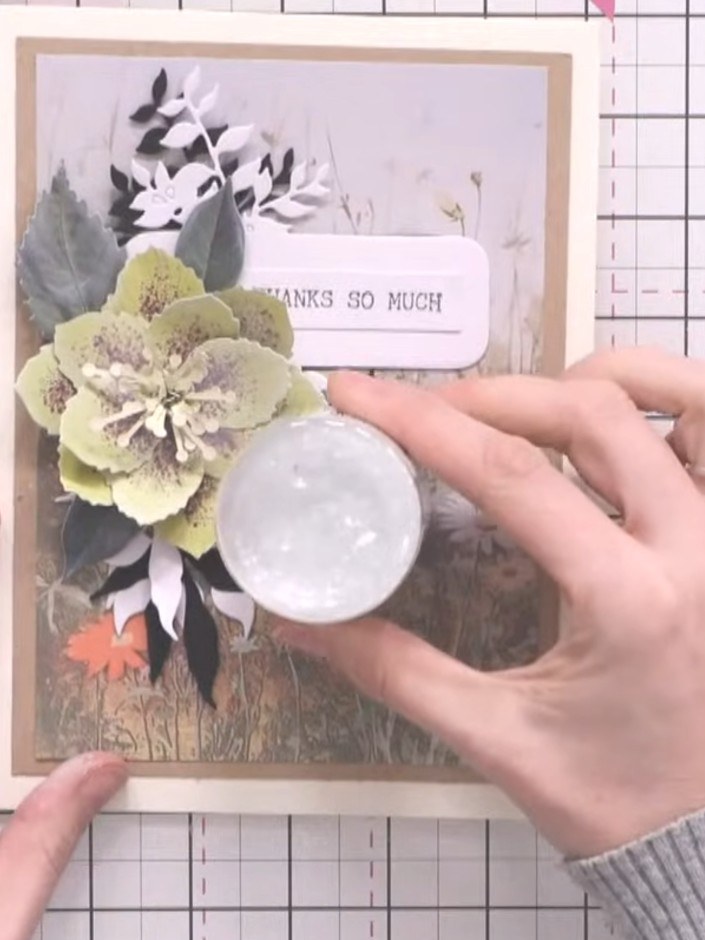
For an optional glass-like finish, apply colourless glitter or sparkle media to the white circular element on your card.
▶ watch this step (49:30)Written up from the show itself. See every guide from our shows · free how-to guides · watch live on My Telly


