Give your friends £10 off their first order!
Refer a FRIEND








A project from our live show Create Together Club - Chapter 4 - Broadcast 30TH April 24 · 30/04/2024 · watch it from 10:15
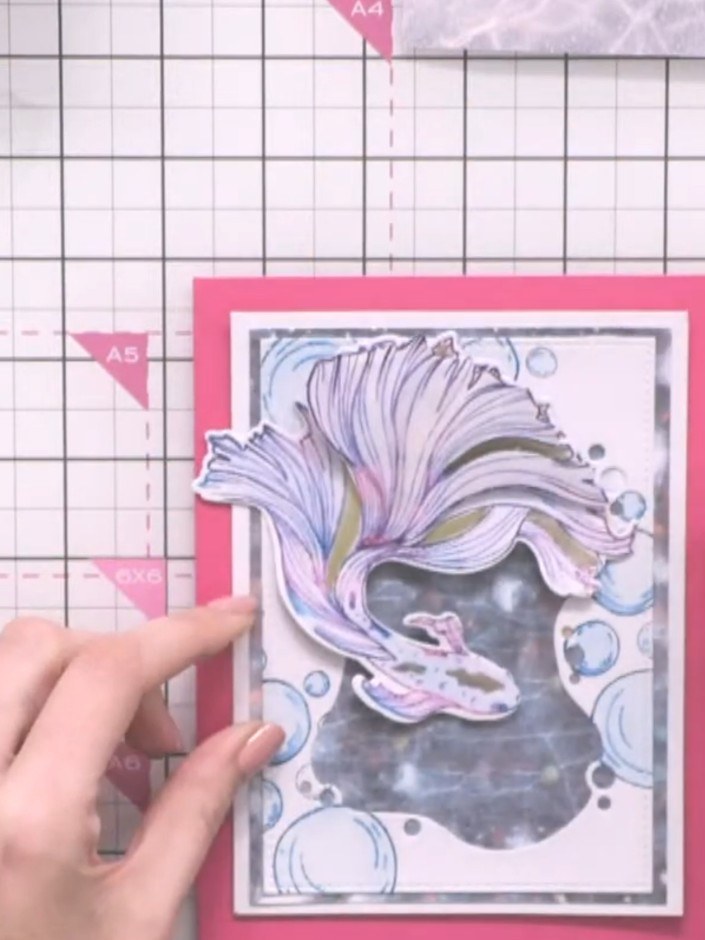
Create a stunning A5 card featuring an elegant fish with flowing fins as the centrepiece. Using watercolour techniques, you'll paint the fish in beautiful purples and blues with gold confetti accents, then layer it dimensionally on a pink card base. Complete the design with decorative bubble embellishments for a serene, artistic finish.
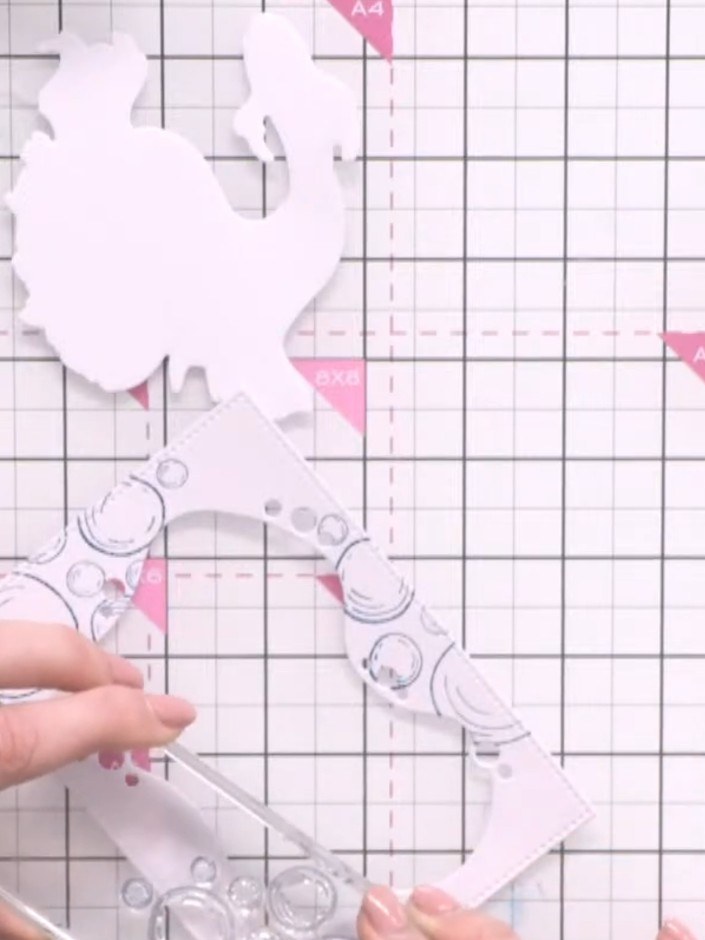
Stamp the bubble design onto the edge of the frame using teal ink and an acrylic block. Position the stamp along the edge to create a decorative border.
▶ watch this step (18:45)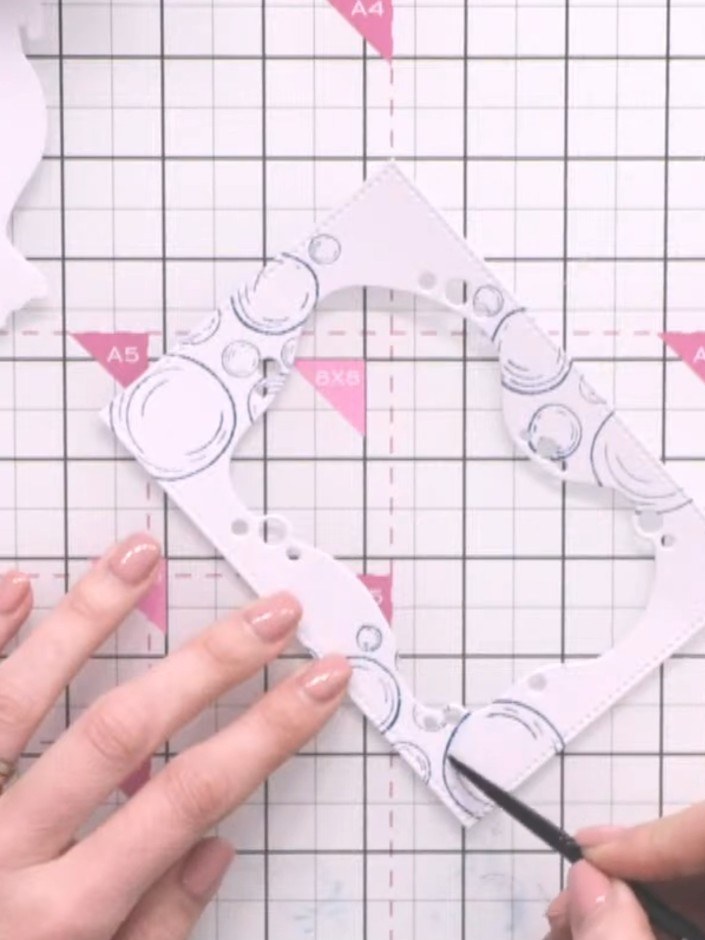
Wet a brush and pull the teal ink outward from the stamped circles to create a soft watercolour halo effect on the frame.
▶ watch this step (20:15)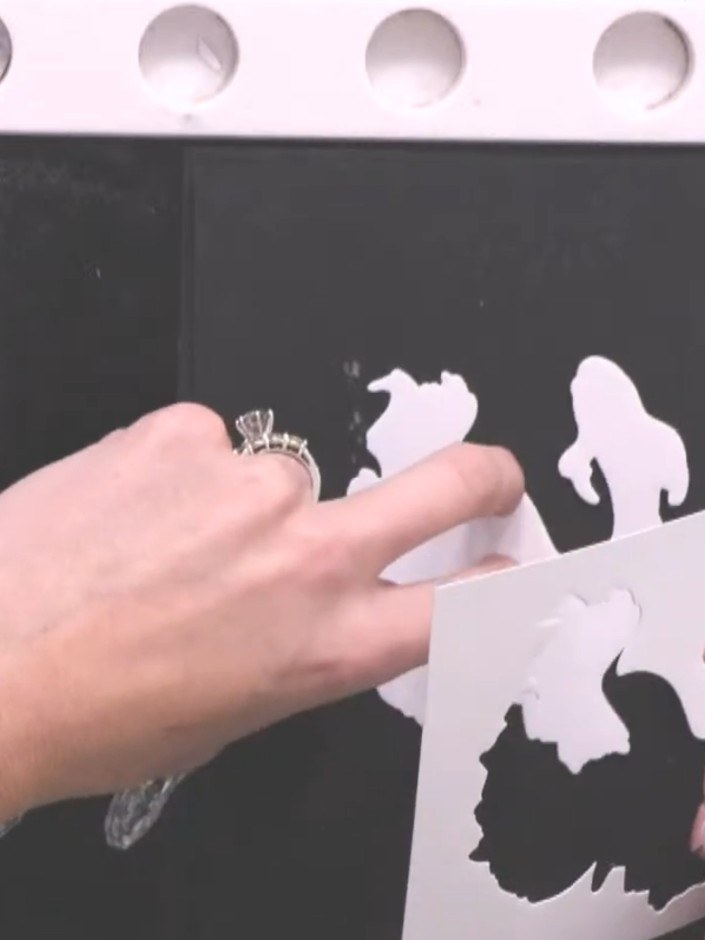
Place the die-cut fish back into the waste framework using a stamping aid. Ink the fish with purple and teal inks, ensuring full coverage of the stamp.
▶ watch this step (22:30)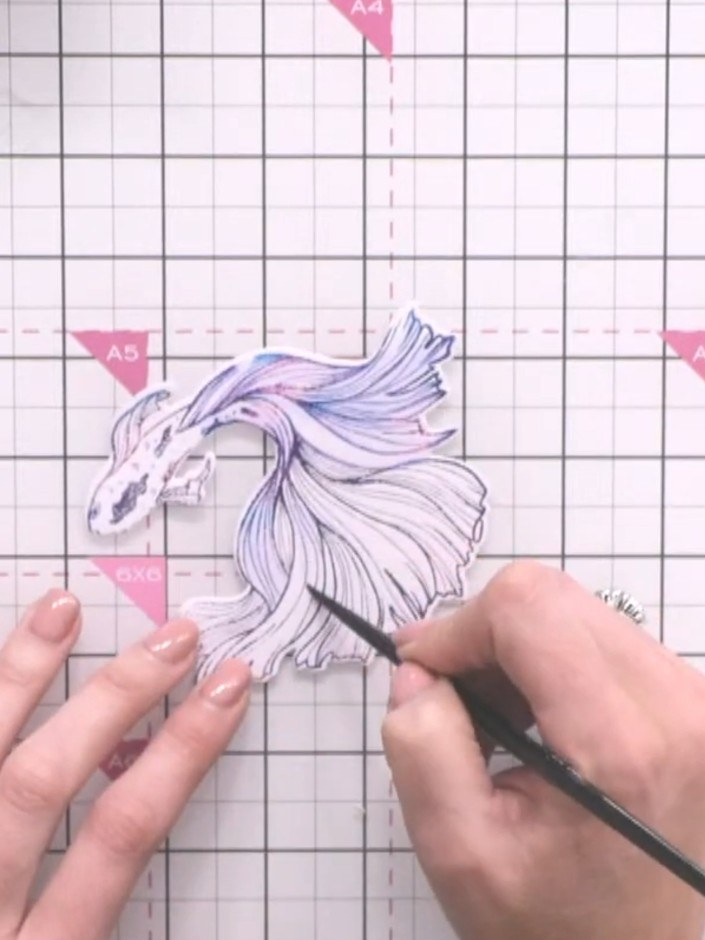
Wet the fish with water using a paintbrush and drag the inked colours outward to create a watercolour effect. Leave some white areas for contrast, particularly on the tail and body.
▶ watch this step (26:15)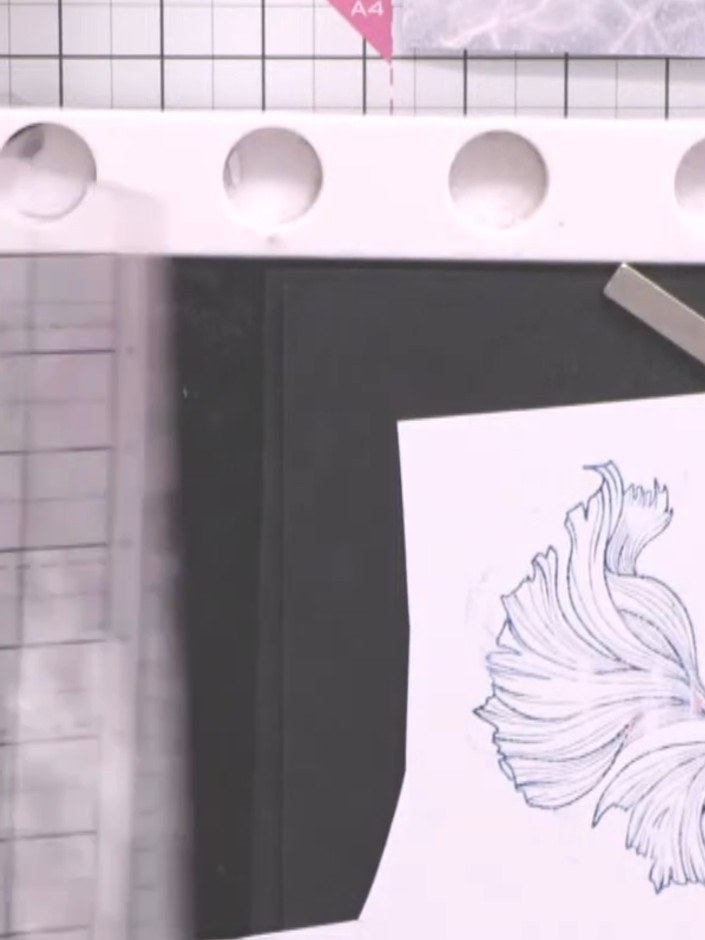
Stamp the fish tail image again on a separate piece of white cardstock using purple and blue inks.
▶ watch this step (35:15)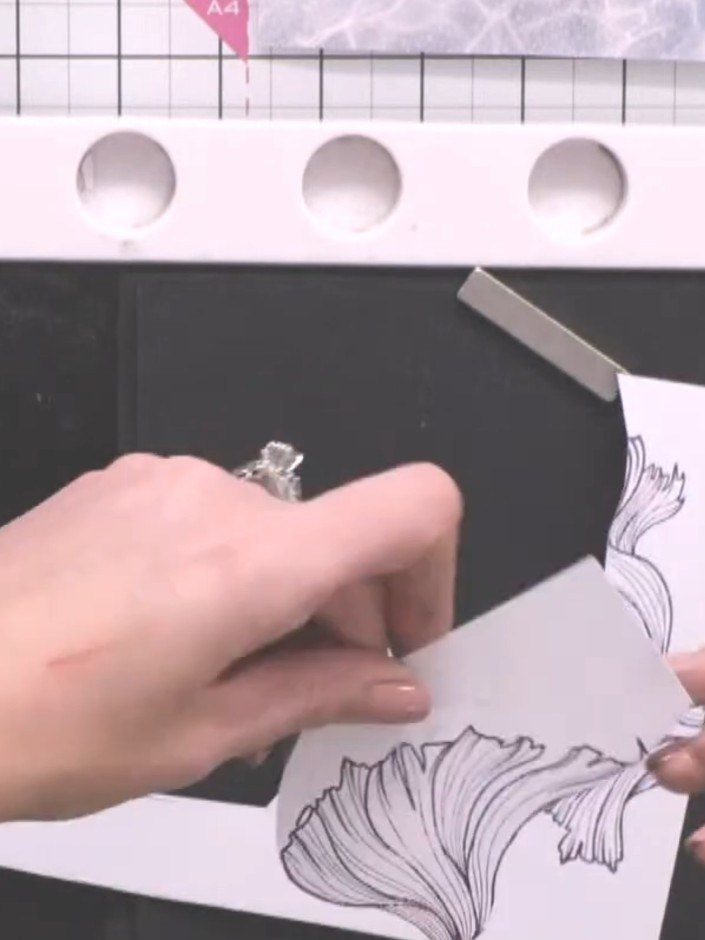
Using scissors, carefully cut away the tail section of the fish image. This will create a floating effect when the pieces are layered together on your card.
▶ watch this step (36:30)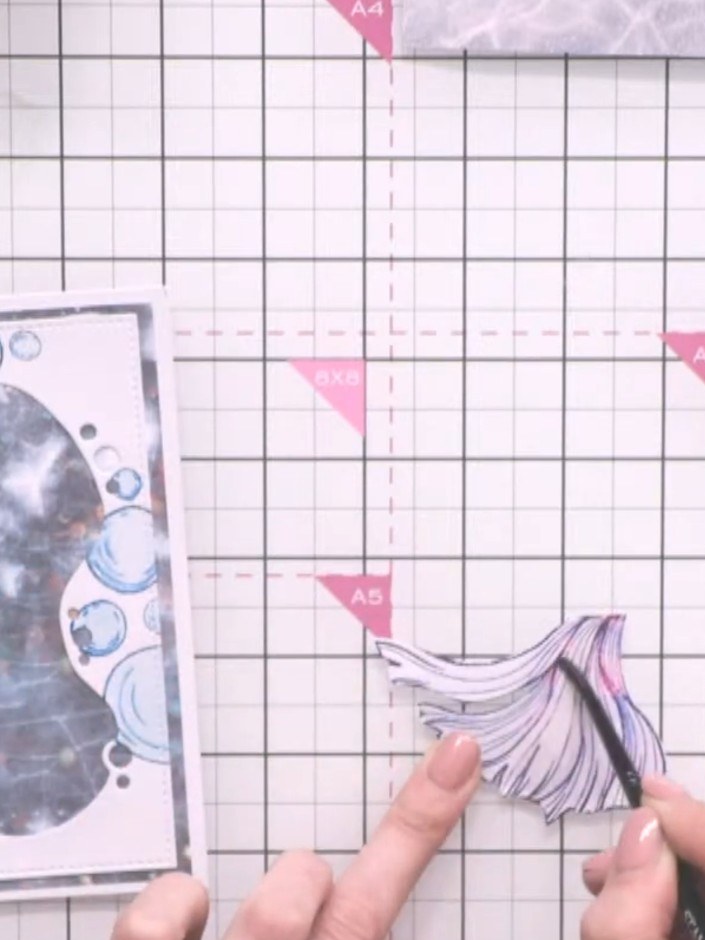
Use a wet brush to drag and blend the colours on the fish tail, creating dimension and a watercolour effect.
▶ watch this step (38:30)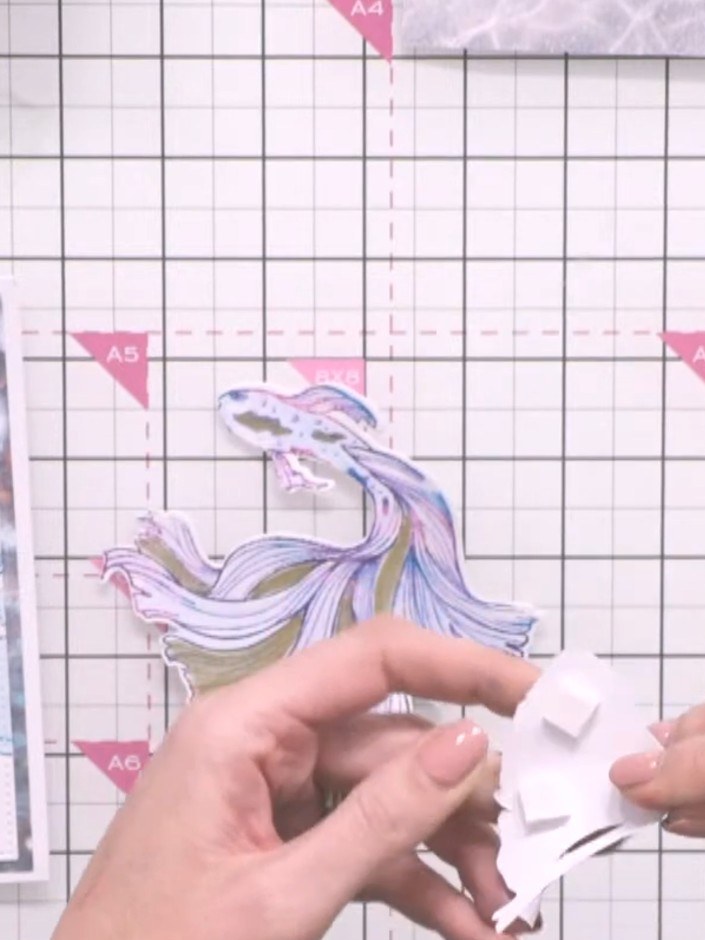
Layer the tail piece onto the main fish body using foam pads to create height and dimension.
▶ watch this step (39:30)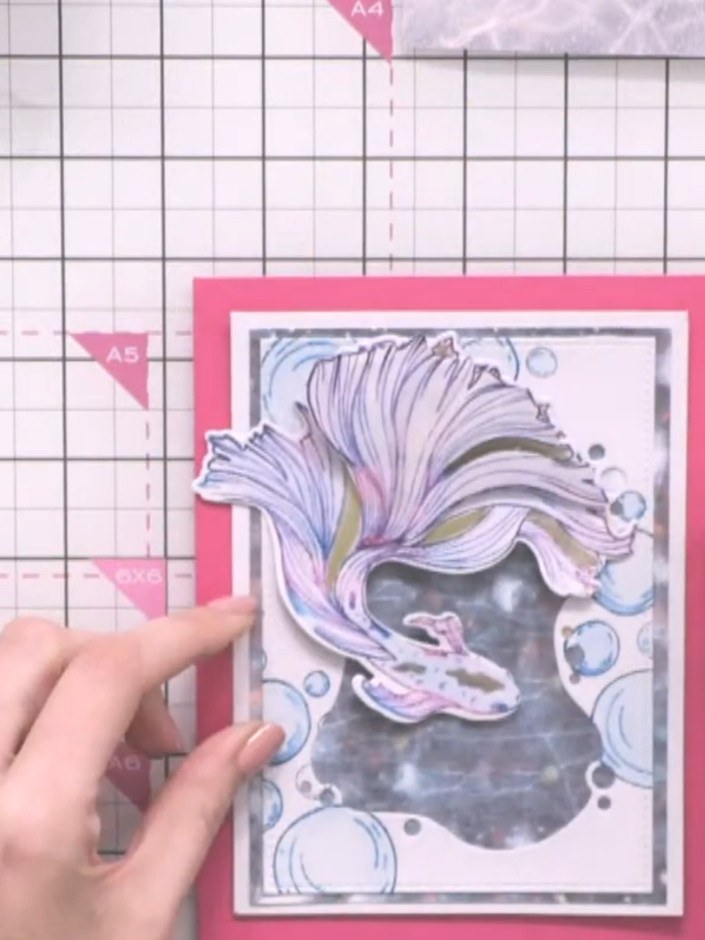
Mount the layered fish topper onto a pink A5 card base. Position the embossed frame behind the fish design to create dimension.
▶ watch this step (42:15)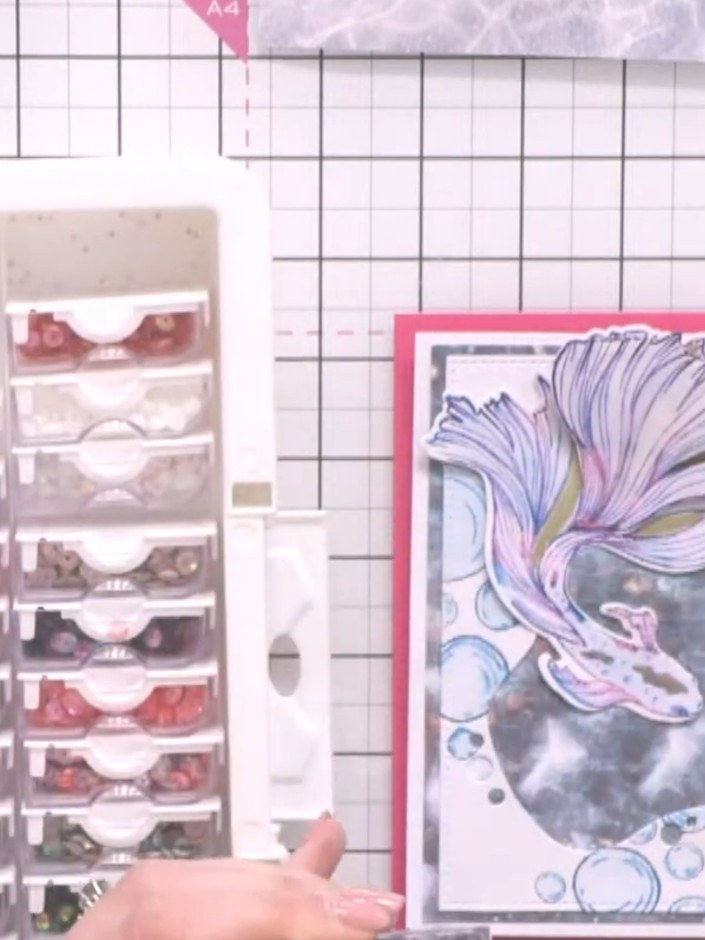
Add bubble gems around the frame holes using a pickup tool to embellish the card.
▶ watch this step (46:00)Written up from the show itself. See every guide from our shows · free how-to guides · watch live on My Telly