Give your friends £10 off their first order!
Refer a FRIEND








A project from our live show Create Together Club - Chapter 4 - Broadcast 8TH May 24 · 08/05/2024 · watch it from 10:30
Create a charming tea wallet gift holder featuring decorative floral stamps and sentiment designs. This folded paper project uses simple cutting and folding techniques to create multiple pockets perfect for holding gift cards, tea bags, or personal notes. The finished wallet showcases beautiful black and white botanical illustrations with touches of sparkle and dimension.
 Circle Craft Punch - 1 Inch - 170926ZSEE IT
 Circle Craft Punch - 2 InchSEE IT
 Stamps By Me - Perfect Together PVA Glue 30ML - 201120DSEE IT
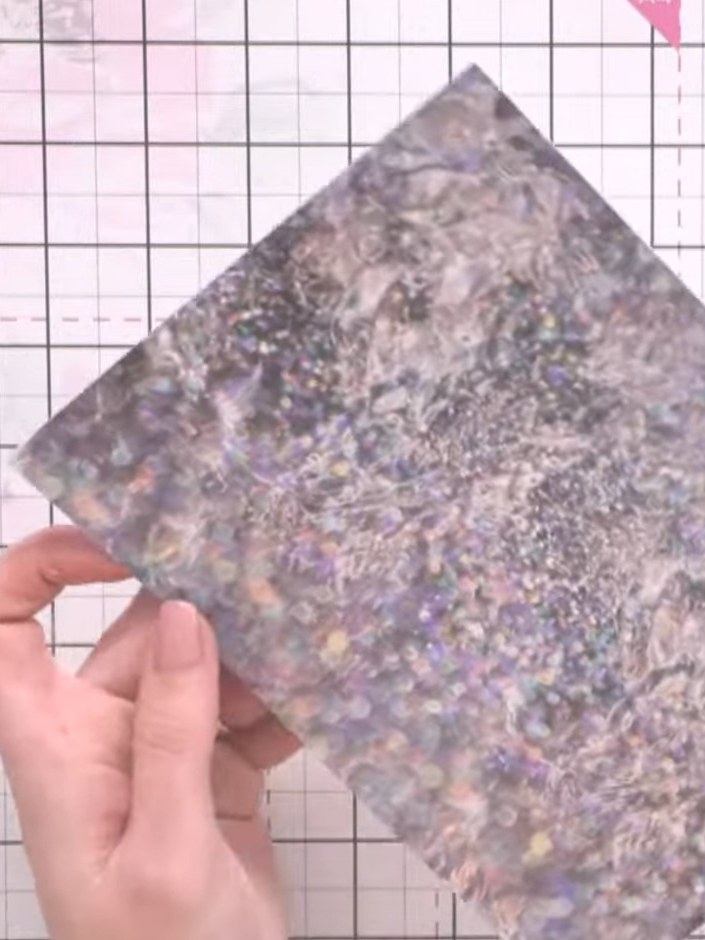
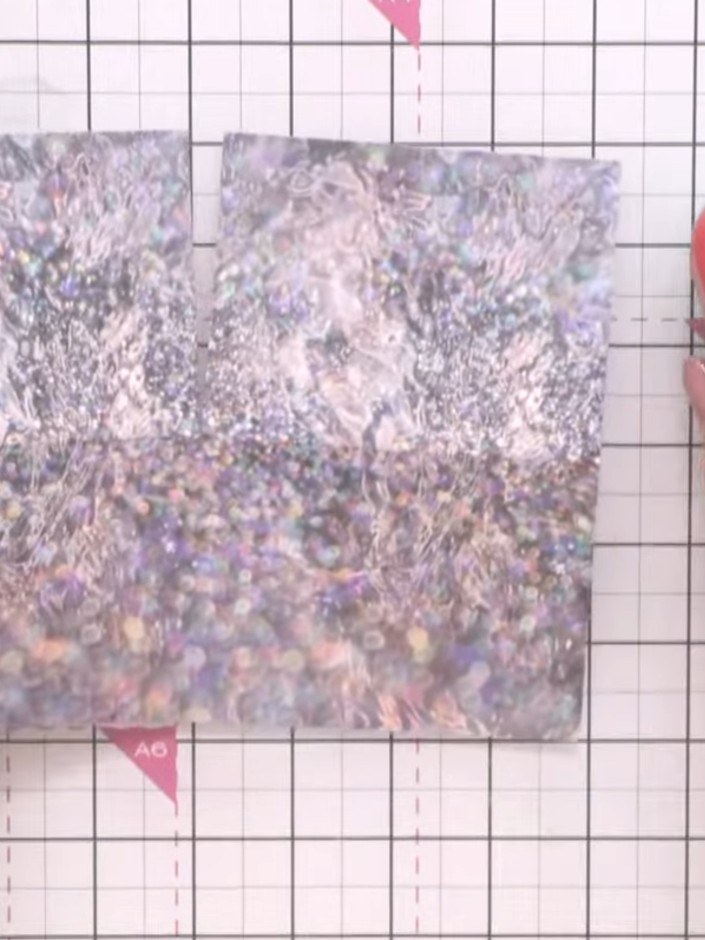
Cut a piece of paper from your paper pad to 6 by 8 inches (15 x 20 cm).
▶ watch this step (10:45)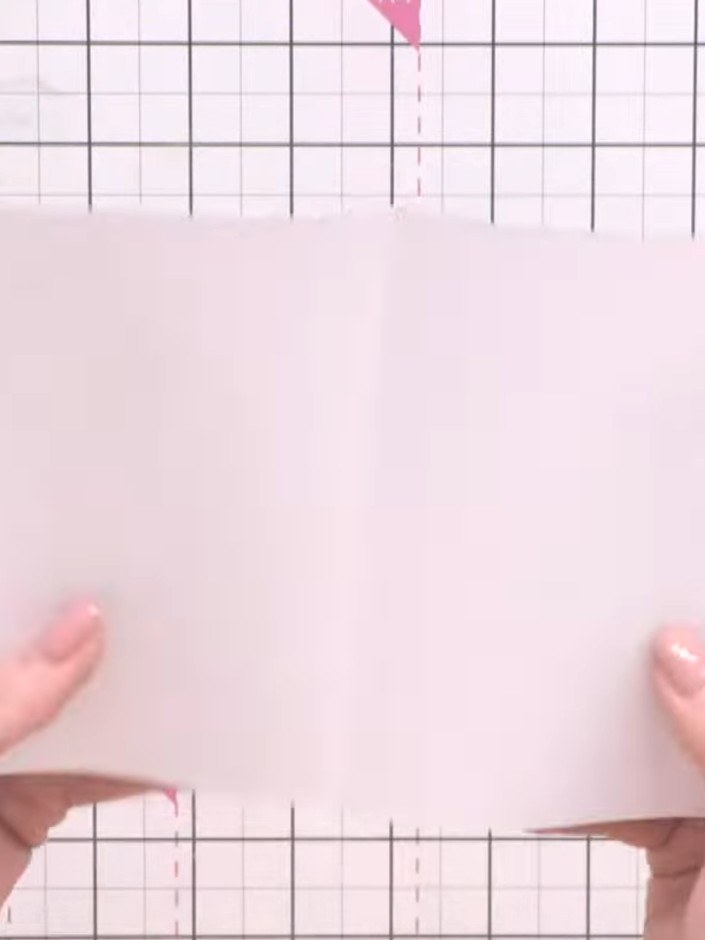
Fold the paper in half lengthways, then unfold it and fold it in half widthways to create score lines for the wallet structure.
▶ watch this step (12:00)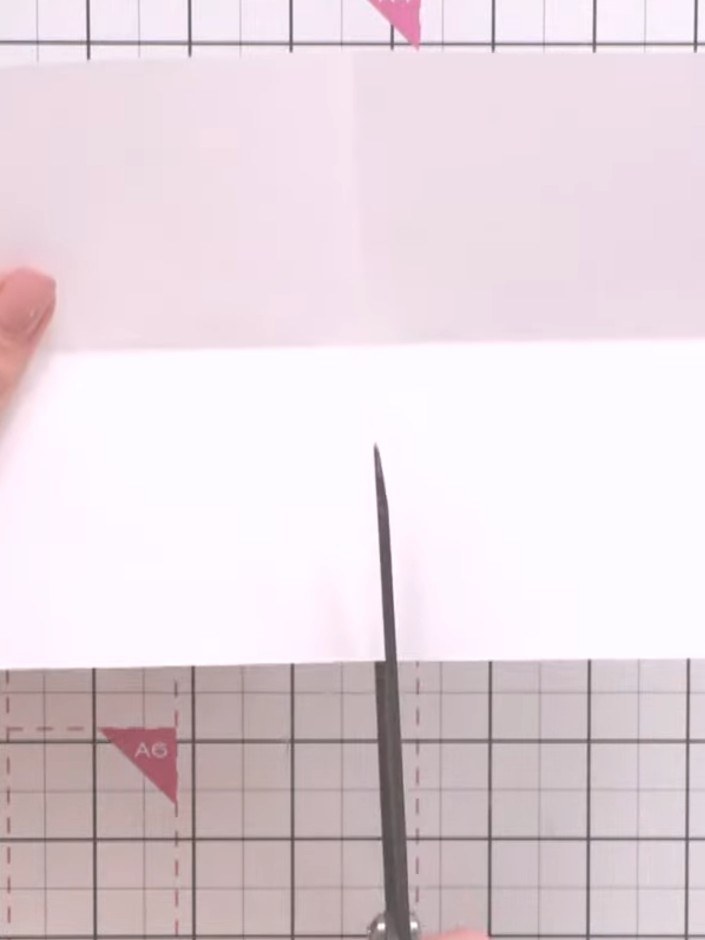
Turn the paper landscape orientation (long way horizontal). Cut from the bottom of the score line up to the middle of the paper to create a slit.
▶ watch this step (12:30)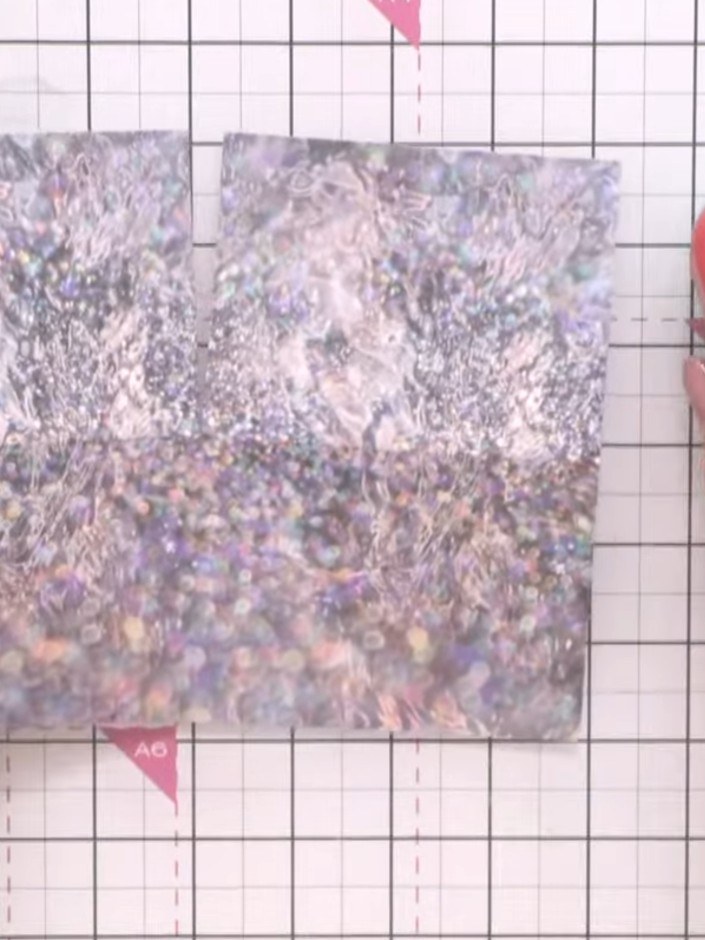
Use a 1-inch circle punch to punch a hole in the folded side panel of the decorative paper to create a pocket detail.
▶ watch this step (13:00)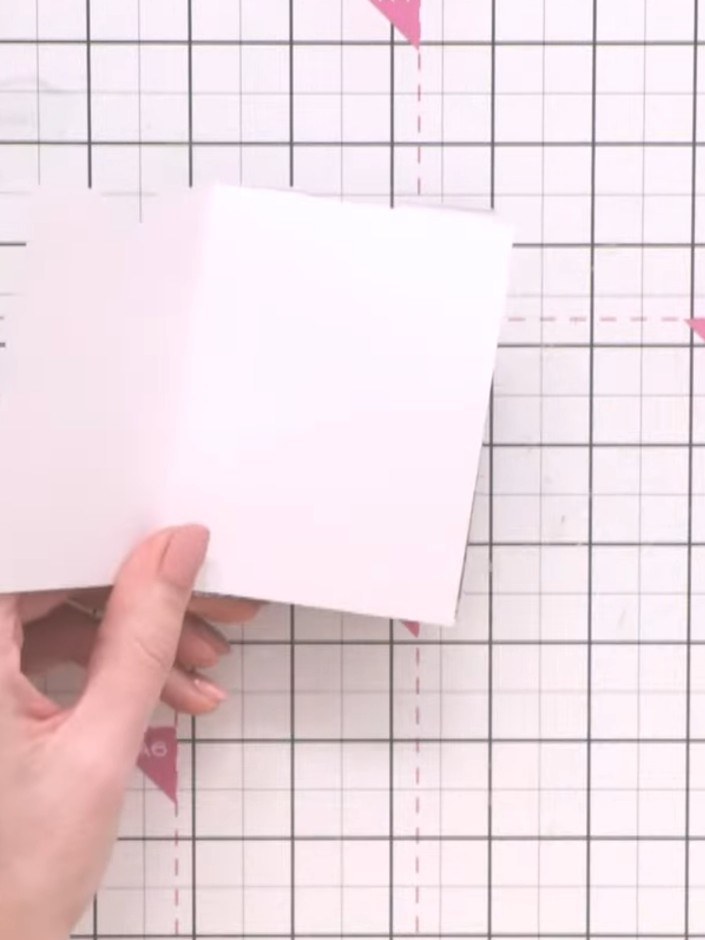
Apply PVA glue to the sides and bottom of the patterned paper pocket piece. Position and press it onto the pink card base to secure the pocket in place.
▶ watch this step (14:00)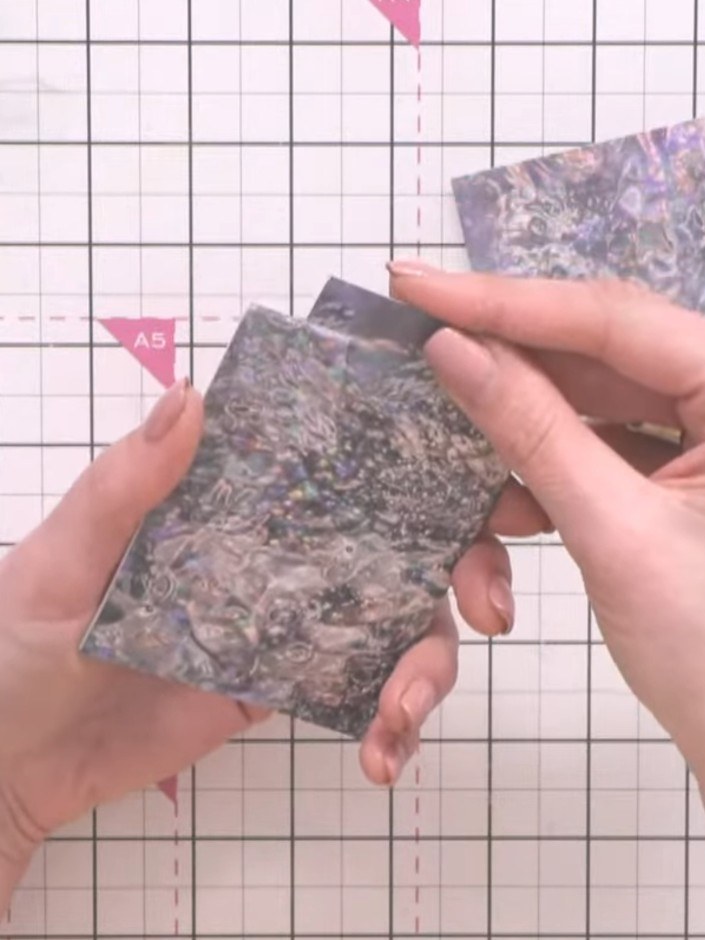
Cut the decorative patterned paper into strips to create tags. These tags will slot into the top opening of the wallet to create a decorative edge.
▶ watch this step (17:30)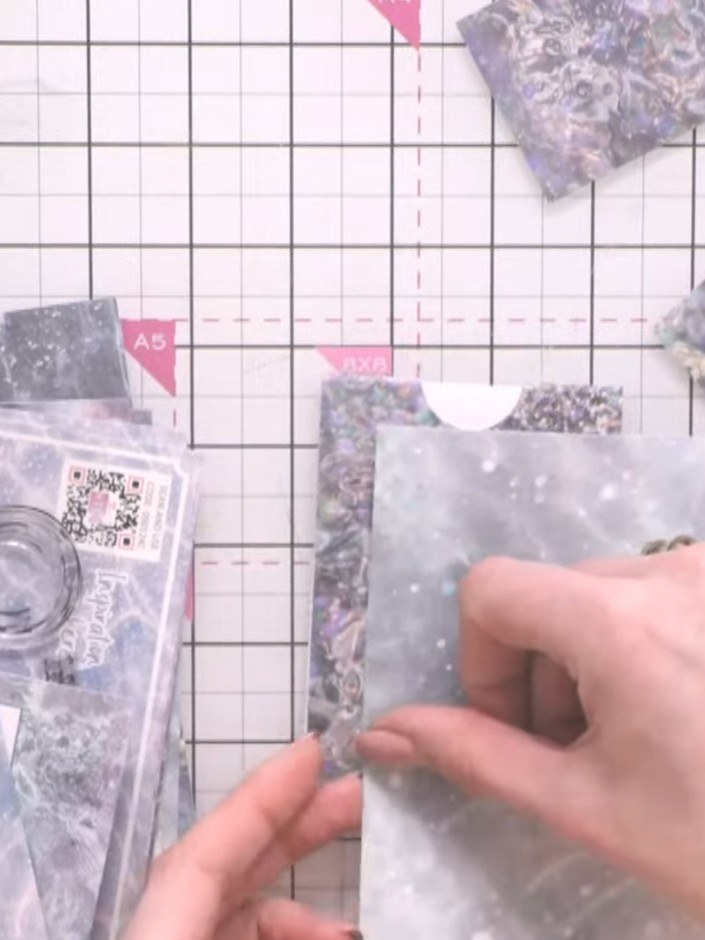
Layer additional decorative paper panels inside the pockets for visual interest and contrast. Use papers from your stash that complement the design.
▶ watch this step (19:00)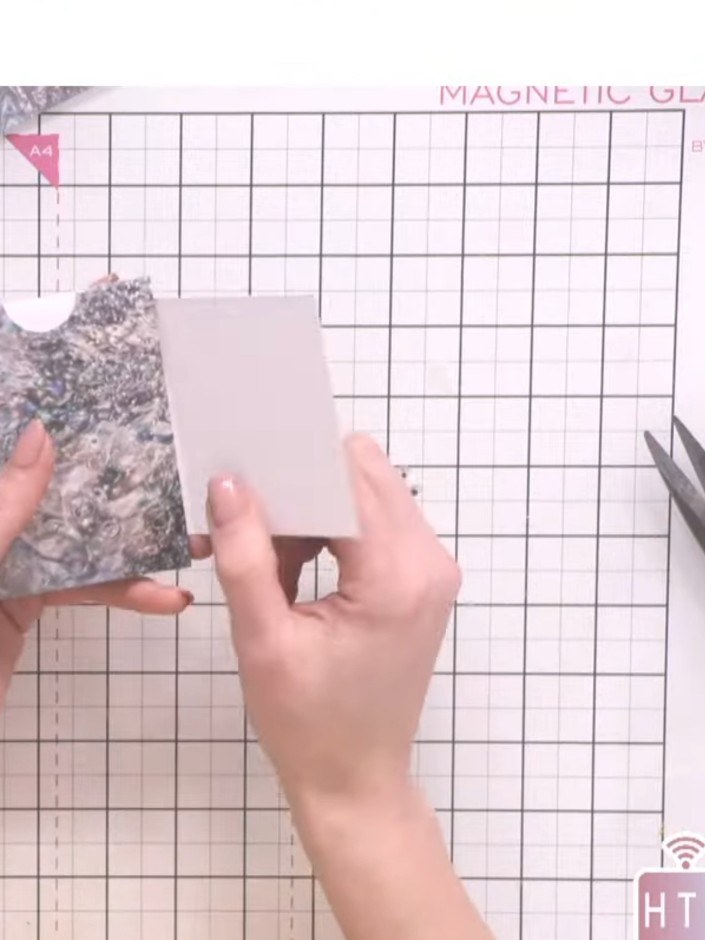
Stamp the flower design from the stamp set onto white paper using dye ink. Position the stamp carefully and press firmly to transfer the image.
▶ watch this step (21:00)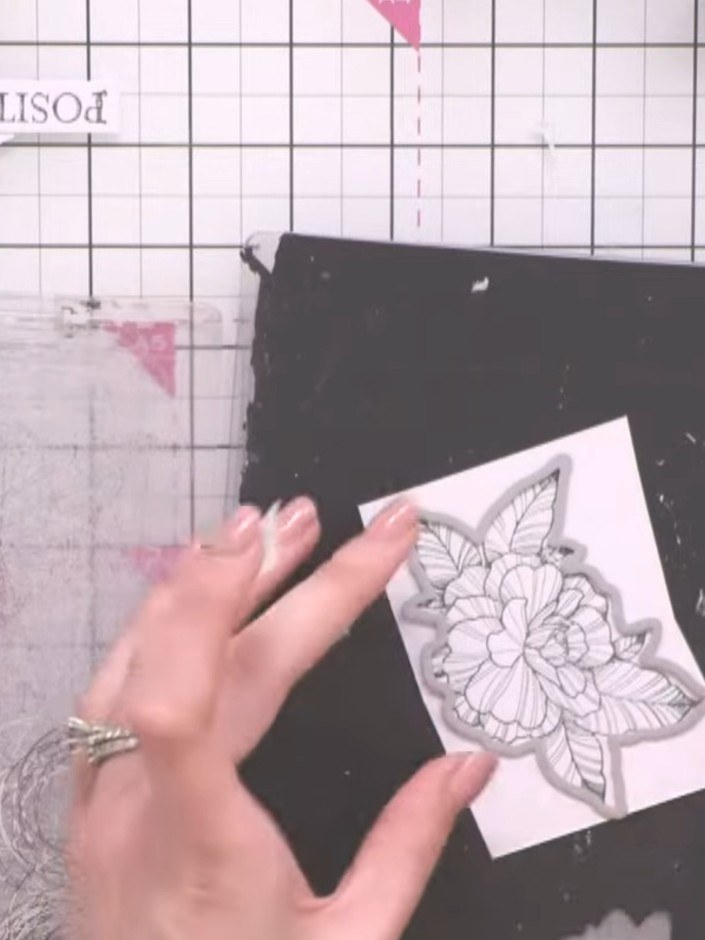
Die-cut the stamped flower designs using the appropriate die from the Create Together Club Chapter 4 set. Position the stamped image on the cutting mat and run through your die-cutting machine.
▶ watch this step (27:00)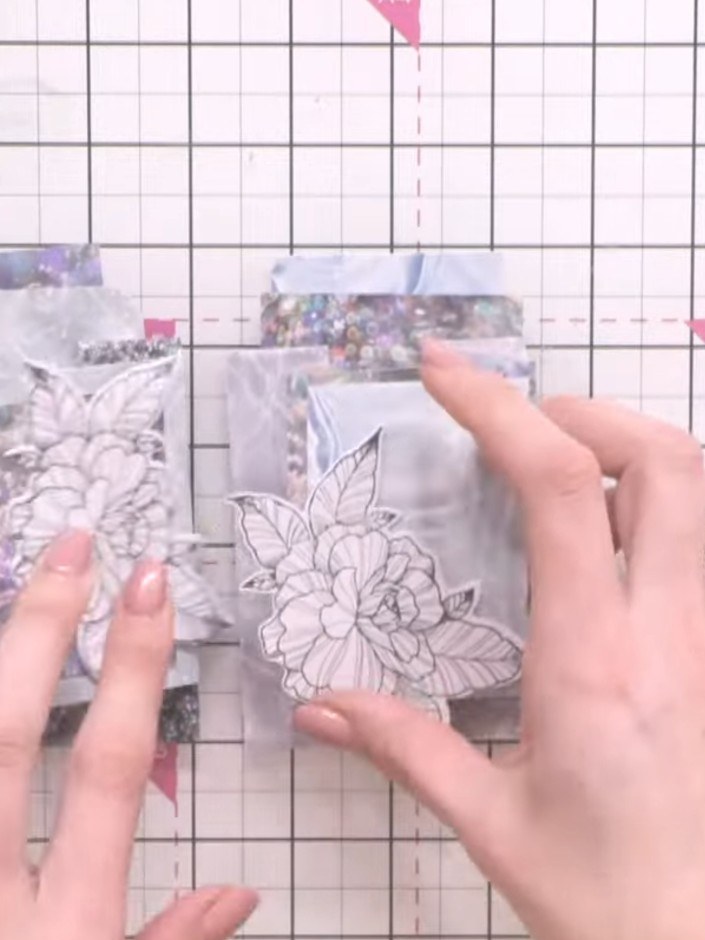
Adhere the flower designs to the front of the wallet using PVA glue or foam pads for a 3D effect. Position the floral die-cuts over the sequin-filled pockets as desired.
▶ watch this step (29:00)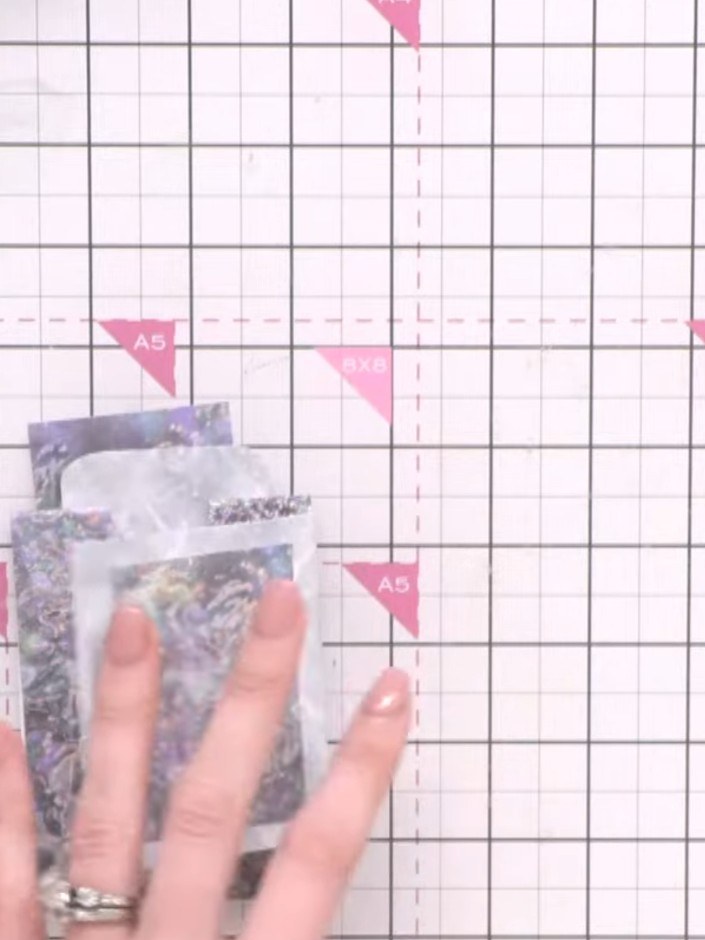
Die cut the fish design from your stamped images. Add these decorative elements to personalise your tea wallet further.
▶ watch this step (32:00)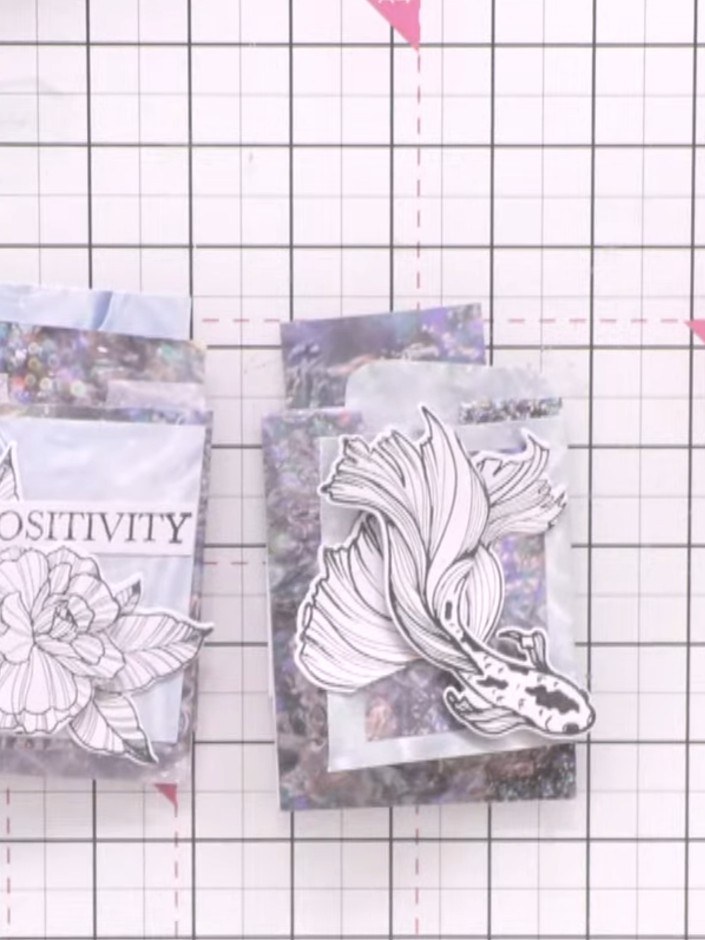
Add sparkle or embellishment details to the decorated pockets and tags to complete the finish. Use glue to attach small sequins, gems or other decorative elements as desired.
▶ watch this step (39:00)Written up from the show itself. See every guide from our shows · free how-to guides · watch live on My Telly