Give your friends £10 off their first order!
Refer a FRIEND








A project from our live show Create and Craft TV - IMALA LAUNCH SHOW - Join Carley Duff - Broadcast 27th May 24 · 27/05/2024 · watch it from 32:00
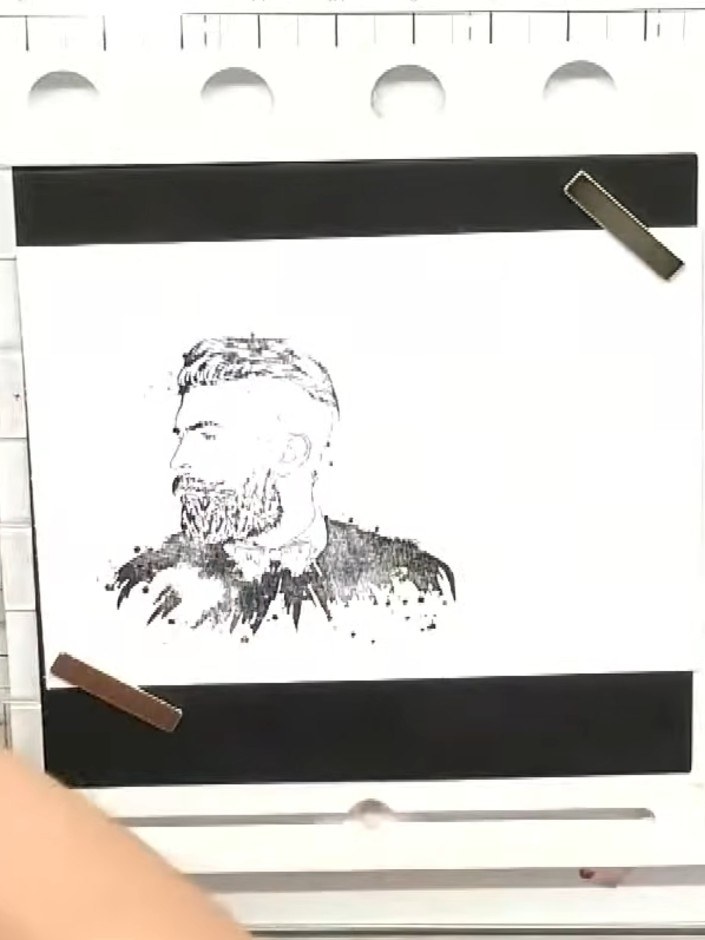
Create a charming romantic card featuring sweethearts from a vintage-style stamp collection. This project combines clear stamping with delicate hand-painted watercolour backgrounds in soft pinks and florals. The finished card showcases beautiful layering techniques and personalised sentiment stamping for a heartfelt handmade greeting.
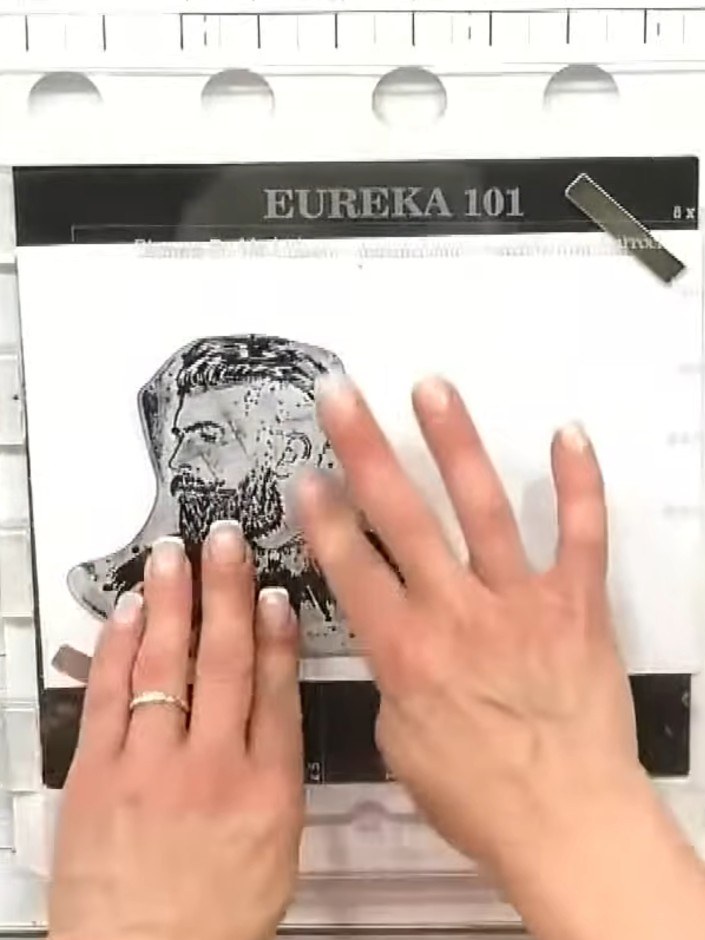
Stamp the male character from the Sweethearts stamp set onto white card stock using black ink.
▶ watch this step (32:00)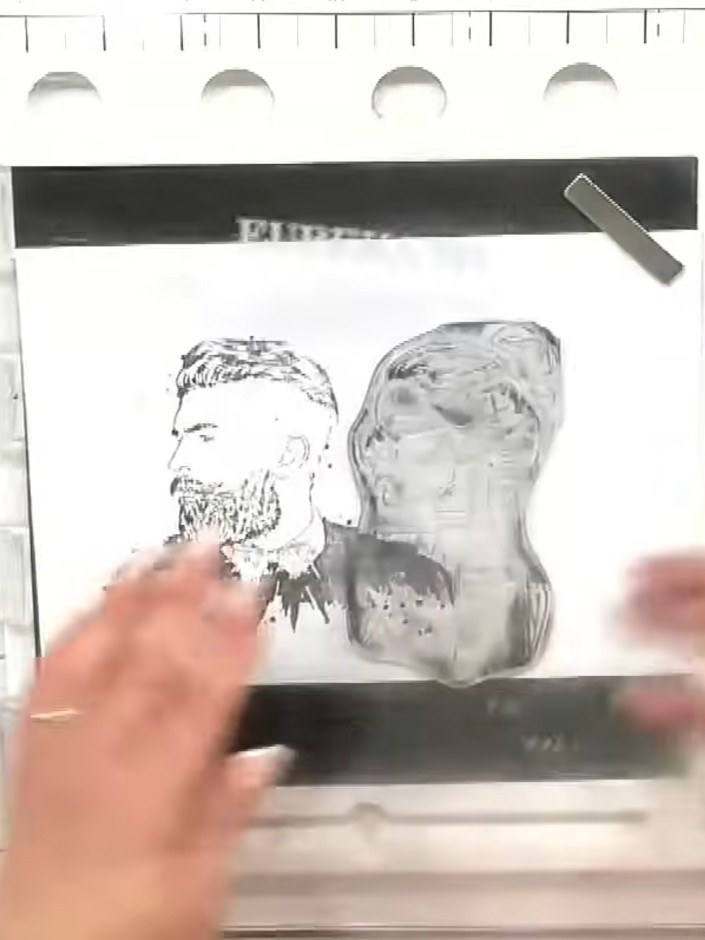
Stamp the female character from the Sweethearts stamp set onto your card, positioning her next to or slightly overlapping the male character you've already stamped.
▶ watch this step (32:15)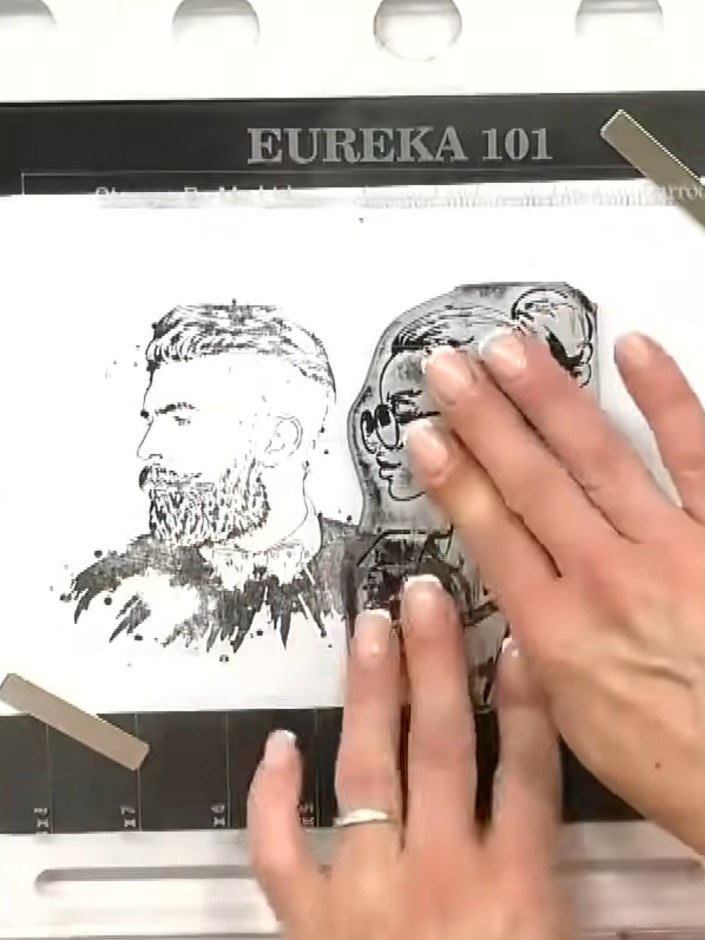
Colour the male character using markers, adding detail to the hair, beard and facial features. Build up the tones gradually for a realistic effect.
▶ watch this step (32:30)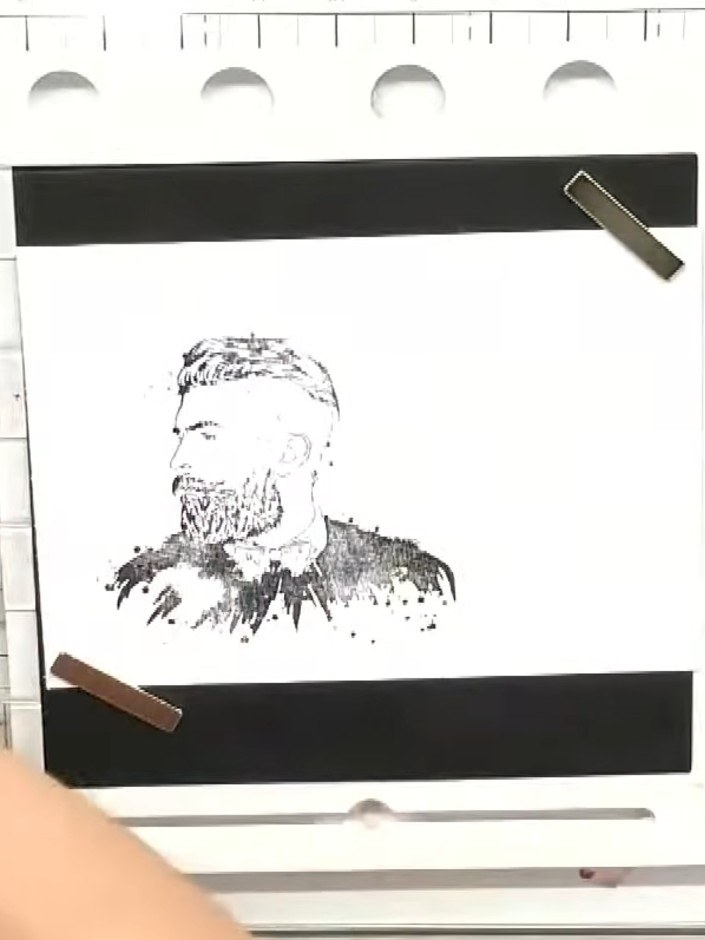
Colour the female character using markers, adding dimension to her dress and hair with different shades.
▶ watch this step (32:45)
Stamp a sentiment such as 'Treat yourself with kindness' onto the inked acrylic block using black ink.
▶ watch this step (33:45)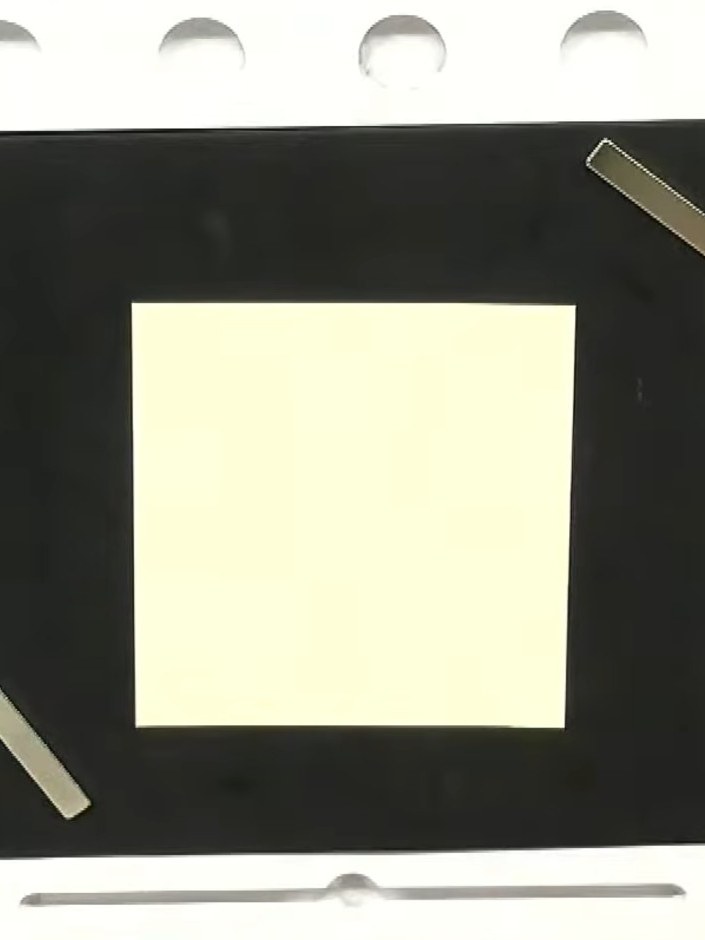
Spray water over the inked background to create a watercolour effect. The water will blend and soften the pink ink, creating a gentle watercolour wash.
▶ watch this step (34:00)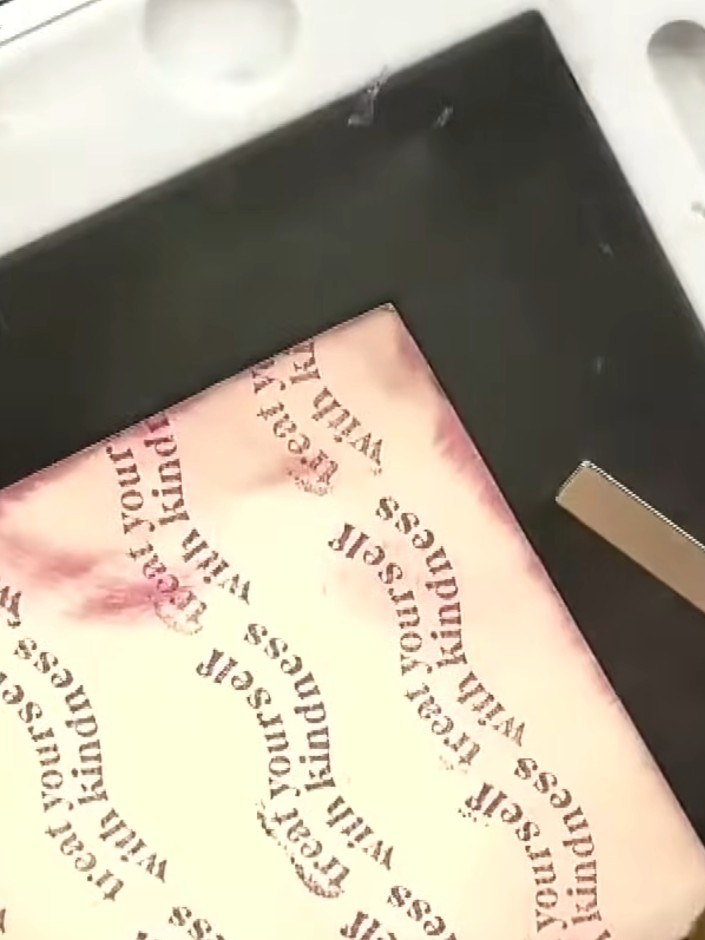
Press the white card stock firmly onto the wet inked block to transfer the coloured background pattern onto the card.
▶ watch this step (34:15)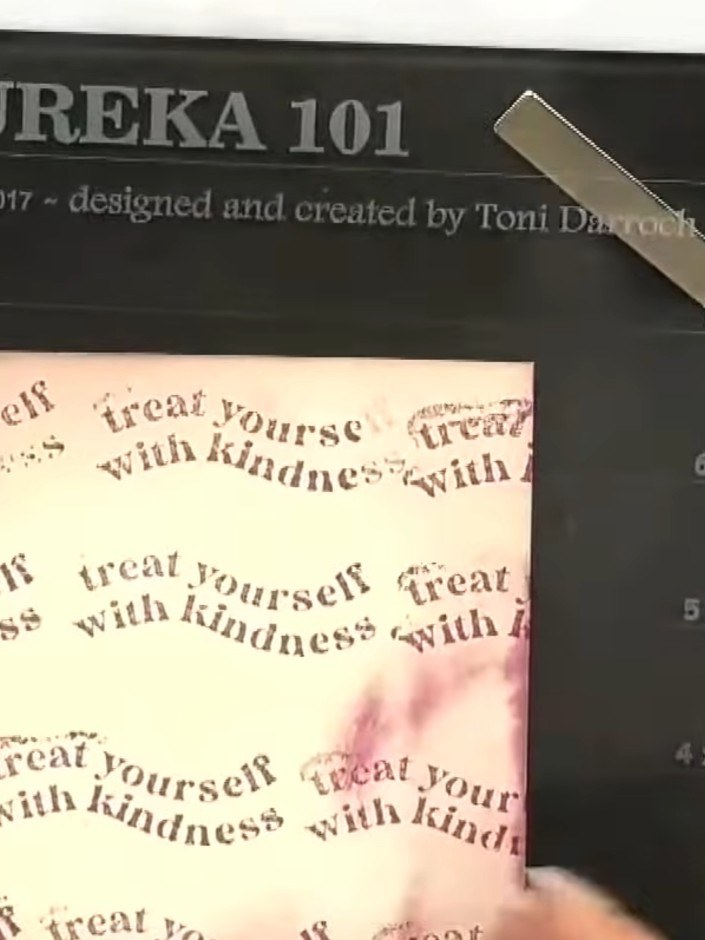
Allow the stamped background to dry completely before proceeding to the next step.
▶ watch this step (34:30)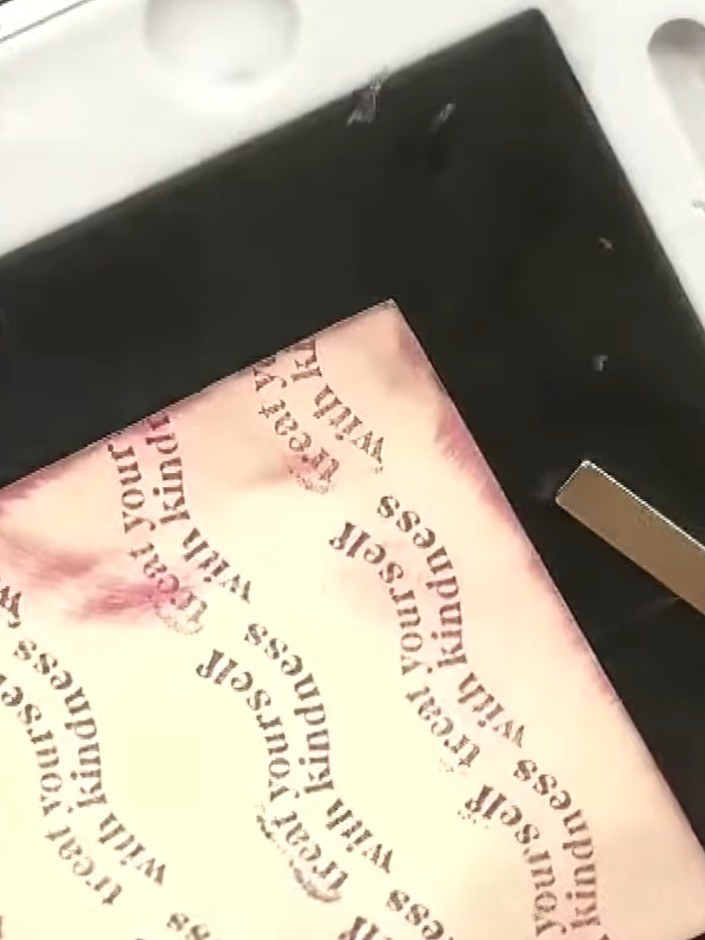
Mount the stamped and coloured couple image onto the watercoloured background using a tape runner or glue. Position it centrally on the card front to complete your design.
▶ watch this step (35:00)Written up from the show itself. See every guide from our shows · free how-to guides · watch live on My Telly
