Give your friends £10 off their first order!
Refer a FRIEND








A project from our live show HOBBYMAKER TV - Join us for the latest show - Broadcast 5 p.m. (UK) 10th October 2026 · 10/10/2026 · watch it from 41:00
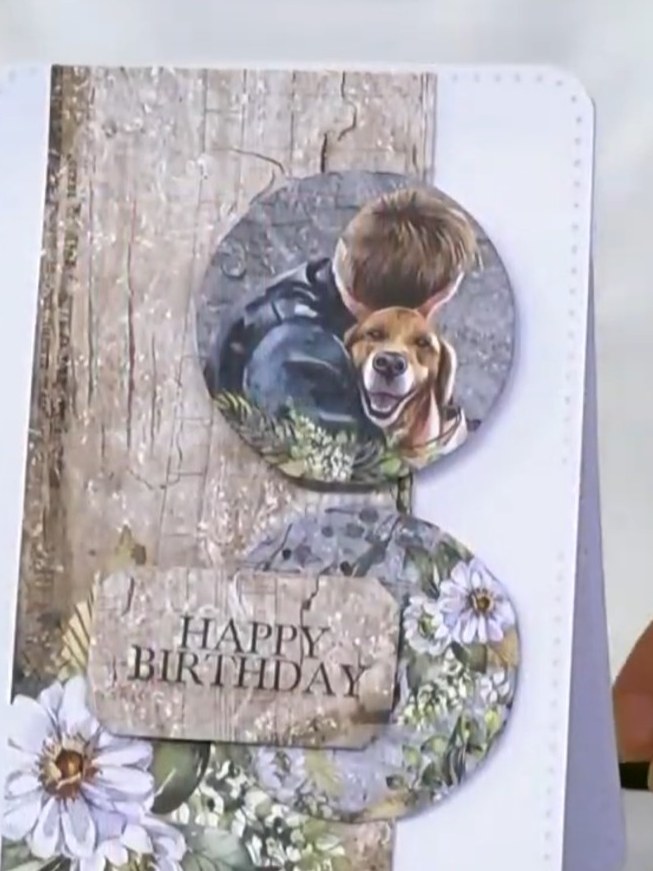
Create a charming dimensional birthday card featuring circular layered elements with a rustic woodland theme. The design showcases a boy hugging a dog in muted tones, complemented by white daisies and greenery, with a 'Happy Birthday' sentiment. Learn how to build height and dimension using die-cut circles and homemade foam pads from scrap card stock for a budget-friendly approach to 3D cardmaking.
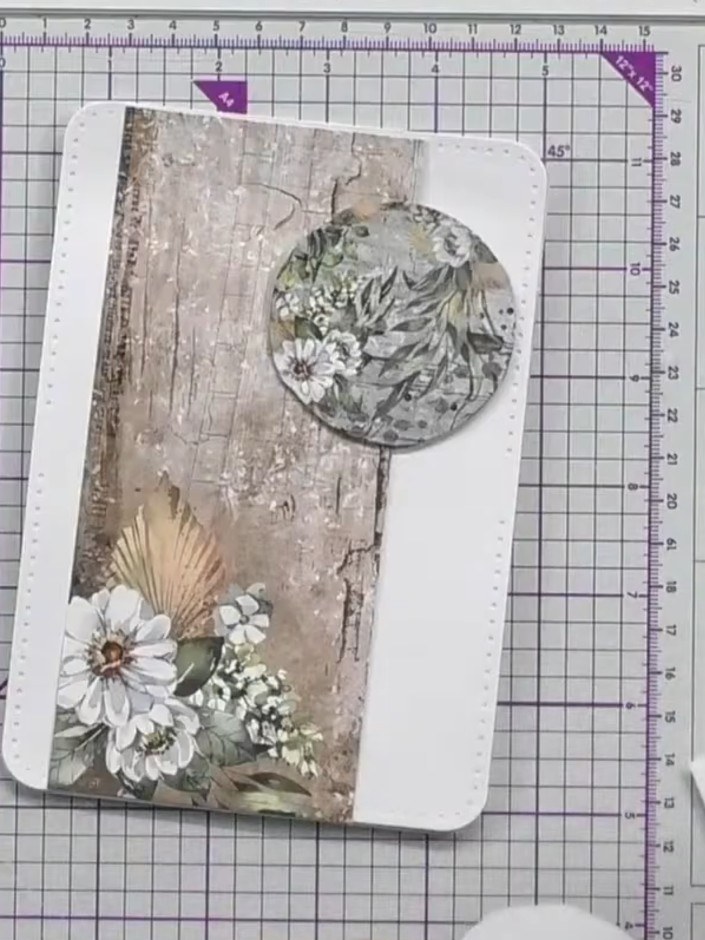
Adhere small scrap pieces of foam or card to the back of your first circular element using glue. This will create dimension when layering the elements on your card.
▶ watch this step (43:30)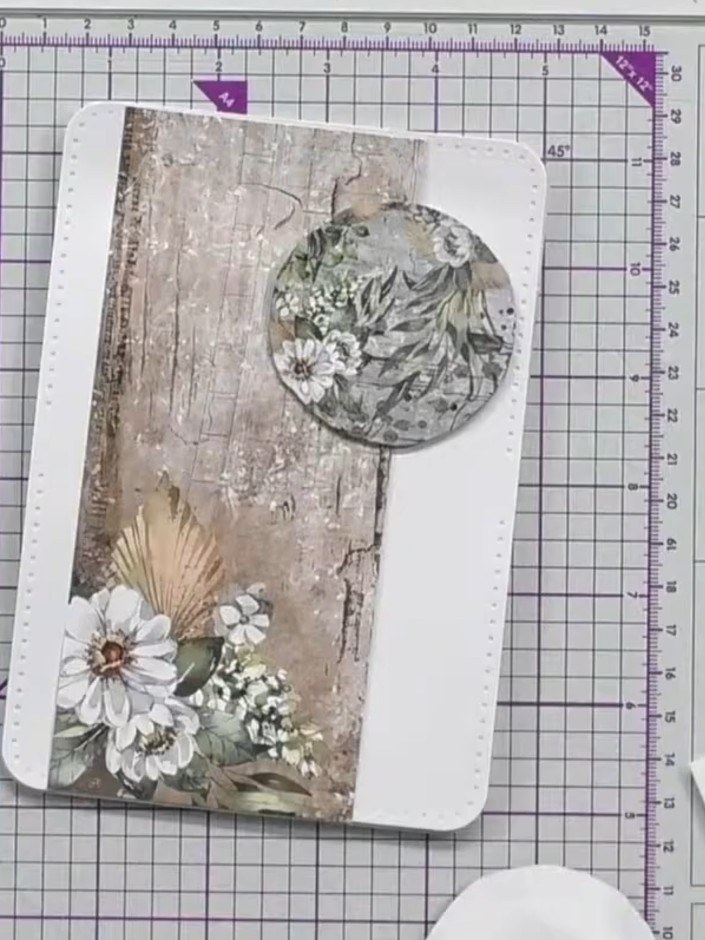
Stick the layered circle to your card base. Position it on the decorative panel with the flowers and fan design.
▶ watch this step (43:45)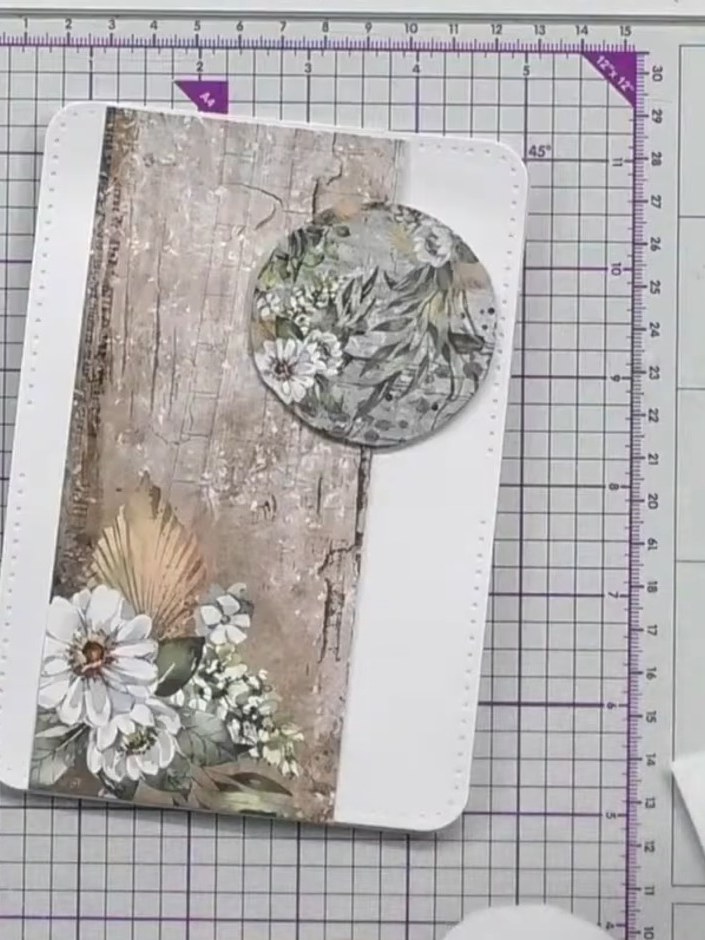
Stamp a 'Happy Birthday' sentiment onto a second circular element. Position this stamped circle on the card alongside the decorative floral circle.
▶ watch this step (44:00)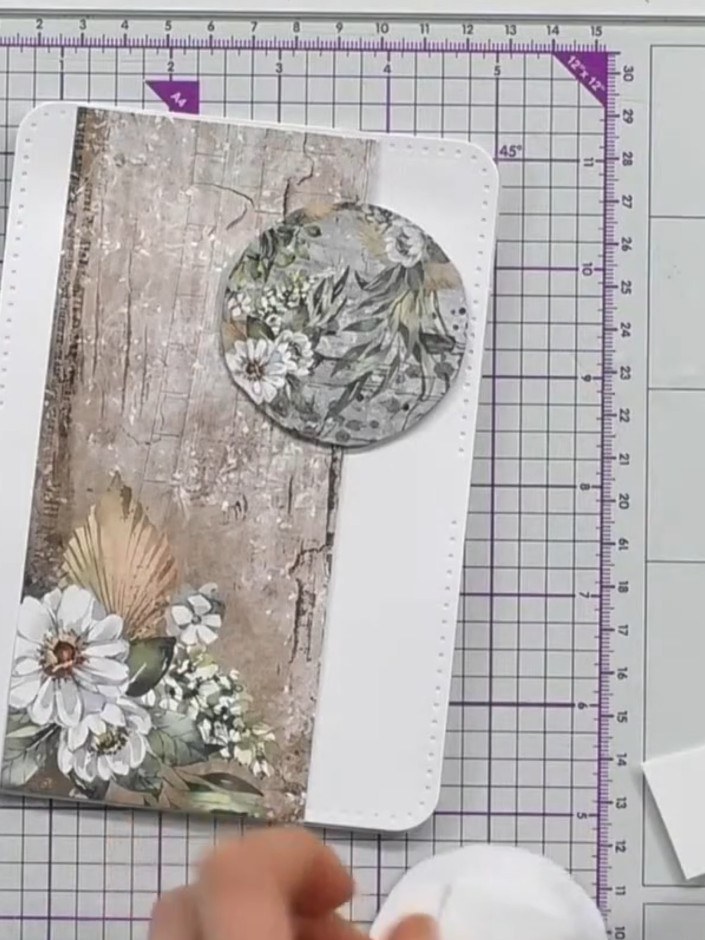
Build up height by adhering scrap card pieces to the back of the second circle. Apply glue to small pieces of card and layer them on the reverse of the circular topper to create dimension.
▶ watch this step (44:15)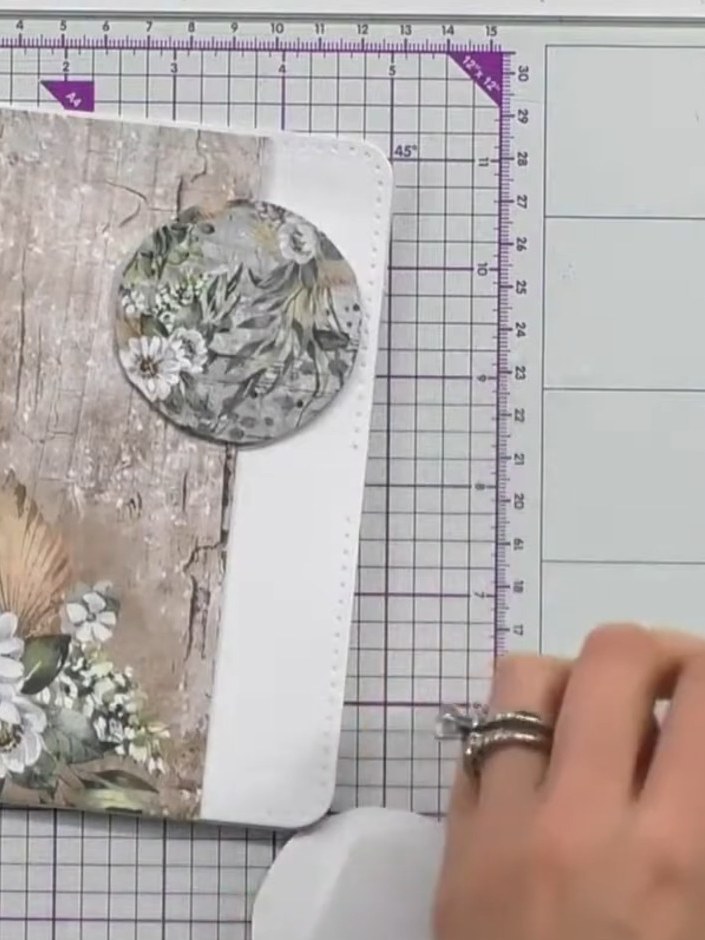
Layer the second decorative circle on top of the first circle using foam pads or adhesive, creating multiple levels of dimension on your card.
▶ watch this step (44:30)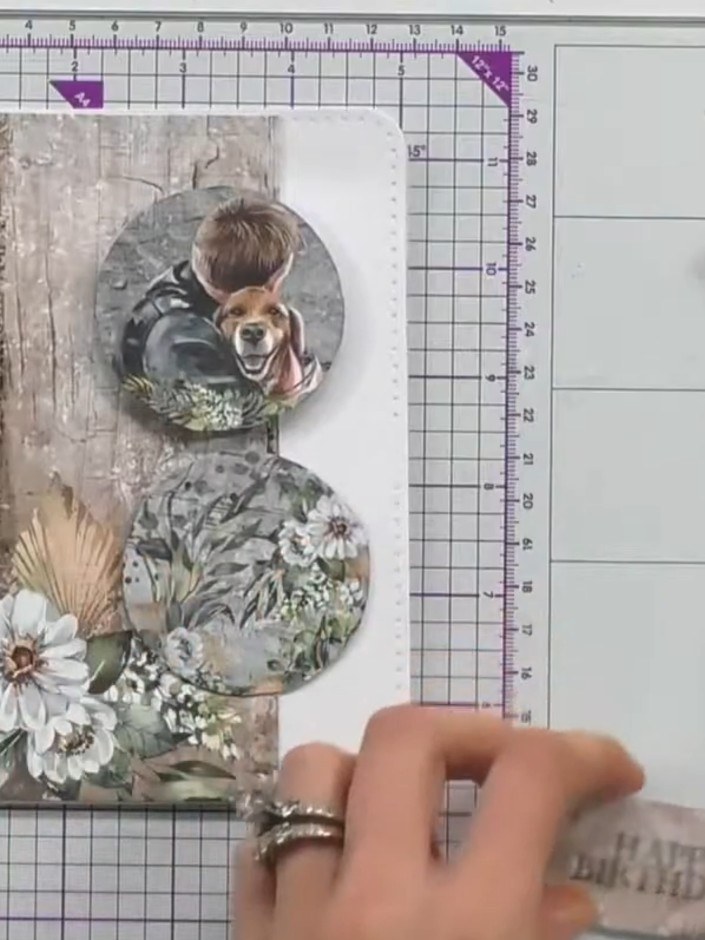
Add a third circular element with floral and foliage design to the lower portion of the card for additional layering and visual interest.
▶ watch this step (45:00)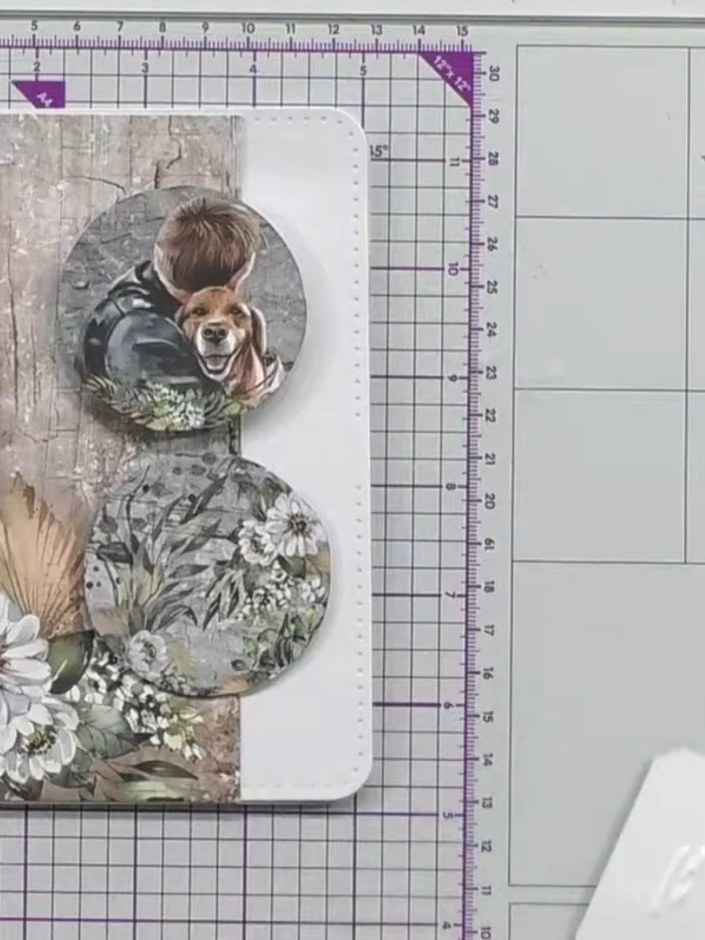
Check that all circular layers are firmly attached to the card base and each other. Allow the adhesive to dry completely before handling or displaying the finished card.
▶ watch this step (45:30)Written up from the show itself. See every guide from our shows · free how-to guides · watch live on My Telly