Give your friends £10 off their first order!
Refer a FRIEND








A project from our live show CREATE AND CRAFT TV - Join Toni for her brand new SBM launch - broadcast 9TH June 24 · 09/06/2024 · watch it from 19:45
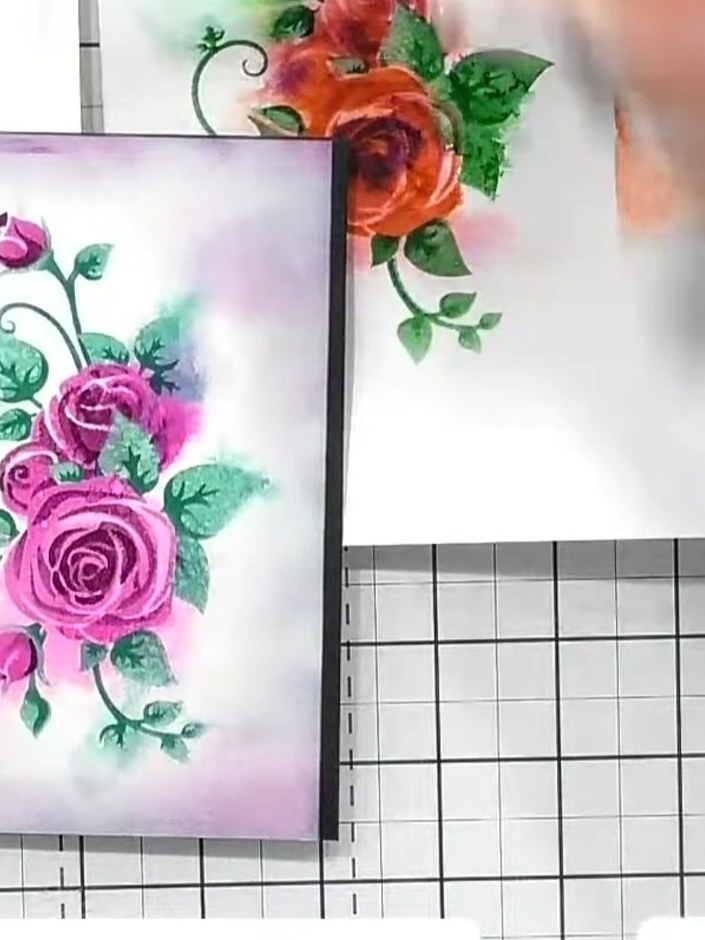
Create a beautiful dimensional floral card using a five-layer stencil system with coordinating die. By layering stencils and adding colour, you build up a stunning 3D rose design with pink roses and green foliage on a soft watercolour background. The technique gives a professionally painted look with depth and dimension, perfect for special occasions.
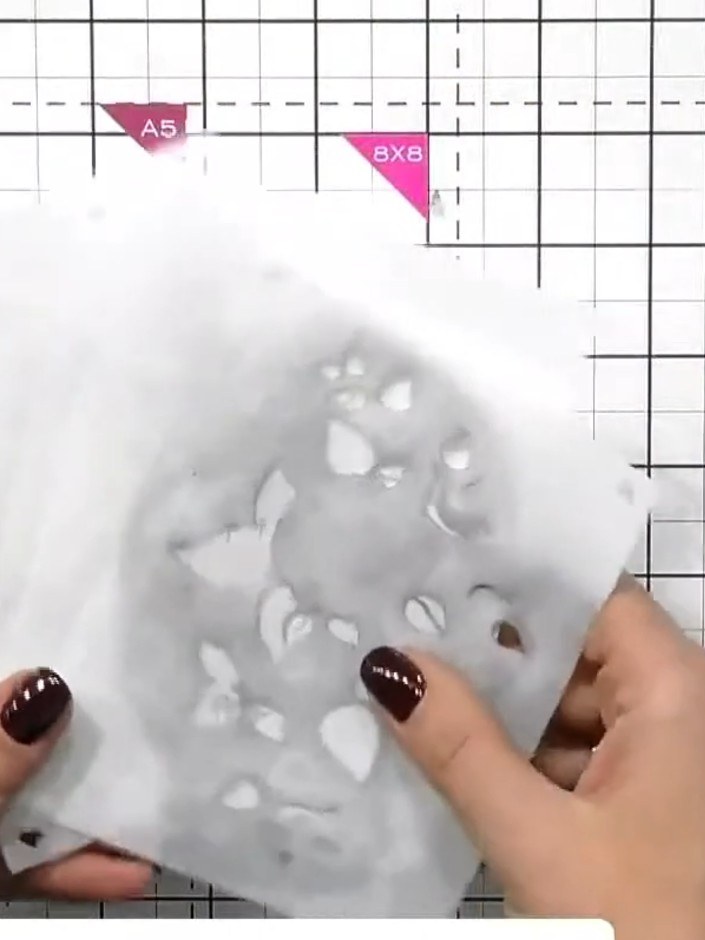
Gather your five numbered stencils (A1, A2, A3, A4, A5) and coordinating die. Note the pre-punched hearts in the corners of each stencil for alignment purposes.
▶ watch this step (19:45)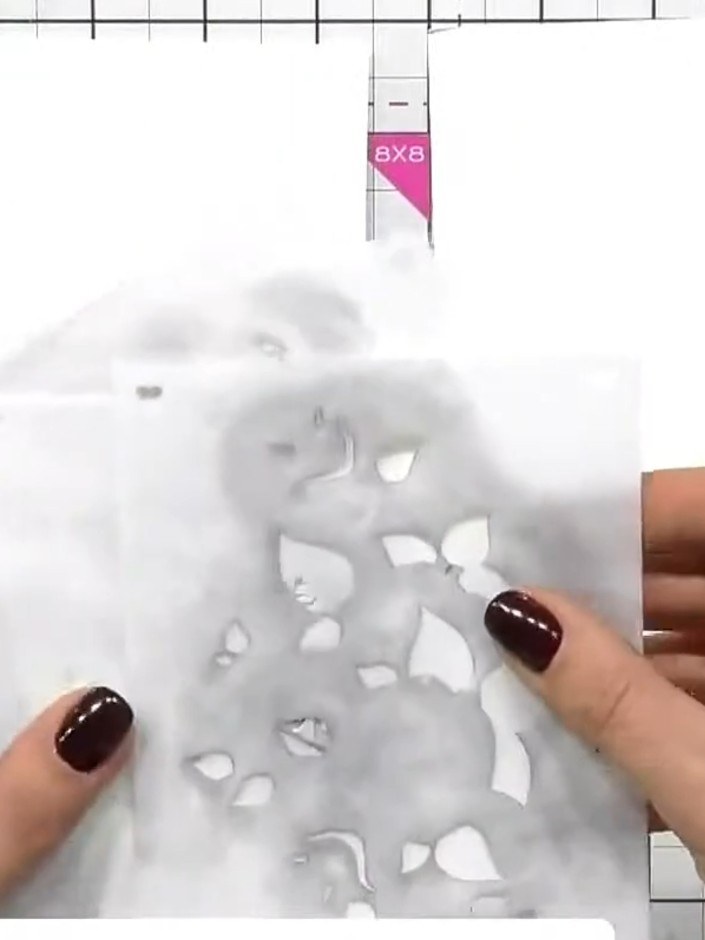
Place stencil number one on your white card stock, aligning it as desired. Apply ink through the stencil using a blending brush, working the colour through the cut-out areas.
▶ watch this step (20:00)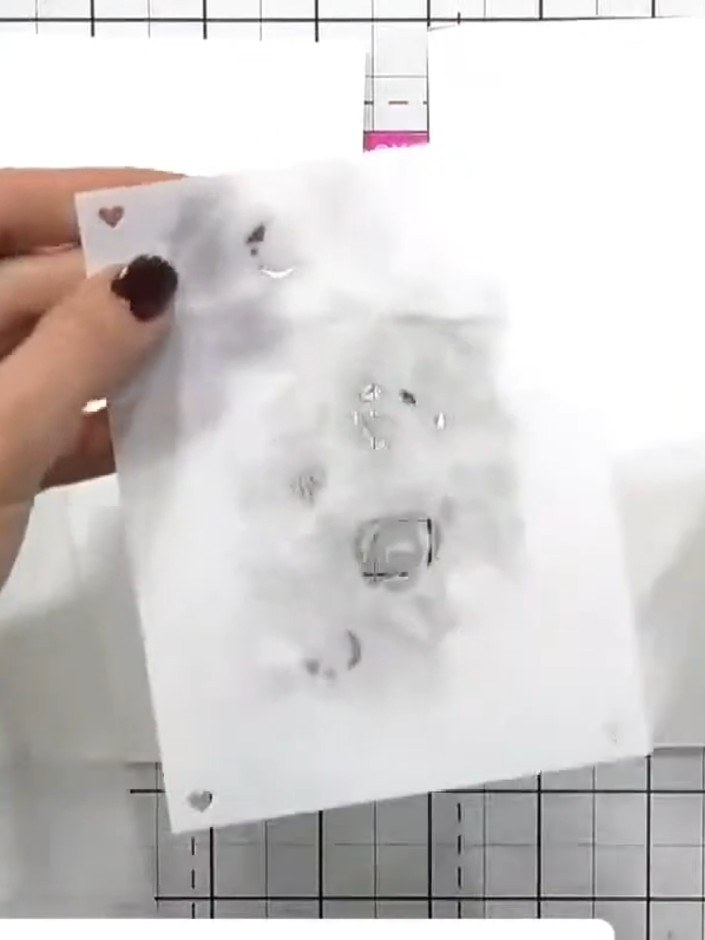
Use a heat tool to dry the first inked layer completely. Once dry, lightly moisten the inked area with water using a brush to create a soft watercolour effect.
▶ watch this step (20:15)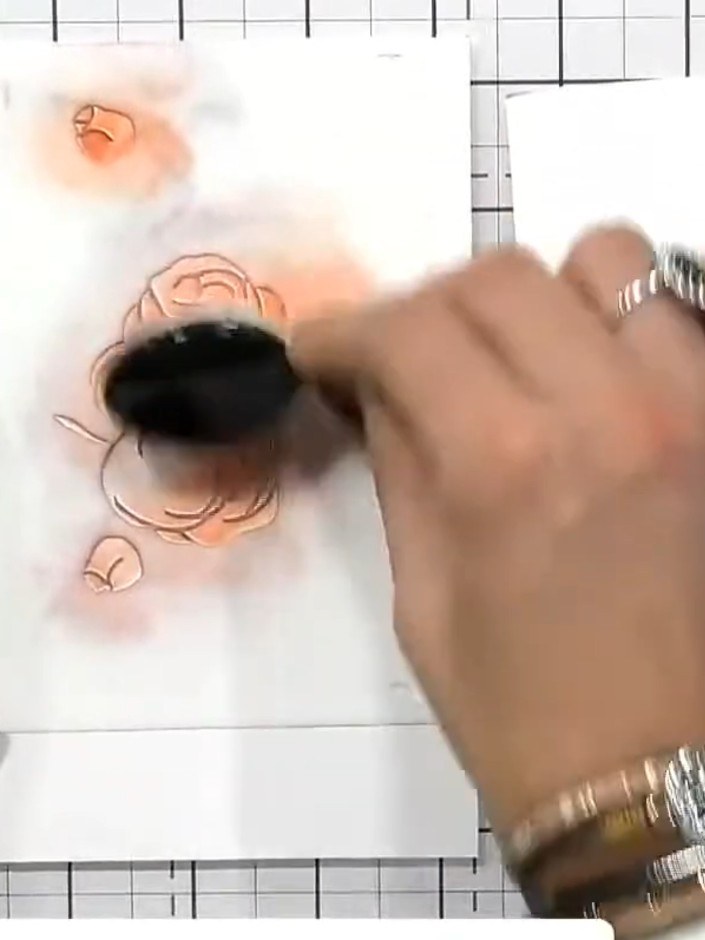
Position the second stencil on top of your card stock, lining it up with the edge or using the heart registration guides. Apply a different colour of ink through the stencil using a blending brush.
▶ watch this step (20:30)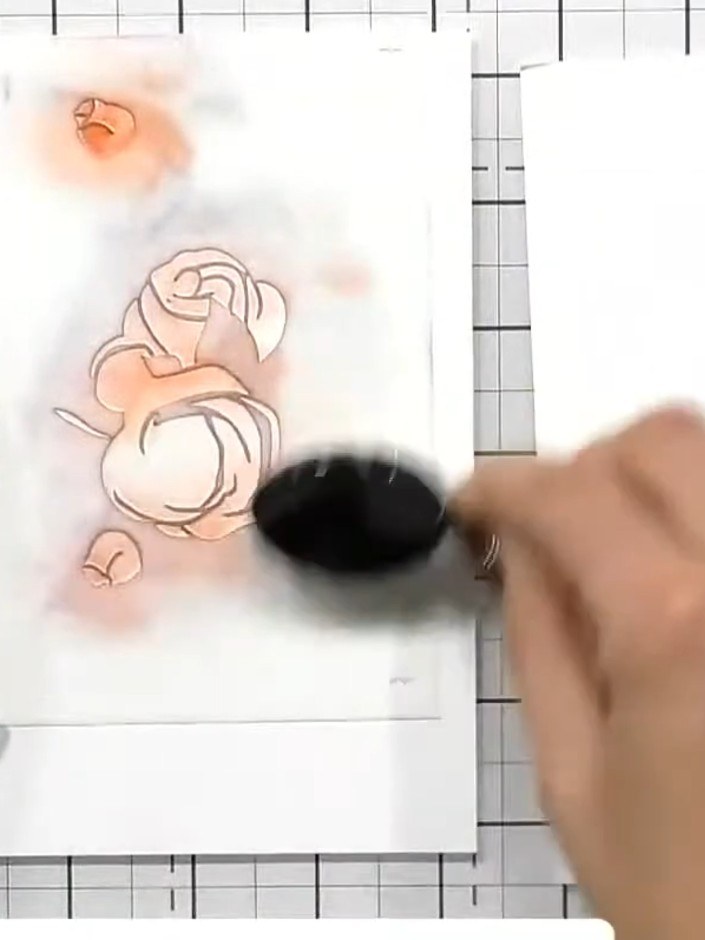
Continue building up the rose design by applying stencils three, four and five in sequence. Use a different colour of Dye Izink for each layer, such as brown (Brou de noix) and pink (Rosée). Allow each layer to dry completely before applying the next stencil.
▶ watch this step (21:00)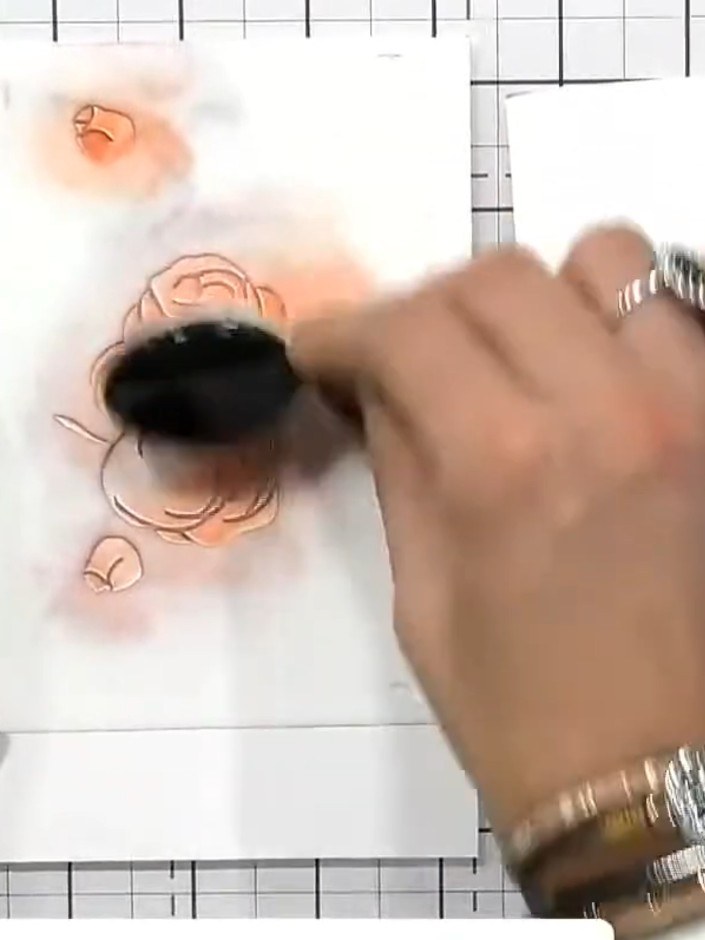
If you've lost definition of your rose shape, return to stencil one and re-apply the original ink colour to redefine the outline. Use a blending brush to carefully add the ink back over the rose areas that need more definition.
▶ watch this step (21:30)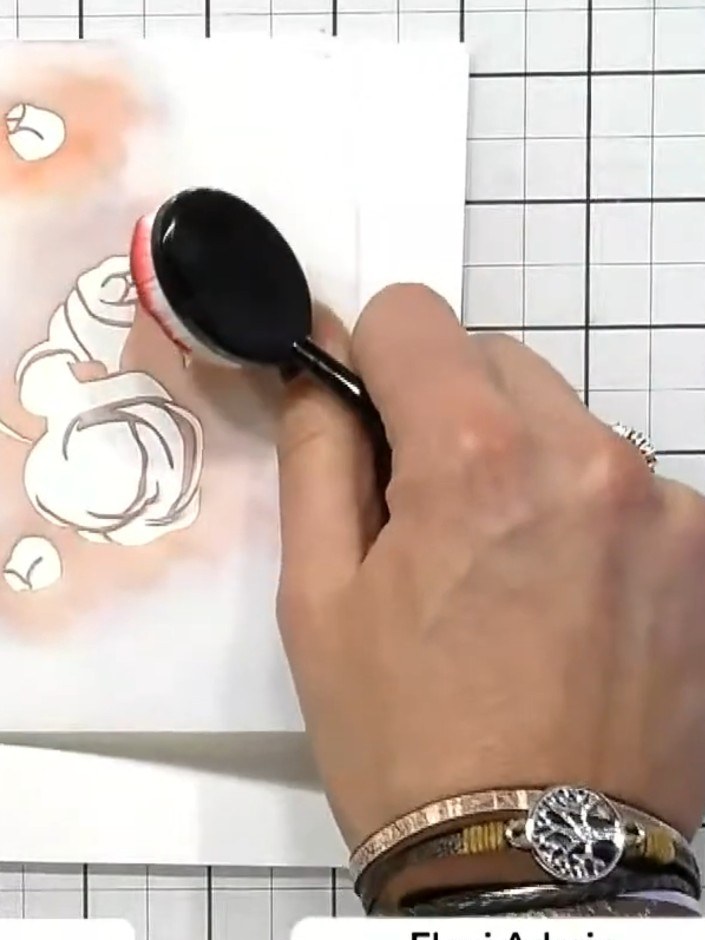
Use the coordinating die to cut out your finished design for a clean edge. Position the die over the painted panel and run through your die-cutting machine. Alternatively, leave it as a painted panel without die-cutting.
▶ watch this step (22:00)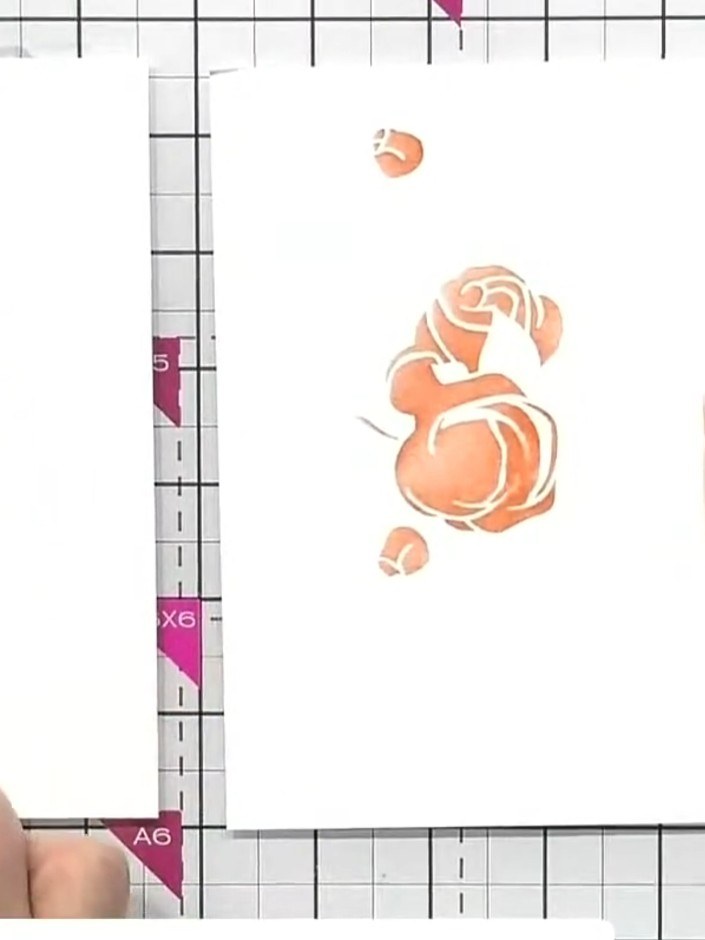
Mount your completed rose panel onto a card base using adhesive. Position the panel centrally on the card front to create your finished layered 3D rose card.
▶ watch this step (22:30)Written up from the show itself. See every guide from our shows · free how-to guides · watch live on My Telly
