Give your friends £10 off their first order!
Refer a FRIEND








A project from our live show MY PODCAST - Catch my latest updates broadcast 10th June 2024 · 10/06/2024 · watch it from 54:00
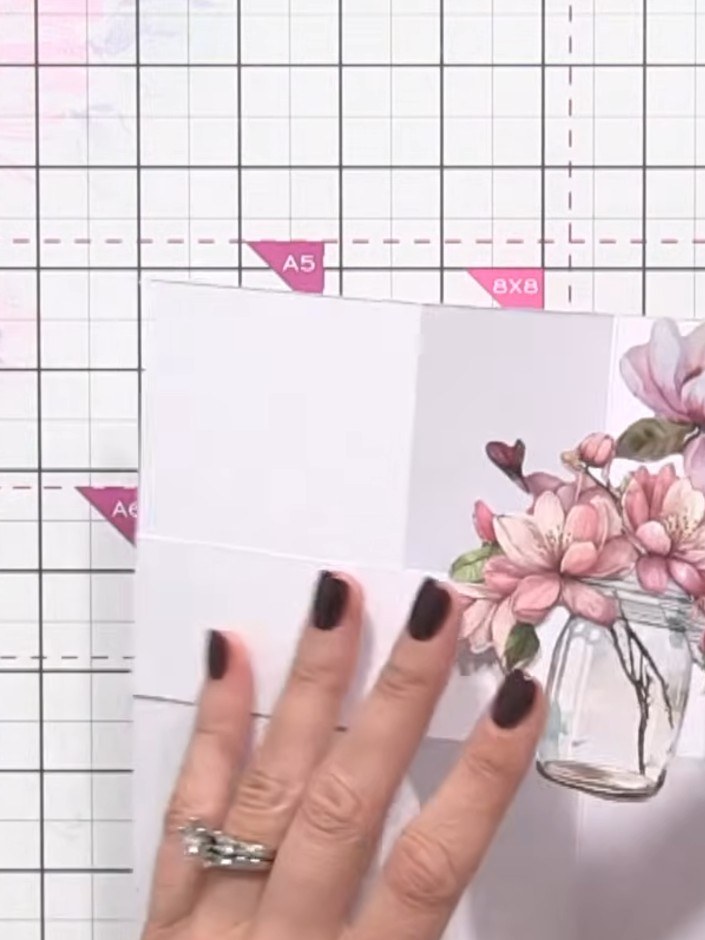
Create an elegant Z-fold card featuring a beautiful dimensional floral scene. This project uses soft pink magnolia blooms layered across a stepped card structure to create depth and visual interest. The main techniques include precision scoring and folding to create the distinctive Z-fold base, then building up layers with carefully positioned floral embellishments.
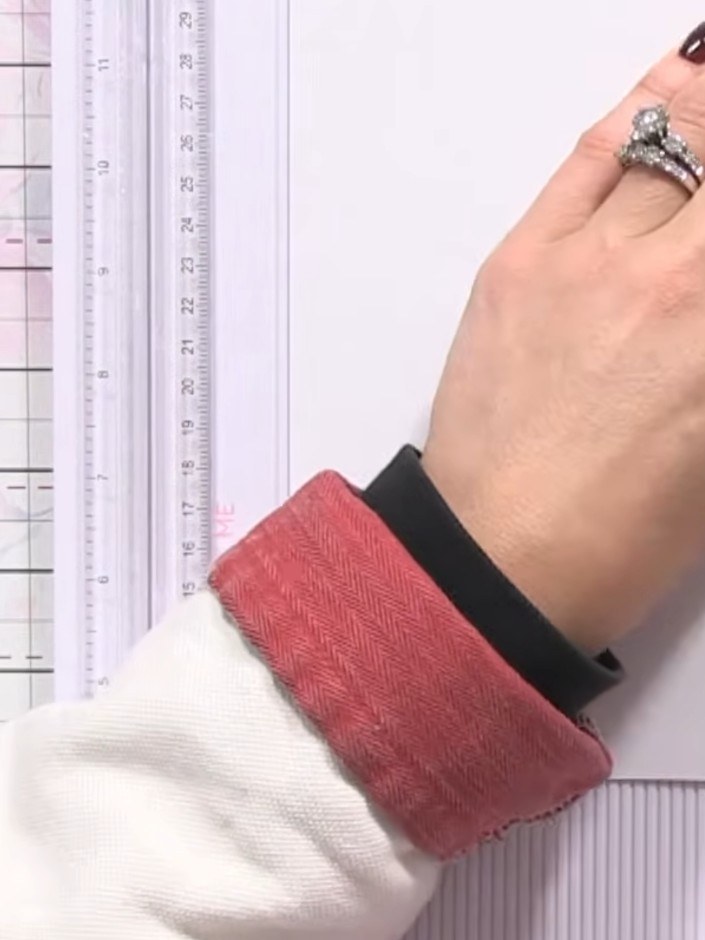
Take a 5x7 inch card blank and score it down the front at the halfway point (approximately 3 inches from the fold).
▶ watch this step (54:30)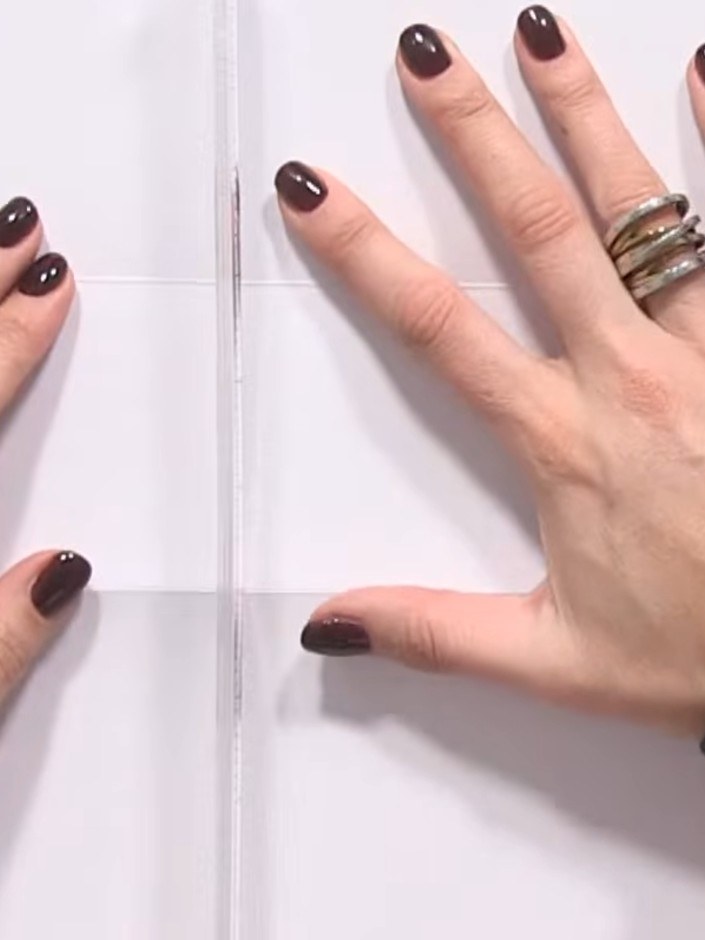
Fold the front section of the card back along the score line. Use your hands to create a crisp, clean fold.
▶ watch this step (54:45)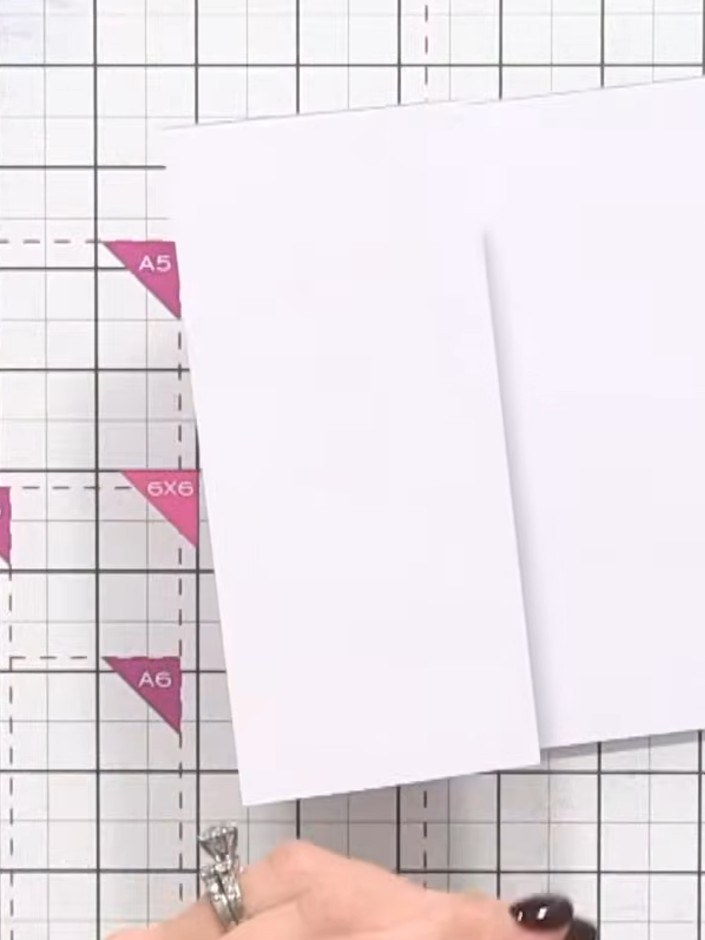
Open the card flat and place it on your guillotine trimmer with the fold line visible.
▶ watch this step (55:00)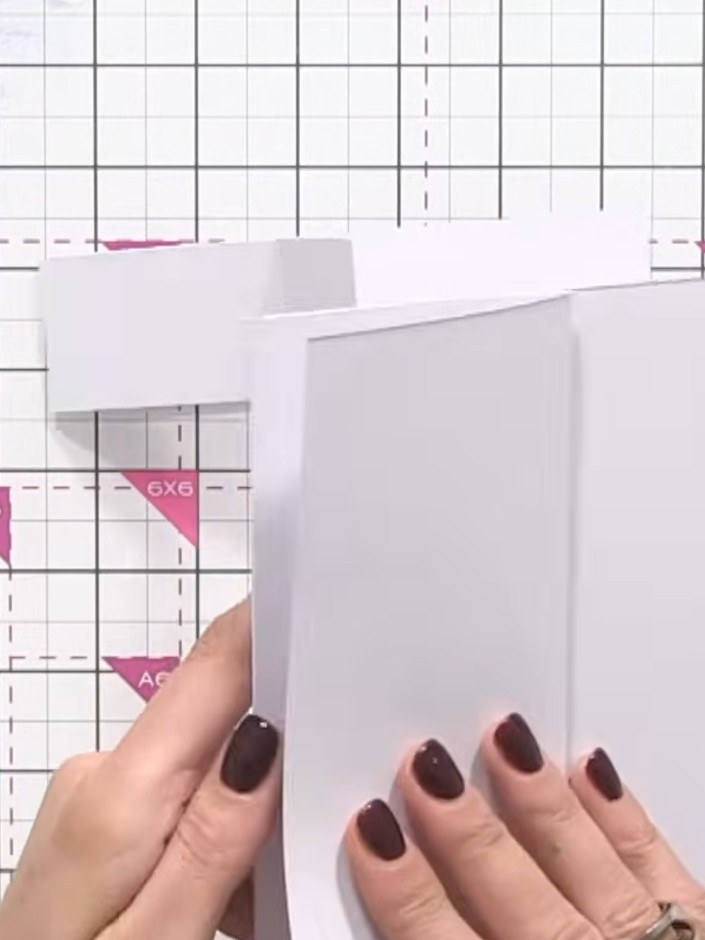
Trim approximately 1 to 1.5 inches from the bottom of the white card base to create the offset piece for the z-fold structure.
▶ watch this step (55:15)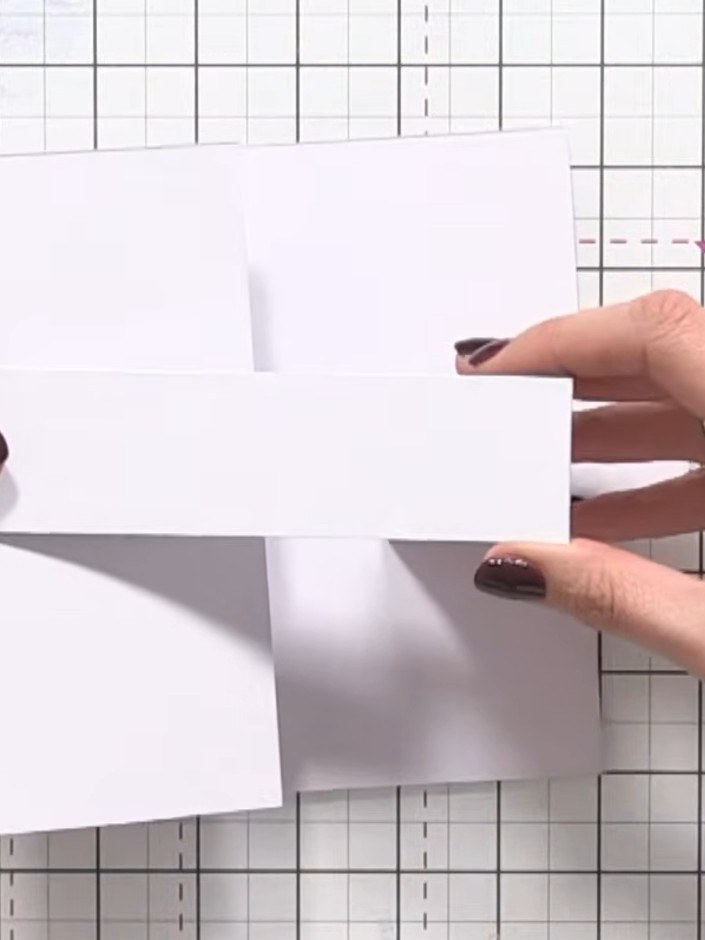
Take the shorter piece and glue it to the inside front panel of the card, positioning it to create the stepped Z-fold effect.
▶ watch this step (55:45)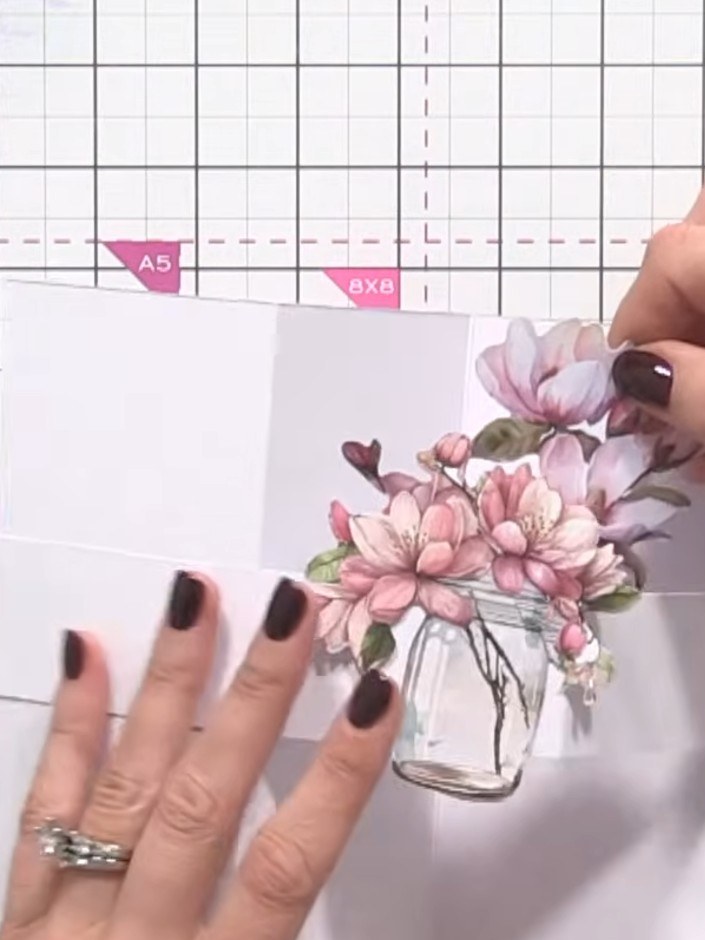
Add decorative elements to the back panels of your card. Layer patterned card stock or embellishments onto the rear sections to build up dimension and visual interest.
▶ watch this step (56:00)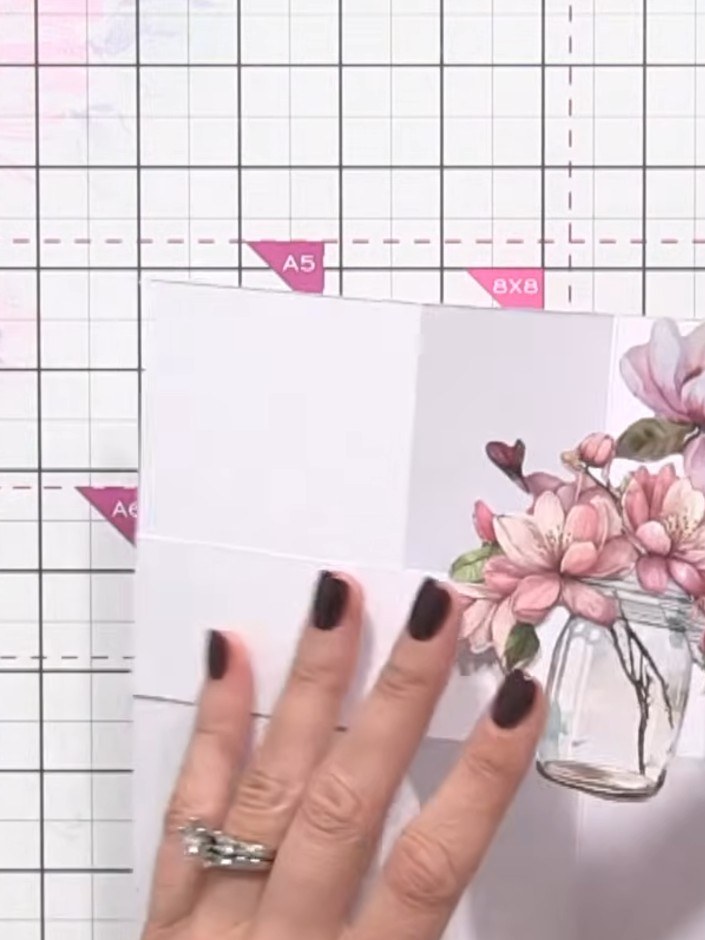
Layer additional floral embellishments behind the main focal point to build up depth and dimension in your scene. Position the elements to create a fuller, more three-dimensional arrangement.
▶ watch this step (57:00)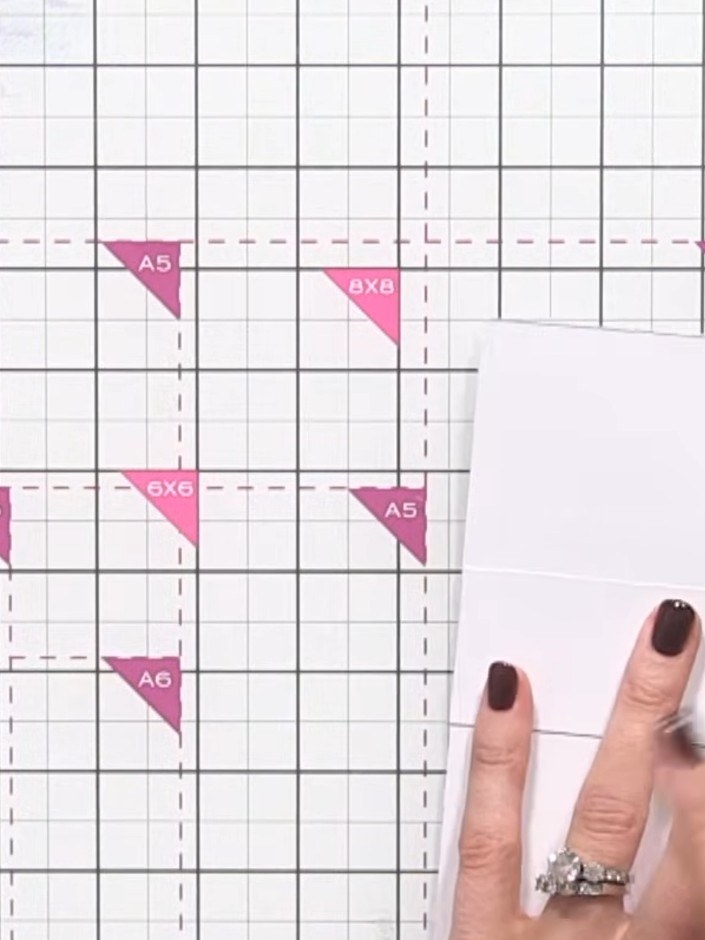
Test that the card closes properly before gluing. Ensure all embellishments and the dimensional floral scene fit within the card when closed and will fit inside the envelope.
▶ watch this step (57:30)Written up from the show itself. See every guide from our shows · free how-to guides · watch live on My Telly