Give your friends £10 off their first order!
Refer a FRIEND








A project from our live show CREATE AND CRAFT TV - Join Toni for her brand new SBM launch - broadcast 21st June 24 · 21/06/2024 · watch it from 53:45
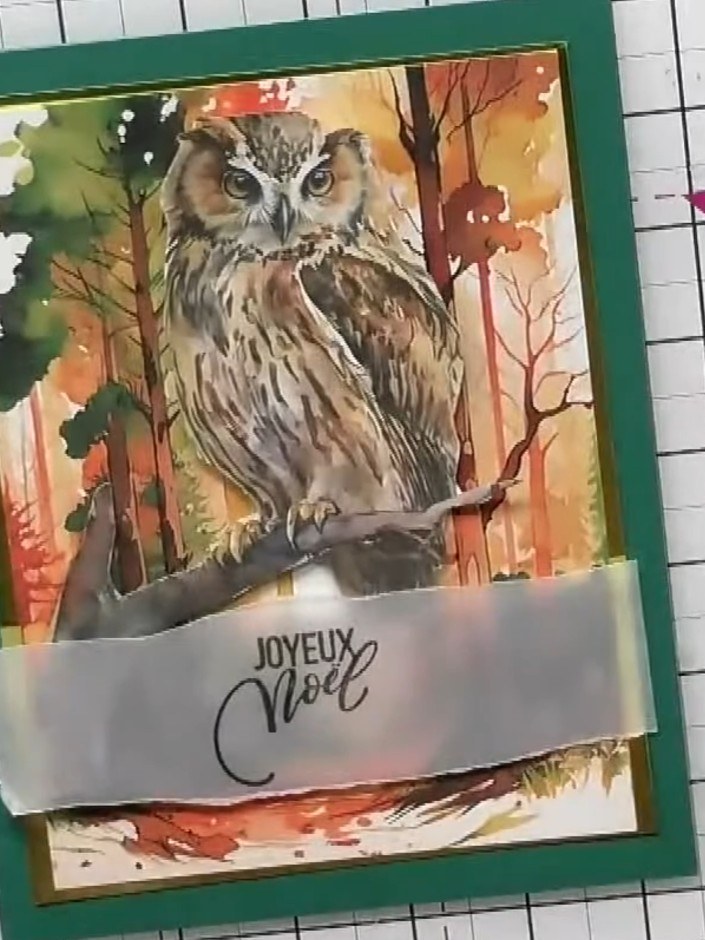
Create a beautiful festive card featuring a stunning owl from the Woodland Wildlife collection. This quick and elegant design combines a pre-printed watercolour-style owl image on a green card base with a silver sentiment banner reading 'Joyeux Noël'. The project demonstrates how to achieve professional results using ready-made paper elements with minimal additional embellishment.
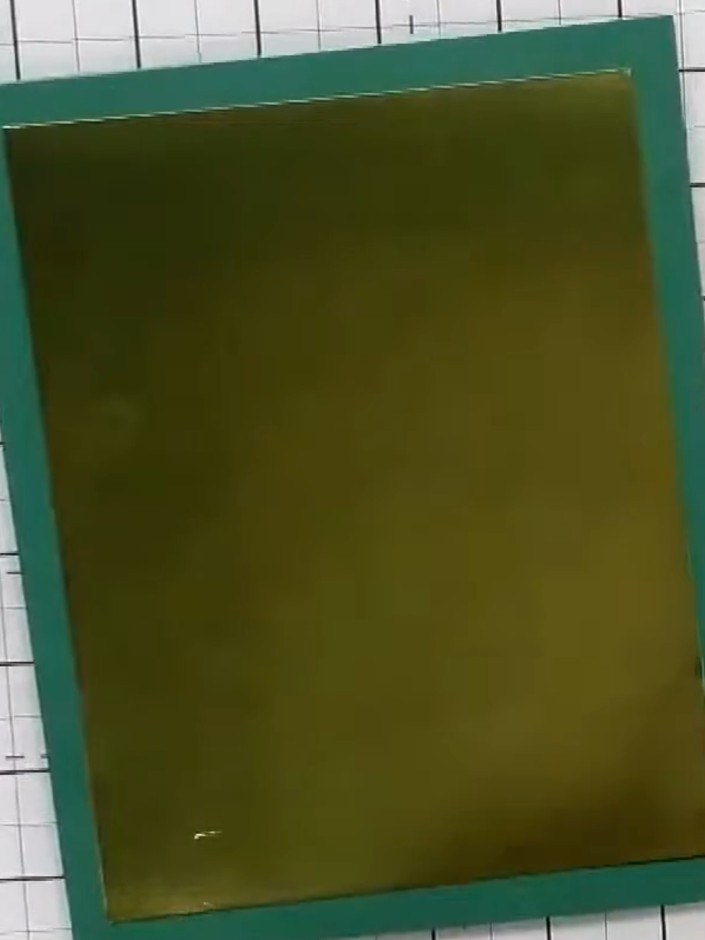
Select a teal card blank as your card base. Position a gold metallic panel onto the centre of the card front, leaving an even border of teal showing around all edges.
▶ watch this step (53:45)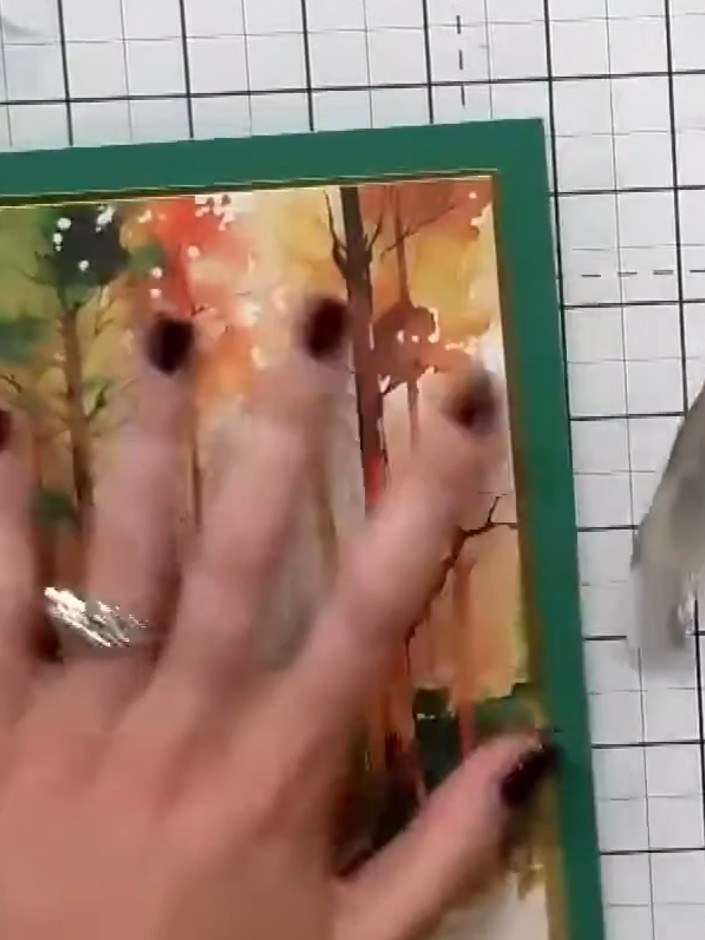
Cut or fussy-cut an animal design, such as an owl, from the Woodland Wildlife paper pack using scissors.
▶ watch this step (54:00)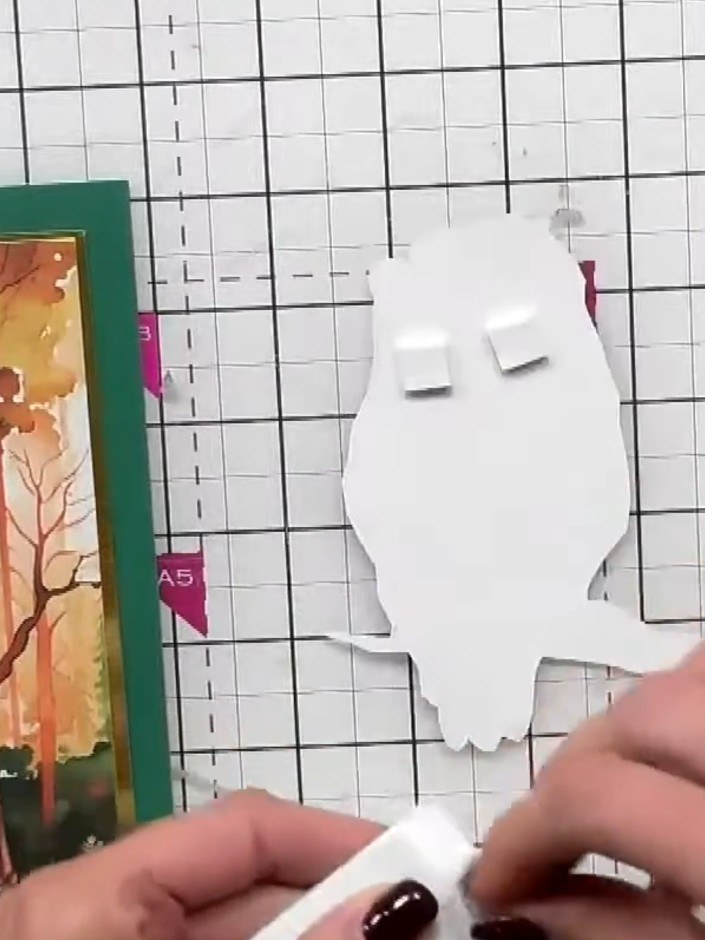
Apply glue to the back of your cut-out animal shape and adhere it onto a piece of white mirror board or contrasting card stock for added dimension and stability.
▶ watch this step (54:15)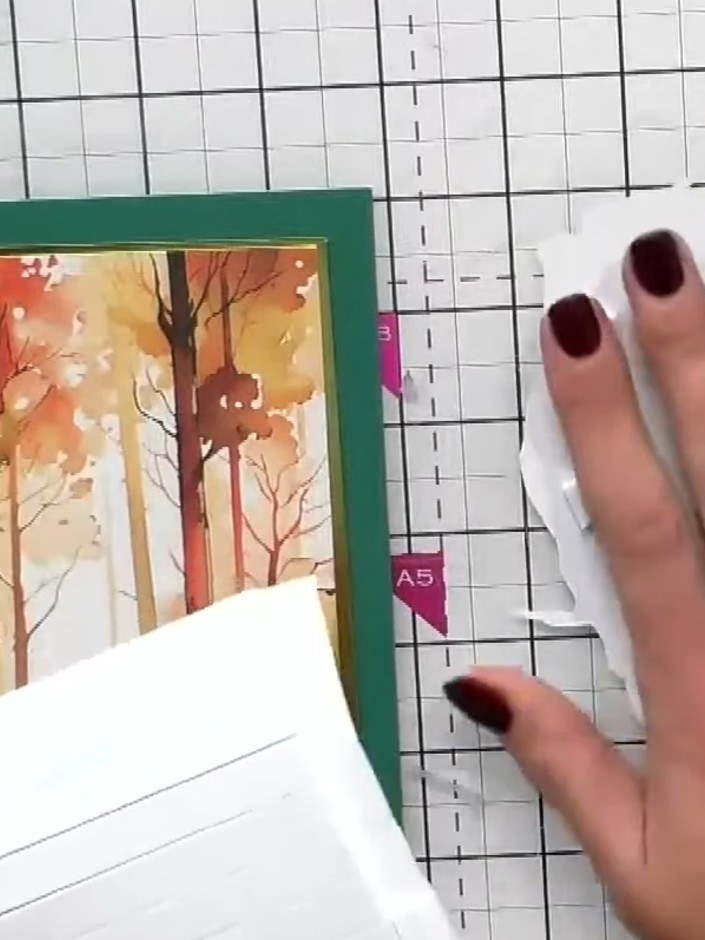
Mount the white mirror board panel onto the front of your green card base, positioning it centrally.
▶ watch this step (54:30)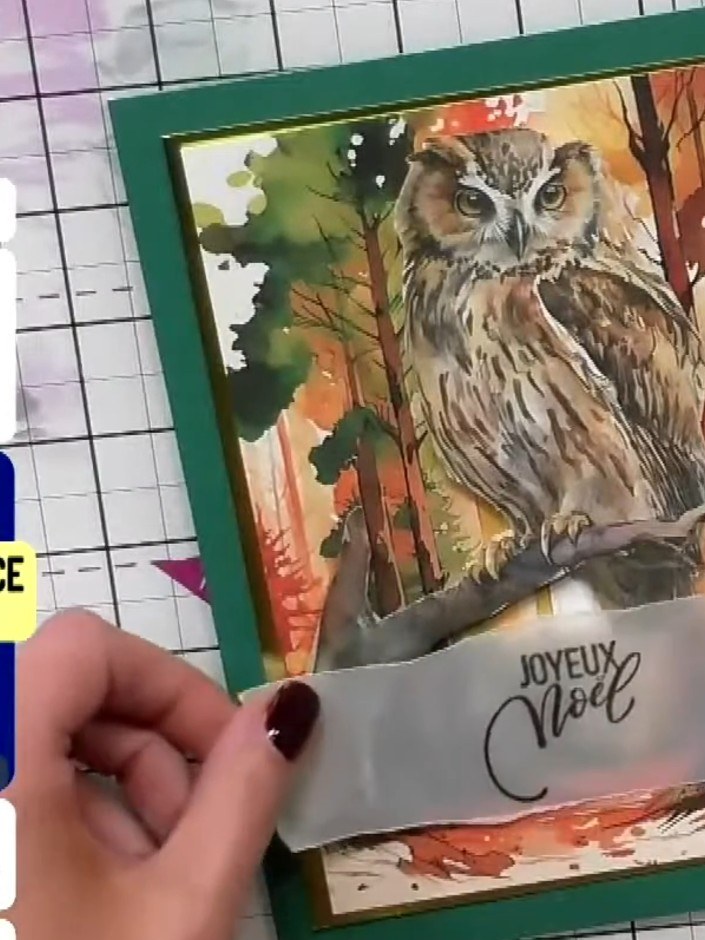
Stamp a sentiment such as 'Joyeux Noël' onto a strip of vellum or white cardstock using black ink. Position the sentiment strip across the lower portion of the mounted owl image.
▶ watch this step (54:45)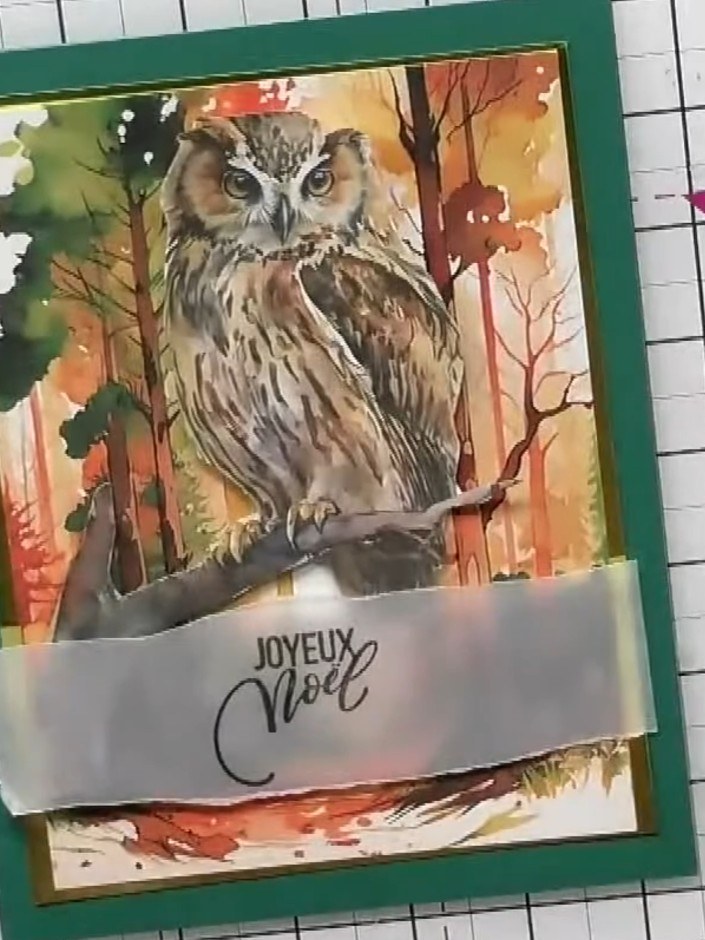
Wrap a decorative ribbon or band around the card front to add a finishing touch. Position it across the lower portion of the image panel with the sentiment 'Joyeux Noel' visible on the band.
▶ watch this step (55:15)Written up from the show itself. See every guide from our shows · free how-to guides · watch live on My Telly