Give your friends £10 off their first order!
Refer a FRIEND








A project from our live show MY PODCAST - Catch my latest updates broadcast 1st July 2024 · 01/07/2024 · watch it from 24:30
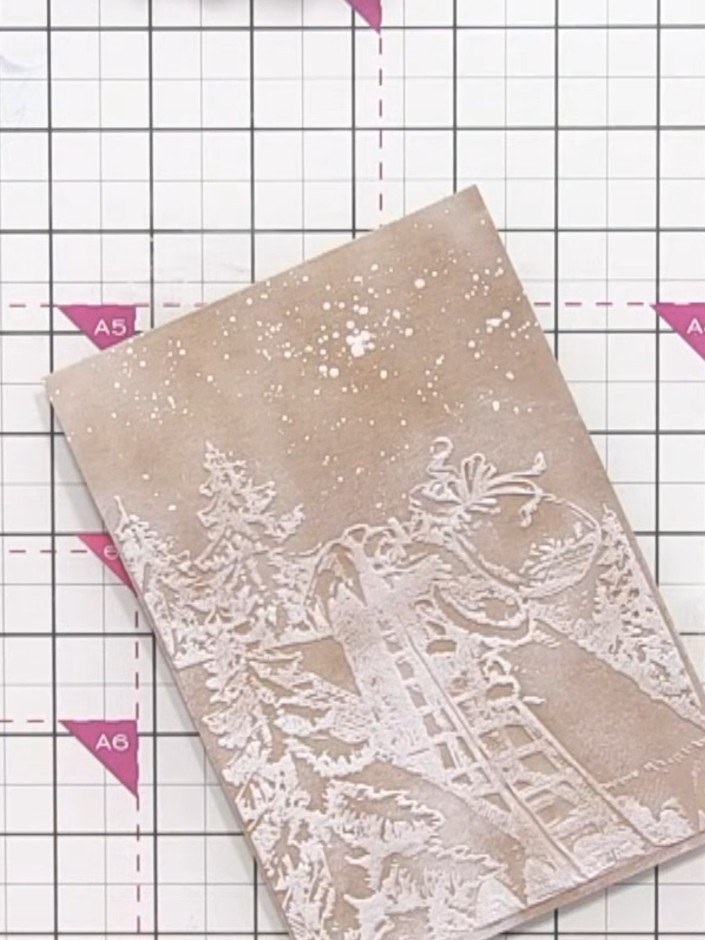
Create a stunning festive card featuring Santa climbing a ladder through a snowy village scene. Using an embossing folder on kraft card, you'll create beautiful dimensional texture, then enhance the design with white ink to push back the background and coloured paints in red and green to bring Santa and key details forward. The result is a sophisticated layered card with a vintage feel and eye-catching depth.
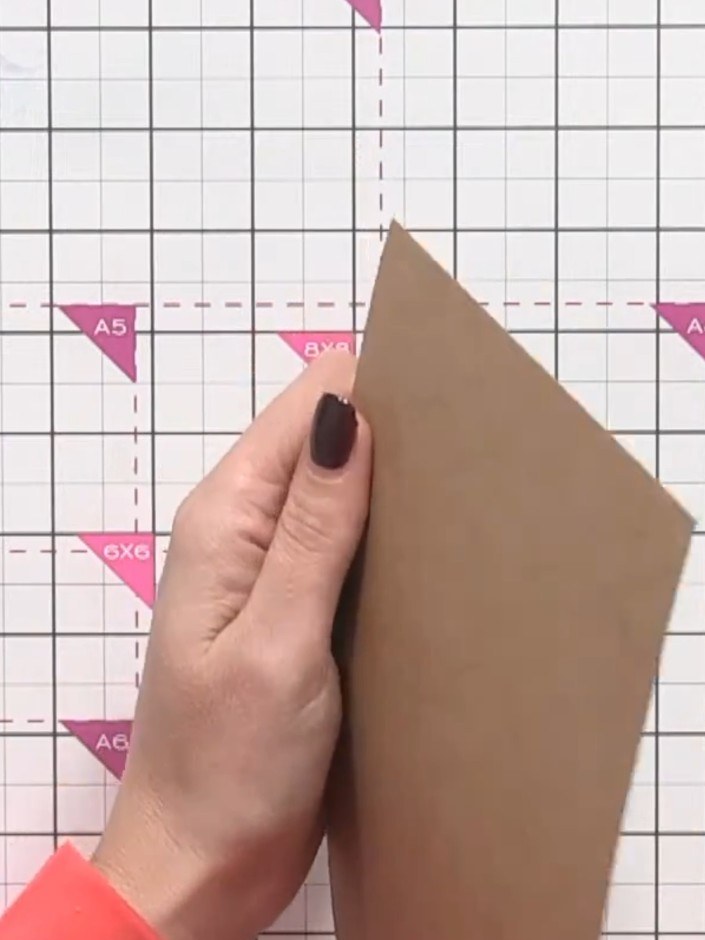
Cut a piece of craft-coloured card to fit your A5 embossing folder. This should be slightly smaller than A5 size to fit within the embossing folder.
▶ watch this step (24:30)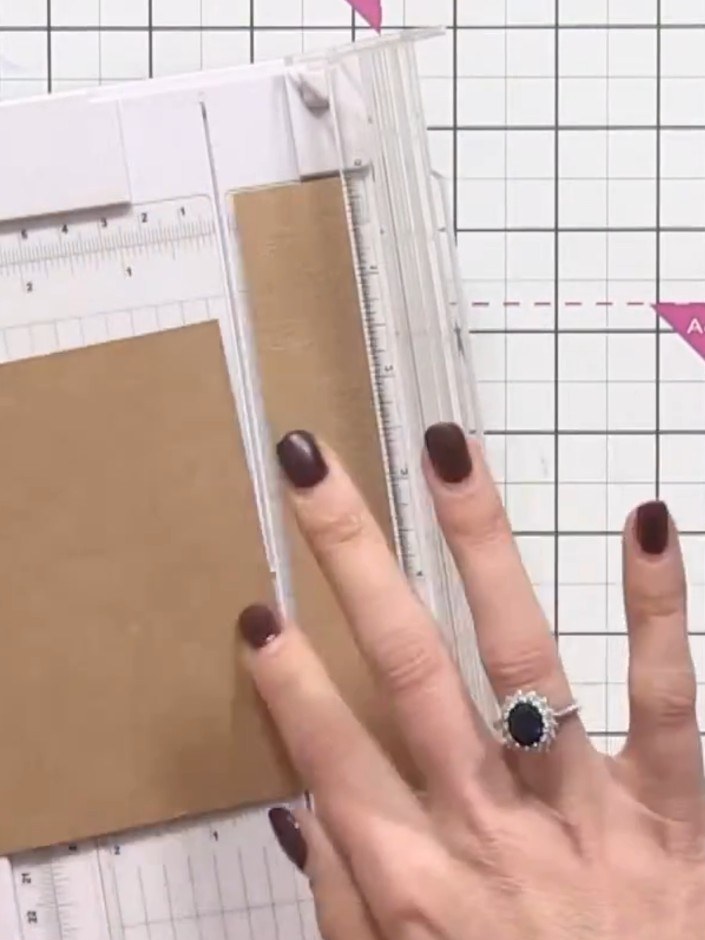
Place the kraft card into the Winter Village embossing folder and run it through your die-cutting machine to create the embossed design.
▶ watch this step (24:45)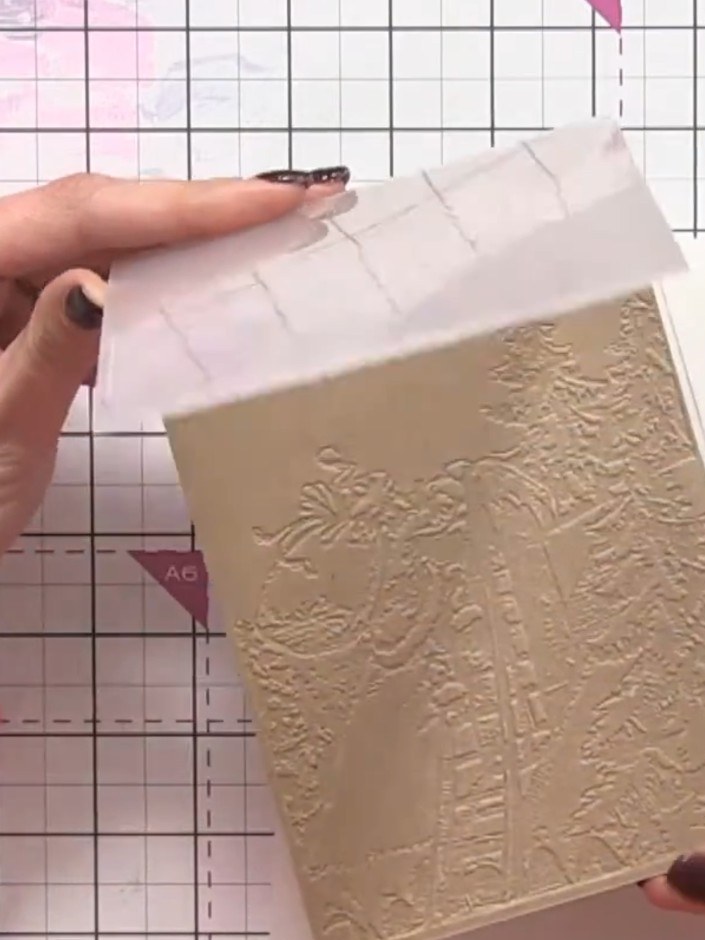
Brush white ink pad over the entire embossed card to highlight all the raised details of the winter village design.
▶ watch this step (26:30)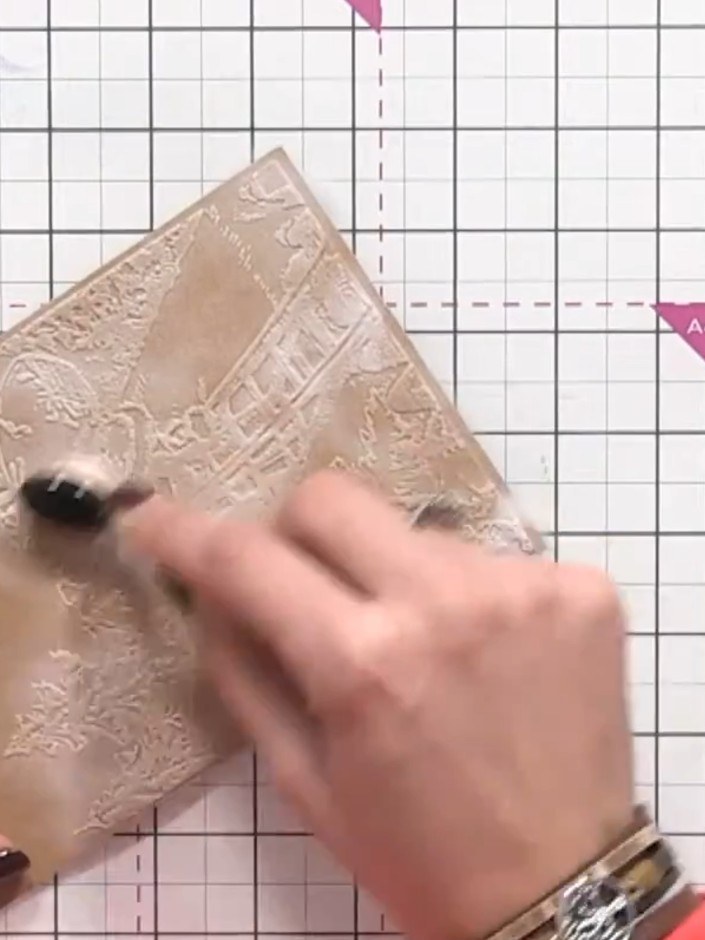
Using a dauber or sponge, add white paint splats across the top portion of the embossed card to create a snowy effect. Dab the paint randomly over the raised embossed areas.
▶ watch this step (27:45)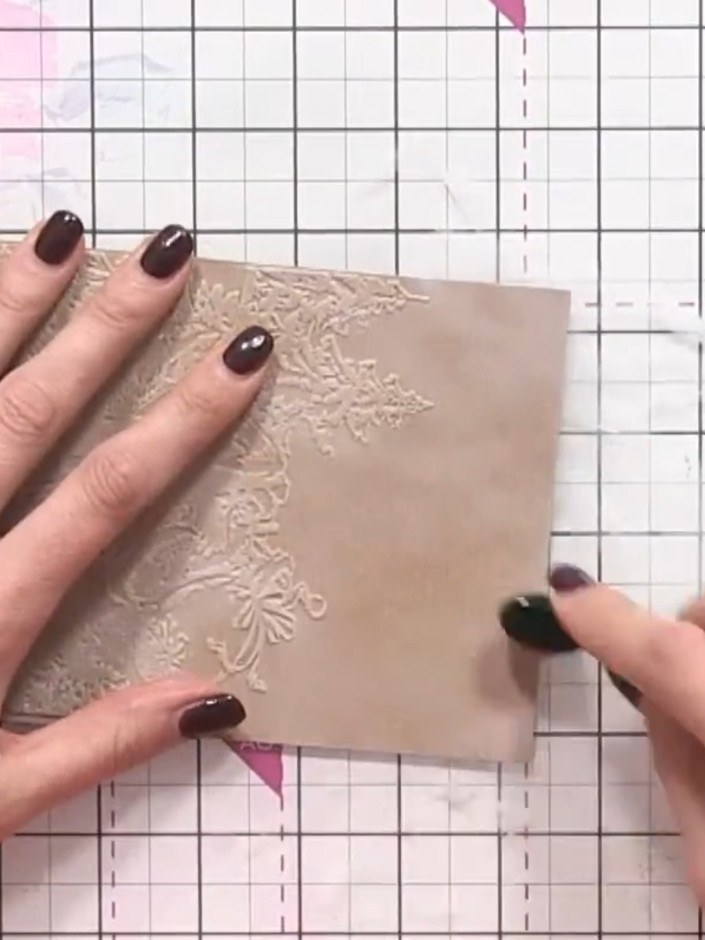
Dry the embossed card thoroughly using a heat gun to ensure the embossing is set and the card is completely dry.
▶ watch this step (28:45)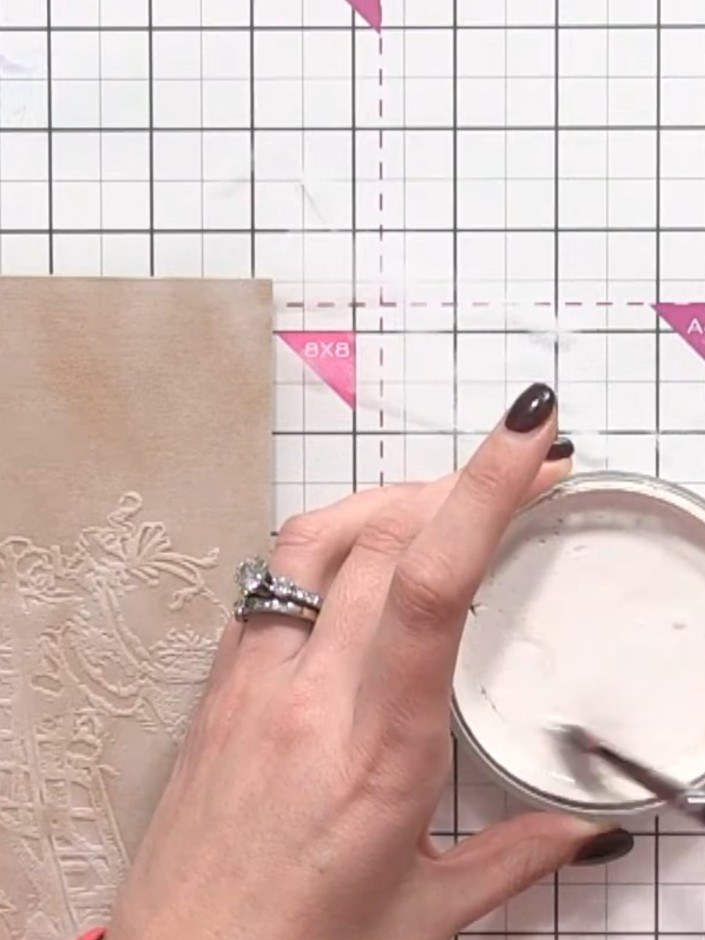
Using a white ink pad, pounce over the embossed design to highlight the raised areas. This will bring the Santa figure forward and create dimension on your card.
▶ watch this step (29:00)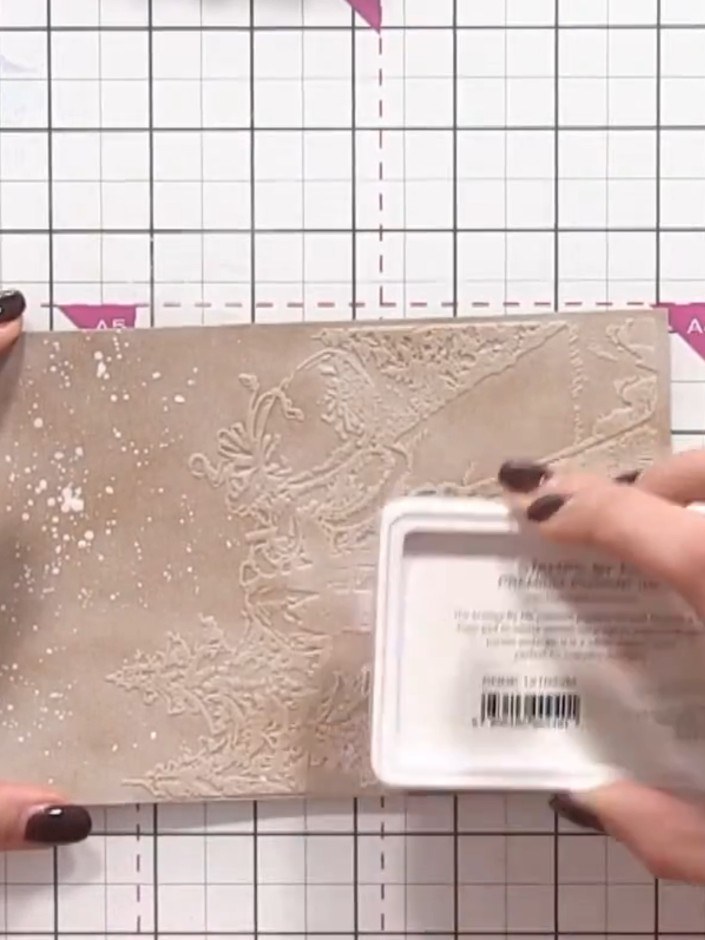
Using a white ink pad, pounce colour onto the embossed design to bring out the details and highlight the raised areas.
▶ watch this step (33:00)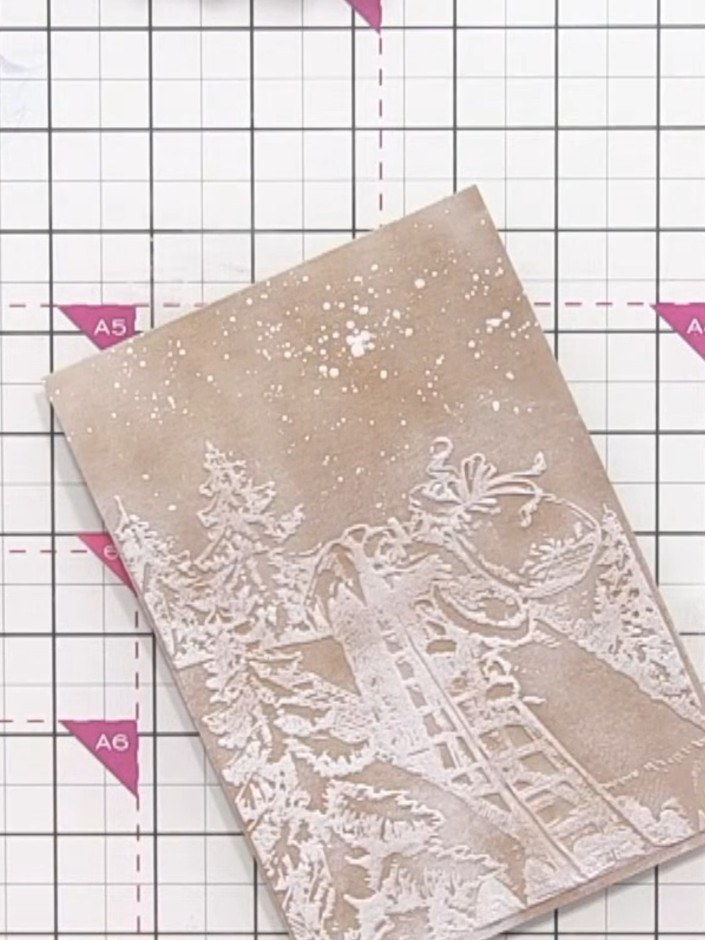
Highlight the trees and other elements using a silver metallic ink pad. Dab the ink pad lightly over the embossed design to add shimmer and dimension to the winter scene.
▶ watch this step (34:00)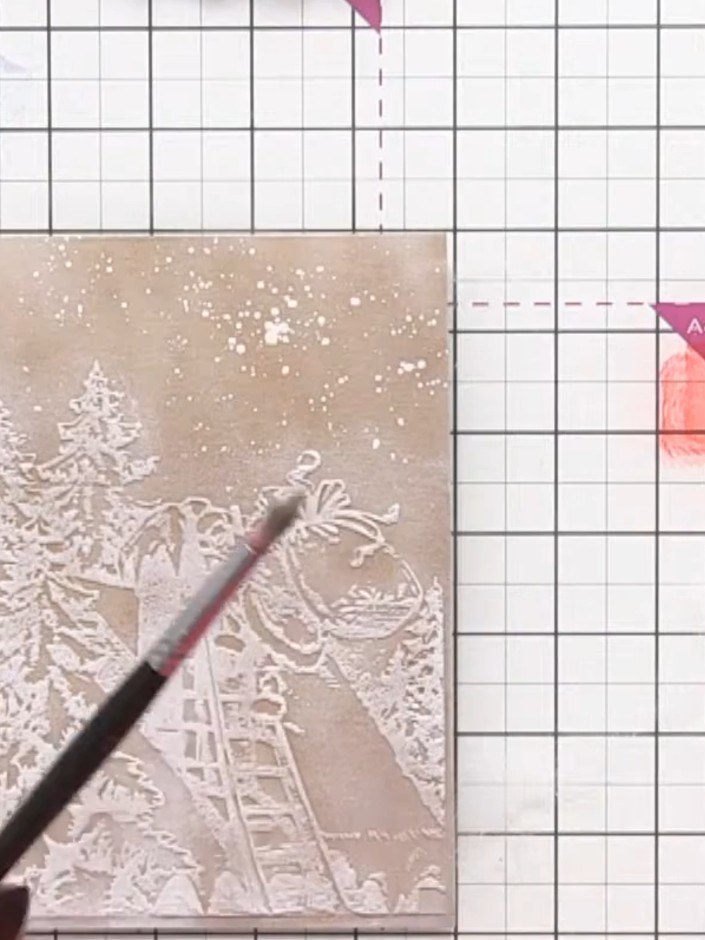
Clean your brush with a cloth between colours. Add sparkle or metallic details to Santa's suit cuffs and the roof of the house if desired, using a fine brush to apply the colour carefully to the embossed areas.
▶ watch this step (34:45)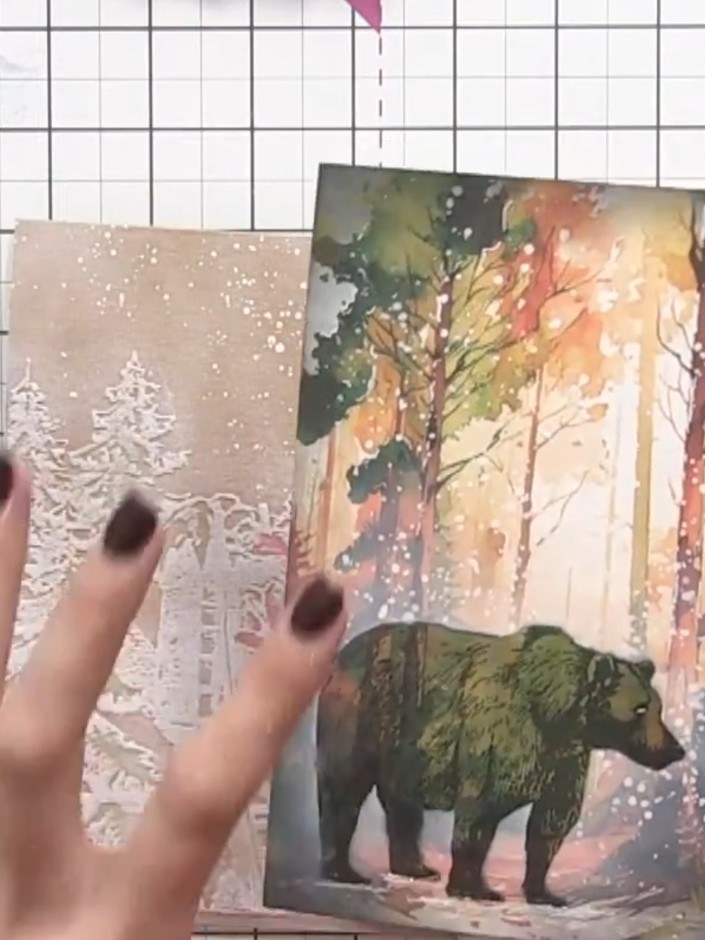
Mount the finished embossed winter village panel onto a decorative card base or gold mirror board. Position it carefully to showcase the white embossed details and any coloured accents you've added to complete your card.
▶ watch this step (37:00)Written up from the show itself. See every guide from our shows · free how-to guides · watch live on My Telly
