Give your friends £10 off their first order!
Refer a FRIEND








A project from our live show THE THURSDAY DROP - Latest Products from Toni - Broadcast 8th October 2026 · 08/10/2026 · watch it from 21:37
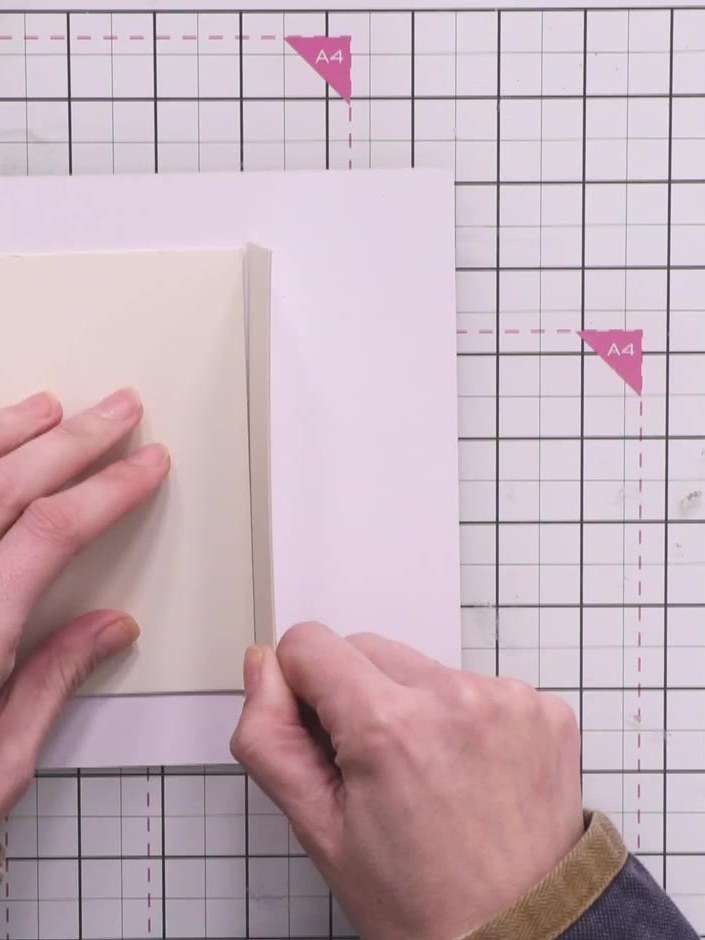
Create a beautiful handmade mini album with a sophisticated mount board cover wrapped in rich brown textured paper. This project demonstrates fundamental album-making techniques including constructing a spine, front and back covers with hinges, and lined interior pages perfect for holding photographs, gifts, or cherished mementos. The finished album features a classic design with coordinating papers and a professional bound edge.
 Stamps By Me Mount Board - 10 Sheets A4 - 081026BSEE IT
 Herritage Textures Paper Collection - 240225DSEE IT
 Classic Textures Paper Collection - 240225ASEE IT
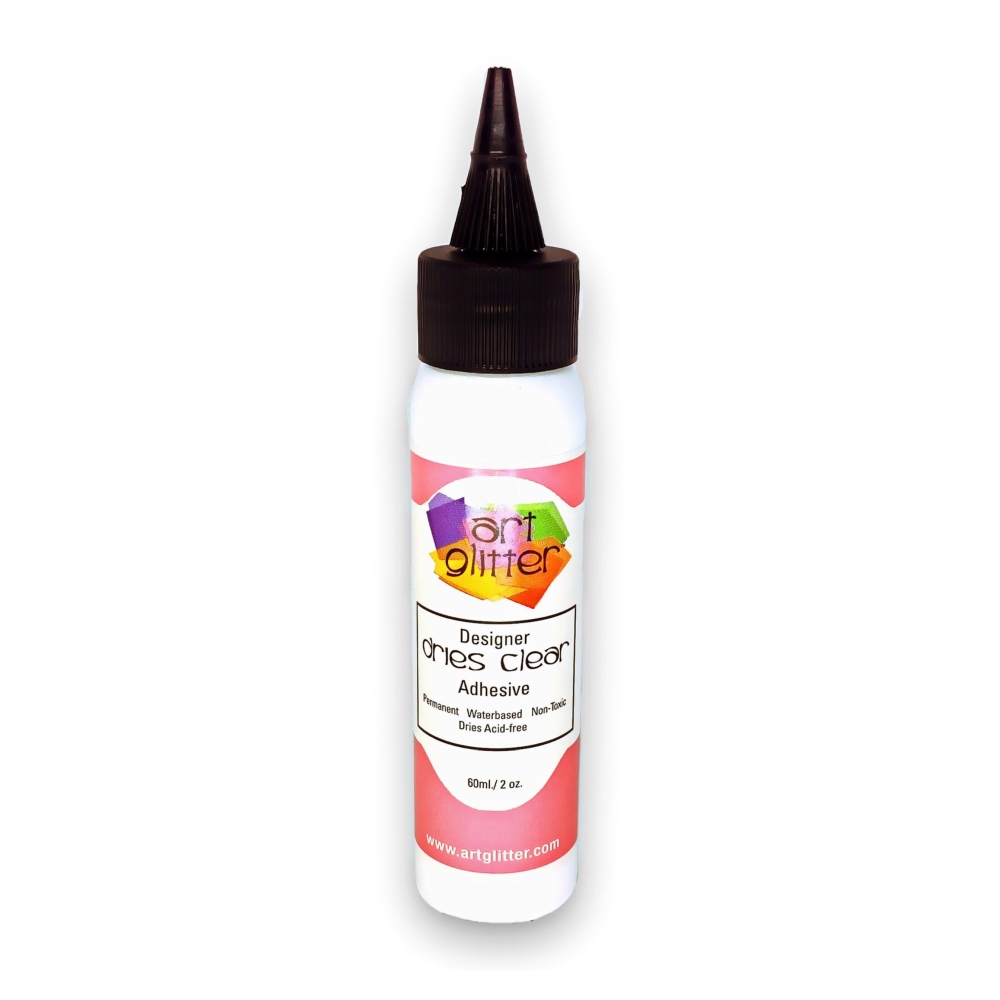 Dry Clear Glue 2Oz.SEE IT
 Stamps By Me Black Card Pack - 290926KSEE IT
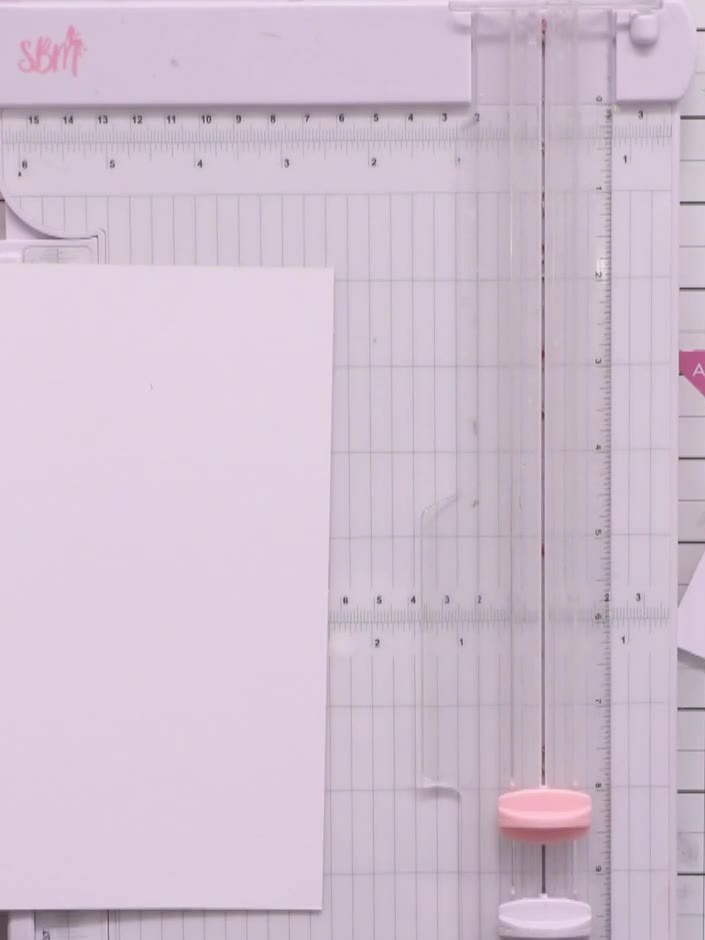
Cut your A4 mount board in half to create two pieces for the front and back covers. Then cut a spine piece approximately 1.5 inches wide from the mount board.
▶ watch this step (25:30)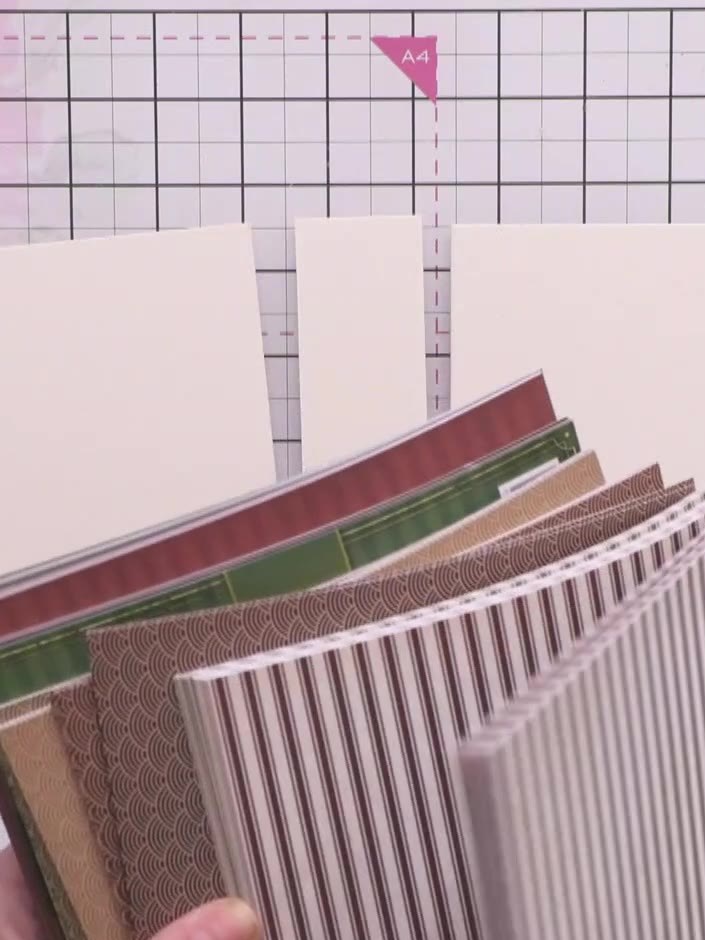
Select coordinating decorative papers from the Classic Textures Paper Collection. Cut pieces large enough to wrap around your mount board pieces, leaving approximately 1 inch (2.5 cm) overhang on all sides.
▶ watch this step (28:30)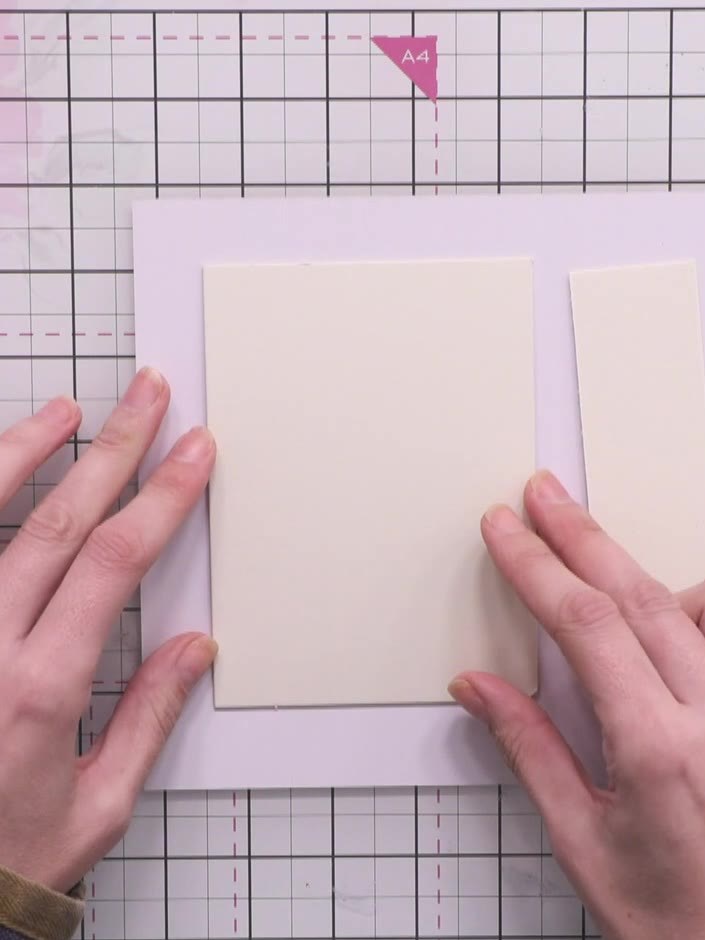
Apply fast-grab glue to the mount board piece and carefully attach the first decorative paper, ensuring there is even overhang on all sides. Smooth down firmly to secure.
▶ watch this step (30:00)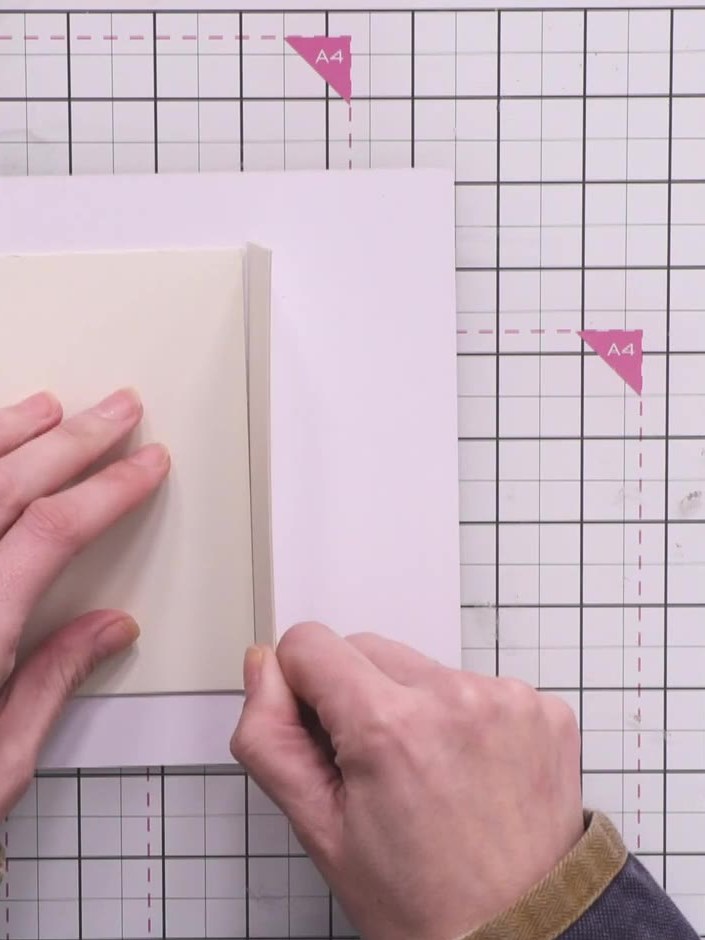
Position the spine piece between the front and back covers on your cutting mat, leaving a gap equal to the thickness of your mount board on each side. This gap allows the album to open properly.
▶ watch this step (31:45)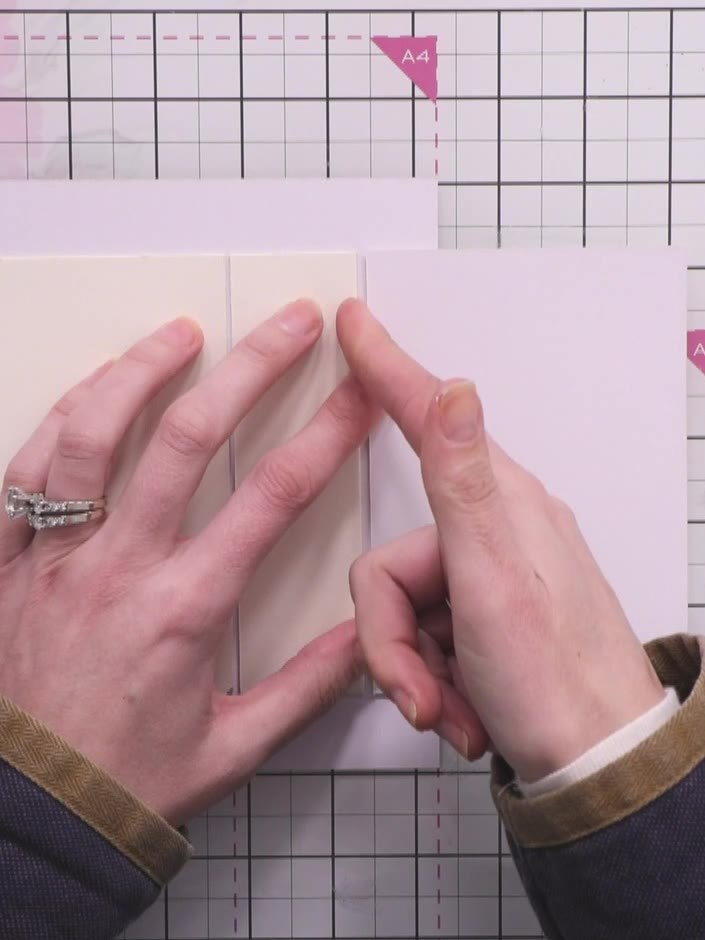
Wrap the decorative paper around the spine and covers. Manipulate and warm the paper with your fingers to educate the fibres where to bend, creating neat folds around the mount board.
▶ watch this step (33:00)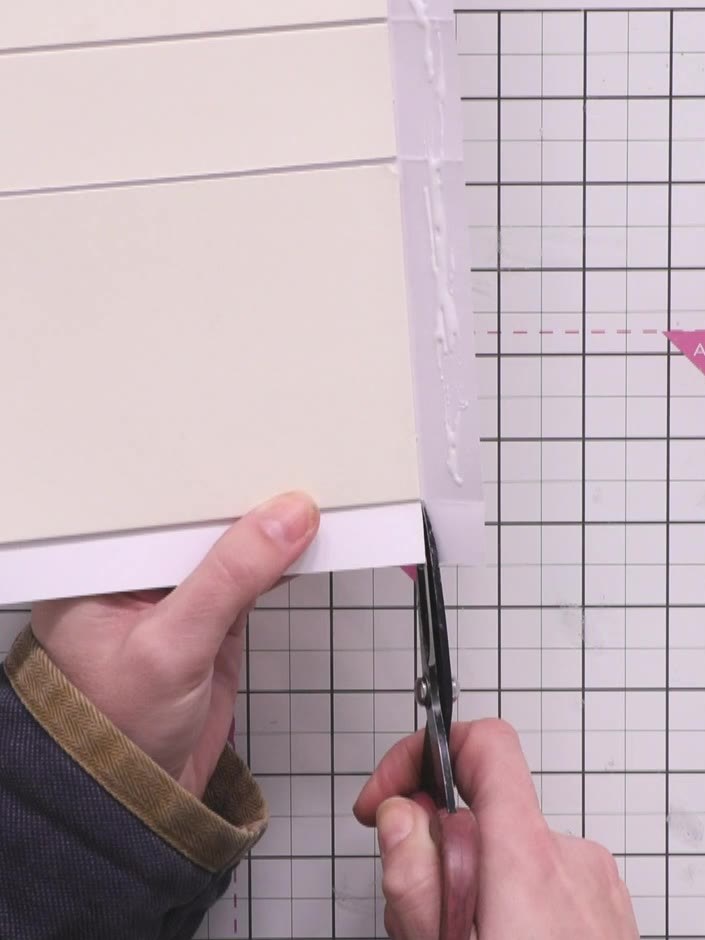
Cut away the corner squares from the wrapped paper. Chamfer the edges at an angle with scissors so they will sit neatly when folded inside.
▶ watch this step (38:45)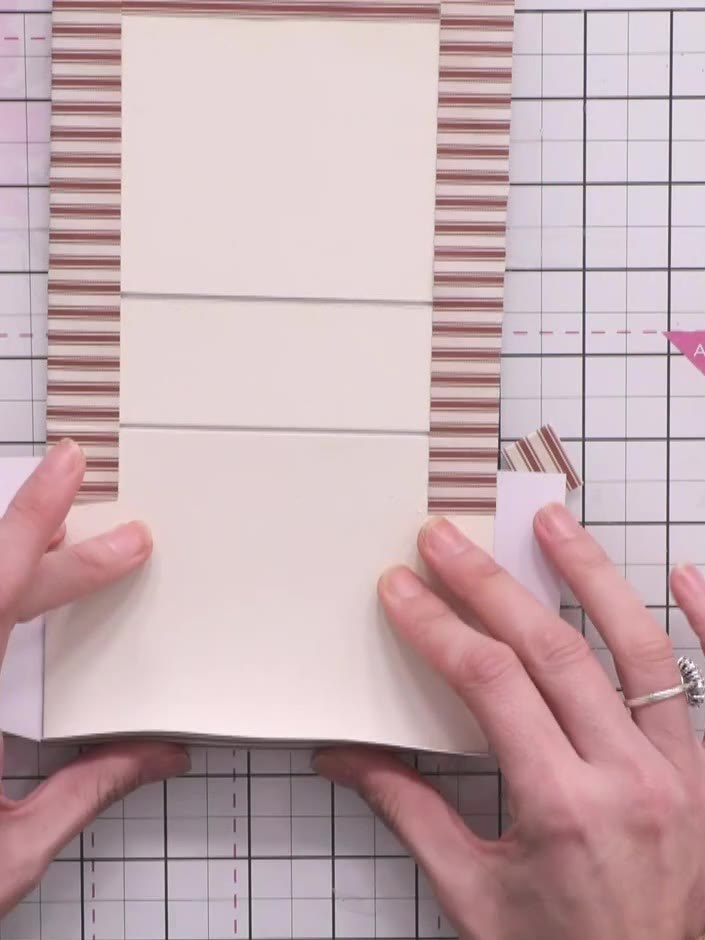
Apply glue to the wrapped paper edges inside the covers. Press down firmly to secure the paper and hide the mount board, ensuring the corners are neat and flat.
▶ watch this step (42:00)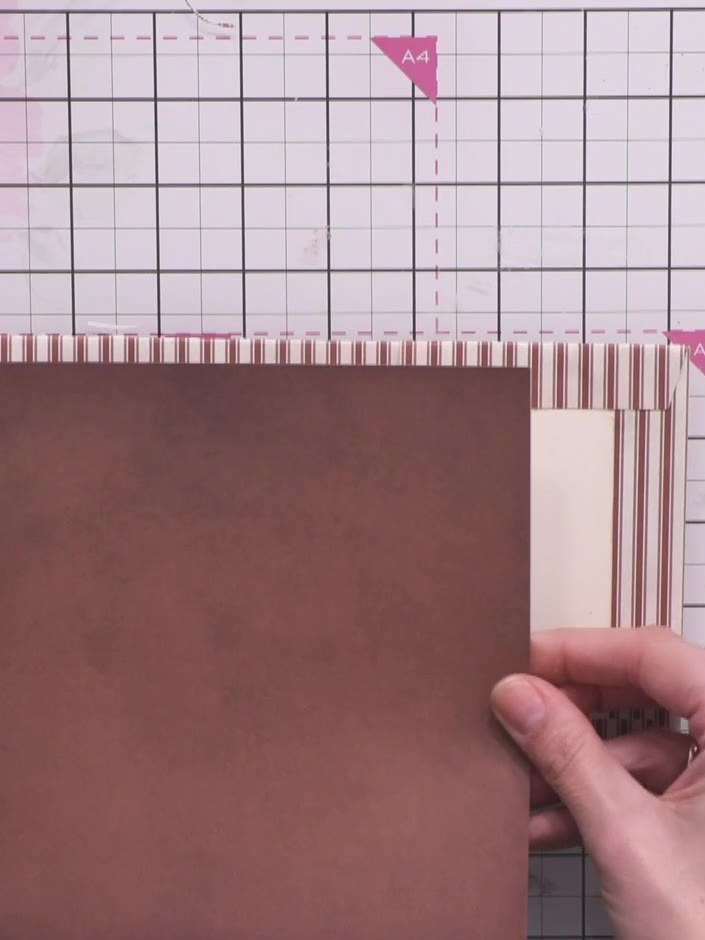
Cut pieces of coordinating striped paper to fit the interior panels of your album. This will cover the structural elements and create a neat, finished appearance inside.
▶ watch this step (46:00)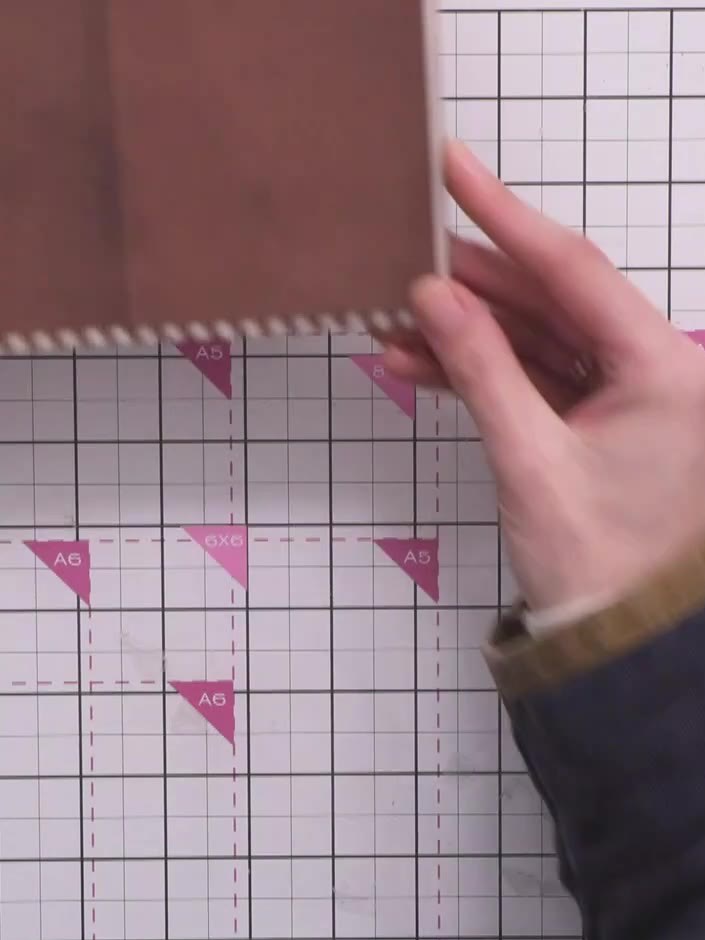
Cut strips of card stock and score them at regular intervals to create hinges. The measurements should be based on your spine width. These scored strips will form legs to hold your album pages together.
▶ watch this step (55:30)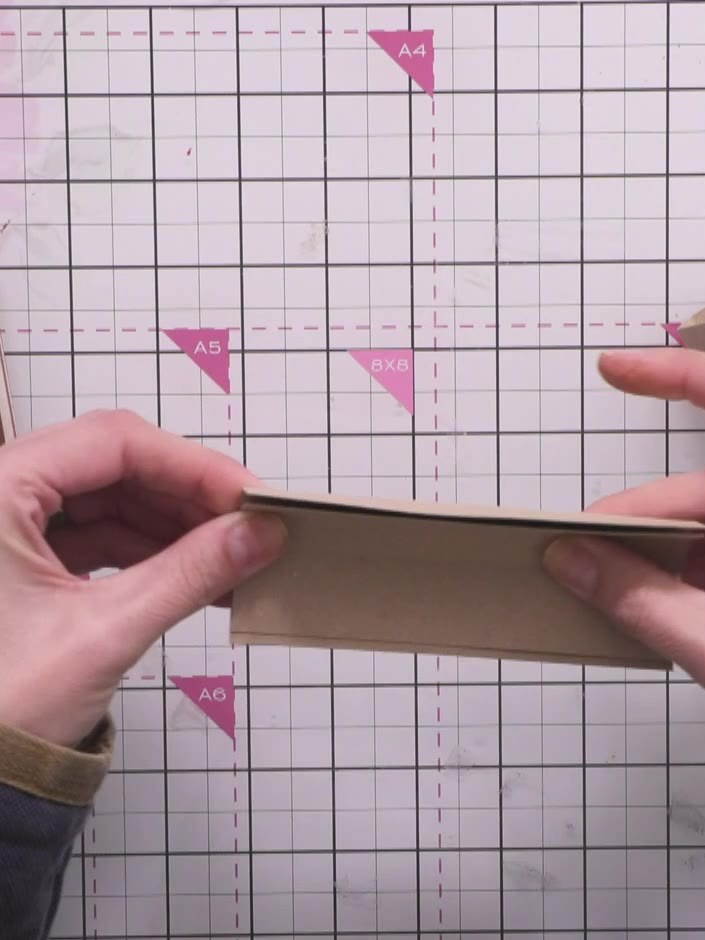
Glue the hinge strips together, nesting them inside each other to create a cascading effect. Hold the pieces in position until the glue sets to ensure they are properly aligned.
▶ watch this step (1:01:30)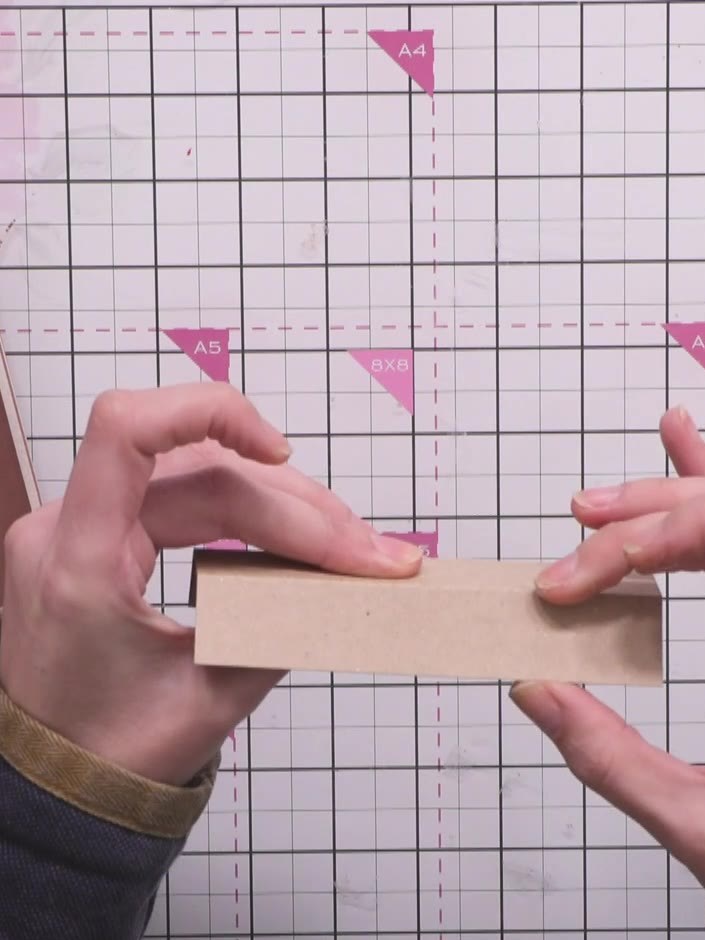
Cut your page pieces to size, ensuring they fit within the album dimensions without exceeding the cover size. Apply glue to each hinge leg and attach a page piece, pulling slightly away from the spine as you adhere it to allow the pages to open smoothly.
▶ watch this step (1:02:30)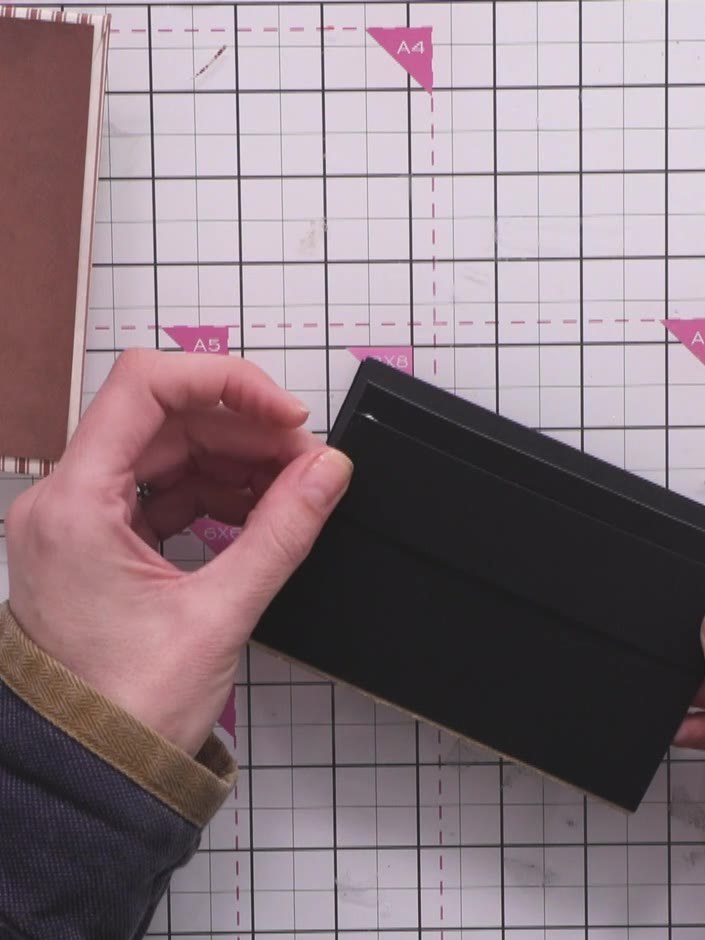
Glue the completed hinge and page assembly into the centre of your album spine. Ensure everything is aligned and level before the glue sets.
▶ watch this step (1:12:30)Written up from the show itself. See every guide from our shows · free how-to guides · watch live on My Telly