Give your friends £10 off their first order!
Refer a FRIEND








Prices change straight away. Every language is our own translation, not Google.
A project from our live show MY PODCAST - Catch my latest updates broadcast 9th December 2024 · 09/12/2024 · watch it from 26:45
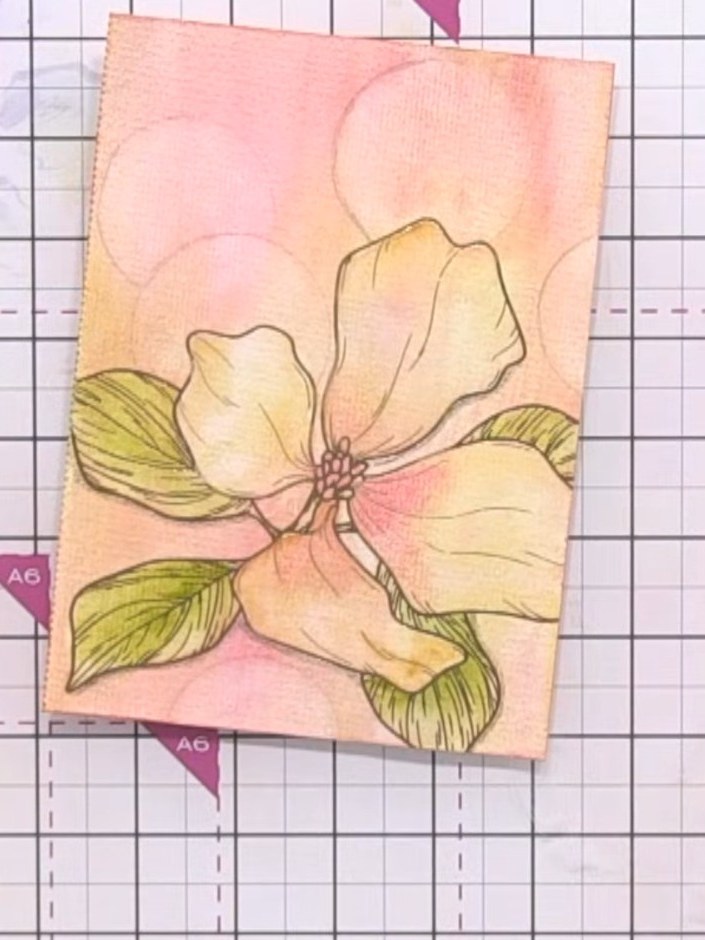
Create a stunning watercolour botanical card featuring a delicate magnolia flower painted in soft peachy-pink and yellow tones with green leaves. This project combines hand-painting techniques on hot foil cardstock with a bokeh bubble effect overlay, creating a dreamy, dimensional finish that makes the floral design appear to shimmer and float.
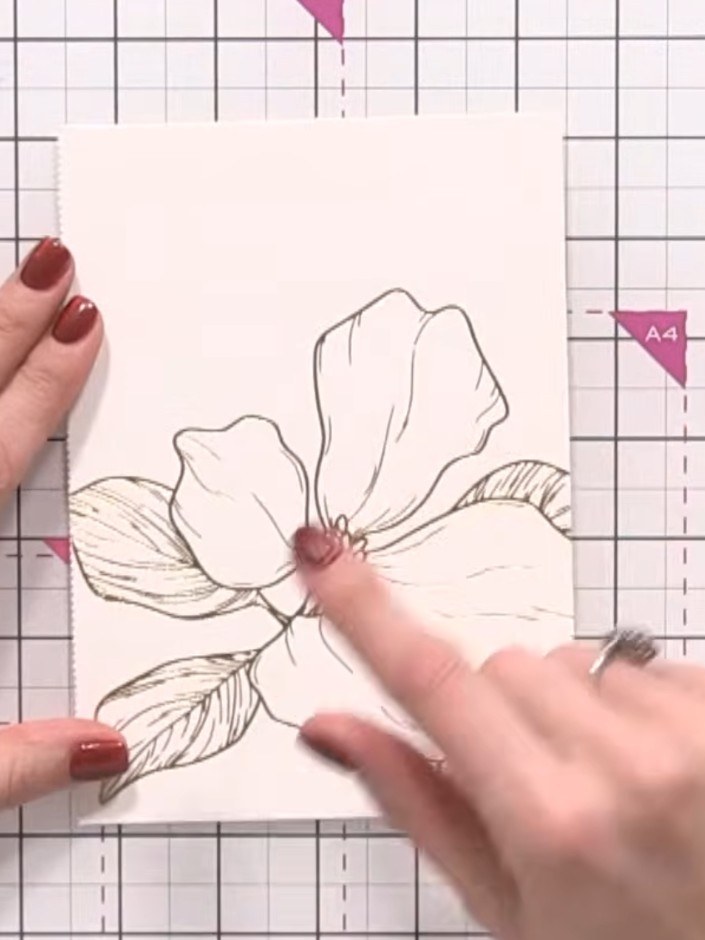
Select a hot foil botanical design from the colouring book. Use a guillotine or trimmer to carefully cut along the perforated edge to remove the page from the book.
▶ watch this step (29:00)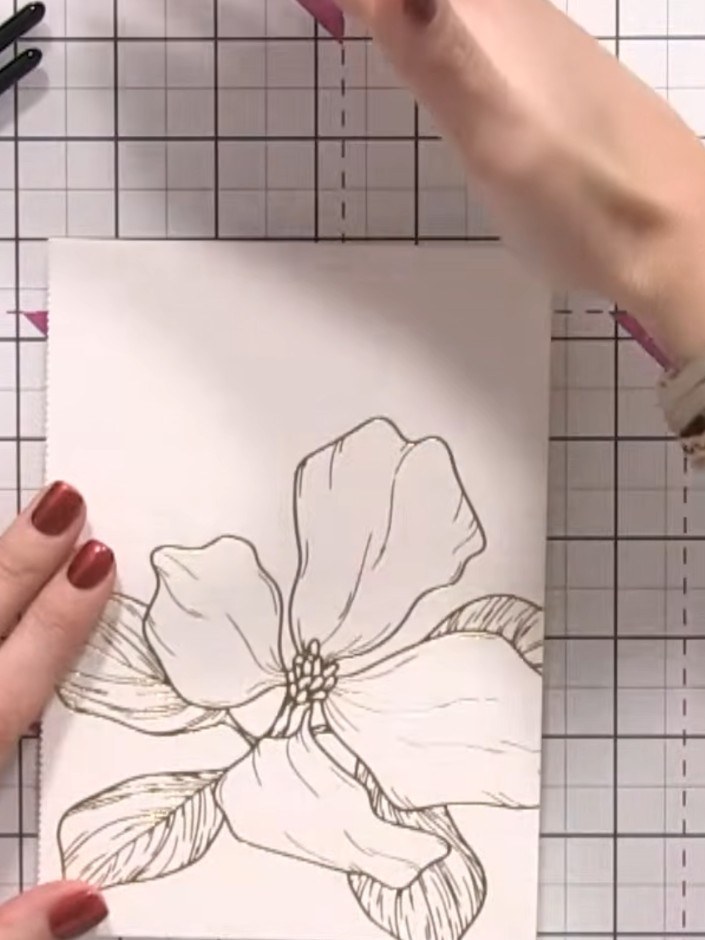
Using a clean flat brush, wet the entire surface of the stamped floral image with clean water to prepare it for watercolour application.
▶ watch this step (31:00)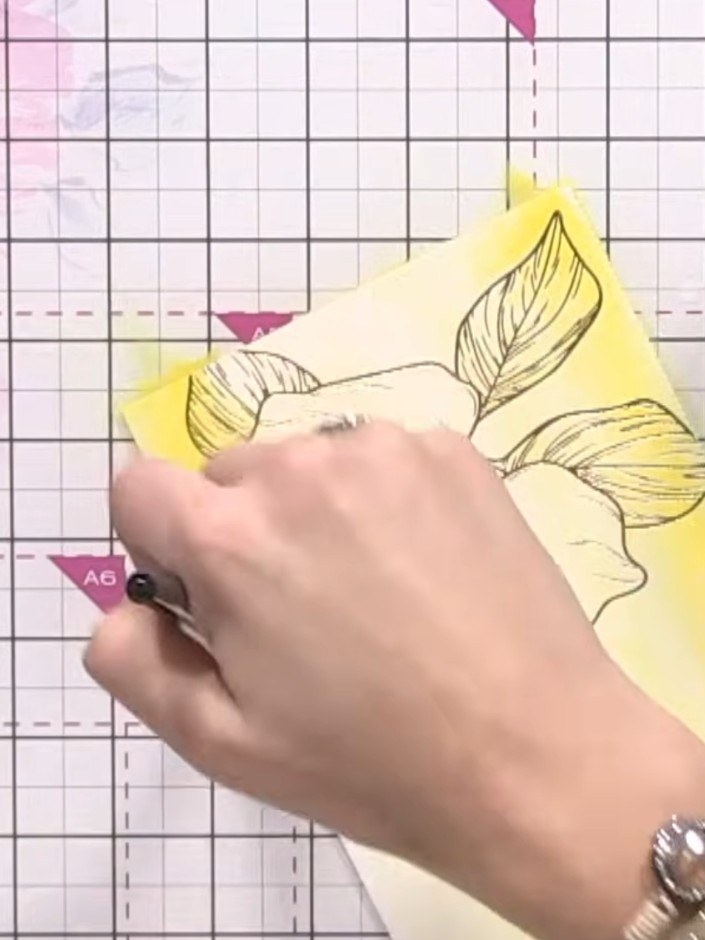
Apply a light wash of yellow watercolour across the wet card using a brush. Vary the tone in places to create depth, allowing the colour to spread naturally on the damp surface.
▶ watch this step (32:30)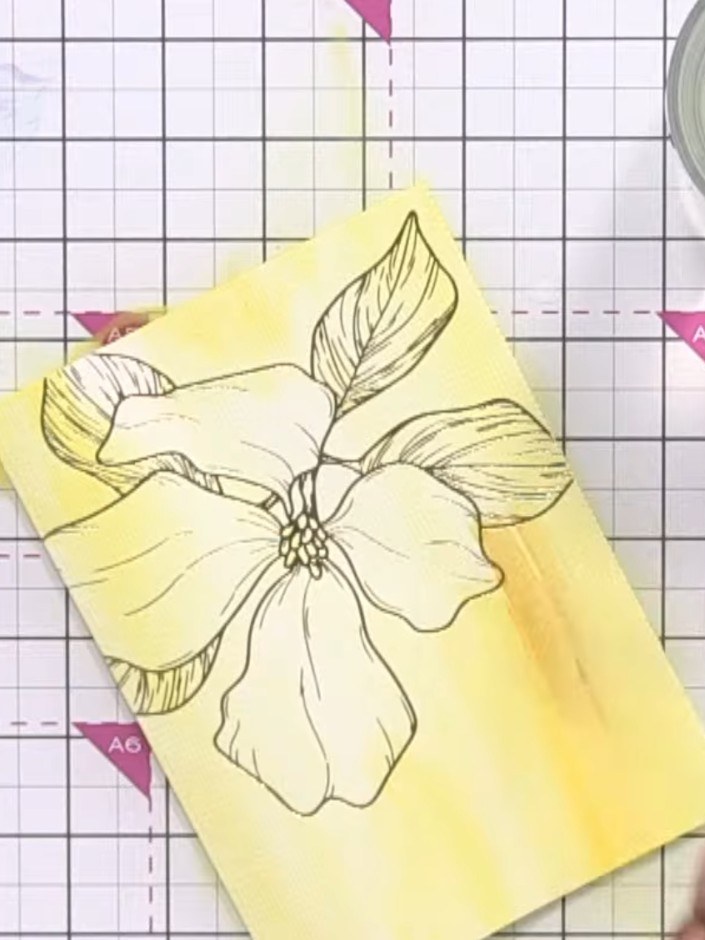
Continue building depth in the yellow background wash by adding darker yellow tones. Introduce coffee-coloured watercolour to create additional dimension and warmth in the background areas.
▶ watch this step (33:30)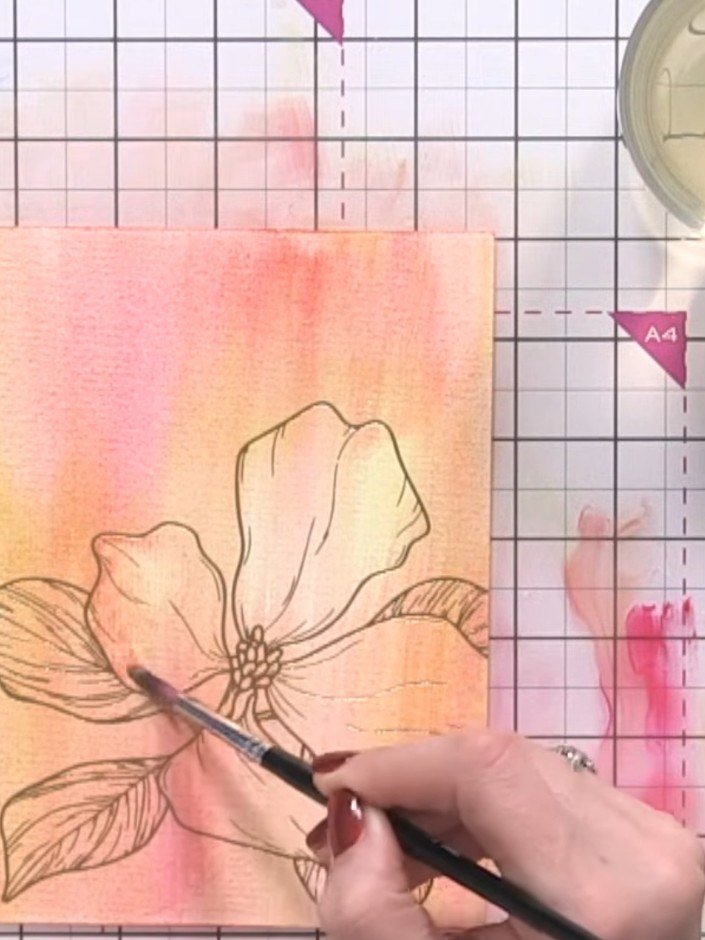
Using a clean, wet brush, paint water inside individual petals. Gently dab with tissue to lift out colour, creating a lighter, highlighted effect on the petals.
▶ watch this step (37:45)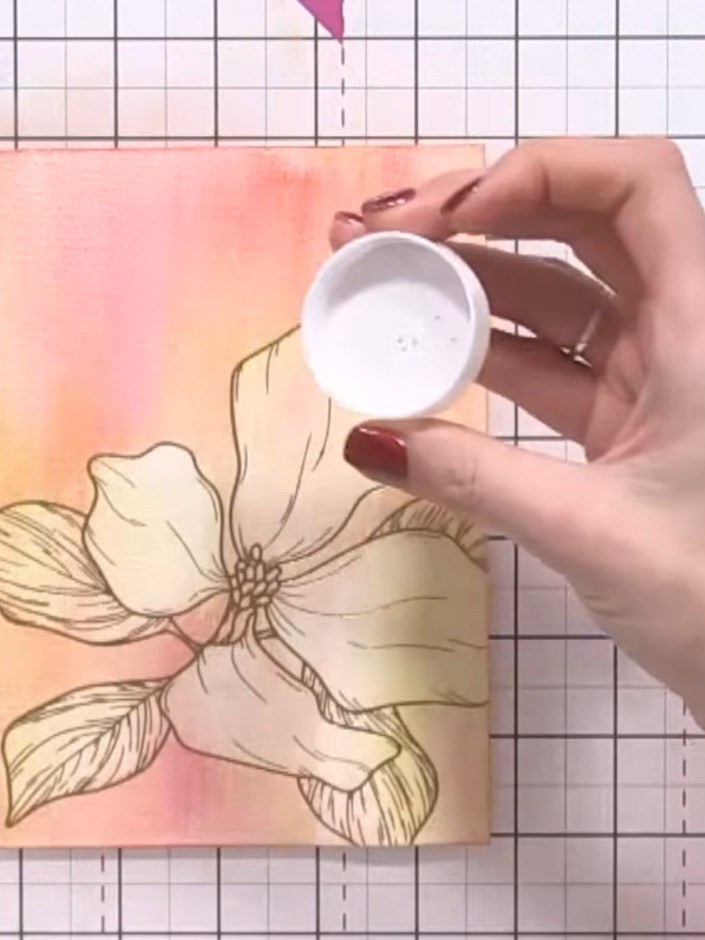
Using a white lid or circular object as a template, lightly draw circles around the flowers with a watercolour pencil to mark bokeh bubble positions. Keep the circles outside the main flower design.
▶ watch this step (40:30)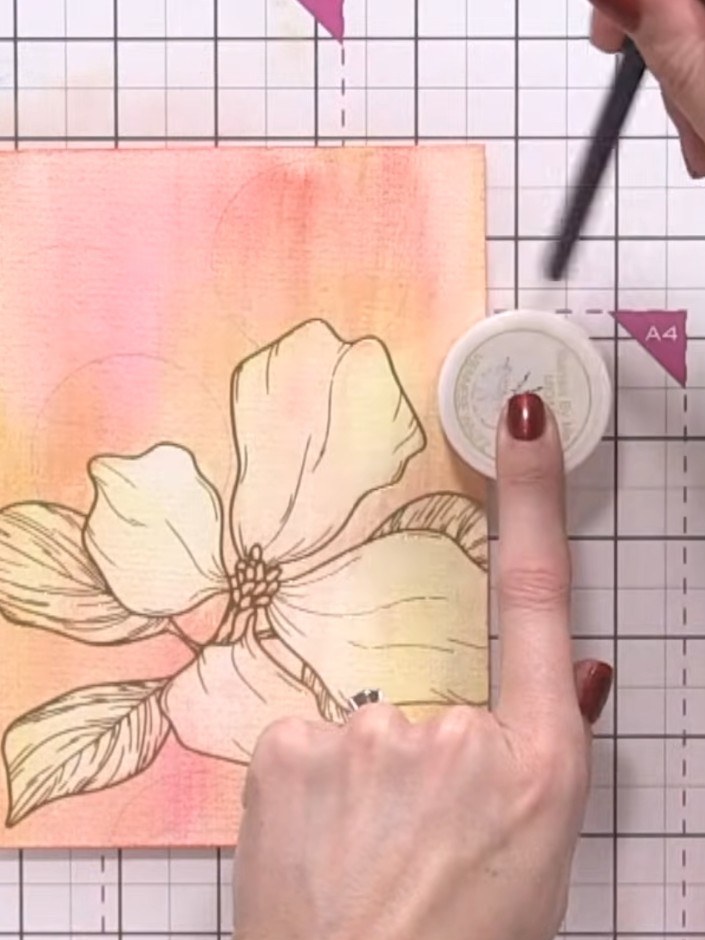
Using a clean, damp brush, paint water inside each of the marked circles on the watercolour background. This will activate and blend the watercolour paint underneath to create the bokeh bubble effect.
▶ watch this step (42:00)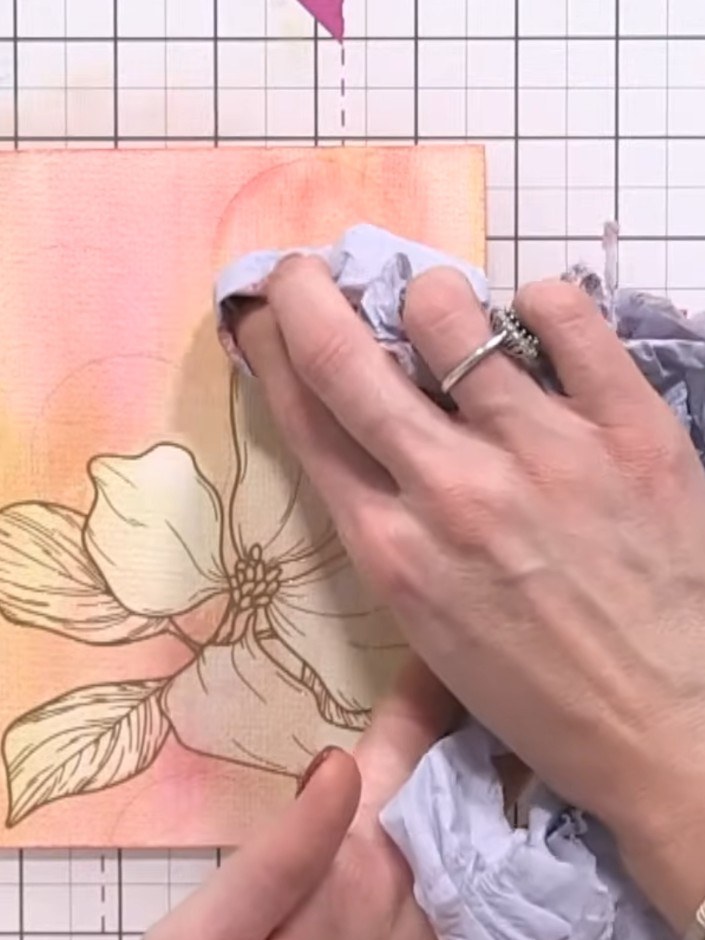
Use a piece of tissue to gently lift and dab away colour from within the water-filled circles on the watercoloured background to create the bokeh bubble effect.
▶ watch this step (43:00)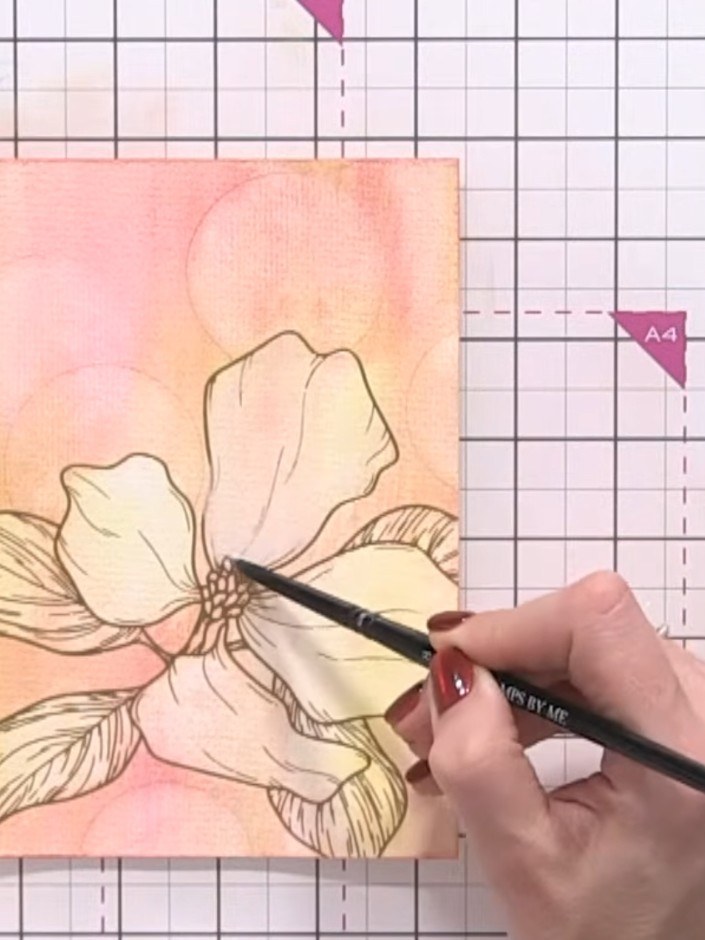
Mix white watercolour paint to create a pale grey tone. Paint over all the flower petal areas with this grey wash, covering the lines completely as the foil will show through.
▶ watch this step (48:30)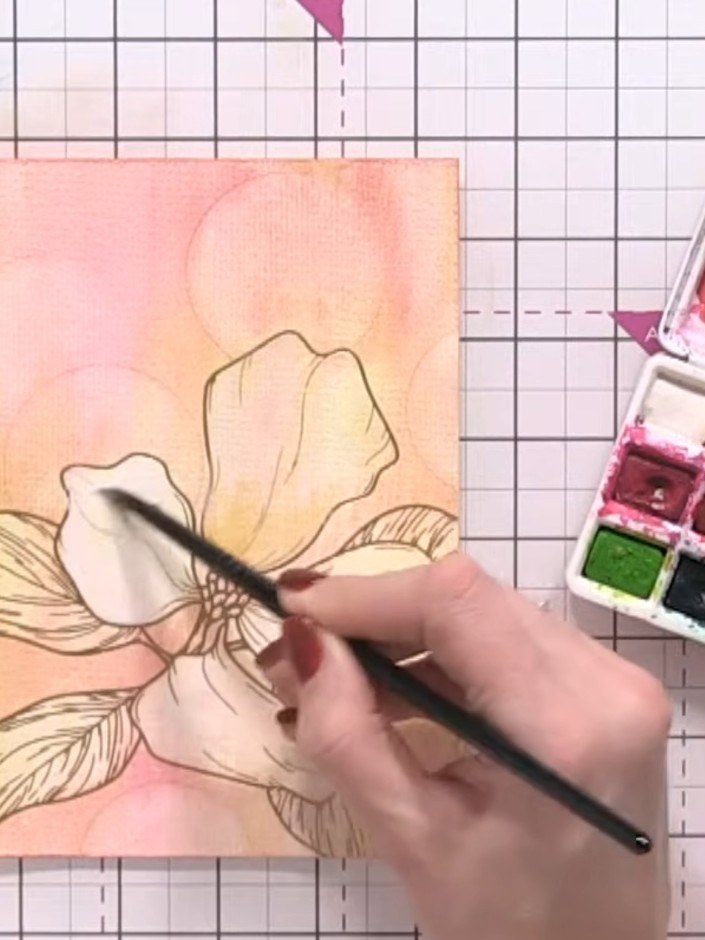
Using a wet brush, drop brown-yellow watercolour onto the wet white petals to add warmth and detail to the flower centre. Allow the colour to blend naturally into the damp petals.
▶ watch this step (49:00)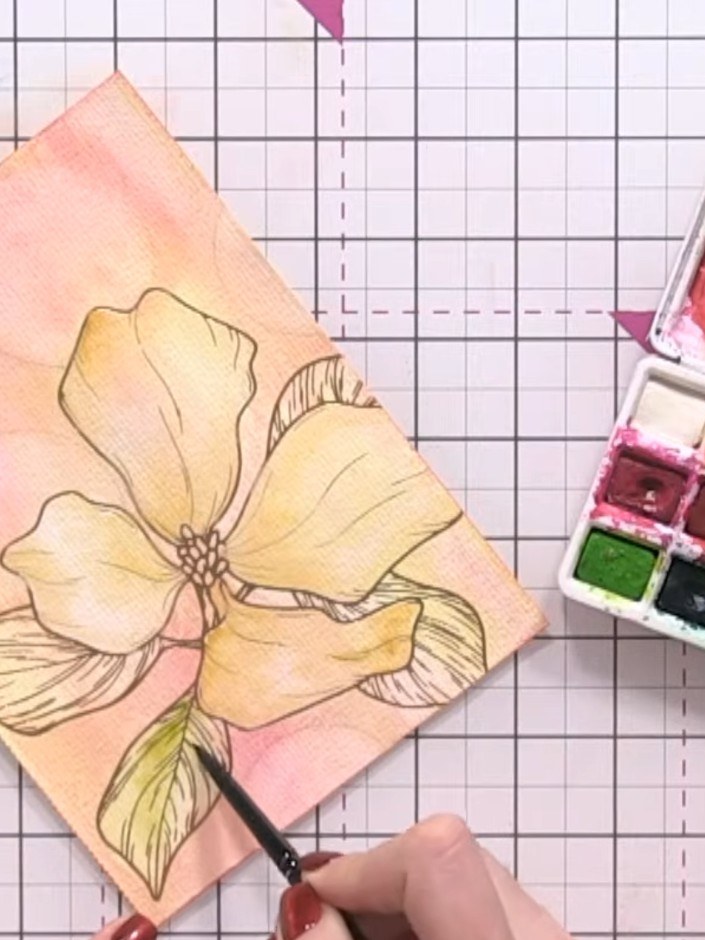
Paint the leaves by first wetting them with clean water, then drop in green watercolour to create soft, natural-looking foliage with a blended effect.
▶ watch this step (51:30)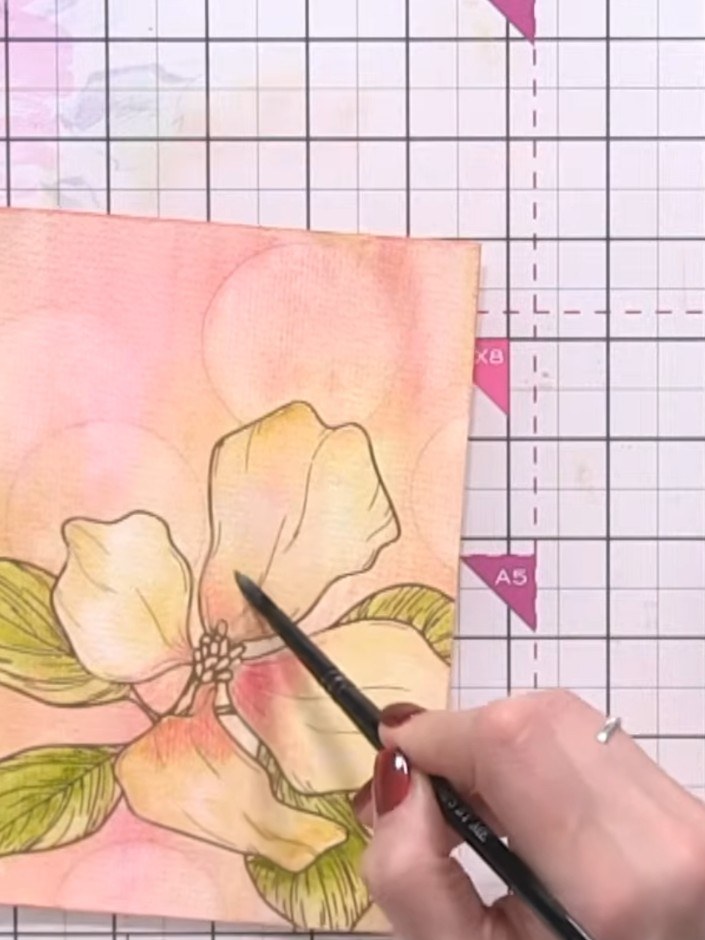
Using a wet brush, pick up a touch of light pink watercolour and pounce it onto the wet flower centre area to create a delicate accent colour that blends softly into the background.
▶ watch this step (54:00)Written up from the show itself. See every guide from our shows · free how-to guides · watch live on My Telly



