Give your friends £10 off their first order!
Refer a FRIEND








Prices change straight away. Every language is our own translation, not Google.
A project from our live show Create Together Club - 5 Days of Creativity - Broadcast Mon 10TH Feb 2025 · 10/02/2025 · watch it from 15:30
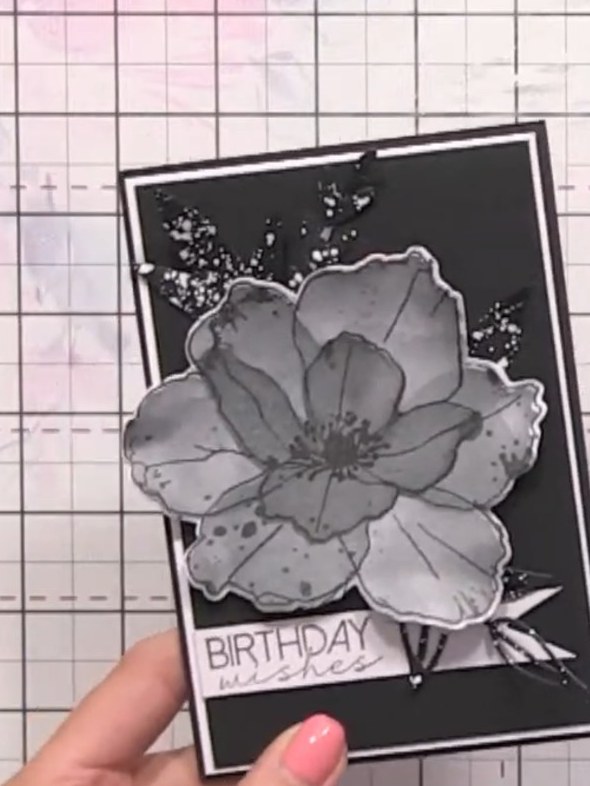
Create a sophisticated monochromatic birthday card featuring a beautiful layered bloom design. Using the Dreamy Blooms stencil and stamps, you'll build up dramatic grey tones on black cardstock with a water-sprayed resist technique for an artistic, abstract finish. The result is an elegant, contemporary card with striking visual depth perfect for special occasions.
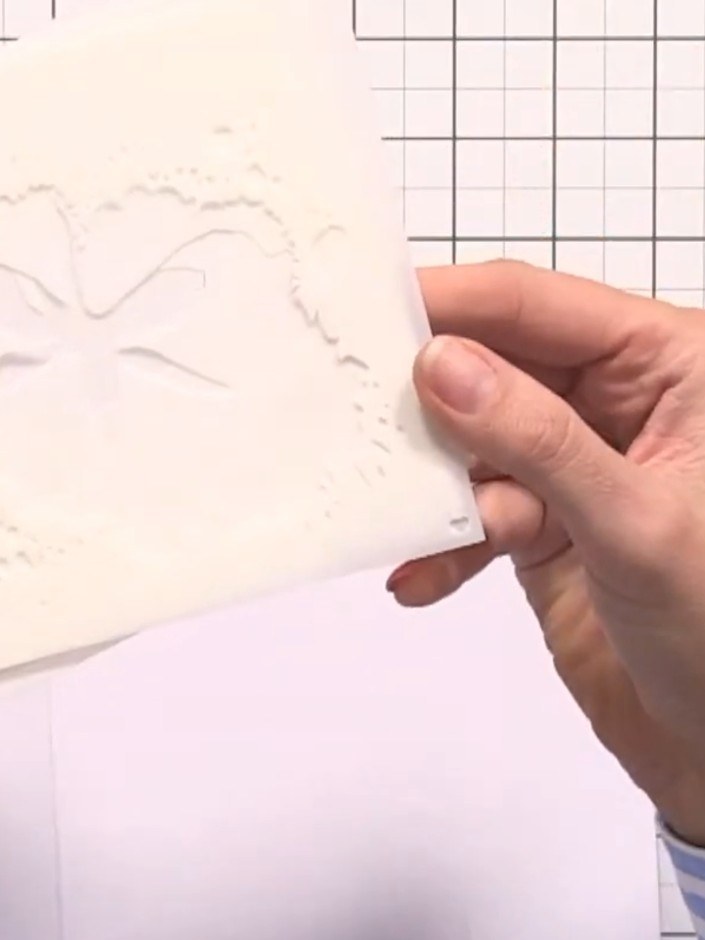
Gather your white card blank and the five stencils from the Dreamy Blooms set. Arrange the stencils in order ready for use.
▶ watch this step (17:00)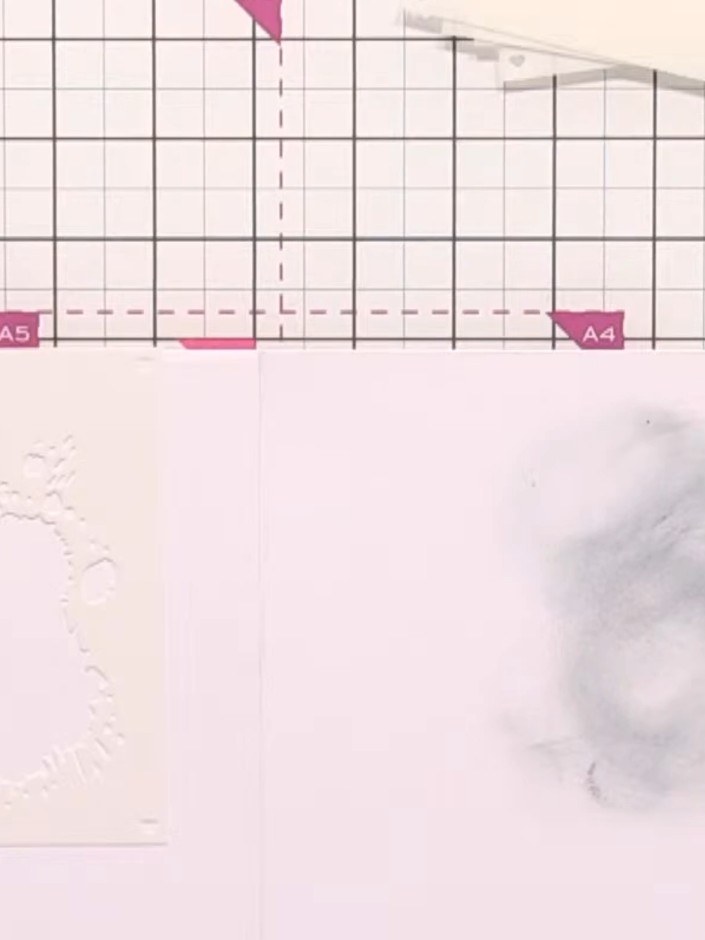
Apply stencil number one using a light grey ink pad and blending brush, creating splat details around the edges of your card.
▶ watch this step (17:45)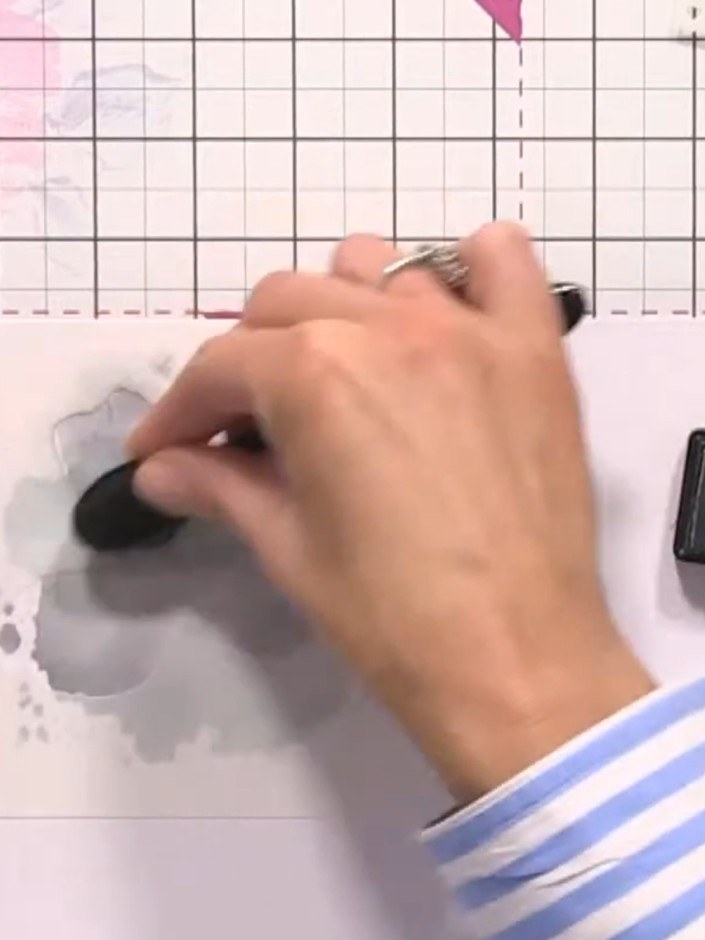
Press stencil number two onto the card with slightly more pressure to create a watermark effect in the same grey tone. Use the blending tool to apply the grey ink through the stencil.
▶ watch this step (20:00)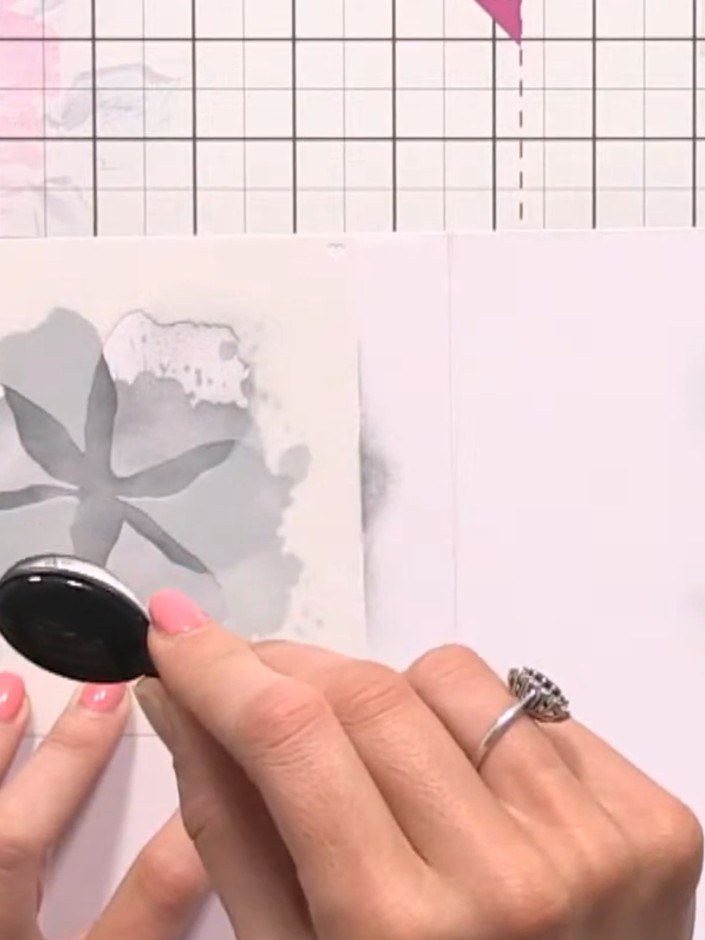
Stamp the large flower outline onto the card using grey ink. Lightly spray with water to create a bleed effect around the stamped image.
▶ watch this step (21:30)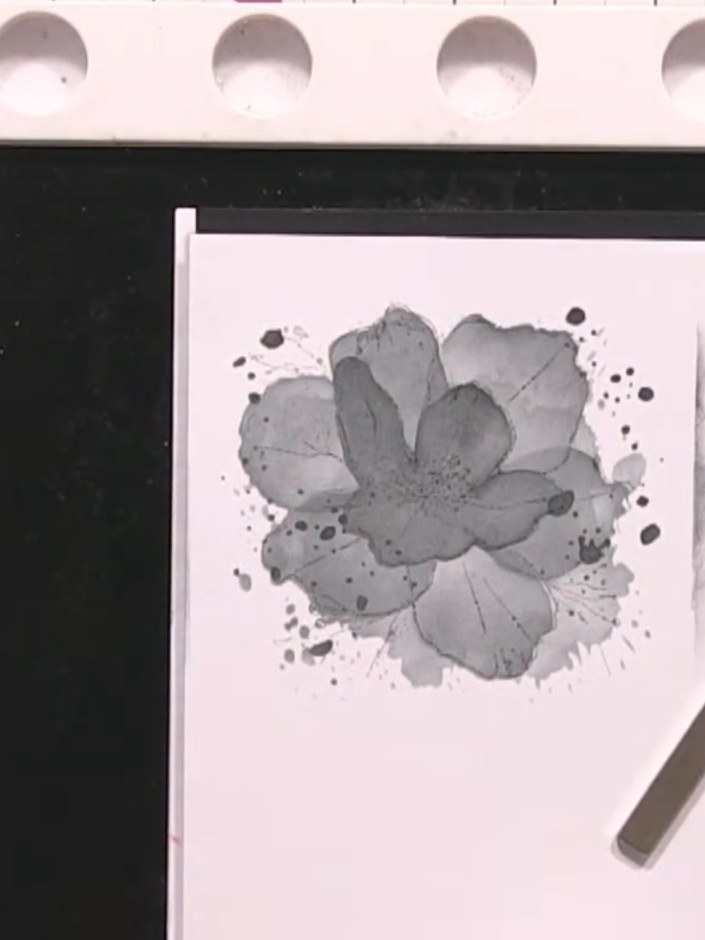
Stamp over the same flower outline again using black ink to create an abstracted, layered effect with the grey showing through. This creates a resist-style look with depth and dimension.
▶ watch this step (28:30)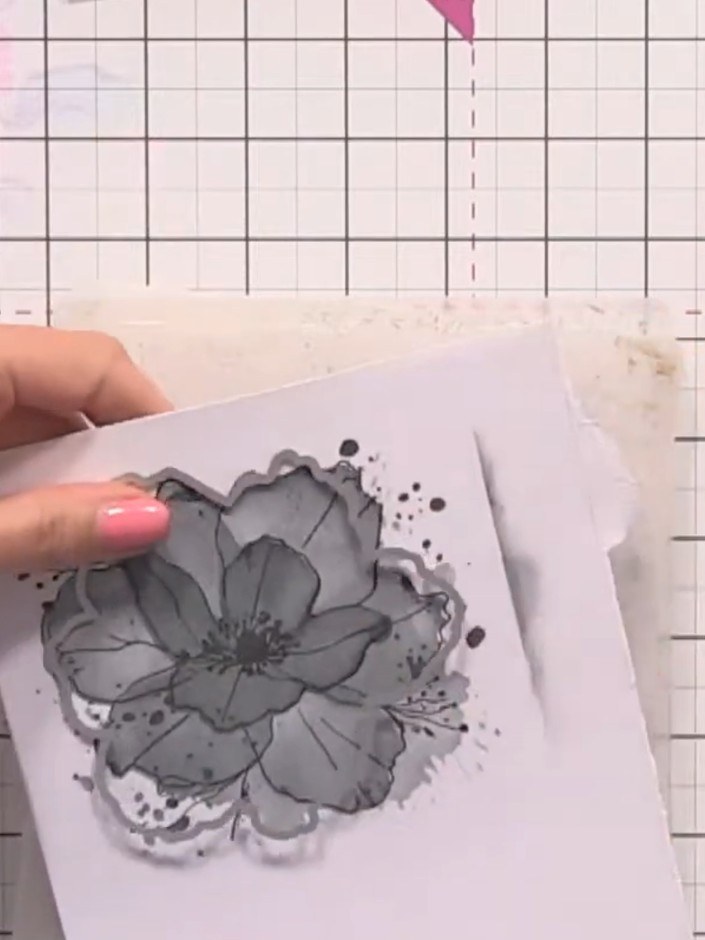
Die-cut the foliage and flower elements from the set using your die-cutting machine with black card stock.
▶ watch this step (35:00)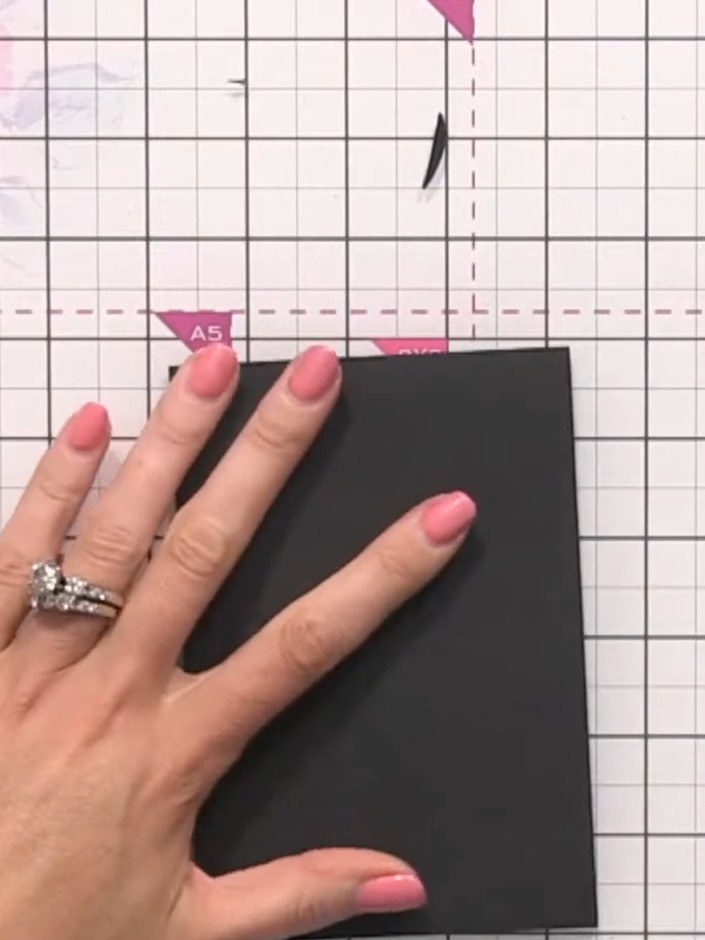
Score white card in half to create a small card base. Layer a piece of black card onto the front of the card base for contrast.
▶ watch this step (41:00)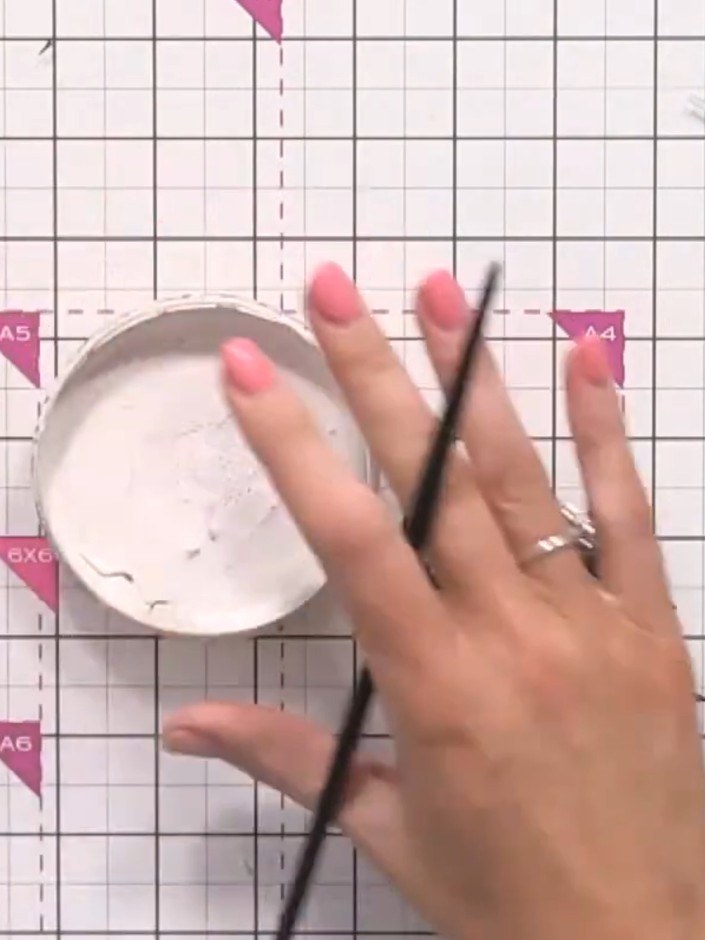
Apply white ink or paint to the black skeleton leaves and foliage pieces using a sponge or ink pad. This will make them stand out against the black card background.
▶ watch this step (44:00)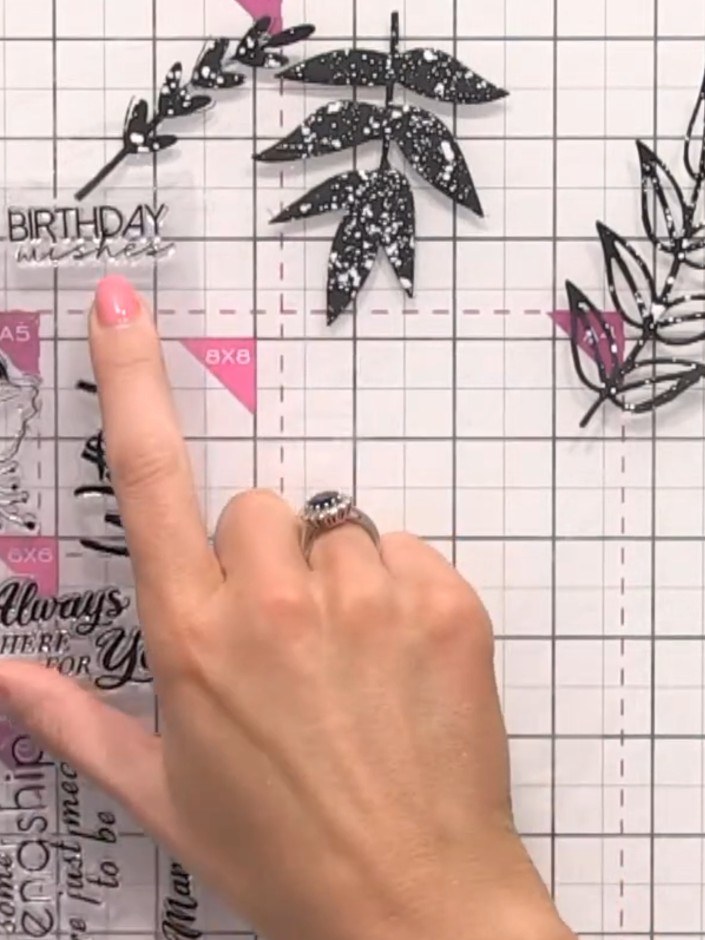
Stamp a small sentiment such as 'Birthday Wishes' onto white card stock using black ink.
▶ watch this step (48:00)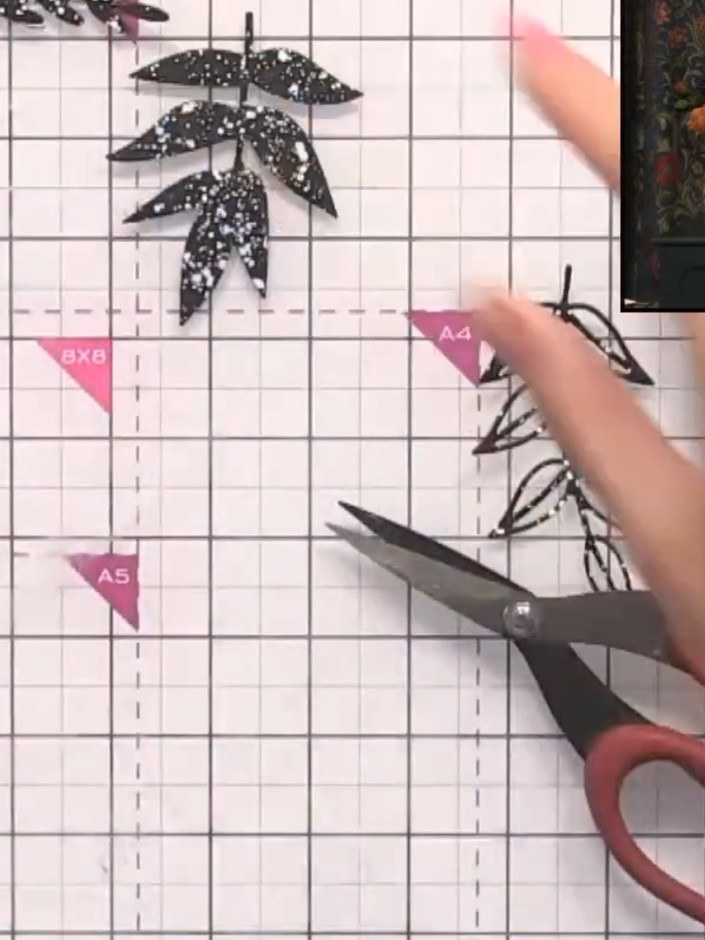
Cut the sentiment into a banner shape with a fishtail or pointed tail at one end using scissors.
▶ watch this step (50:00)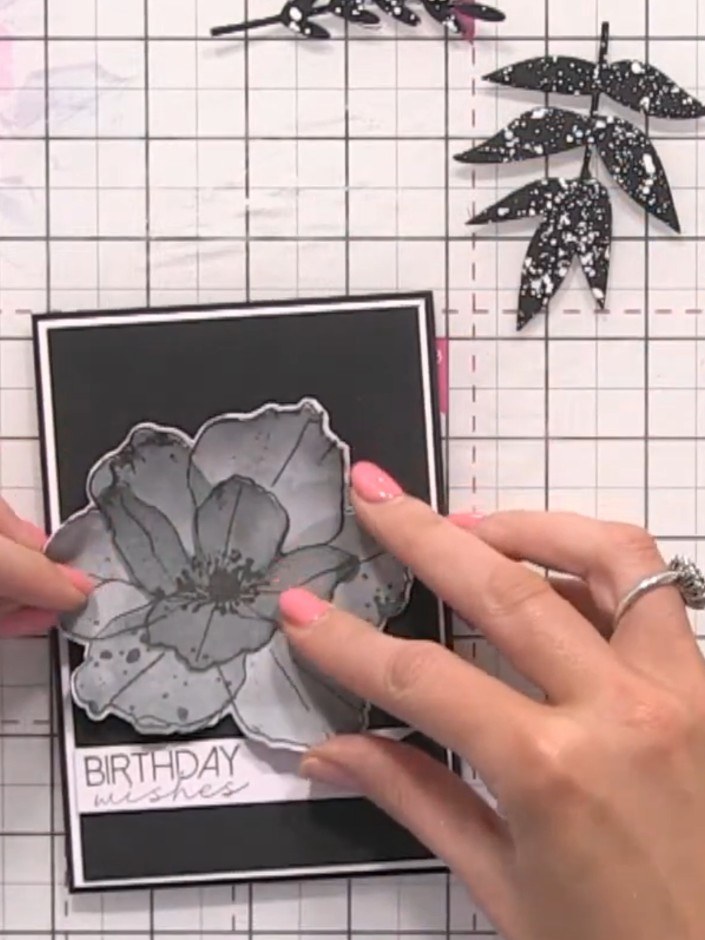
Adhere the white-painted foliage pieces to the black card base using foam pads for dimension.
▶ watch this step (51:00)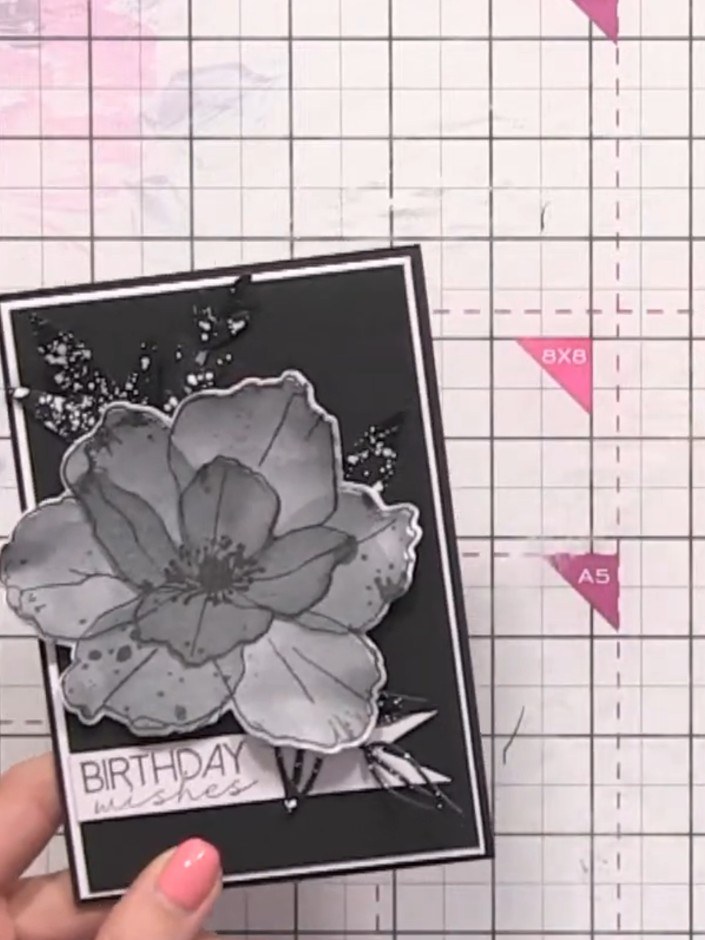
Attach the sentiment banner flat across the lower portion of the card front, positioning it to complement the floral and foliage arrangement above.
▶ watch this step (53:00)Written up from the show itself. See every guide from our shows · free how-to guides · watch live on My Telly


