Give your friends £10 off their first order!
Refer a FRIEND








Prices change straight away. Every language is our own translation, not Google.
A project from our live show MY PODCAST - Catch my latest updates broadcast 10th February 2025 · 10/02/2025 · watch it from 1:02:00
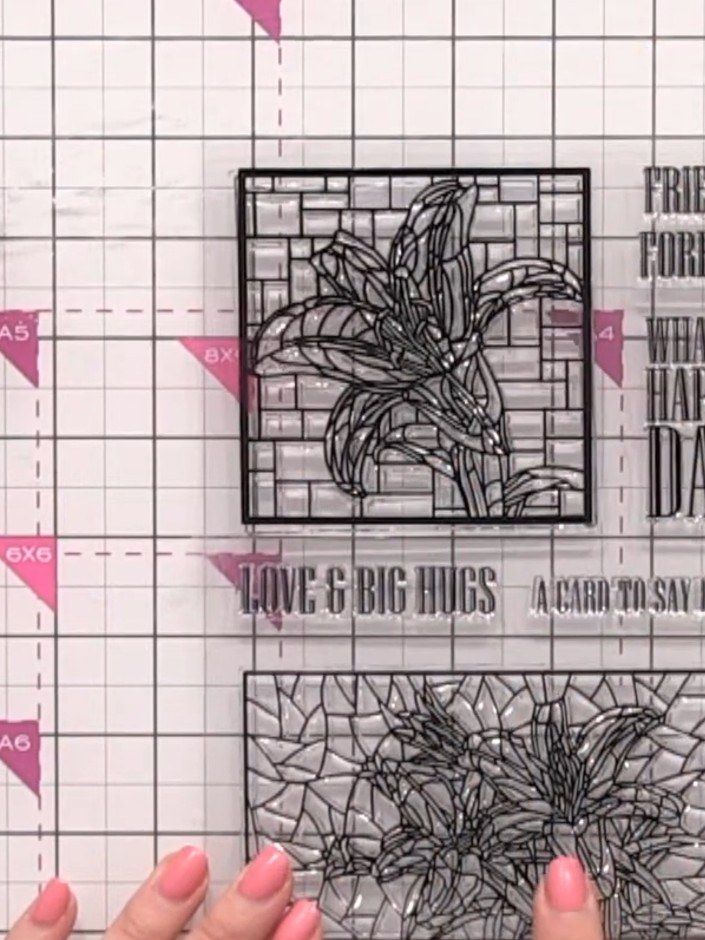
Create a stunning card with an authentic stained glass window effect using layering stencils, dies and coordinating stamps. This elegant design combines geometric shapes in pink and black tones to produce a beautiful architectural appearance. The technique uses multiple layers to achieve depth and dimension, mimicking the look of traditional leaded glass windows.
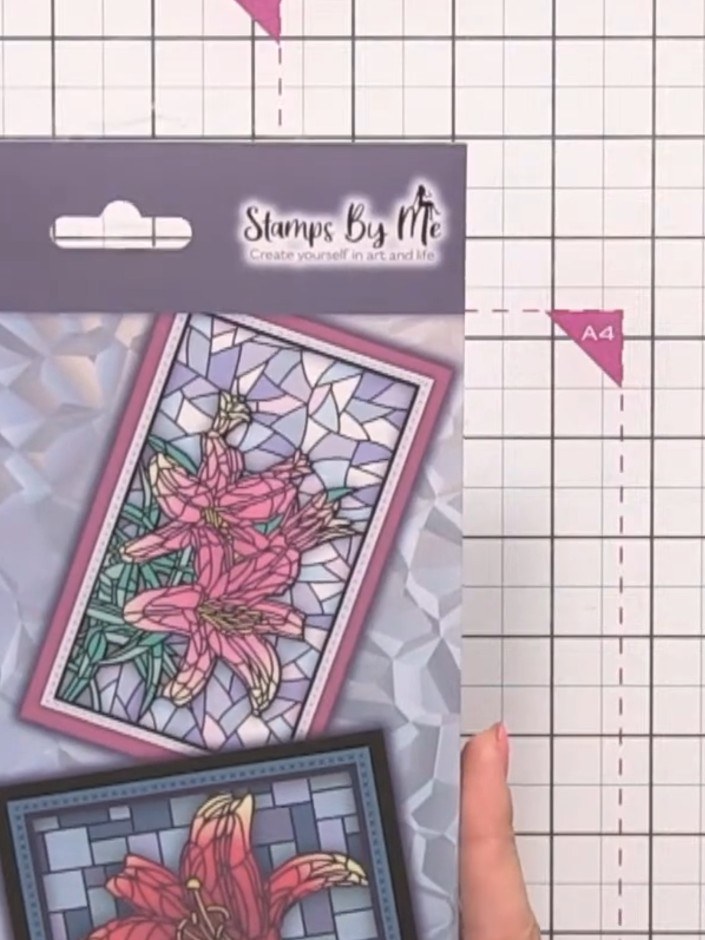
Gather your materials from the Forever Lilies stamp, die and stencil collection. This includes the stamps, dies and stencils needed to create the stained glass lily design.
▶ watch this step (1:02:00)
Apply the layering stencils over your stamped image to create the stained glass window framework effect. Position the stencils carefully to align with the design and secure in place.
▶ watch this step (1:02:15)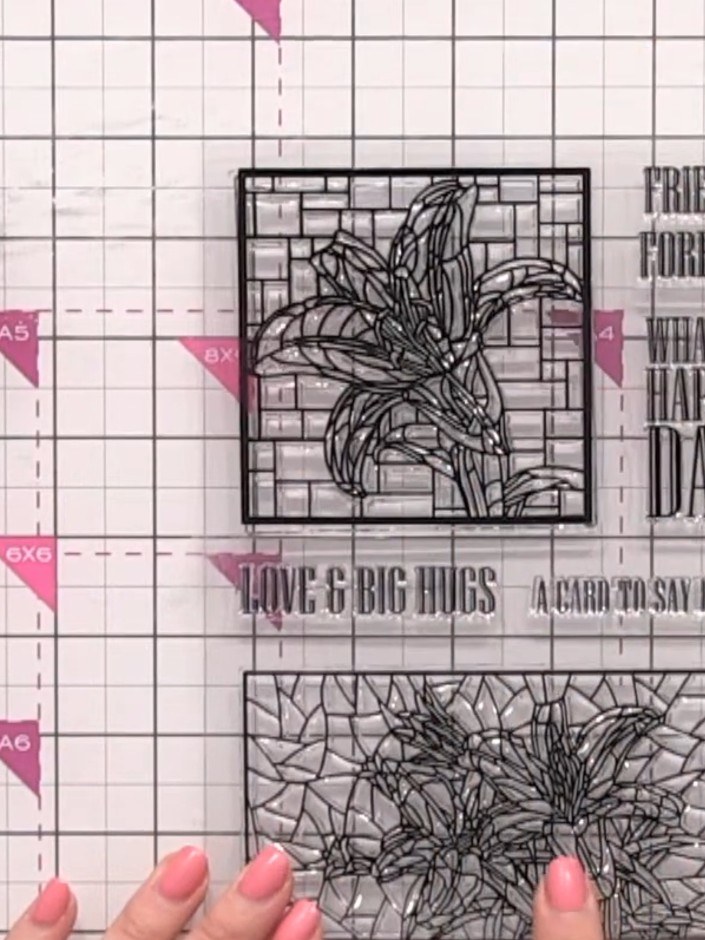
Use the square and rectangle dies from the Stamps by Me set to cut geometric shapes. The dies create a stained glass effect with decorative borders and frames.
▶ watch this step (1:02:30)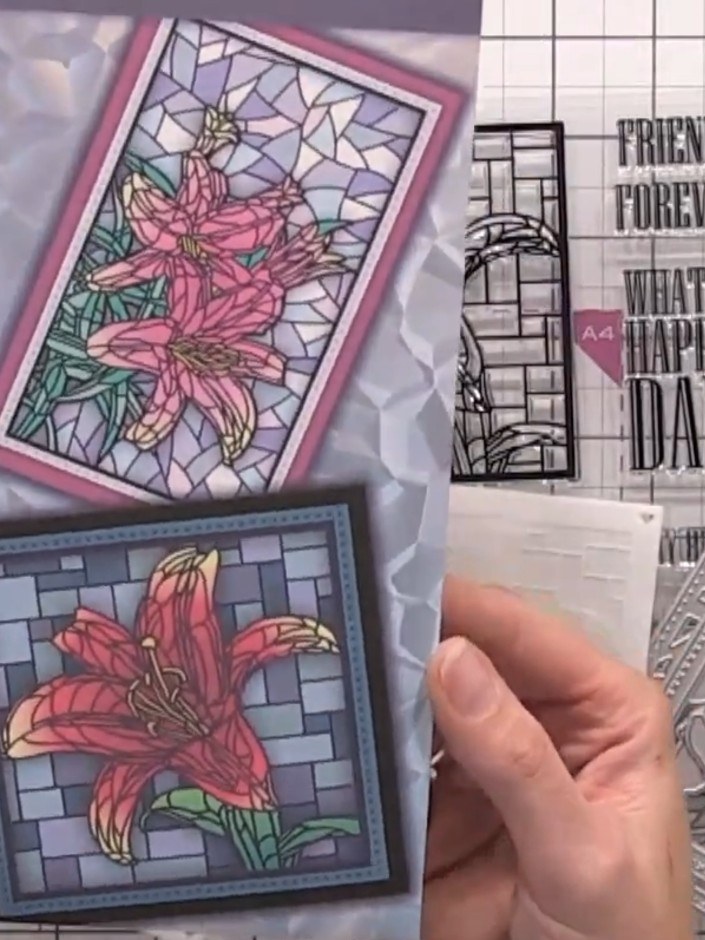
Stamp your chosen sentiment or greeting onto the card design using the stamps from the collection. Position the text where desired within the stained glass window effect.
▶ watch this step (1:02:45)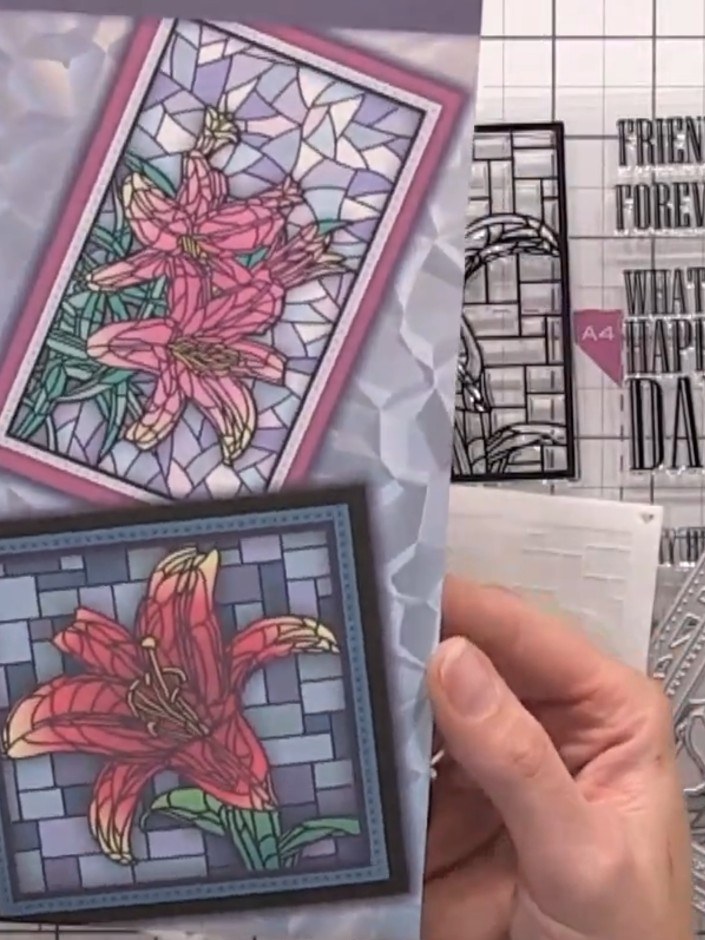
Apply the alcohol-based dyes to the stamped and die-cut sections to colour the stained glass design. Use the violet hues and teal shades to fill in the different segments, working carefully to define each section of the stained glass pattern.
▶ watch this step (1:03:00)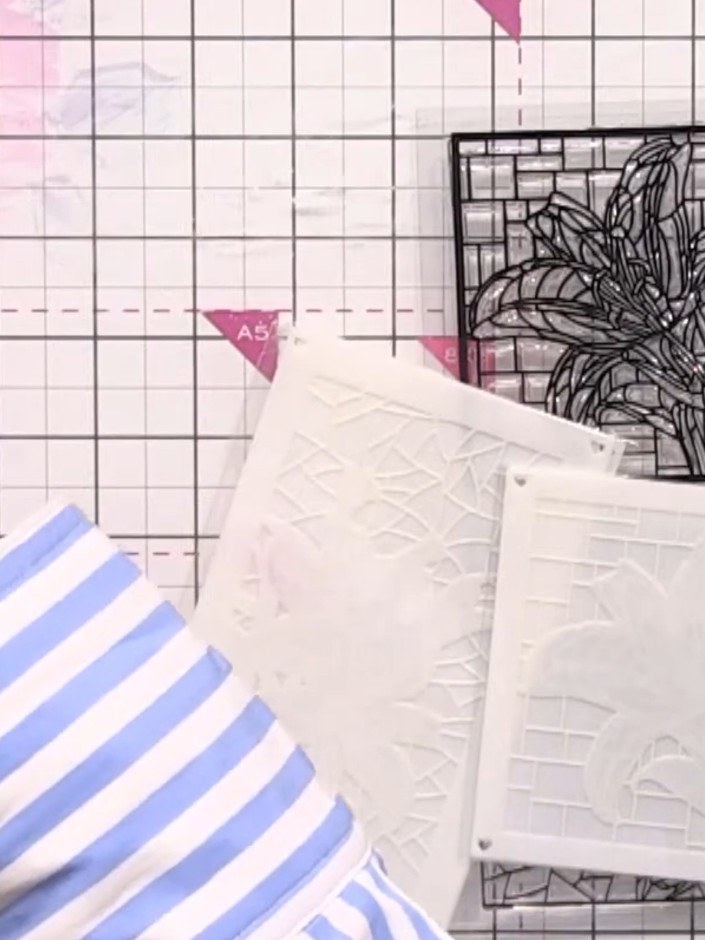
Mount your finished stained glass design onto a card blank. Position the embossed panel centrally on the card front and secure in place.
▶ watch this step (1:03:15)Written up from the show itself. See every guide from our shows · free how-to guides · watch live on My Telly


