Give your friends £10 off their first order!
Refer a FRIEND








Prices change straight away. Every language is our own translation, not Google.
A project from our live show MY PODCAST - Catch my latest updates broadcast 10th February 2025 · 10/02/2025 · watch it from 47:00
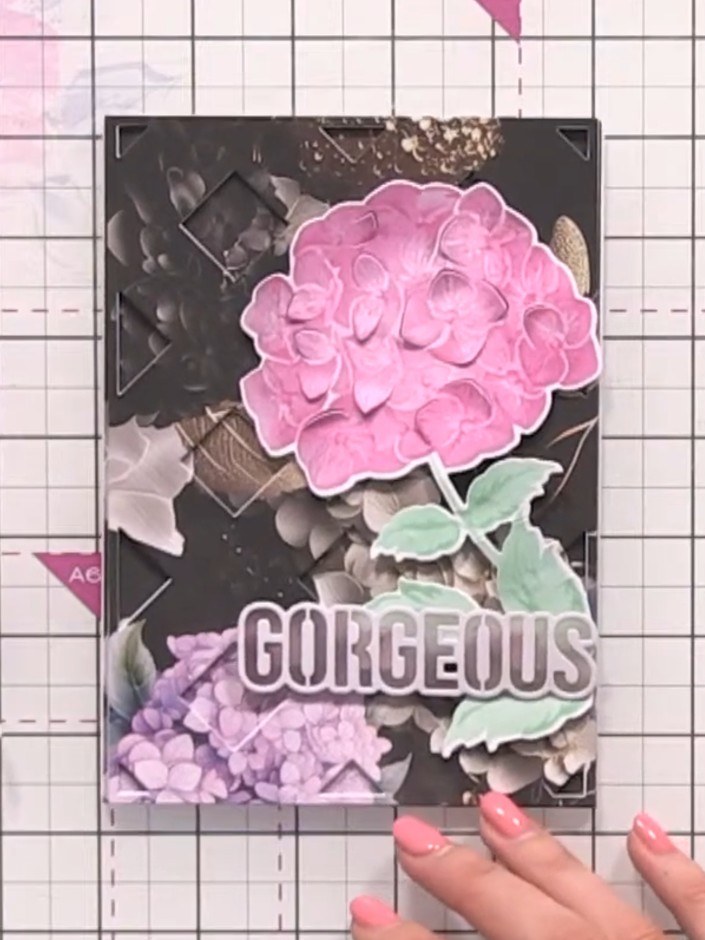
Create a sophisticated layered card featuring an elegant floral design with the word 'GORGEOUS'. This dimensional project uses a pink peony flower with leaves on a dark floral background, creating depth through multiple stacked layers. The technique involves die-cutting and layering the same pattern to achieve a striking three-dimensional trellis effect.
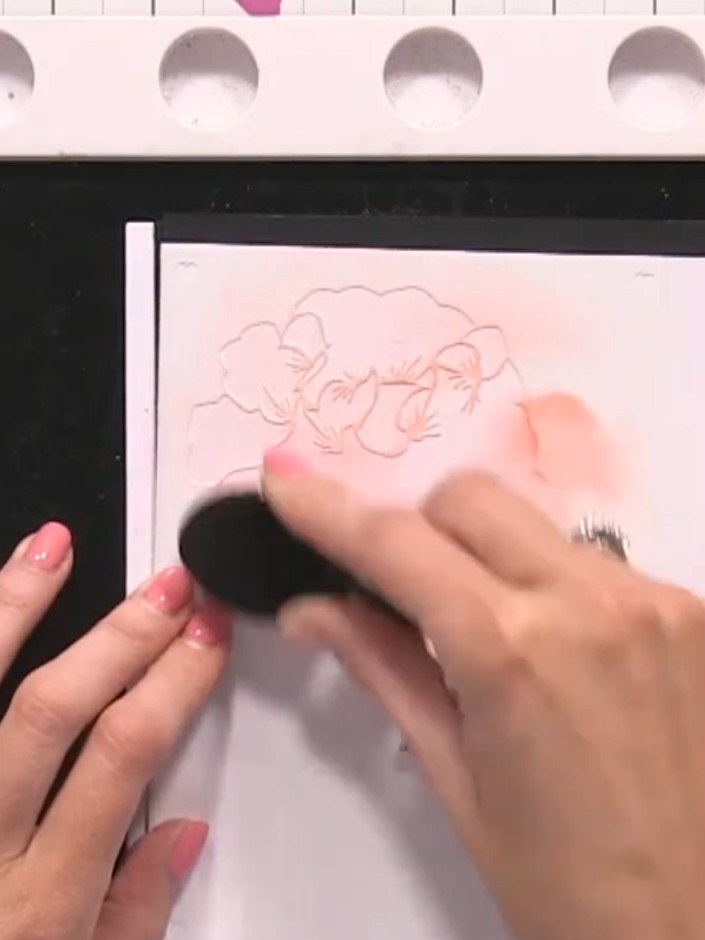
Select two pieces of patterned paper from your paper pad. These will be used to create the layered elements of your card. Cut one piece of cardstock using the trellis die from the Forever Lilies set.
▶ watch this step (47:00)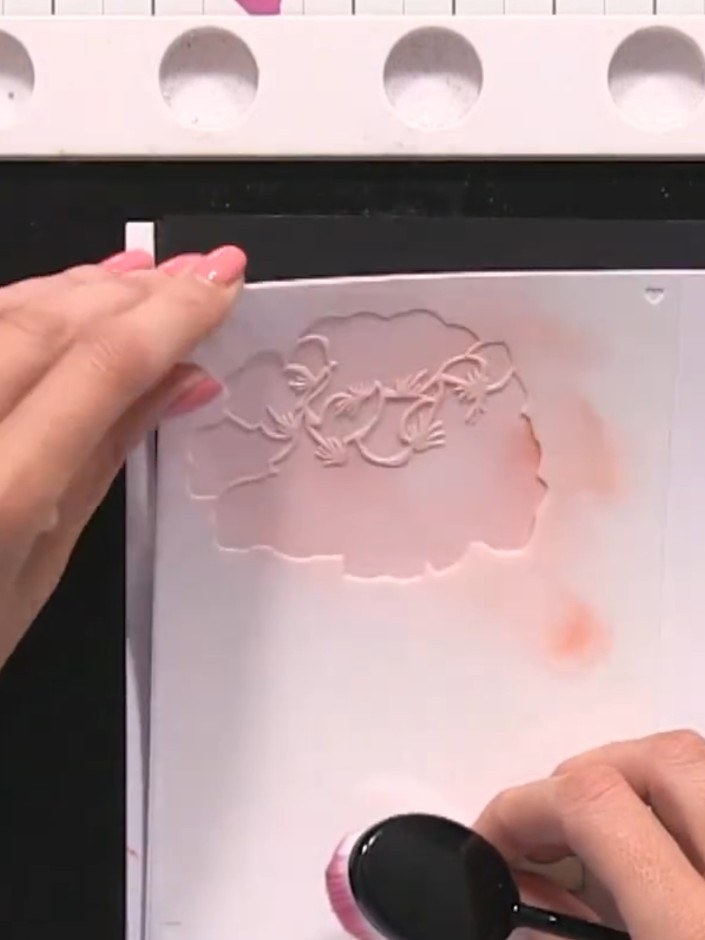
Set aside the second stamped piece uncut to use as your base layer for the card.
▶ watch this step (48:30)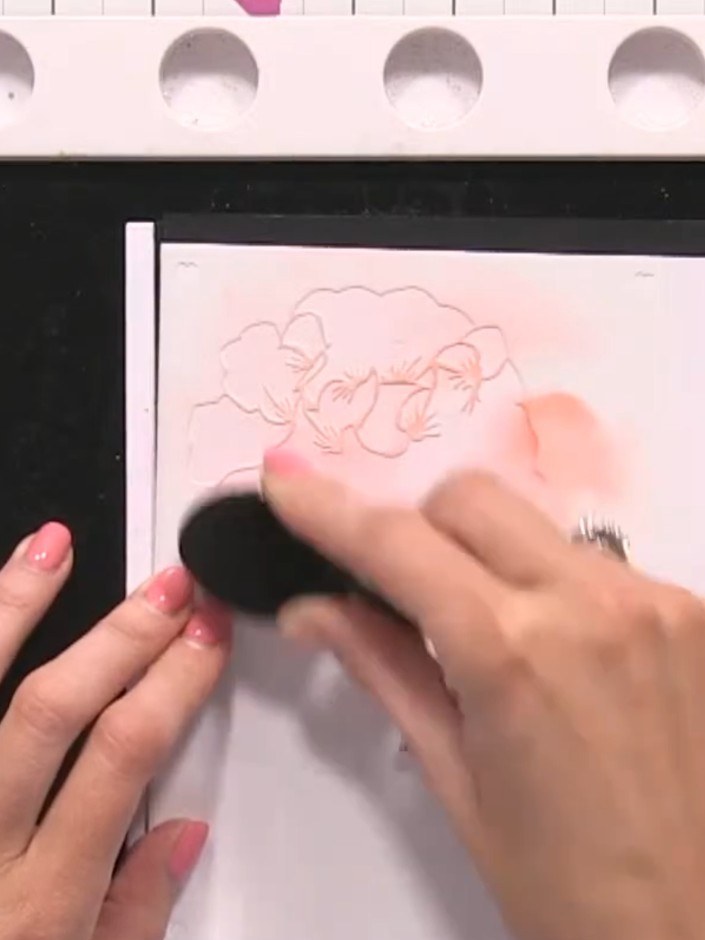
Apply orange ink to the embossed floral design using a blending tool with a circular motion. Work the colour into the raised areas of the embossing to add depth and dimension. Stack and glue the three white embossed floral pieces together to create a thick, dimensional layer for your card.
▶ watch this step (49:00)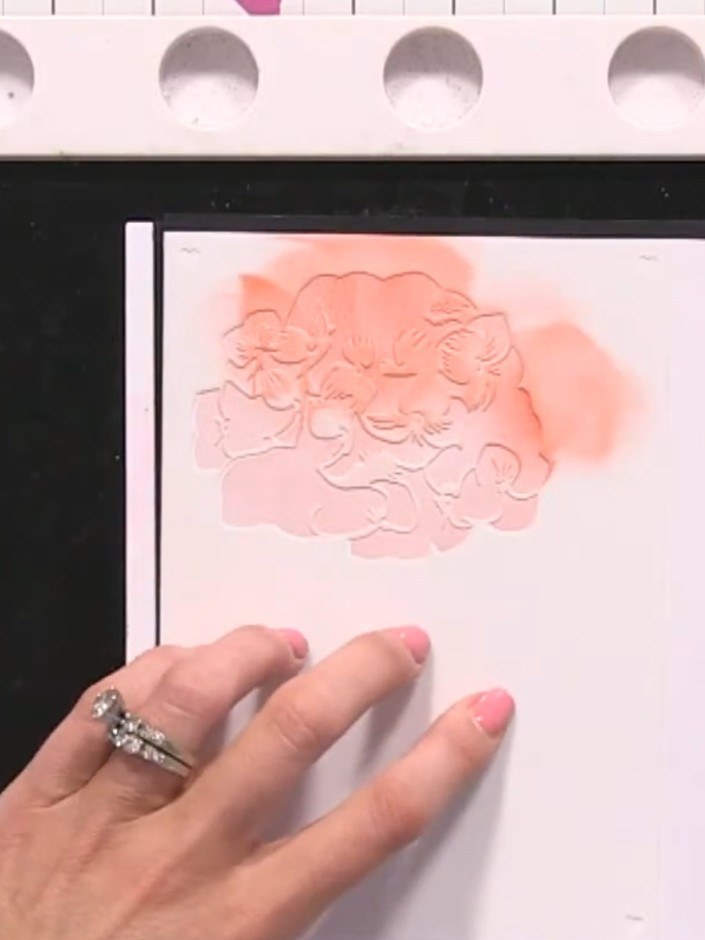
Take the uncut white paper piece with the embossed floral design and pink ink blending. Adhere it to the front of your black card blank, positioning it centrally.
▶ watch this step (50:00)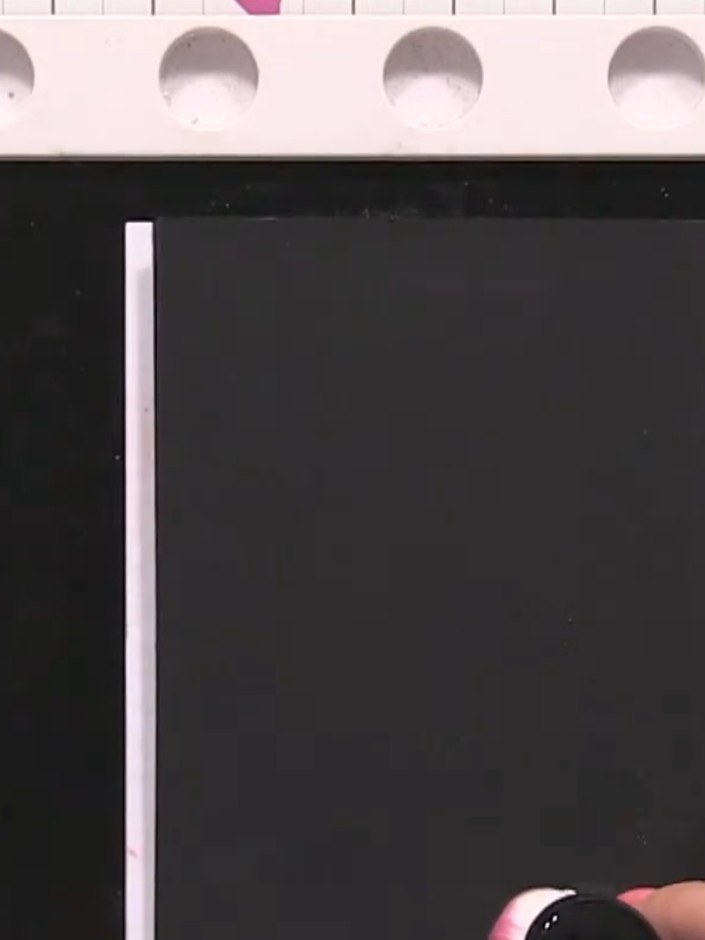
Adhere the white floral stamped wedge on top of the coral inked background piece, aligning it centrally to create the layered effect.
▶ watch this step (50:30)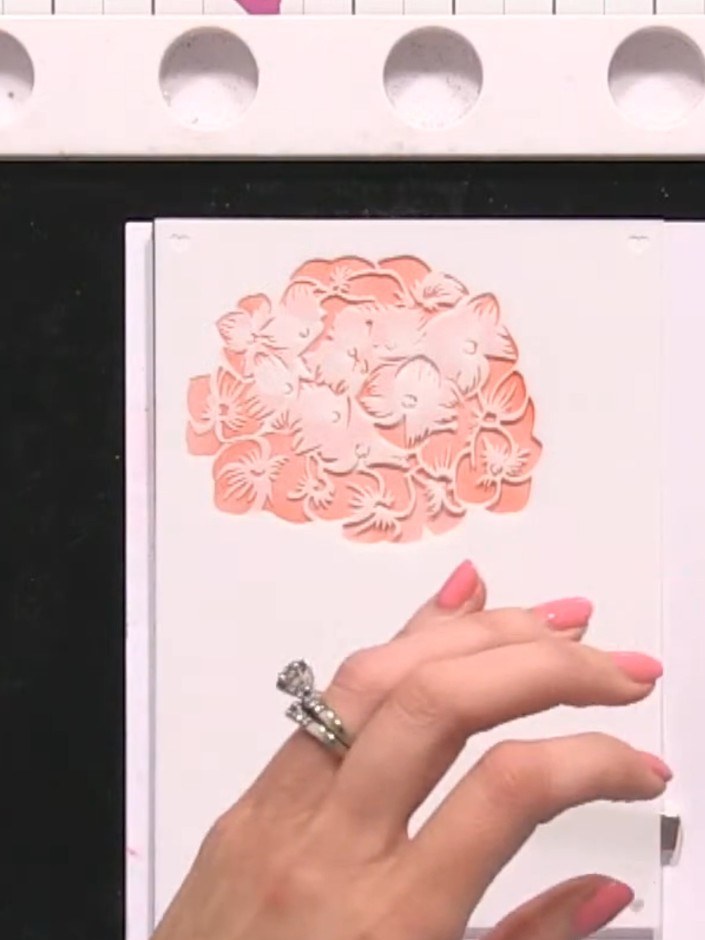
Position the trellis-cut paper piece on top of the inked background, aligning it precisely with the stencilled design beneath. Hold it in place to ensure exact alignment before adhering.
▶ watch this step (51:00)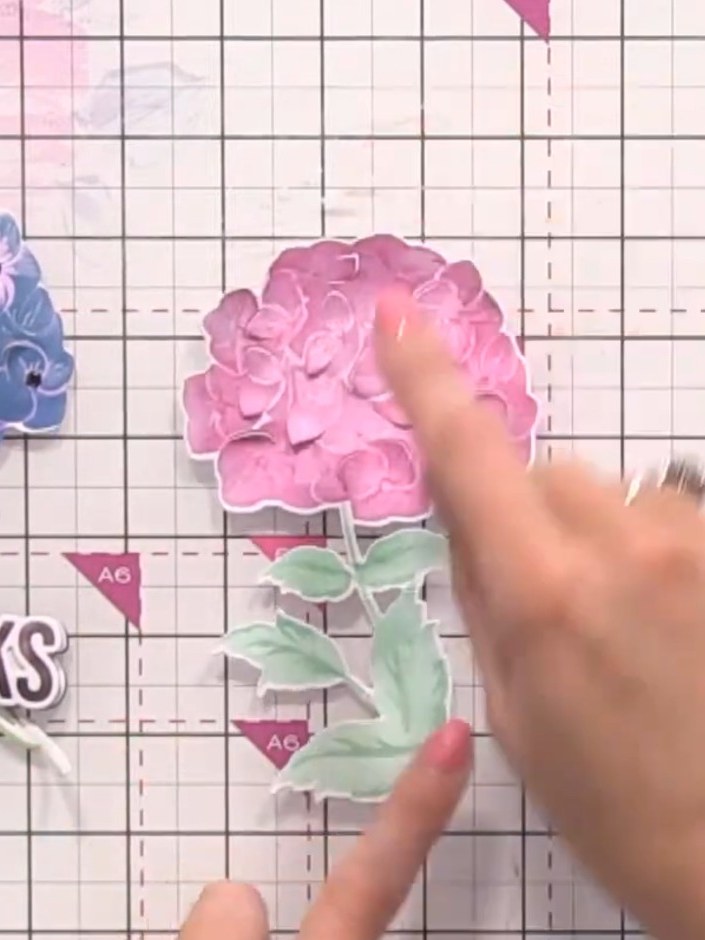
Add your pre-made sentiment piece with the word 'THANKS' to the left side of the card, positioning it so the leaves weave through the trellis pattern behind the blue hydrangea.
▶ watch this step (57:30)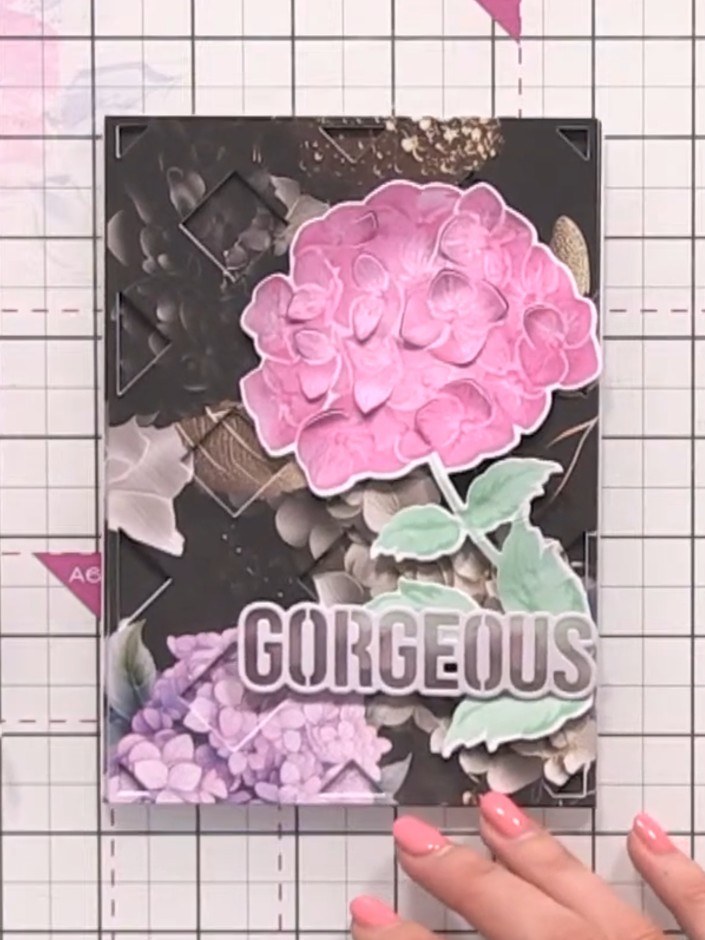
Tilt the finished card to the side to showcase the dimensional layered effect of the flowers and leaves against the dark background.
▶ watch this step (1:01:00)Written up from the show itself. See every guide from our shows · free how-to guides · watch live on My Telly


