Give your friends £10 off their first order!
Refer a FRIEND








Prices change straight away. Every language is our own translation, not Google.
A project from our live show MY PODCAST - Catch my latest updates broadcast 10th February 2025 · 10/02/2025 · watch it from 6:30
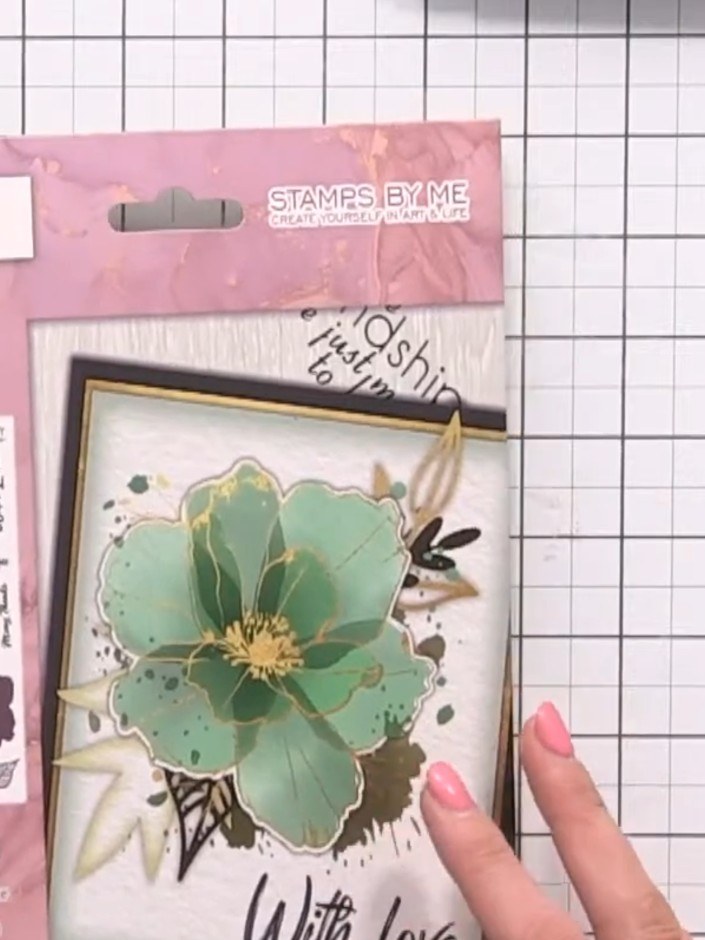
Create an elegant monochromatic card featuring layered stencil splatters and a stunning 3D dimensional flower. Using coordinating colours, you'll build beautiful texture and depth through stencilling, stamping, and die-cutting techniques. The finished piece showcases a raised floral centrepiece with delicate foliage against an artfully textured background.
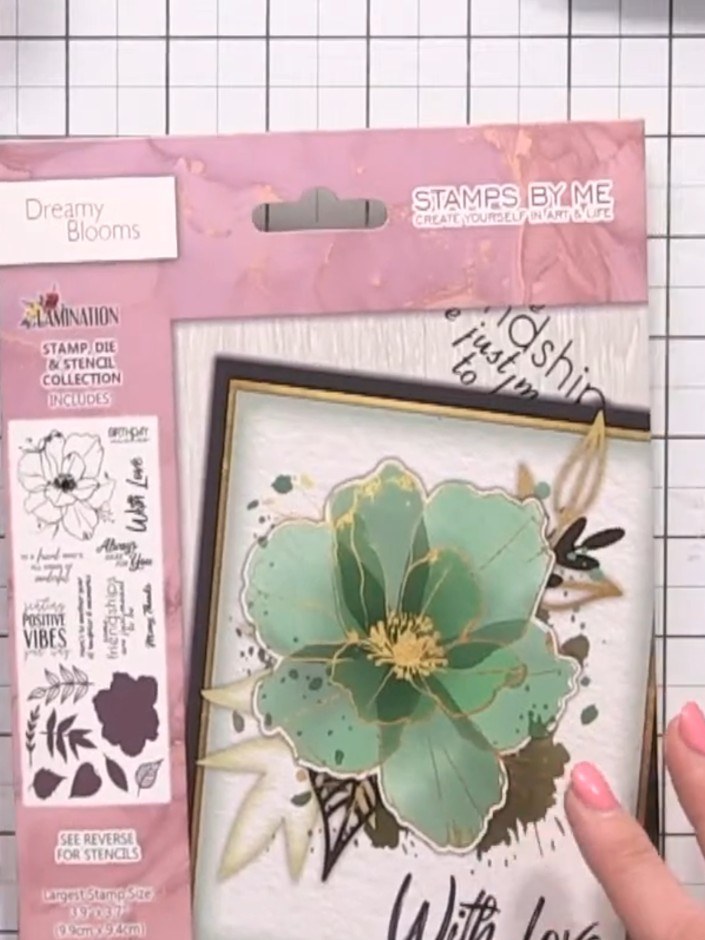
Line up your stencils across the back of your card base, starting with the splat stencils. Use the splatter stencil and apply ink through it onto your card base to create a textured background. Dab the ink through the stencil openings to build up the splattered effect. Layer the additional flower stencils on top of the base layer to build up the dimensional flower shape. Position each layer carefully to create depth and dimension.
▶ watch this step (6:30)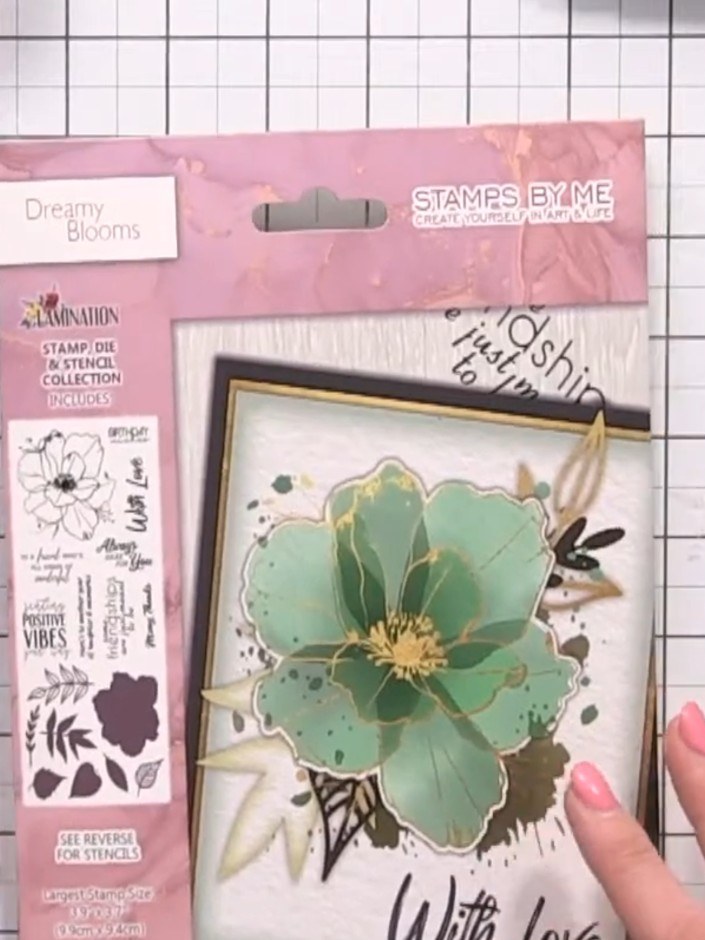
Use the stamp from the Dreamy Blooms stamp and stencil collection to add floral detail to your card. Stamp the flower design onto your chosen area.
▶ watch this step (8:00)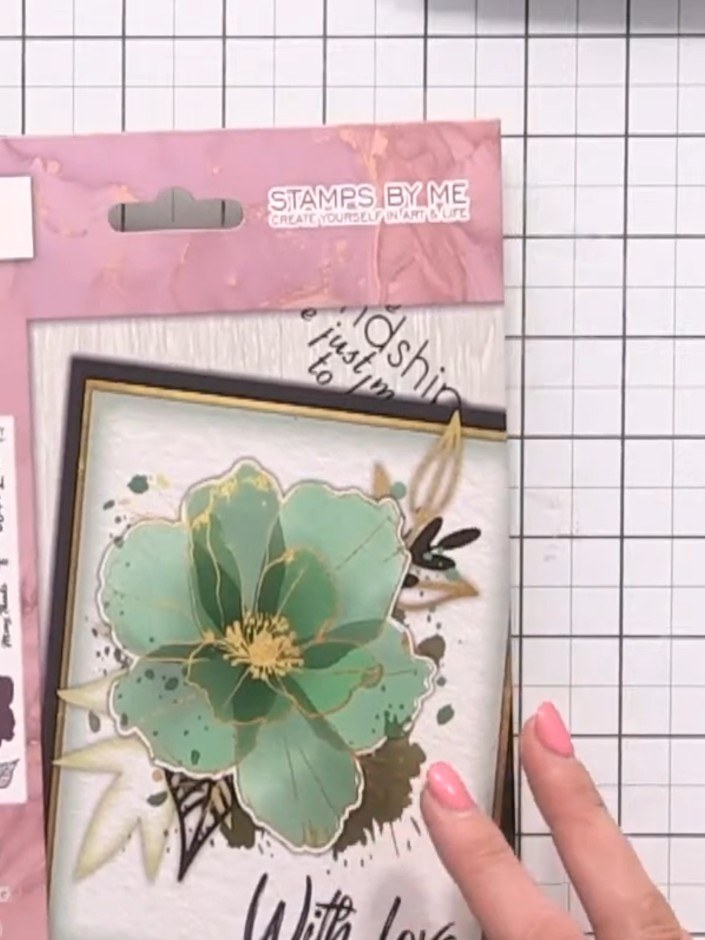
Use the outline die to cut around the flower petals, defining their shape. This will create a crisp edge on your 3D flower element.
▶ watch this step (8:30)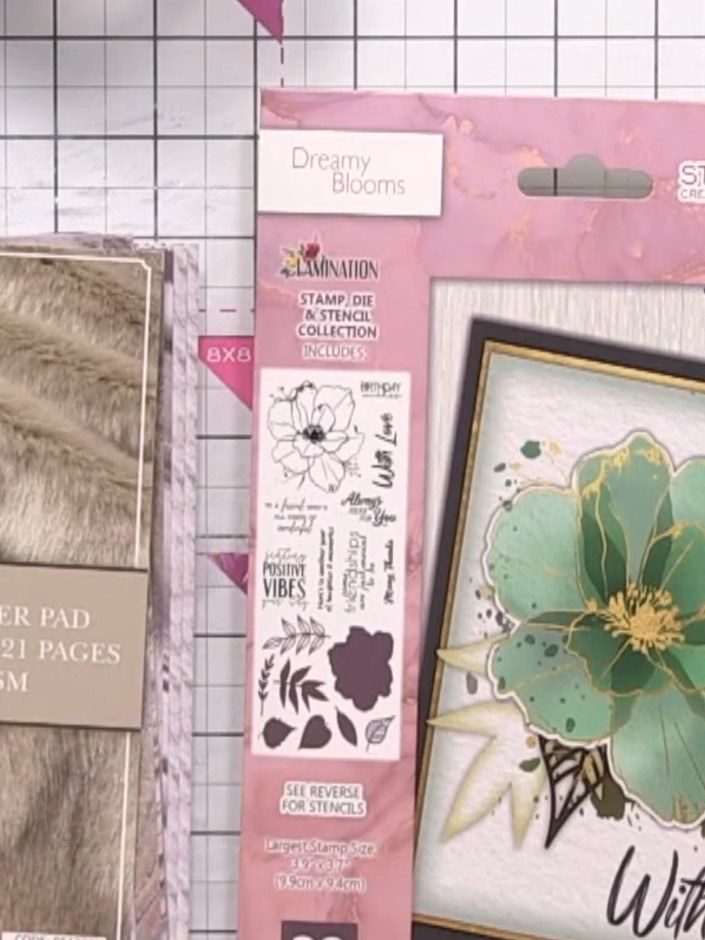
Add foliage dies around the flower to complete the design. Position the die-cut leaves and greenery elements around the layered flower, arranging them to frame and enhance the focal point. Mount your finished design onto a card blank to complete your monochromatic 3D flower card.
▶ watch this step (9:00)Written up from the show itself. See every guide from our shows · free how-to guides · watch live on My Telly


