Give your friends £10 off their first order!
Refer a FRIEND








Prices change straight away. Every language is our own translation, not Google.
A project from our live show Create Together Club - 5 Days of Creativity - Broadcast Tuesday 11TH Feb 2025 · 11/02/2025 · watch it from 14:15
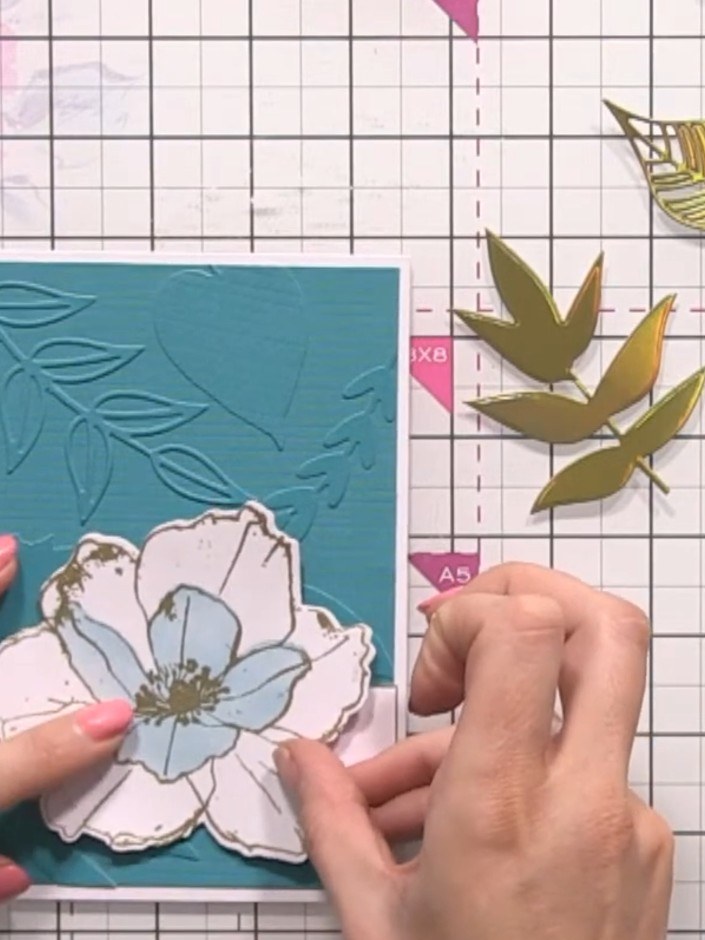
Create an elegant card featuring a dimensional faux embossed background made from die-cut leaf shapes layered onto matching card stock. The focal point is a stunning gold heat-embossed poppy flower, enhanced with stencilled colouring and delicate foliage accents. Complete your design with a coordinating sentiment for a sophisticated handmade card.
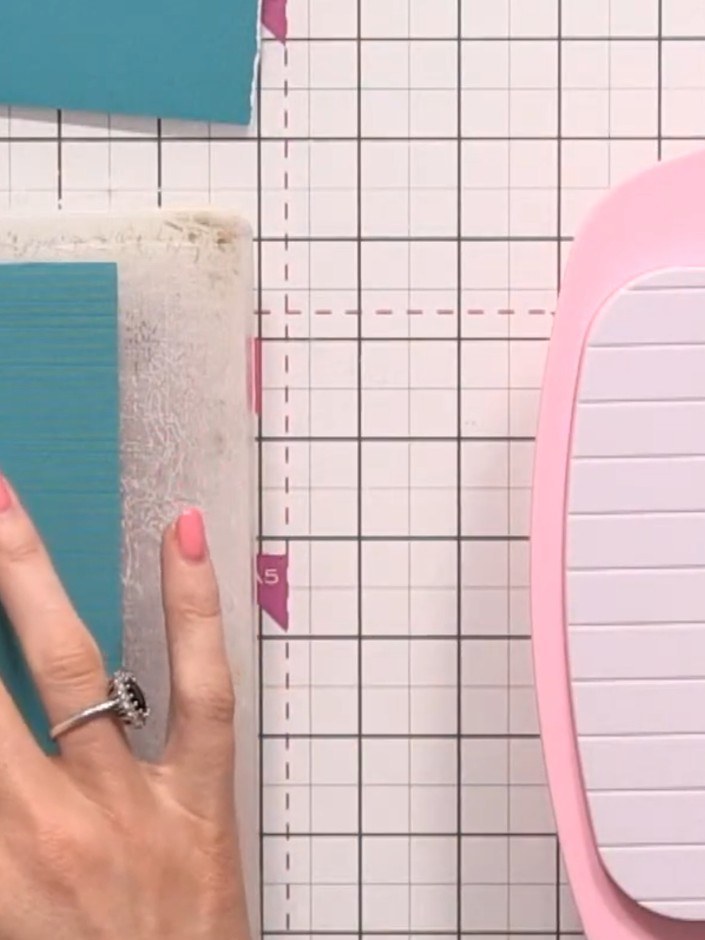
Select two sheets of the same coloured card stock from your blank cards pack. Place your die-cutting machine mat on a soft surface. Position your coloured card on top of the mat.
▶ watch this step (16:00)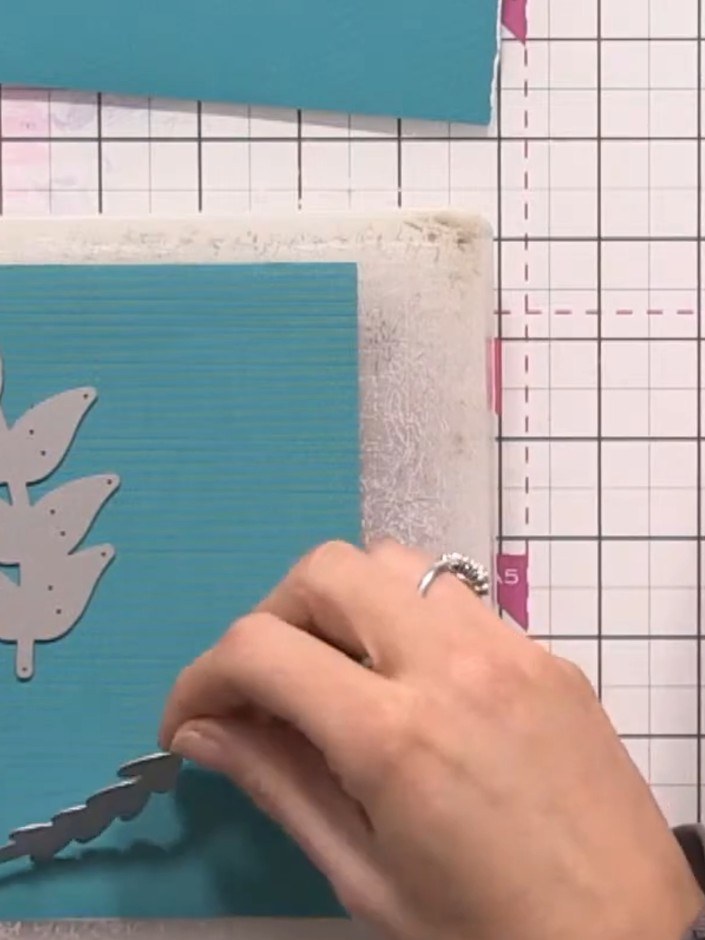
Arrange the leaf-shaped dies from your set onto the teal card, spacing them out to create an attractive composition and ensuring they don't overlap.
▶ watch this step (18:15)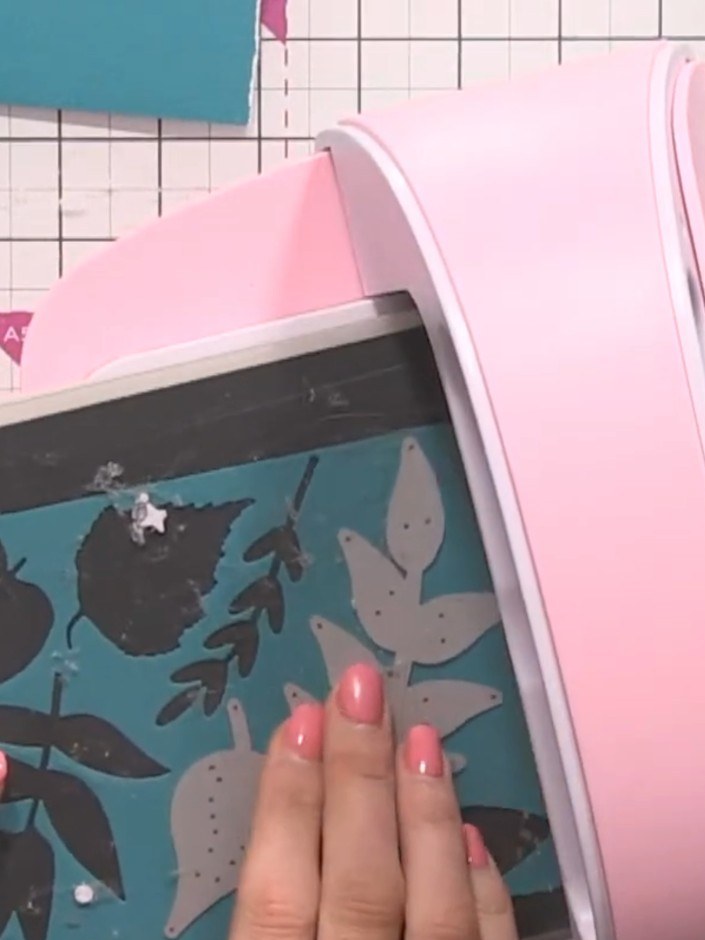
Place your teal card panel with the die-cut floral design on top into the pink die-cutting machine. Run the layered card and dies through the machine to cut out the shapes.
▶ watch this step (22:45)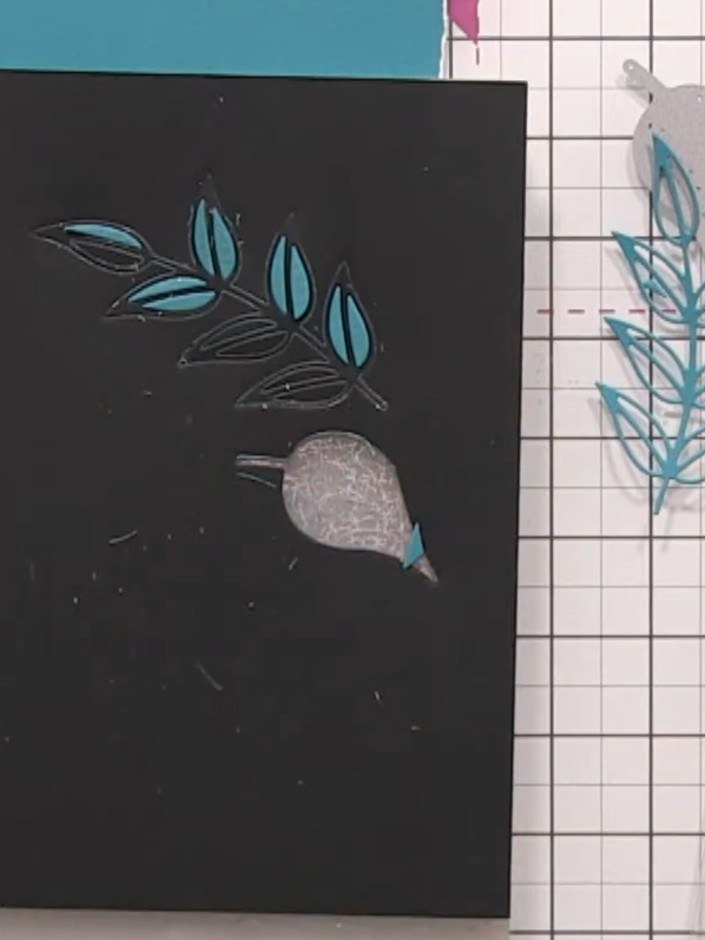
Remove the dies from the black card and carefully extract all the cut leaf pieces. Set the cut-out leaves aside for later use.
▶ watch this step (23:45)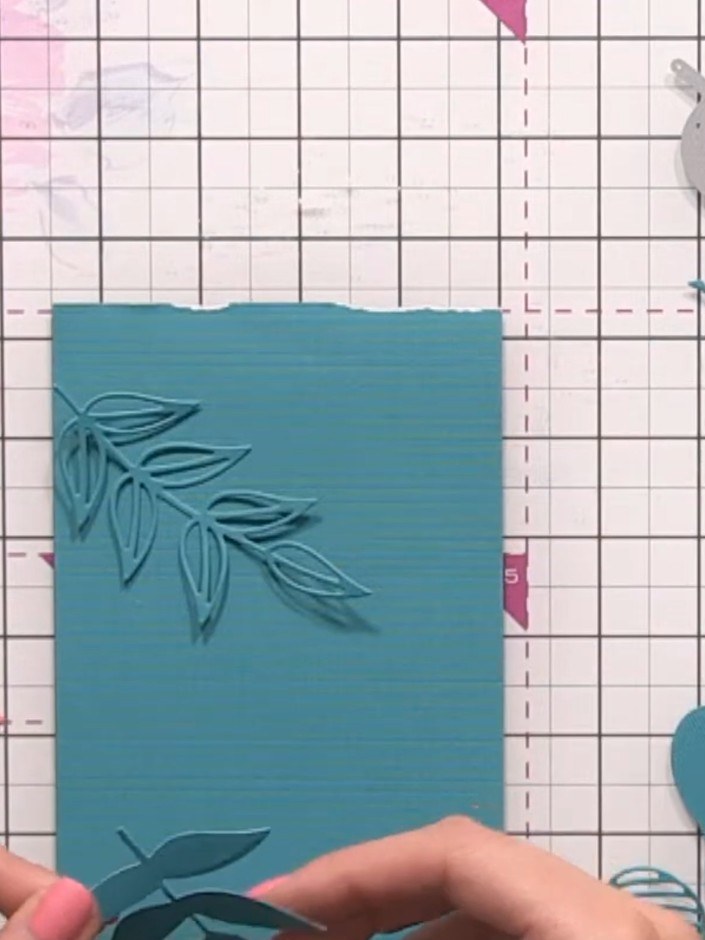
Glue the die-cut leaf pieces randomly onto the second sheet of teal card to create dimension. Position them at varying angles to build up a layered, textured effect.
▶ watch this step (25:00)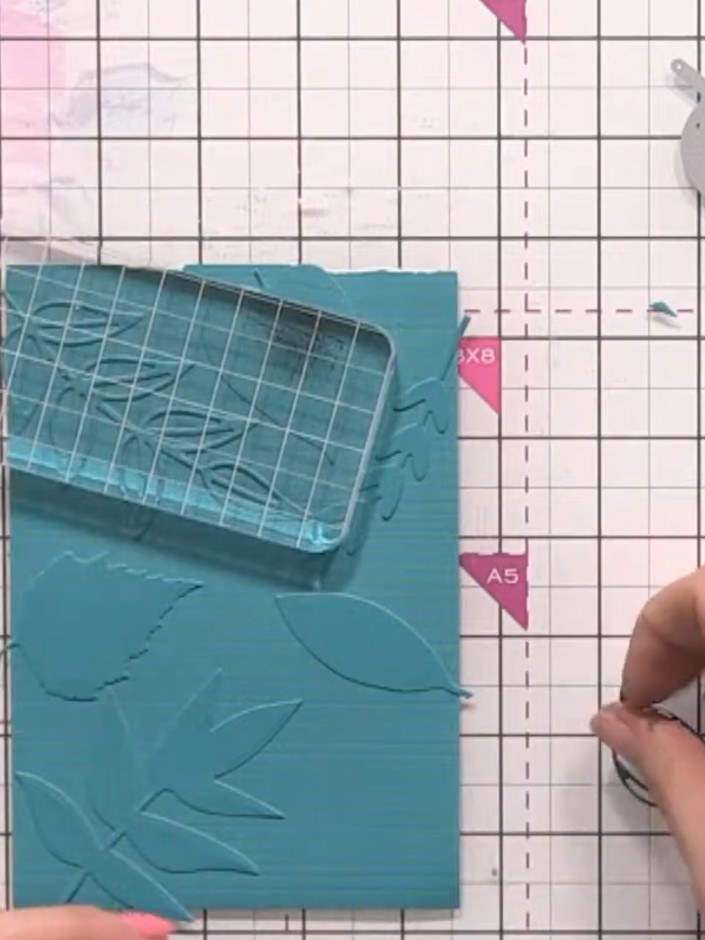
Trim the embossed teal background panel to your desired size using a trimmer, removing any excess card.
▶ watch this step (30:00)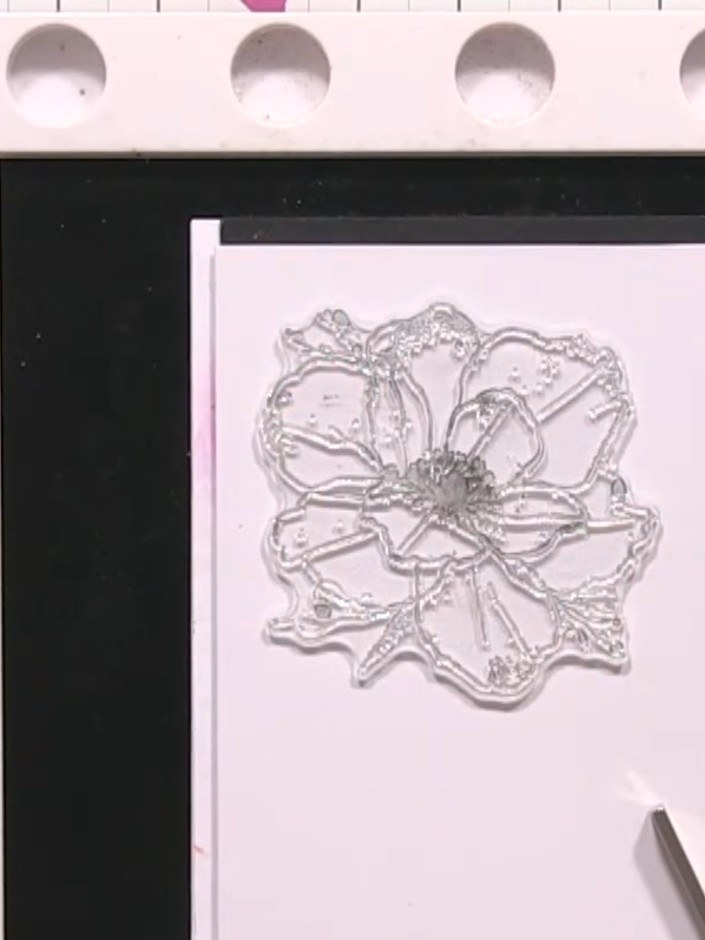
Stamp the large poppy stamp onto white card stock using a sticky embossing ink pad.
▶ watch this step (36:30)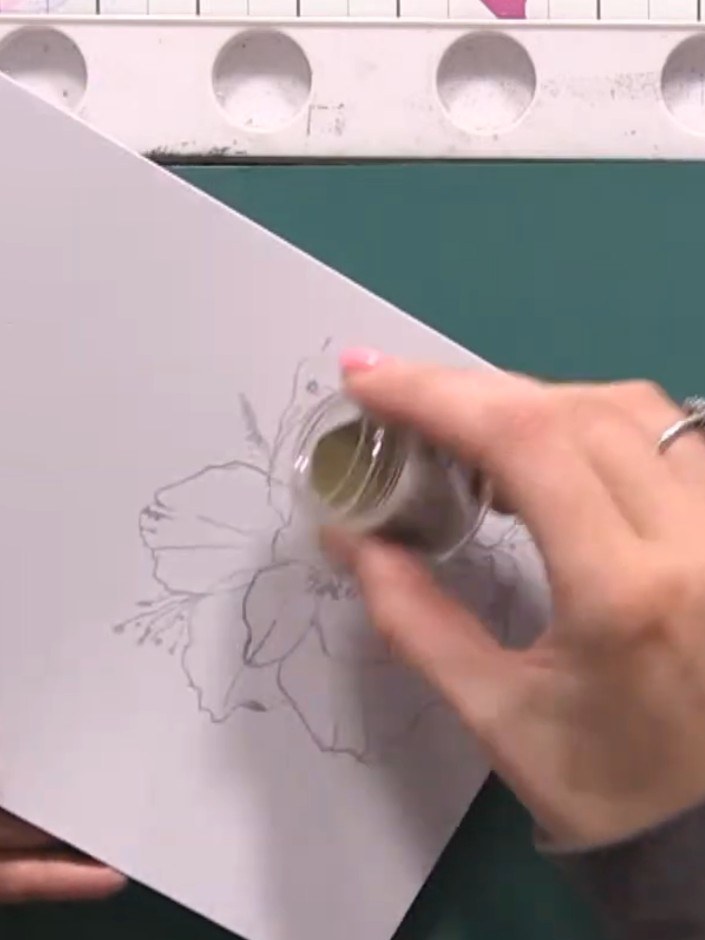
Immediately pour gold embossing powder onto the wet stamped image, covering all the inked areas completely. Tap off the excess powder onto your craft mat.
▶ watch this step (39:00)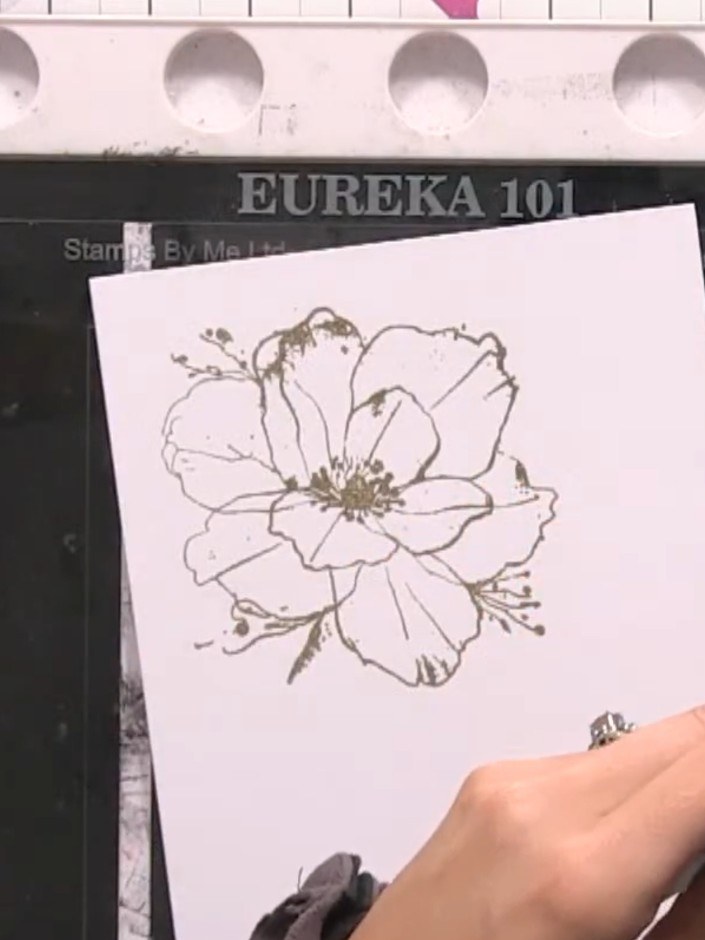
Brush away the excess gold embossing powder with a dry brush. Heat-set the remaining powder with a heat gun until it becomes shiny and fused to the stamped flower image.
▶ watch this step (39:45)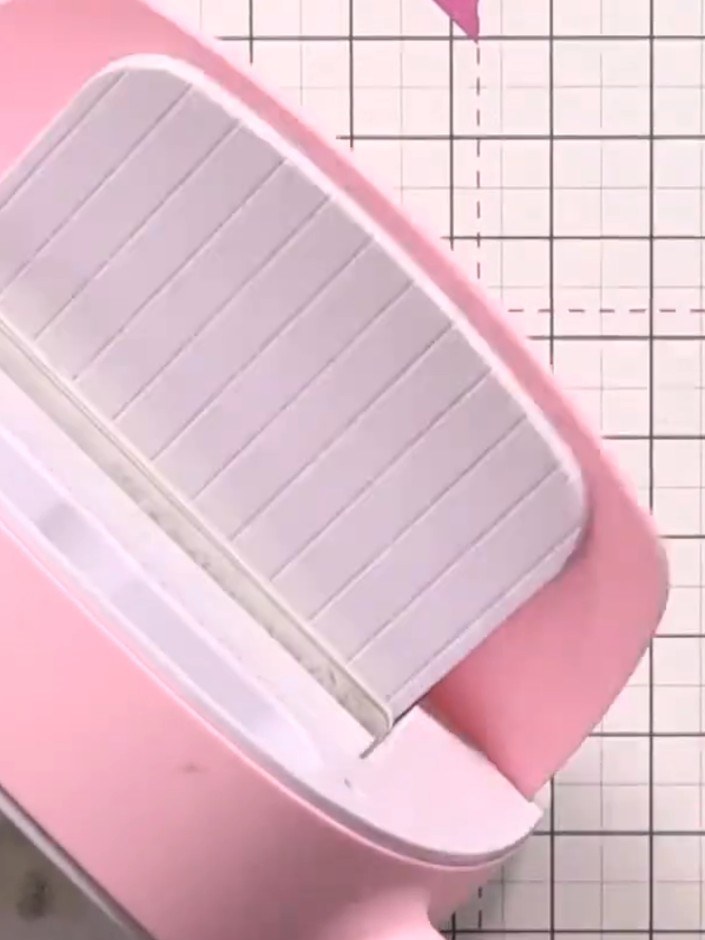
Die-cut the heat-embossed flower using the coordinating poppy die and your die-cutting machine.
▶ watch this step (42:00)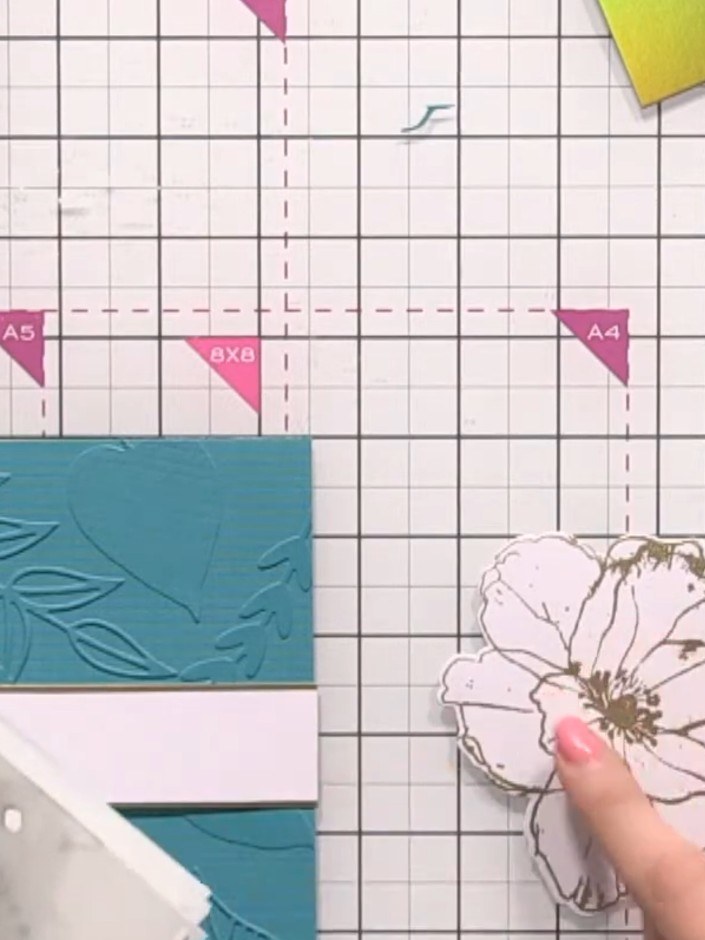
Use a layering stencil and blending brush with teal ink to add colour to the centre of the flower, leaving the outer petals white.
▶ watch this step (48:15)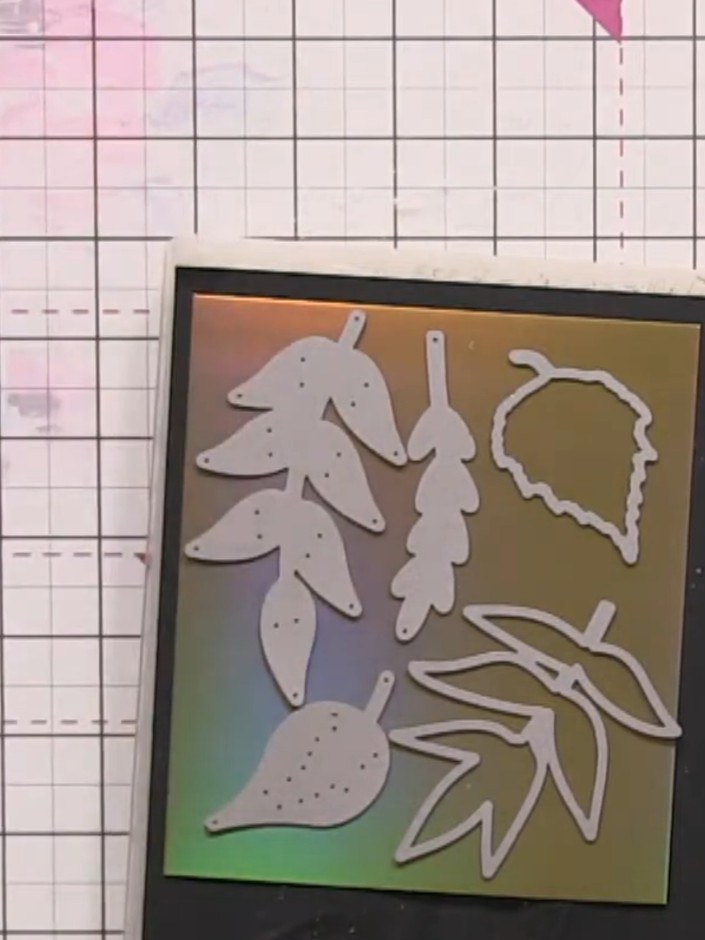
Die-cut additional foliage pieces from gold card stock using the floral dies. These will be used as filler elements for your card design.
▶ watch this step (52:30)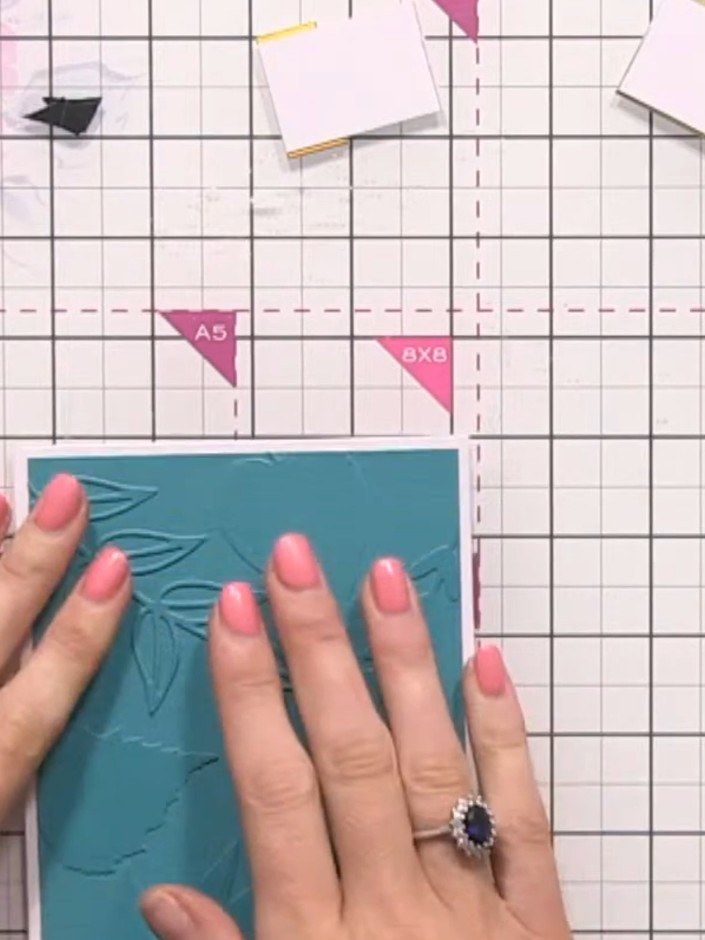
Adhere the embossed teal background panel to a white card base, ensuring it is centred and secure.
▶ watch this step (57:00)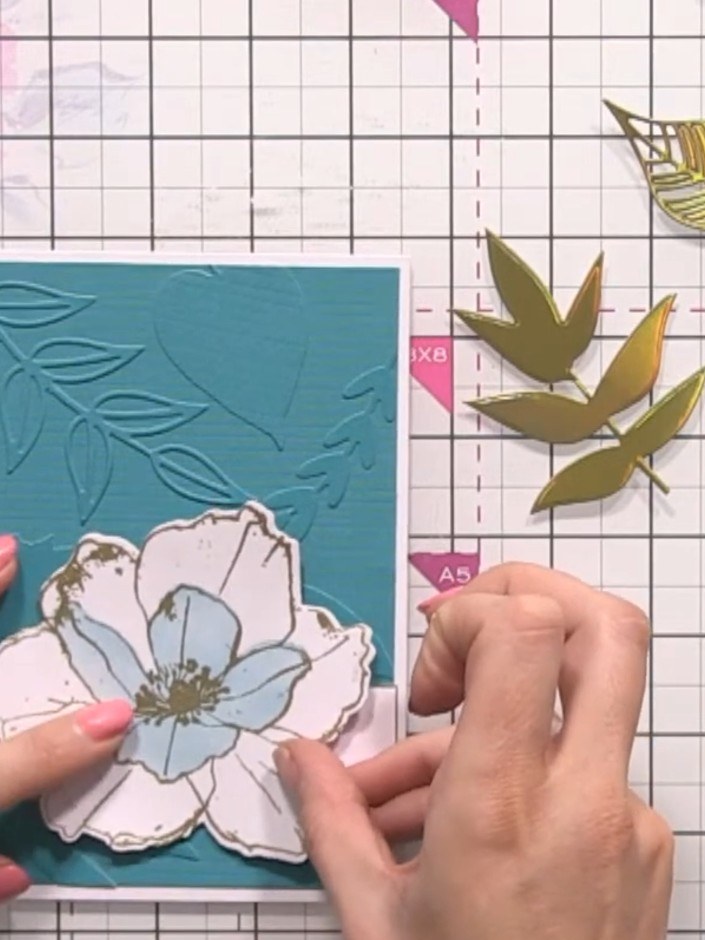
Position the gold heat-embossed flower and foliage pieces onto the teal embossed card front. Arrange them to avoid covering the embossed leaf detail, then glue in place.
▶ watch this step (59:45)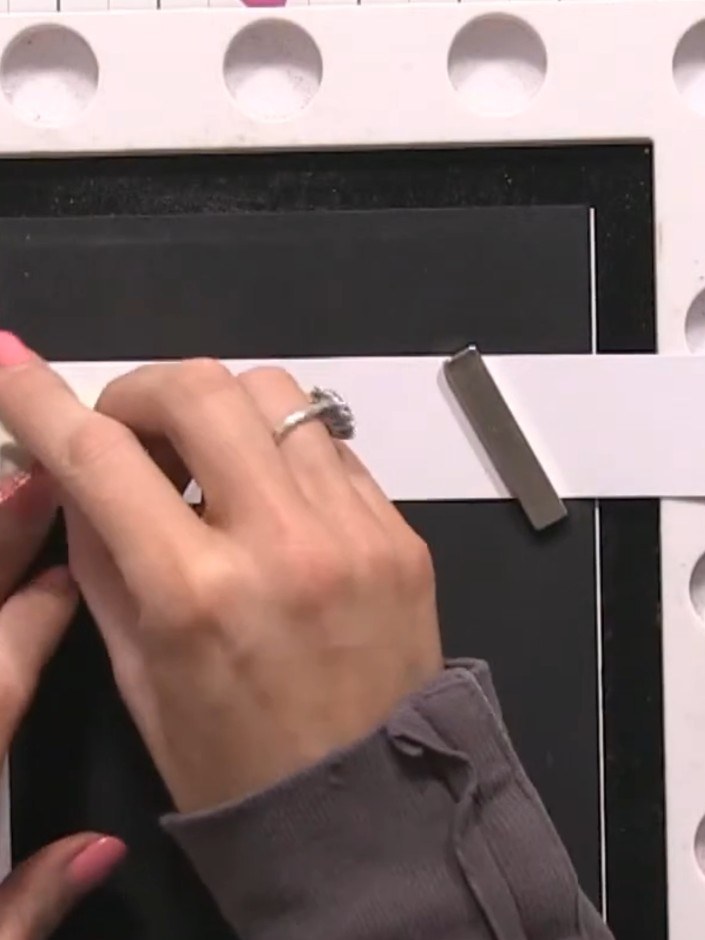
Stamp a sentiment such as 'Many Thanks' onto white card stock using sticky embossing ink.
▶ watch this step (1:02:00)Written up from the show itself. See every guide from our shows · free how-to guides · watch live on My Telly



