Give your friends £10 off their first order!
Refer a FRIEND








Prices change straight away. Every language is our own translation, not Google.
A project from our live show HSN PRODUCT INSPIRATION - Join me for a fun filled show broadcast 18th August 2026 · 18/08/2026 · watch it from 36:45
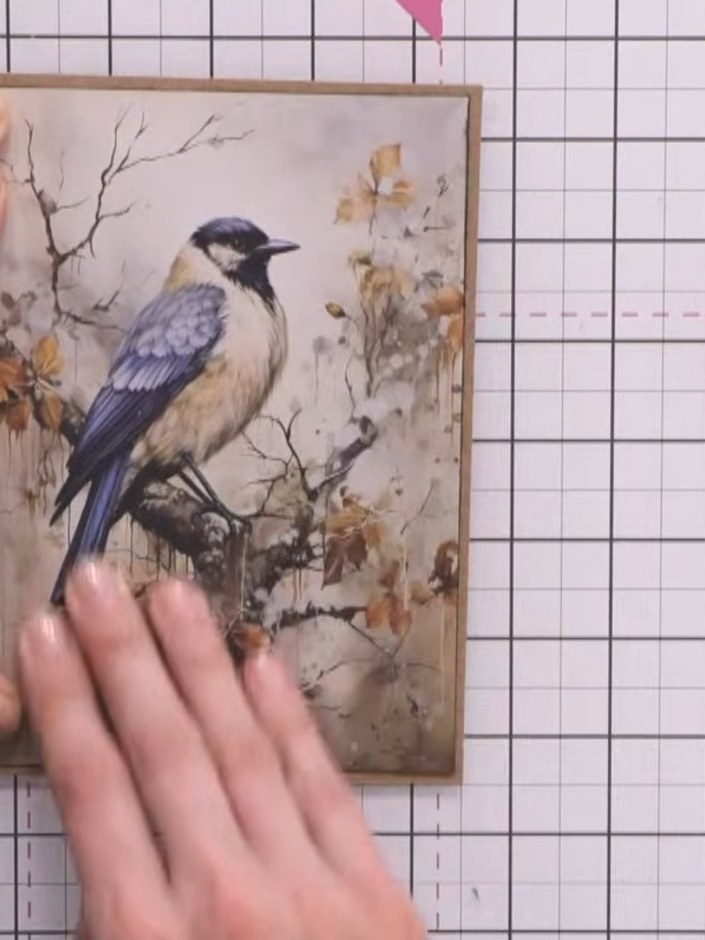
Create a clean and simple Christmas card featuring a beautiful pre-printed bird image mounted on kraft card. The design showcases a blue and cream bird perched among delicate branches and autumn florals, perfect for a vintage-inspired festive greeting. This project uses ready-made mounts for quick and elegant card-making with minimal layering.
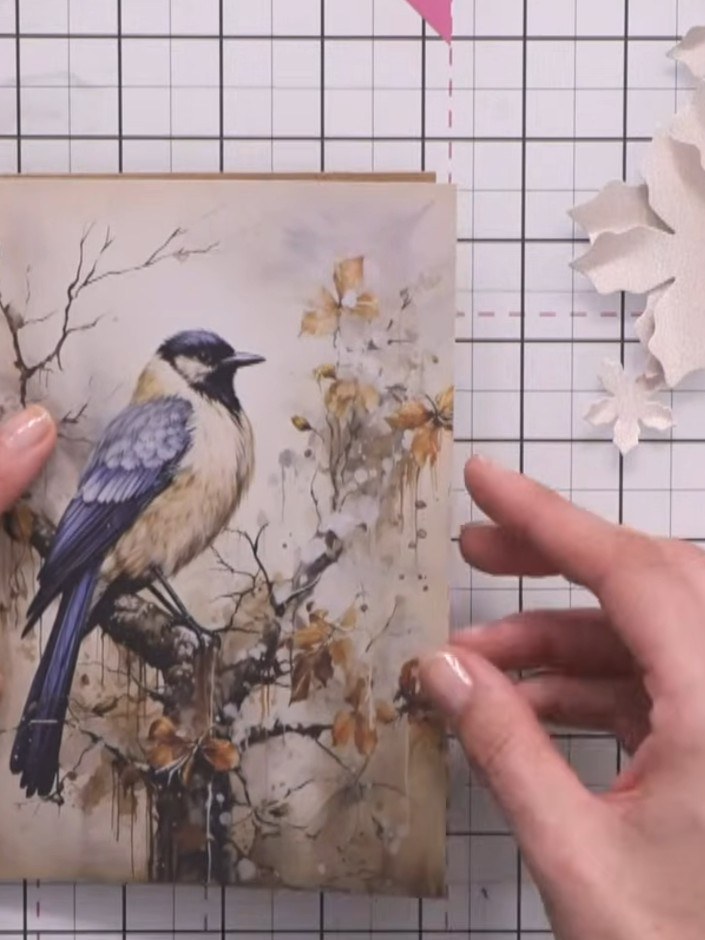
Select a 5x7 inch white card blank as your base. Position the card with the fold at the top, ready to work on.
▶ watch this step (36:45)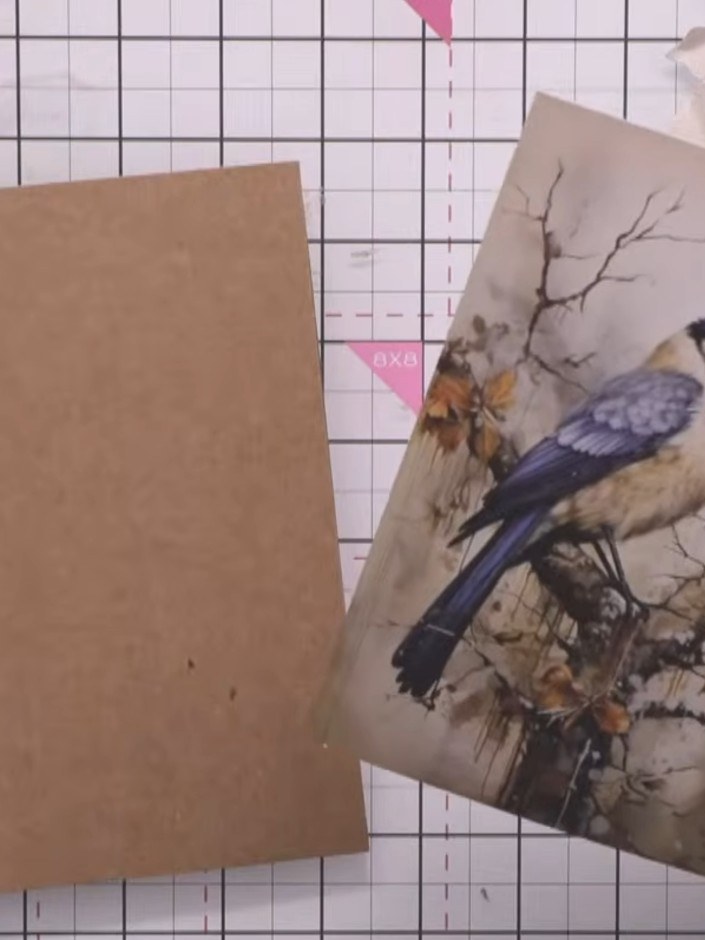
Select one of the pre-printed Holly and Berry mounts featuring a bird design. Place it alongside your kraft card base.
▶ watch this step (37:00)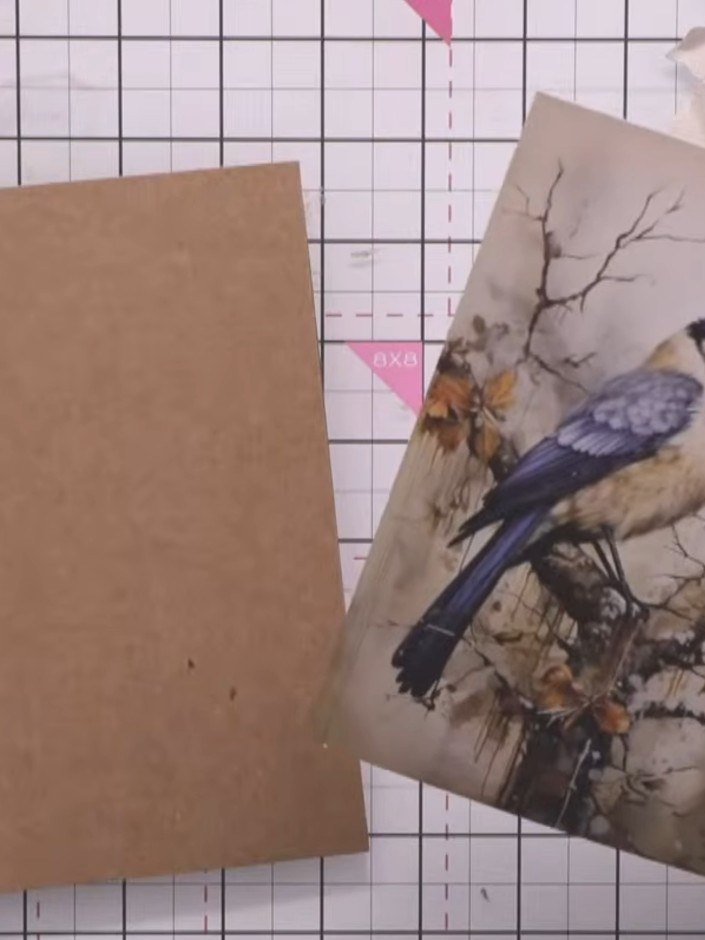
Edge the kraft card mount with black ink by tilting the ink pad and tapping it along all four edges. This will create a defined border that makes the mount stand out when attached to the card base.
▶ watch this step (37:15)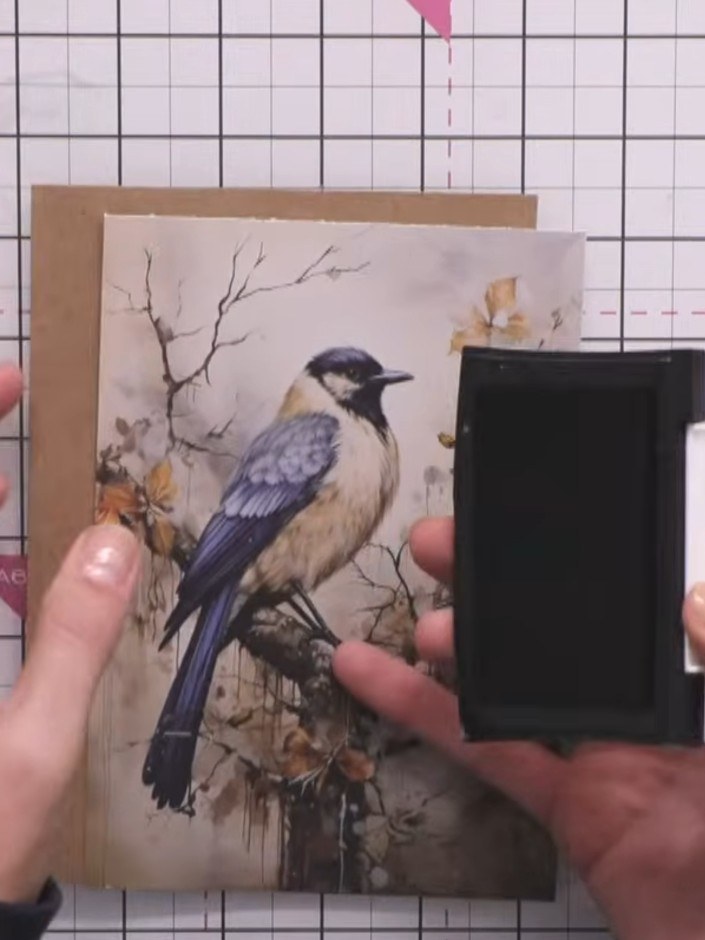
Position the mounted bird image in the centre of your card blank. Adhere it in place using an ink pad or adhesive of your choice. Apply wet glue underneath the mounted bird topper to secure it firmly to the card base. Press down gently to ensure all layers are properly adhered. Arrange the white foliage pieces around the mounted bird panel to frame the focal point. Once you're happy with the placement, glue the foliage in position using craft glue.
▶ watch this step (38:00)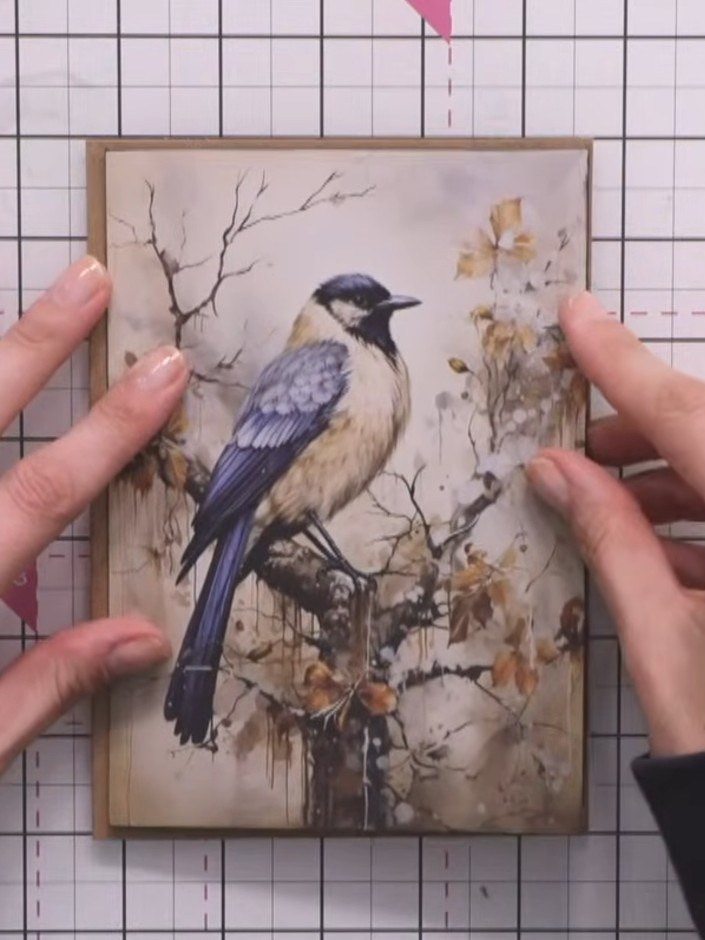
If desired, add small red gems or sequins to the foliage or bird for extra sparkle. Position them carefully to enhance the design without overwhelming the image.
▶ watch this step (39:30)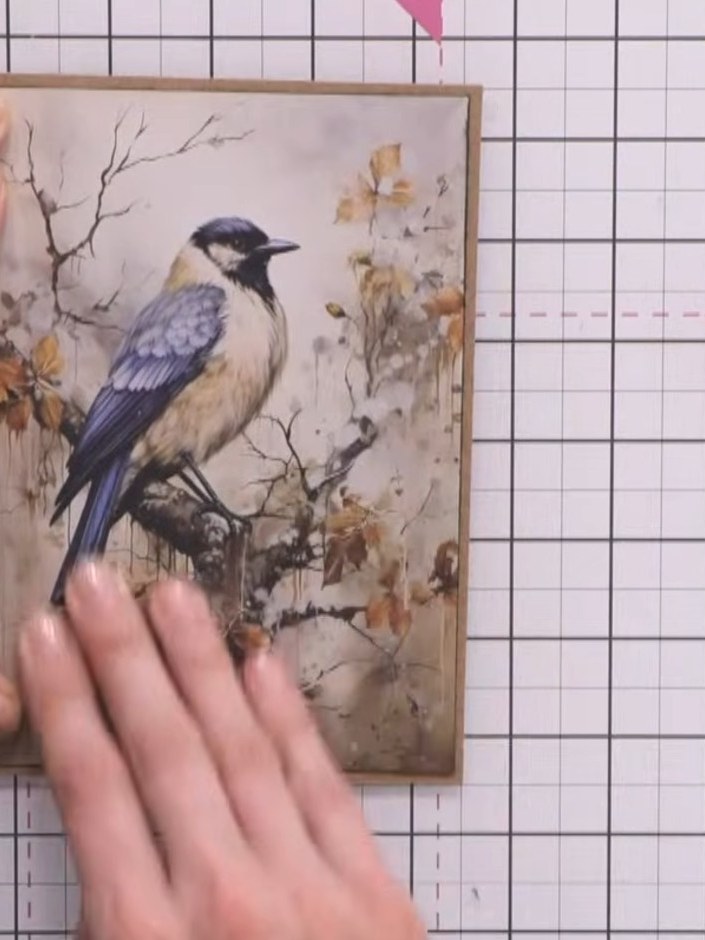
Allow the glue to dry completely before displaying your finished mounted bird Christmas card. The card features a blue and cream bird perched on branches with autumn foliage, mounted on a kraft card base.
▶ watch this step (40:00)Written up from the show itself. See every guide from our shows · free how-to guides · watch live on My Telly


