Give your friends £10 off their first order!
Refer a FRIEND








Prices change straight away. Every language is our own translation, not Google.
A project from our live show ONE DAY SPECIAL - Join Toni for her brand new launch - Broadcast 14th March 2025 · 14/03/2025 · watch it from 27:00
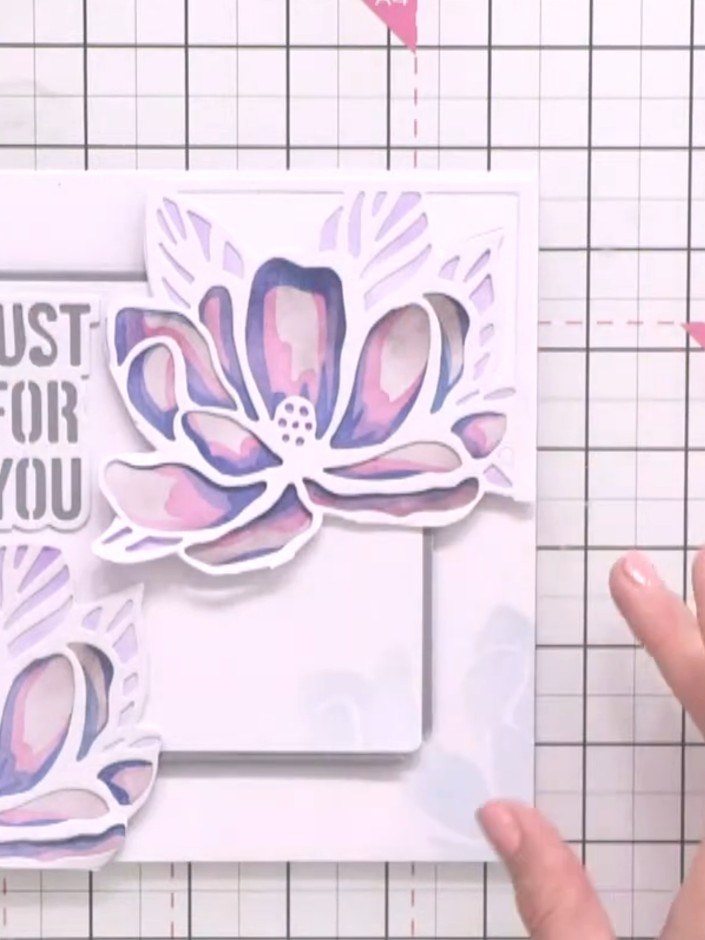
Create a beautiful layered card featuring a delicate magnolia flower design with soft purple and pink tones. Using stencils and ink blending techniques, you'll build up layers of colour to create depth and dimension, finishing with a 'Just For You' sentiment. This elegant floral card showcases how simple layering can produce stunning artistic results.
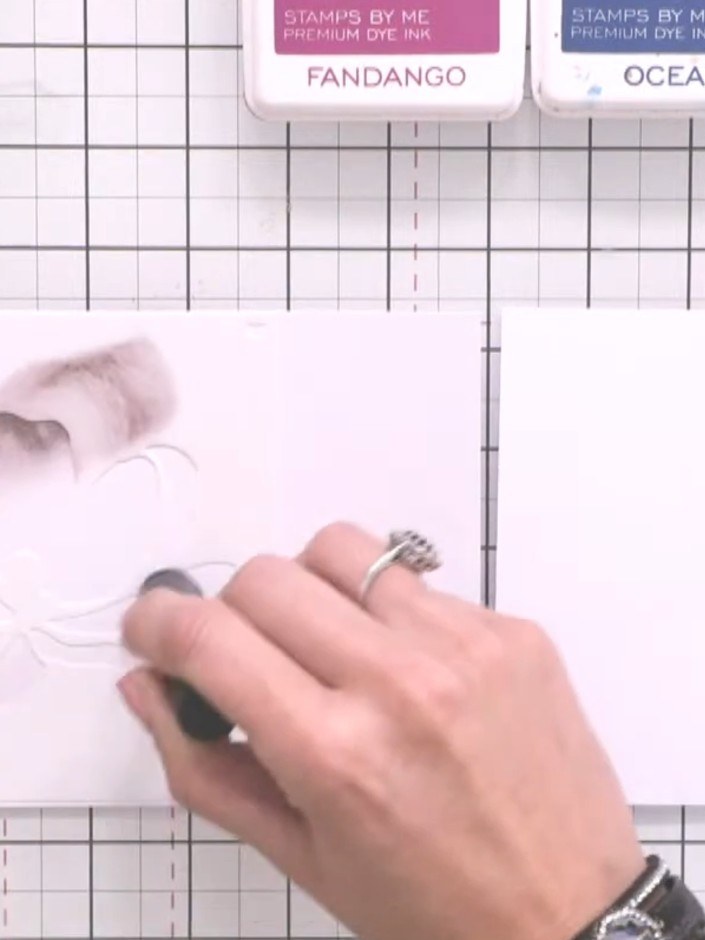
Position the first stencil (number one) from the Magnolia Dreams set, aligning it with the edge of your white card stock. Hold it firmly in place with one hand.
▶ watch this step (27:15)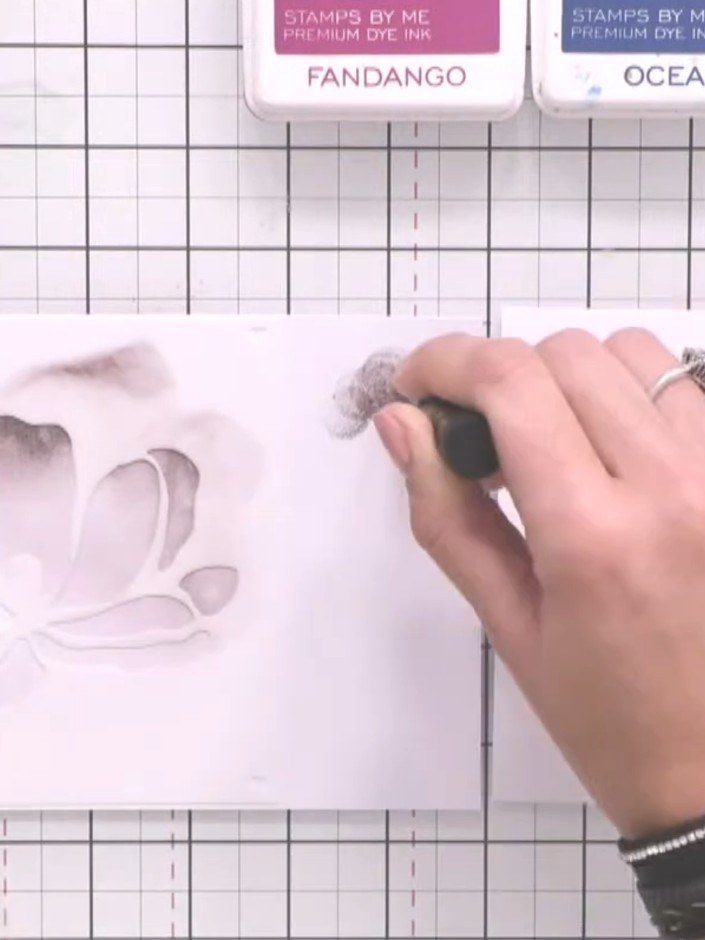
Using a blending brush, apply Heather ink to the stencilled magnolia image. Start from the edges of the petals and blend outward, building up the colour gradually.
▶ watch this step (27:30)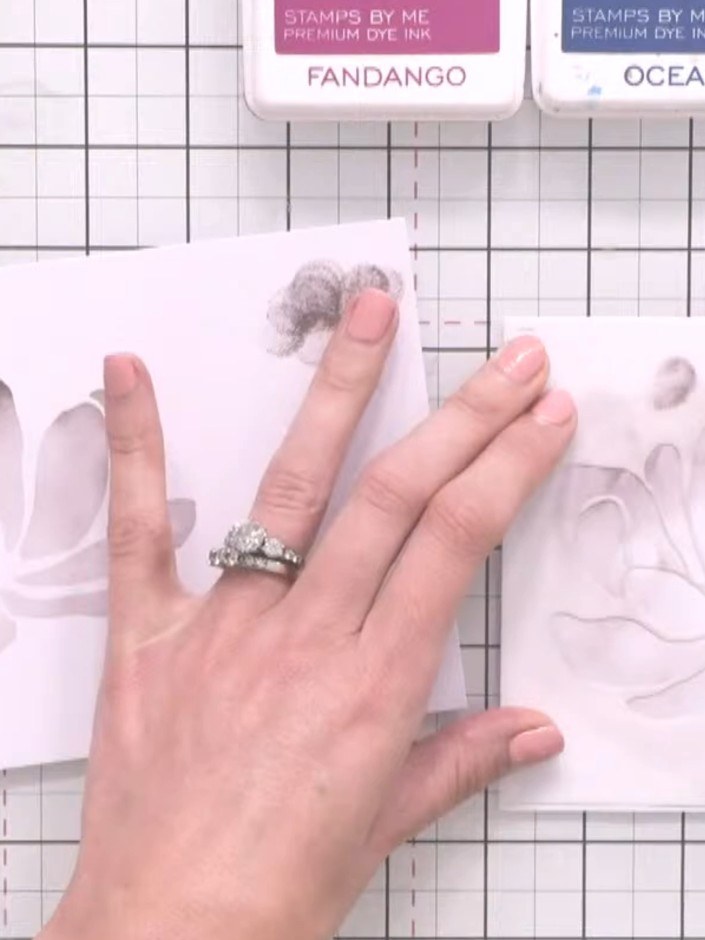
Blend a darker shade of ink on the exterior edges of each magnolia piece to create dimension and depth.
▶ watch this step (28:00)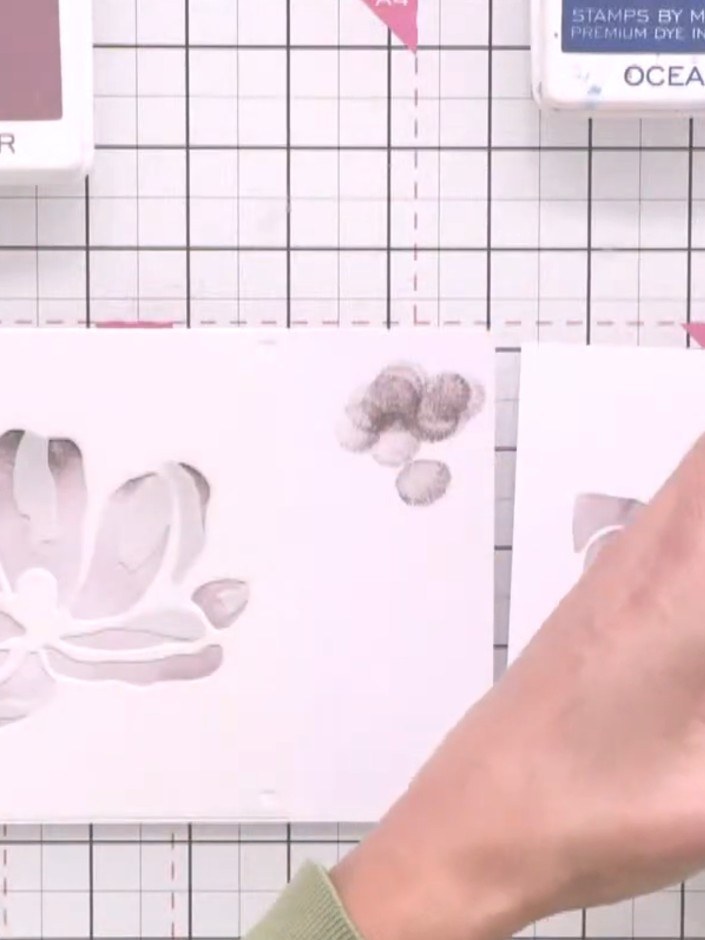
Remove the first stencil and position the second stencil (number two) over your card. Apply Fandango ink through the stencil using your ink blending tool.
▶ watch this step (28:30)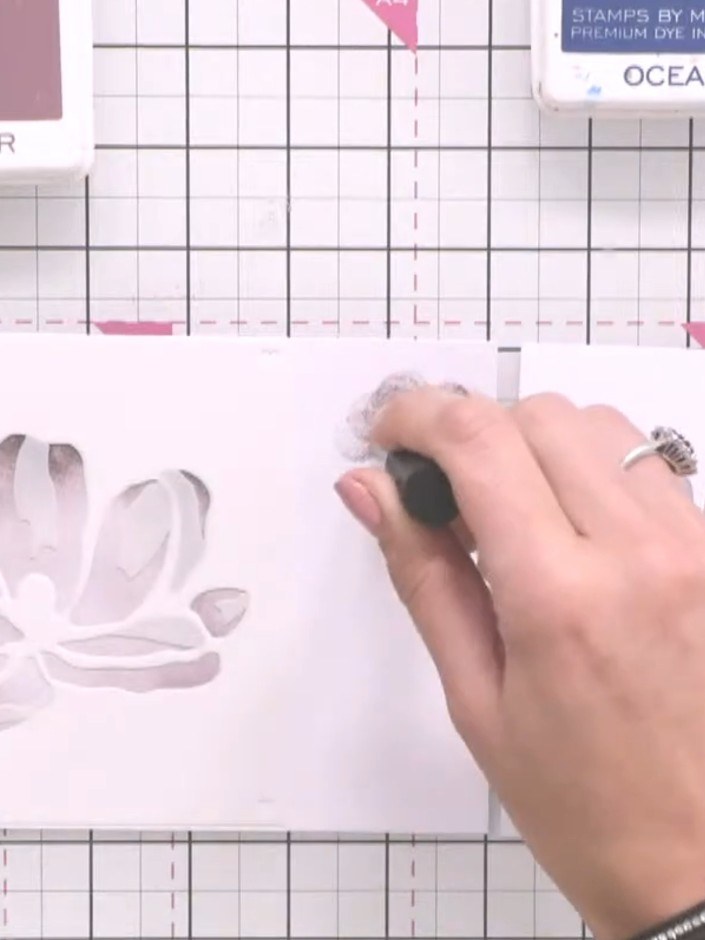
Apply the third stencil layer using Ocean teal ink. Build up the colour gradually by dabbing with a blending sponge through the stencil, working over the magnolia petals to add depth and dimension.
▶ watch this step (29:00)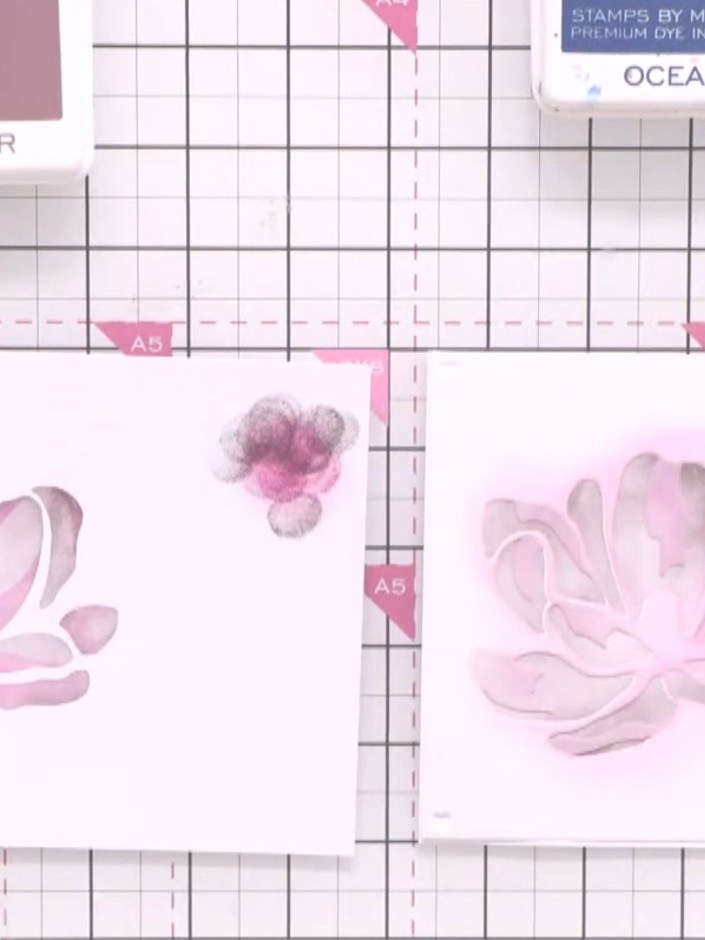
Position the detail stencil over your stamped images and apply purple ink (Indigo or Heather) using a blending tool to add background depth and texture to the design.
▶ watch this step (30:00)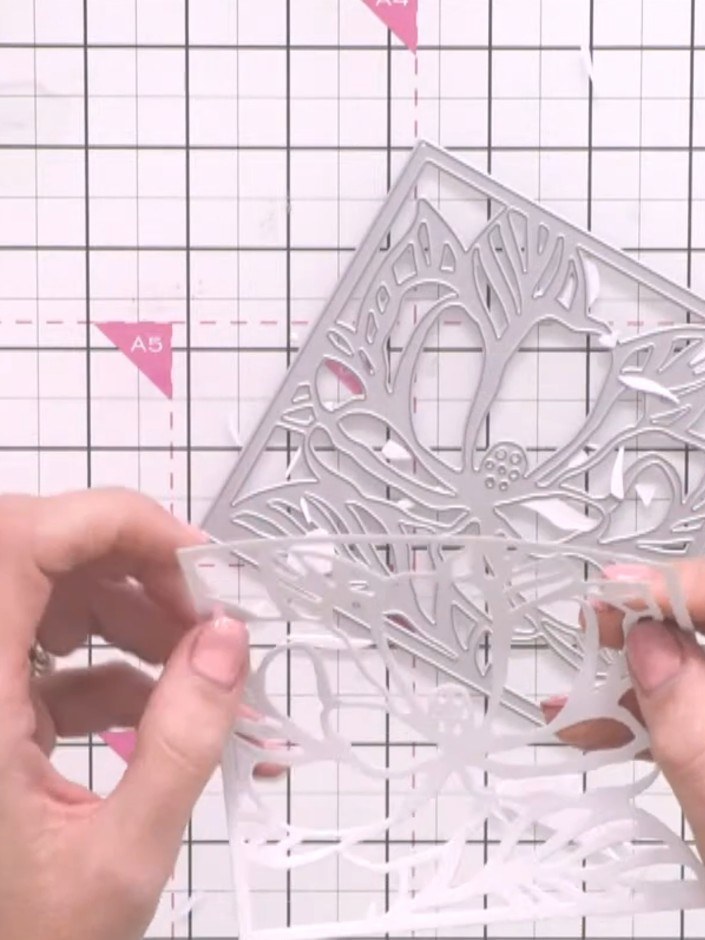
Die-cut the stencilled design using the coordinating magnolia die to create clean edges. Pop out the die-cut pieces from the cutting mat.
▶ watch this step (39:30)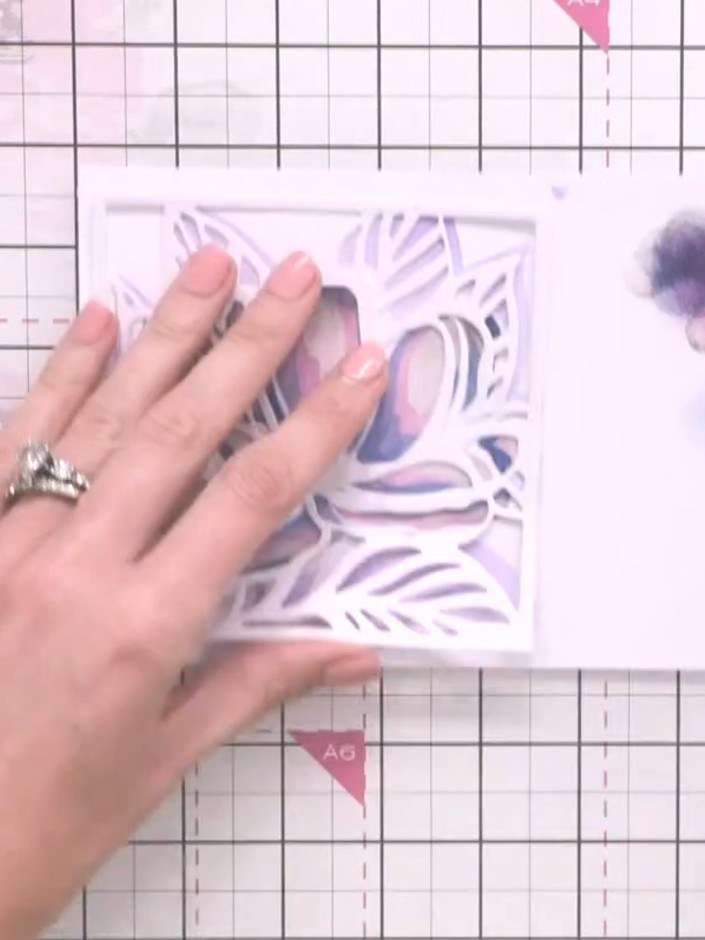
Cut a second die-cut of the magnolia design from grey card stock to create a drop shadow effect. Use the chamfer edge of your cutting mat to keep the card flat whilst cutting.
▶ watch this step (42:00)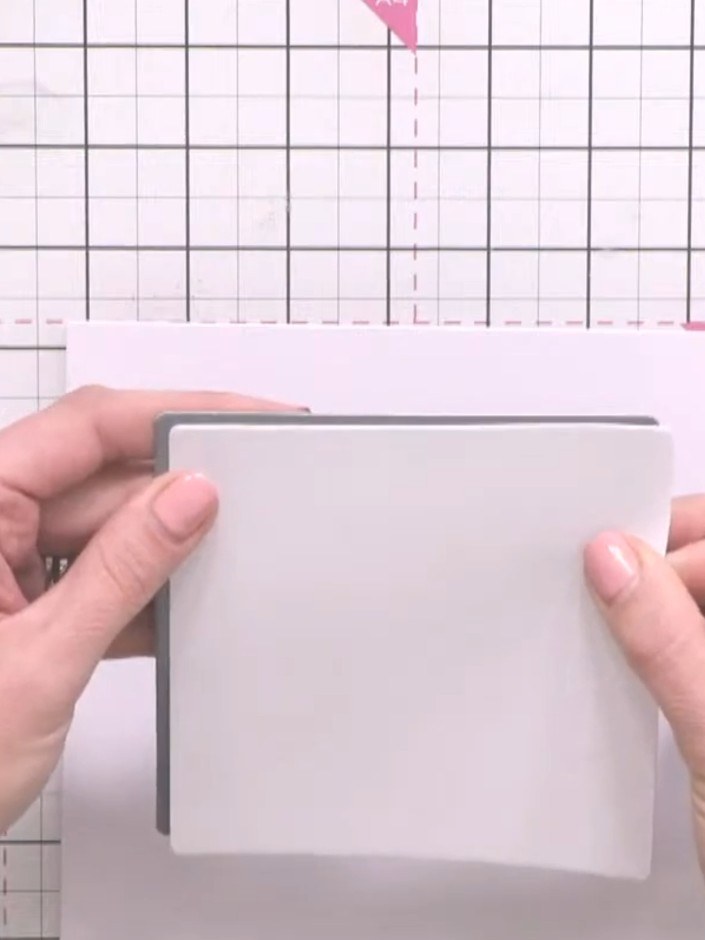
Layer the white die-cut on top of the grey die-cut, offsetting it slightly to create a shadow effect showing the grey border.
▶ watch this step (50:15)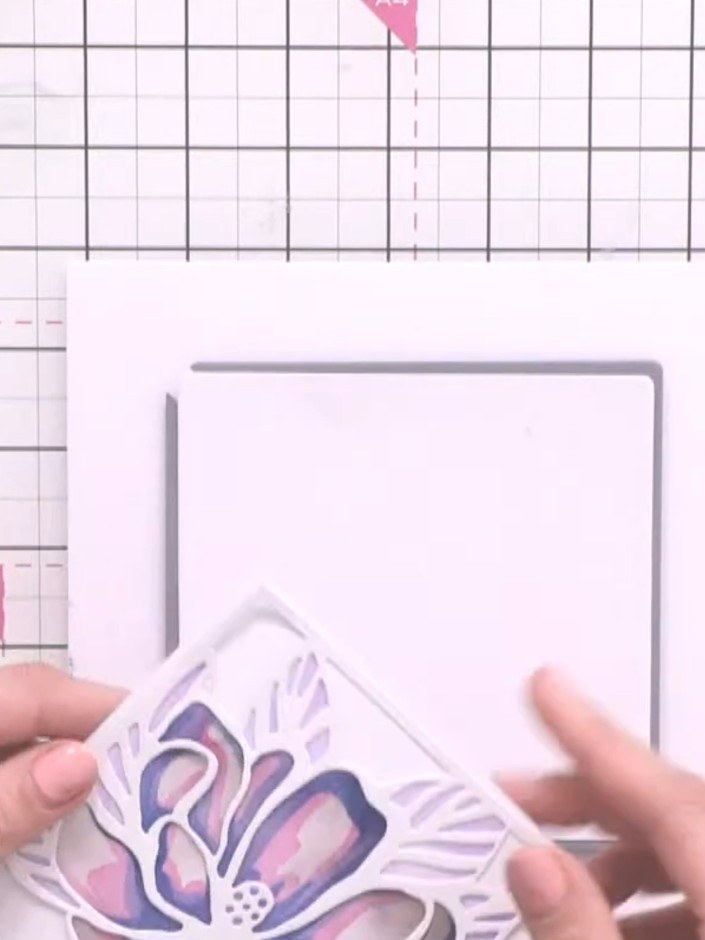
Adhere the layered magnolia flower design to your card base using foam pads for dimension. Position the flower centrally on the card front.
▶ watch this step (52:30)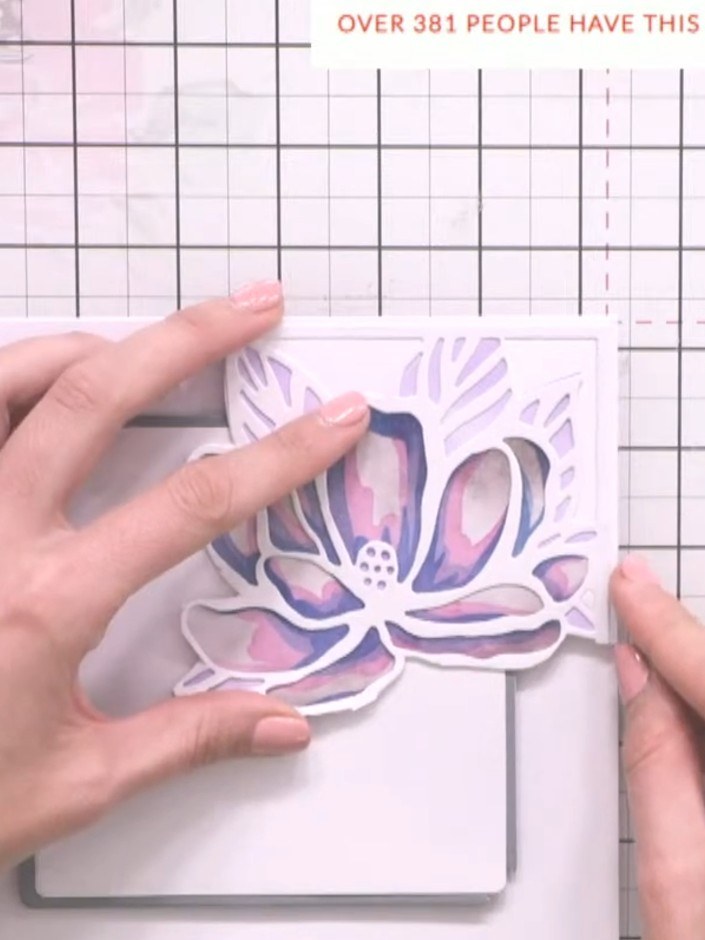
Use the magnolia stencil to add light touches of teal ink to any white spaces on the card front to balance the design.
▶ watch this step (59:00)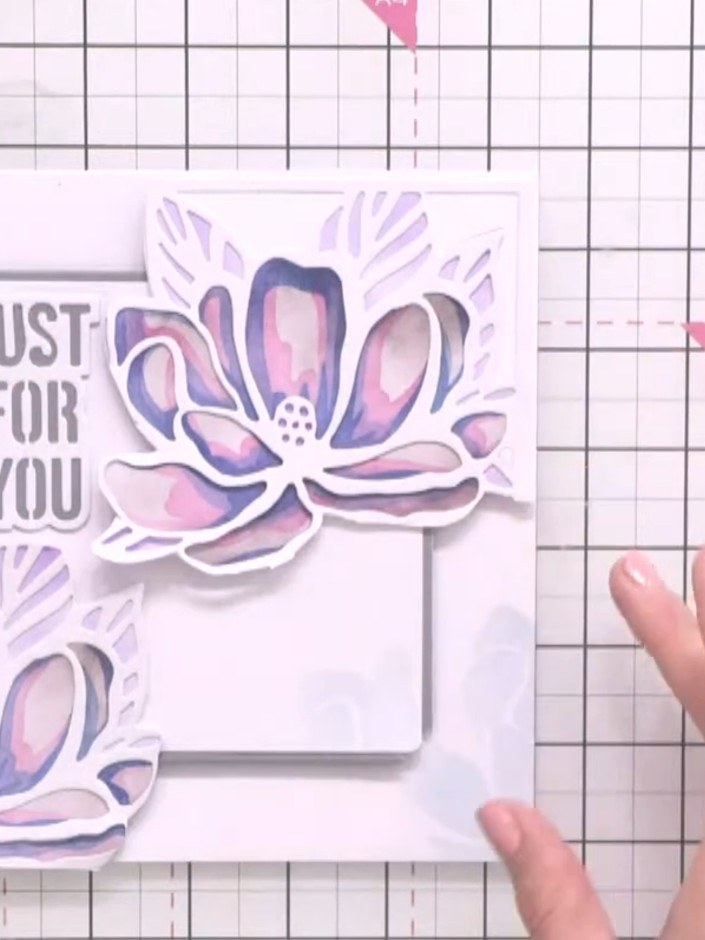
Adhere the 'JUST FOR YOU' sentiment die-cut to the left side of the card front using foam adhesive to complete the card.
▶ watch this step (1:01:30)Written up from the show itself. See every guide from our shows · free how-to guides · watch live on My Telly



