Give your friends £10 off their first order!
Refer a FRIEND








Prices change straight away. Every language is our own translation, not Google.
A project from our live show MY PODCAST - Catch my latest updates broadcast 31st March 2025 · 31/03/2025 · watch it from 1:11:00
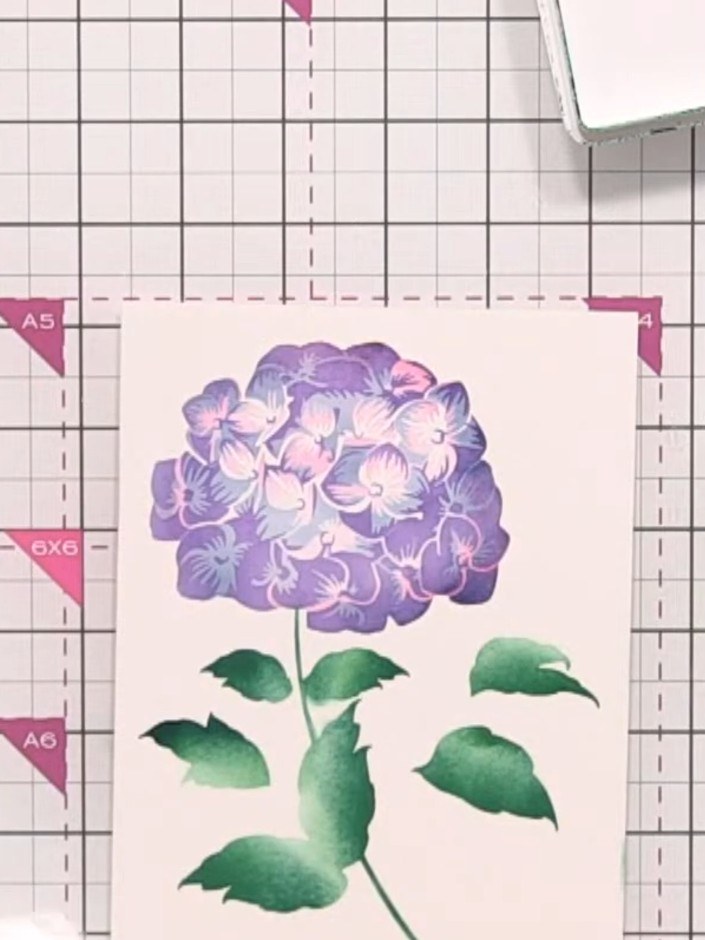
Create a stunning multi-layered hydrangea flower card using coordinating stencils and blended inks. This elegant design features a beautiful purple and pink hydrangea bloom with delicate green leaves and stem, built up through careful layering to create depth and dimension. The result is an artistic, gallery-quality card that resembles a botanical watercolour painting.
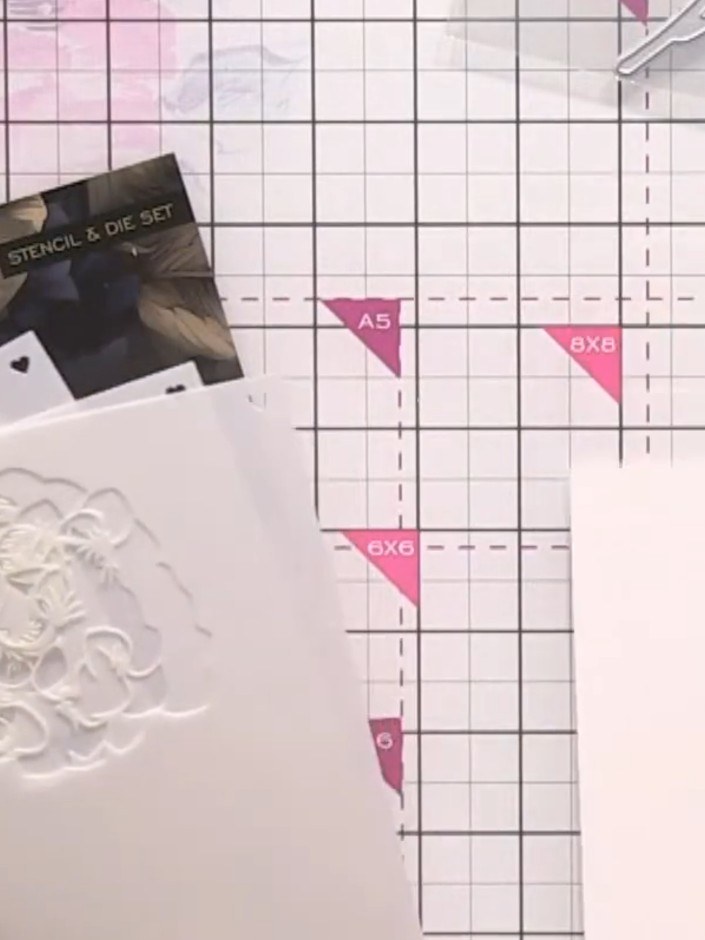
Place your watercolour card stock on your craft mat. Position stencil number one on top, aligning it with the top and side edges of your card.
▶ watch this step (1:11:00)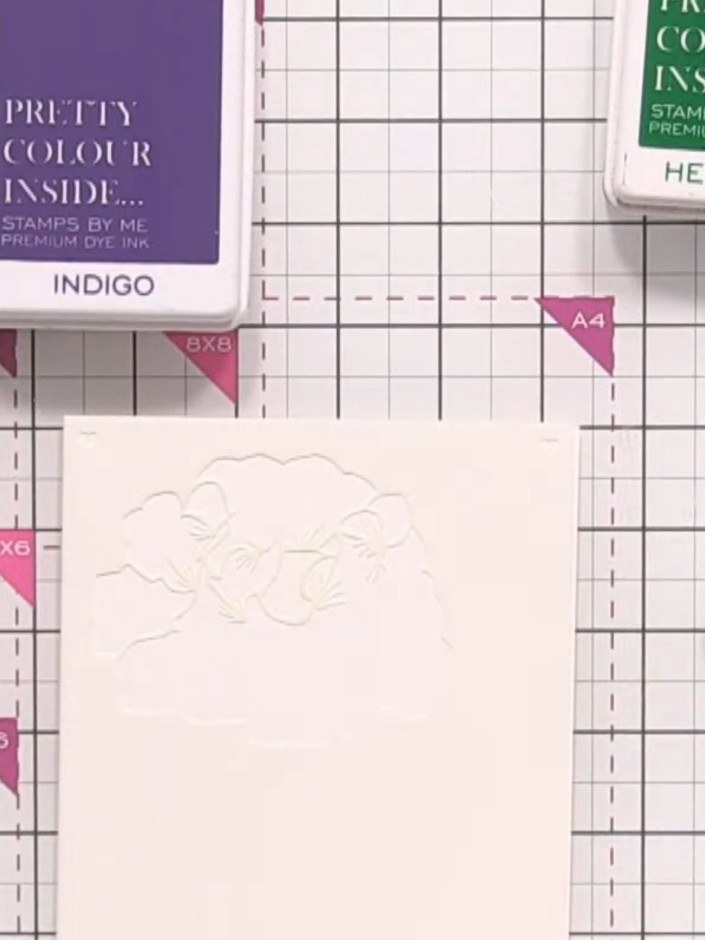
Using a blending brush, pick up pink ink and apply it through the first stencil layer on your card. Build up darker tones around the edges of the hydrangea design to create dimension and depth.
▶ watch this step (1:12:30)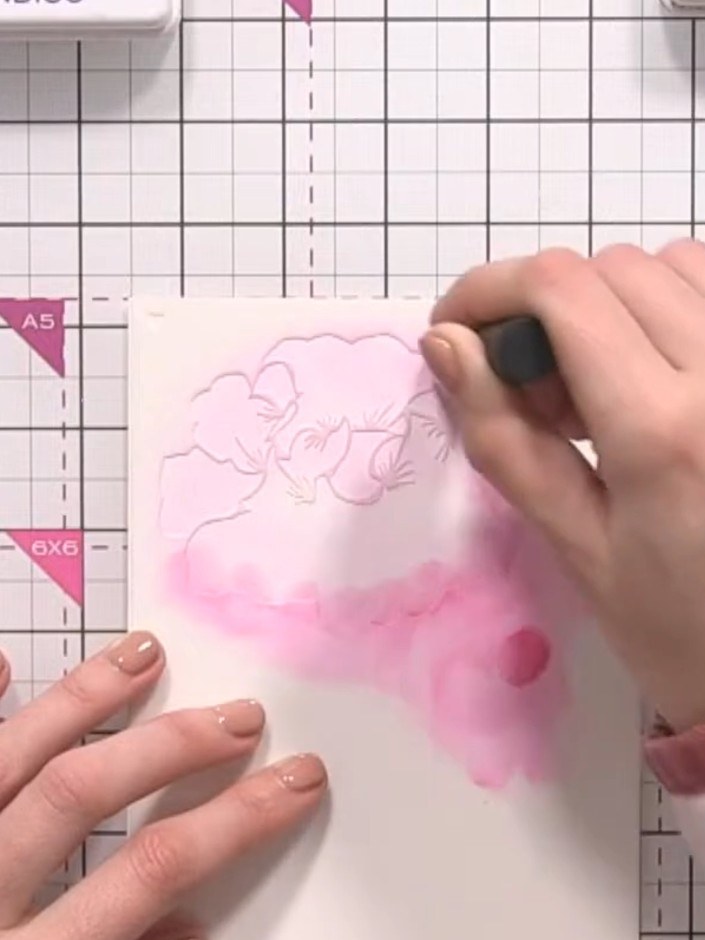
Line up stencil number two over your stamped image and apply teal ink through the openings using a blending tool to add the next layer of detail to the hydrangea flower.
▶ watch this step (1:13:45)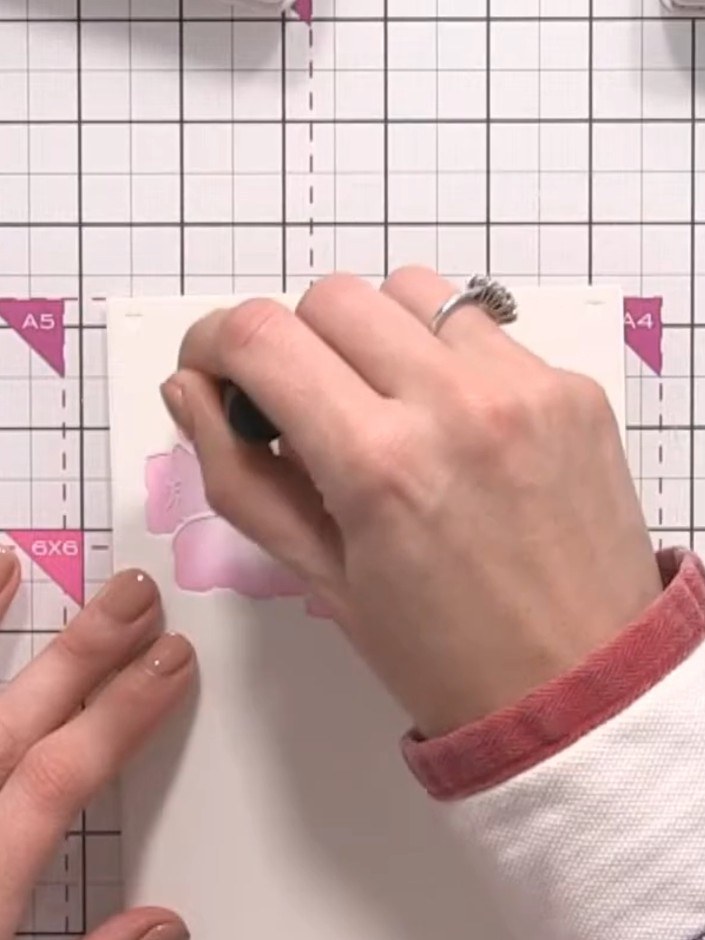
Apply purple ink through stencil number two on different areas of the hydrangea to create colour variation and depth. Use a blending tool to dab the ink through the stencil openings, focusing on areas that will add dimension to the flower.
▶ watch this step (1:14:15)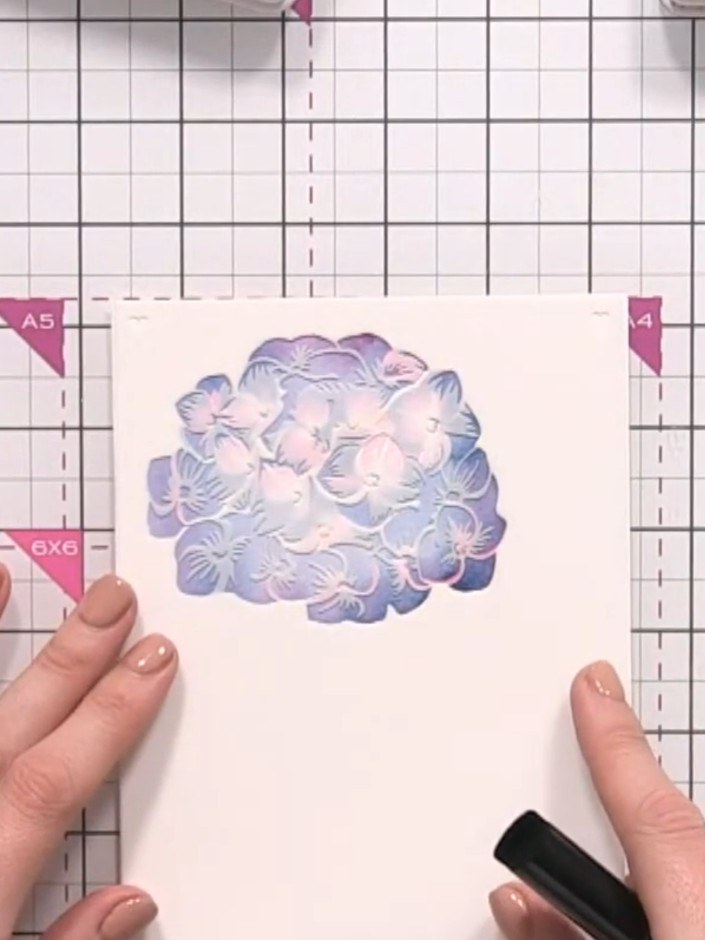
Position stencil number three over your design and apply green ink to create the leaf details. Keep the ink application light and gentle for a subtle effect.
▶ watch this step (1:15:00)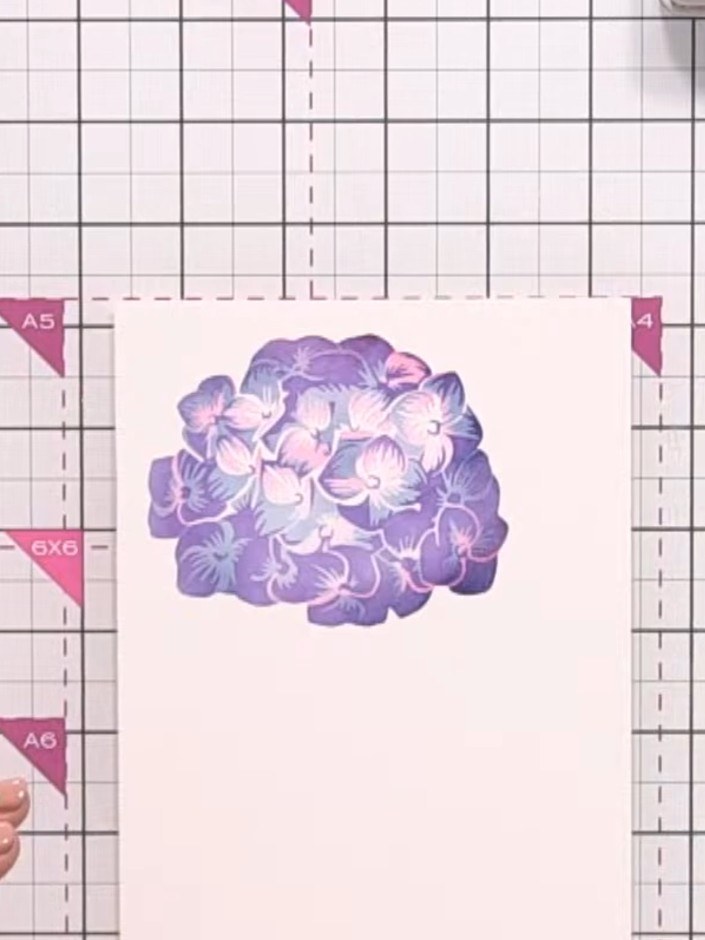
Add darker green ink to the tips and edges of the leaves to create definition and make them appear more realistic.
▶ watch this step (1:16:30)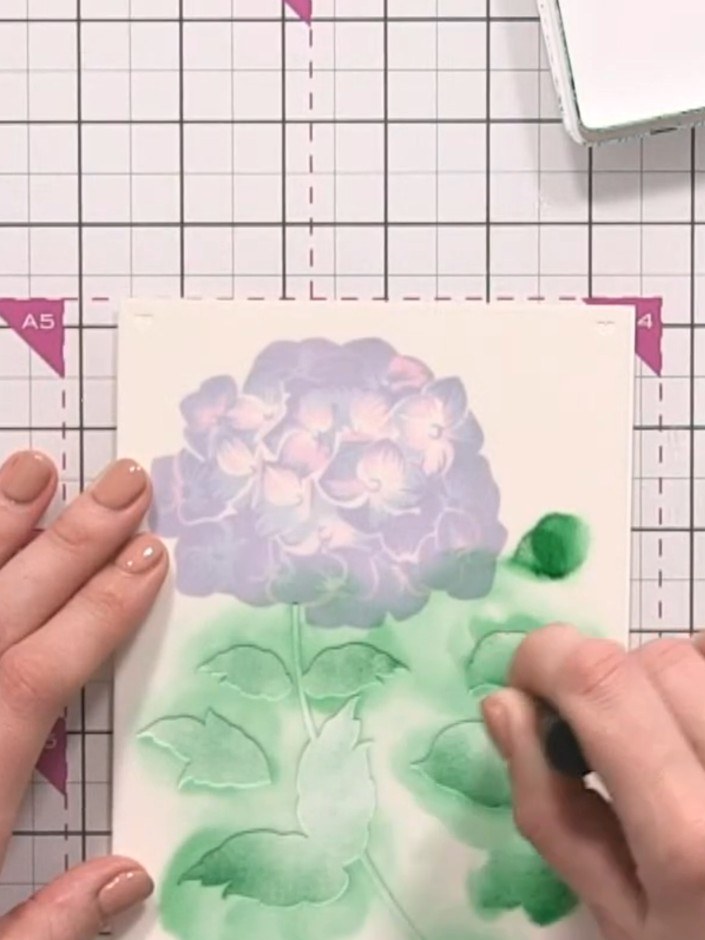
Layer teal ink over some of the green areas using a blending tool to add additional colour interest and blend the tones together.
▶ watch this step (1:17:30)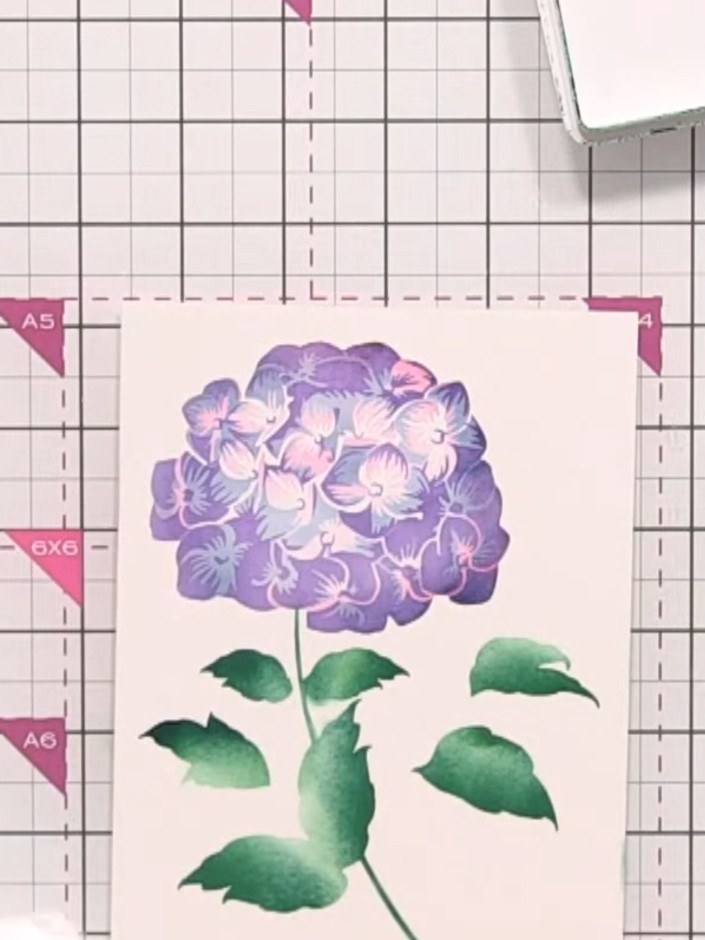
Continue layering with the remaining stencils, building up the hydrangea flower petals and foliage. Use your chosen colour palette to add depth and dimension to the design.
▶ watch this step (1:18:30)Written up from the show itself. See every guide from our shows · free how-to guides · watch live on My Telly


