Give your friends £10 off their first order!
Refer a FRIEND








Prices change straight away. Every language is our own translation, not Google.
A project from our live show MIGHTY MONDAY - Join Toni for her detailed papercrafting sessions - Broadcast 14th April 2025 · 14/04/2025 · watch it from 5:45
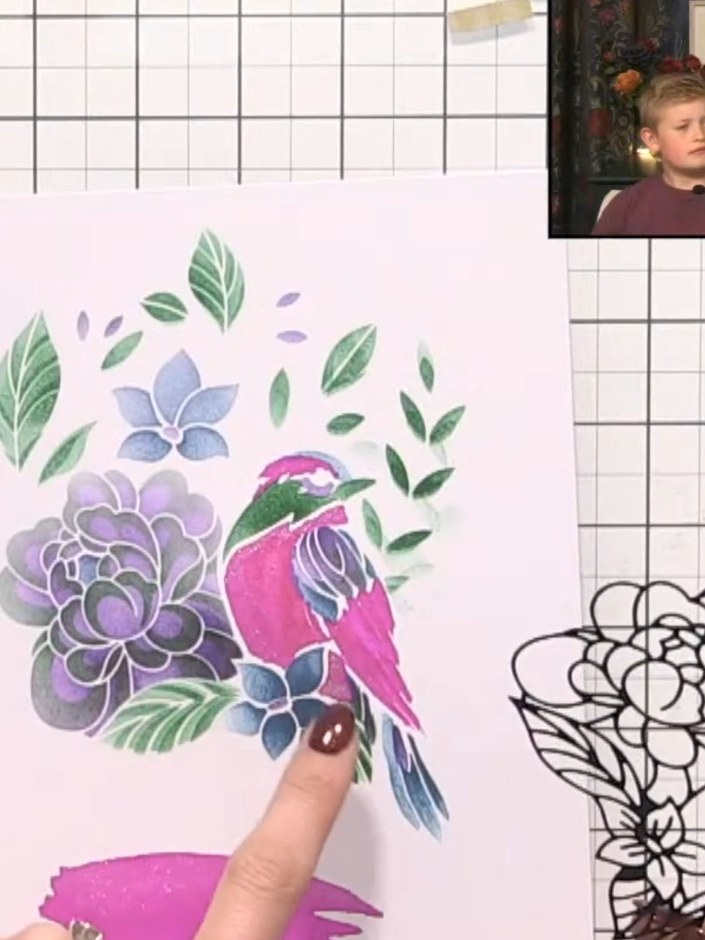
Create a beautiful stencilled bird card featuring a vibrant pink parrot nestled amongst purple flowers and green foliage. Using a six-layer stencil system with coordinating ink pads, you'll build up colour and dimension to create this stunning design. Finish with sparkly gel pen details for extra shine and visual interest.
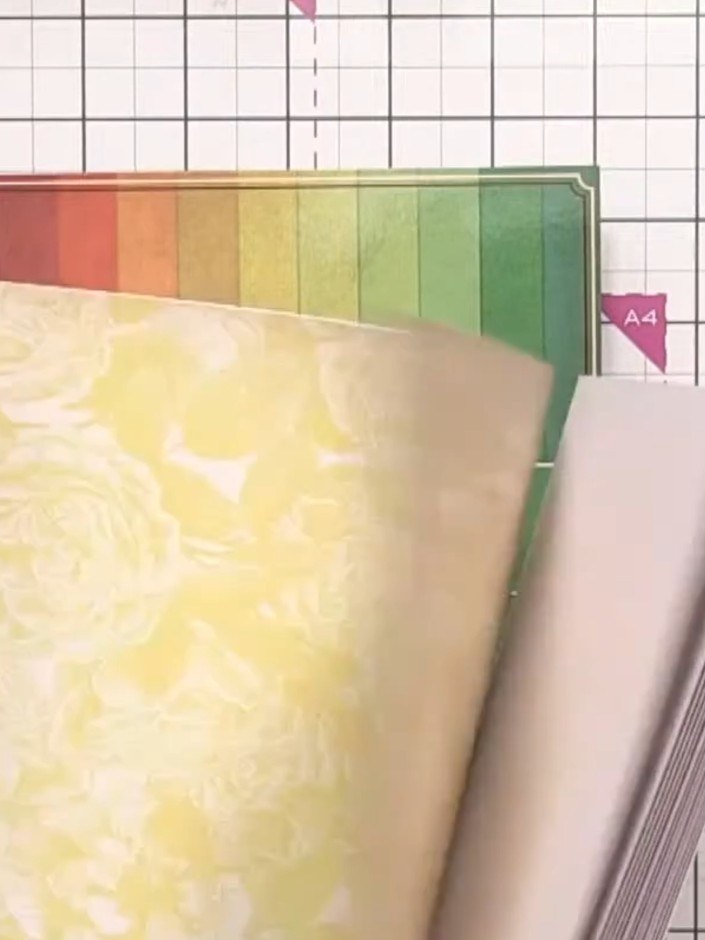
Gather your paper pads and cardstock. Select a sage green card blank and coordinating patterned papers from the Vintage Roses and Vintage Stripes collections. Position your chosen stencil on the card base. Apply the darkest ink colour through the stencil, pressing firmly to ensure good coverage.
▶ watch this step (10:00)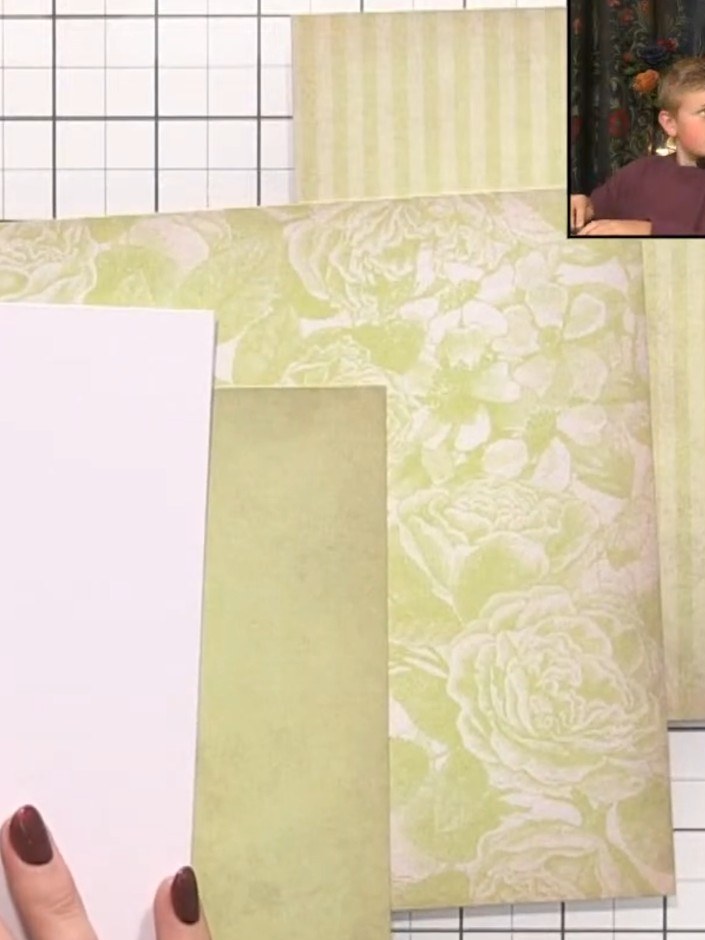
Position the second stencil layer over your card and apply the same green ink, pressing more firmly to create darker shading and depth in the design.
▶ watch this step (19:30)
Continue building up the design by layering additional stencils. Apply stencil five and stencil six, adding more colour and detail with each application to create depth in your bird design.
▶ watch this step (24:30)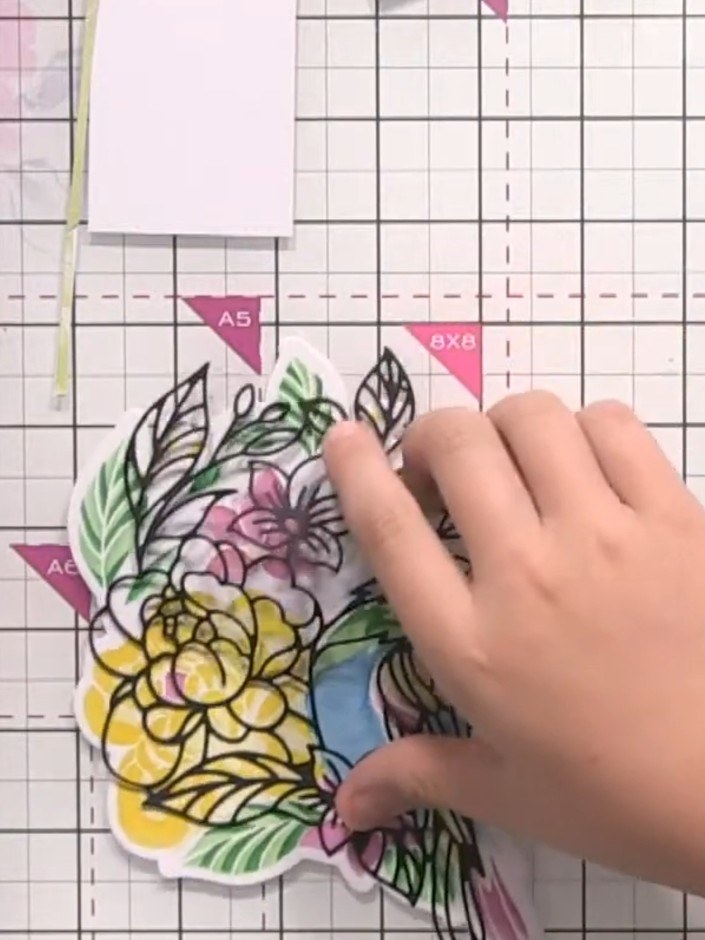
Die-cut the coordinating black outline using the included die. Carefully position and place the black outline over your coloured stencilled design, aligning it precisely with the flowers and bird. Apply sparkly gel pen to the bird's chest area on the yellow patterned paper, squeezing gently and allowing it to dry slightly before dragging across the surface.
▶ watch this step (29:00)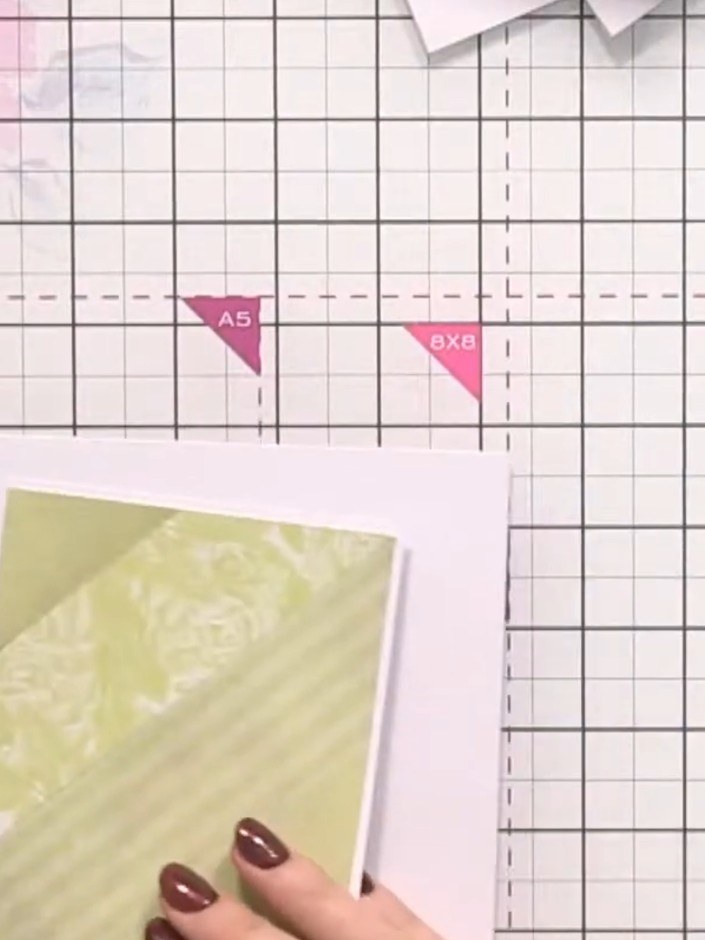
Mount the finished stencilled piece onto a white card blank, positioning it centrally and securing with adhesive.
▶ watch this step (31:15)Written up from the show itself. See every guide from our shows · free how-to guides · watch live on My Telly



