Give your friends £10 off their first order!
Refer a FRIEND








Prices change straight away. Every language is our own translation, not Google.
A project from our live show MIGHTY MONDAY - Join Toni for her detailed papercrafting sessions - Broadcast 14th April 2025 · 14/04/2025 · watch it from 37:00
Create a sophisticated layered card featuring a beautiful floral and bird design with purple blooms and a pink bird surrounded by green foliage. This project uses distressing and layering techniques to build dimension and character. The finished card has a vintage aesthetic with coordinating colours and a polished, professional look.
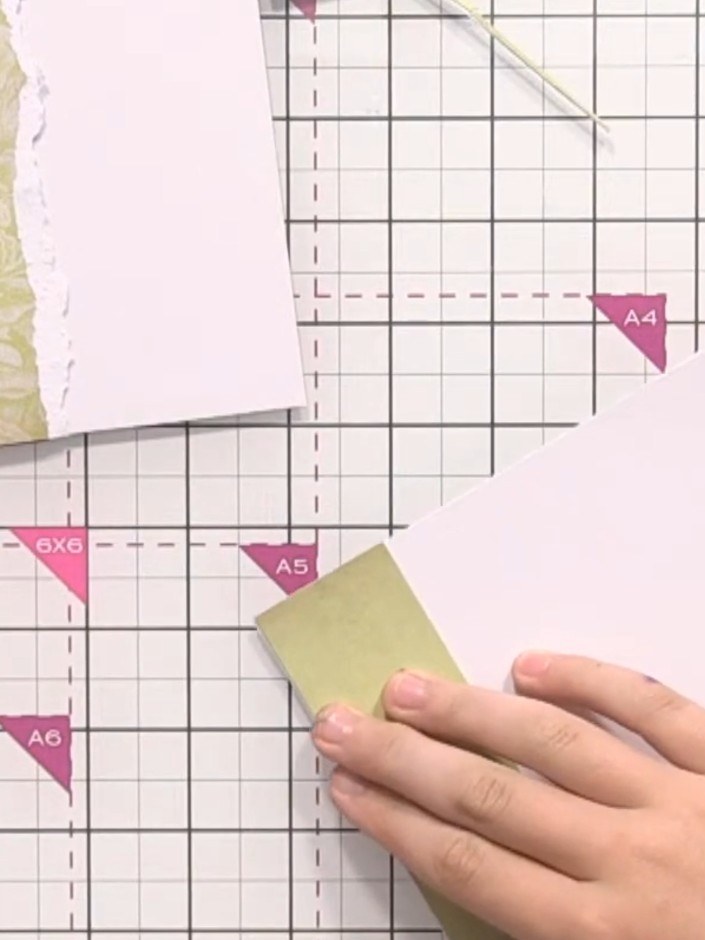
Cut strips of varying widths from your vintage patterned papers. Use both the plain and patterned designs to create visual interest.
▶ watch this step (37:00)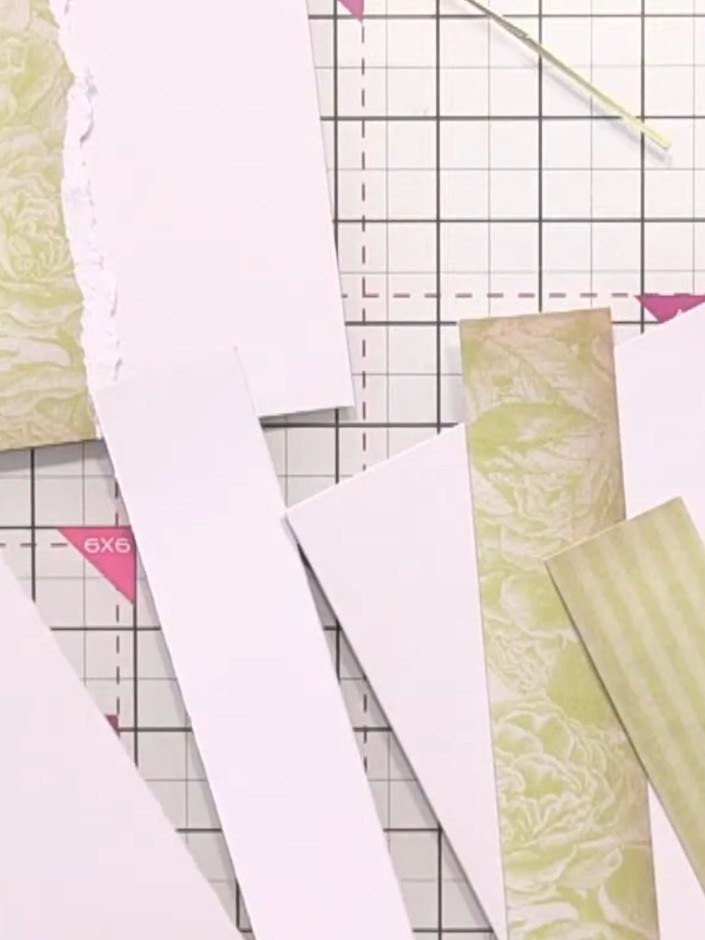
Arrange the white card strips horizontally on your card blank, leaving gaps between each strip to create a layered wooden panel effect.
▶ watch this step (37:45)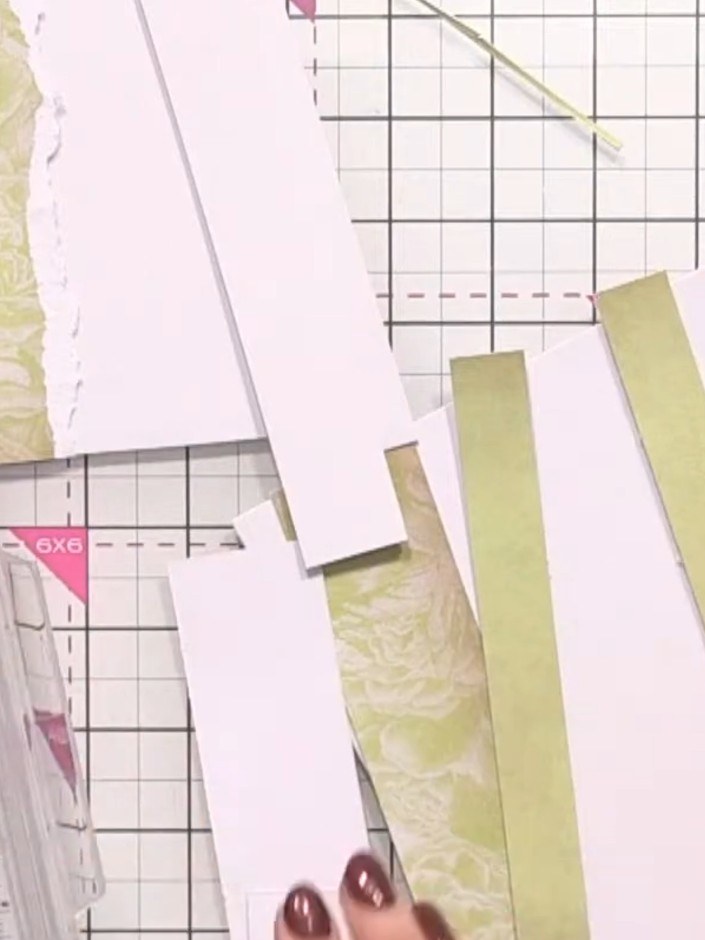
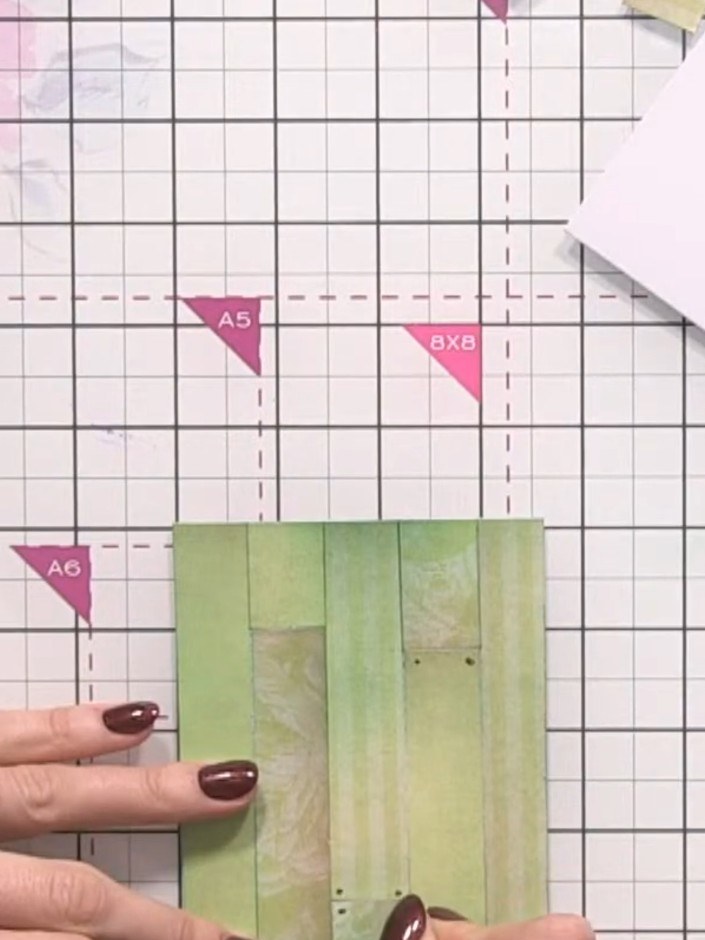
Layer additional strips of patterned paper at different heights on your white card base to create a wood panel effect. Arrange the green floral and striped strips in varying positions to build dimension.
▶ watch this step (38:30)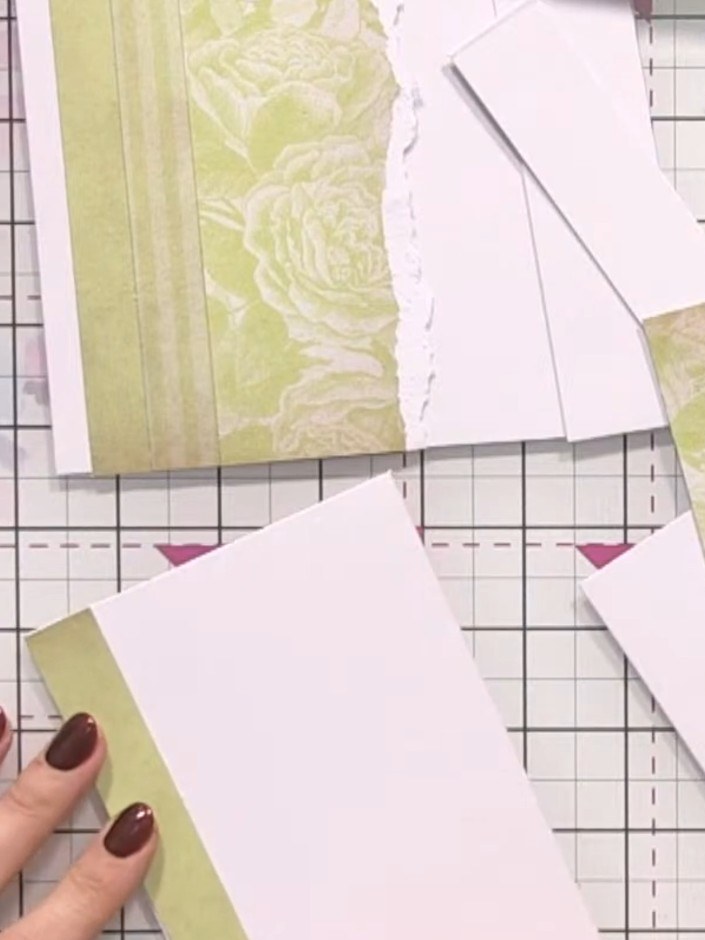
Apply green ink to the edges and surface of the patterned paper strips using an ink pad, working the colour across to add depth and texture to create a faux wood effect.
▶ watch this step (39:00)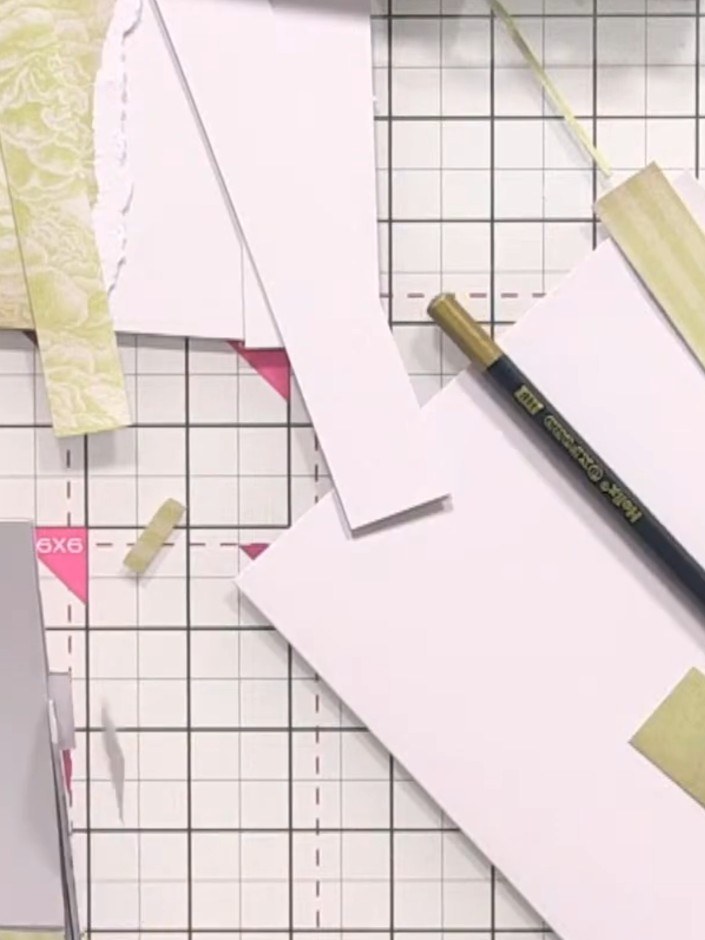
Use a fine-liner pen to draw wood grain details and rivets across the layered green strips to create a faux wood panel effect.
▶ watch this step (42:00)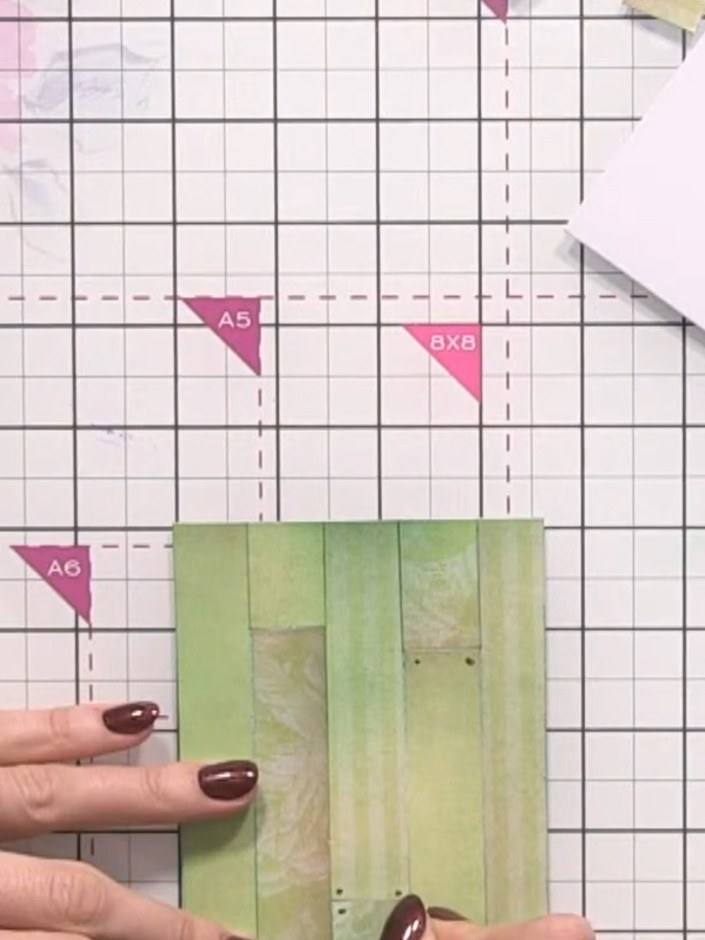
Use a gel pen to press indented lines into the green paper strips to create a wood grain texture. Press firmly to create visible grooves that mimic natural wood patterns.
▶ watch this step (44:15)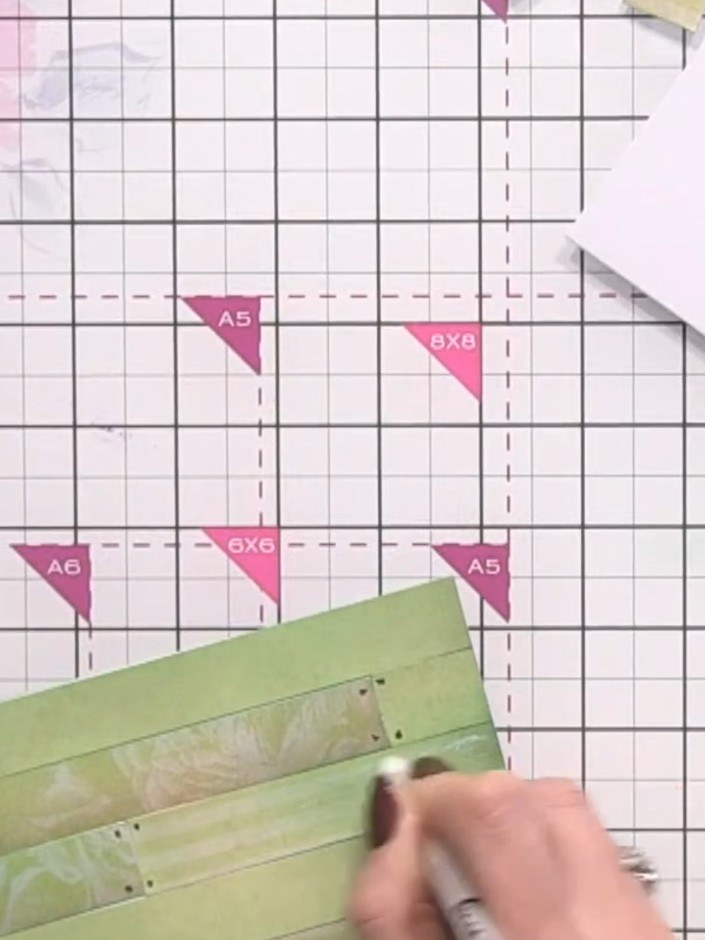
Use a white gel pen to add highlights to the wood panel strips, drawing along the grain lines to enhance the wood effect and create dimension.
▶ watch this step (45:00)Written up from the show itself. See every guide from our shows · free how-to guides · watch live on My Telly



