Give your friends £10 off their first order!
Refer a FRIEND








Prices change straight away. Every language is our own translation, not Google.
A project from our live show ONE DAY SPECIAL - Join Toni for her brand new launch - Broadcast 8th August 2025 · 08/08/2025 · watch it from 23:30
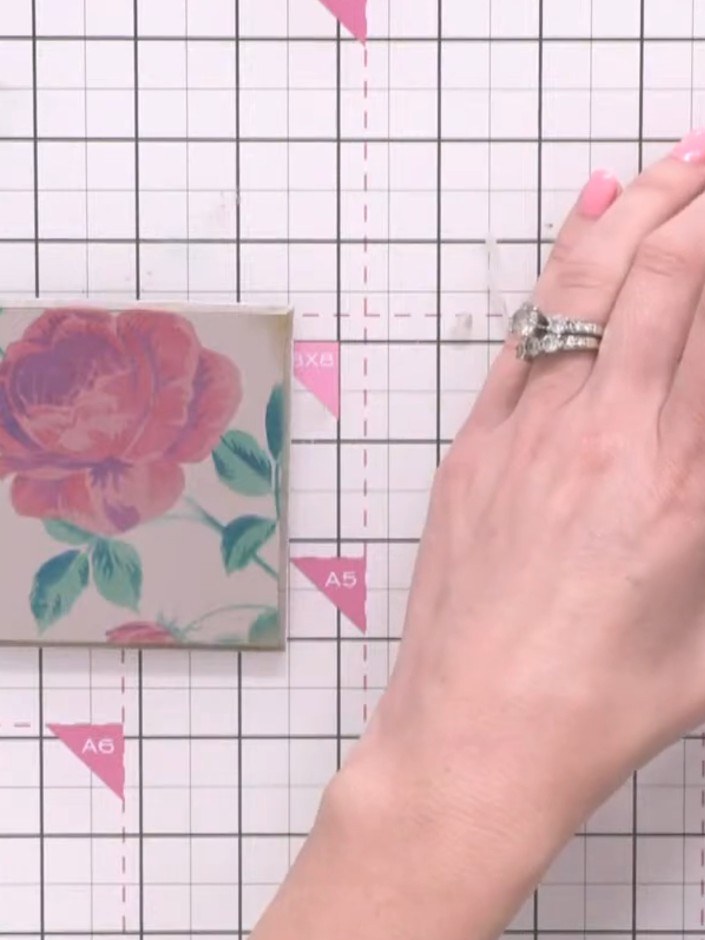
Create a beautiful vintage-style coaster featuring a delicate pink rose with teal leaves on a distressed wooden background. This project uses layered stencilling techniques with acrylic paints and finger waxes to build up dimensional floral designs, finished with fine liner details and distressed edges for an authentic aged appearance. The finished piece makes a charming decorative gift with its soft watercolour effect and rustic wood-grain texture.
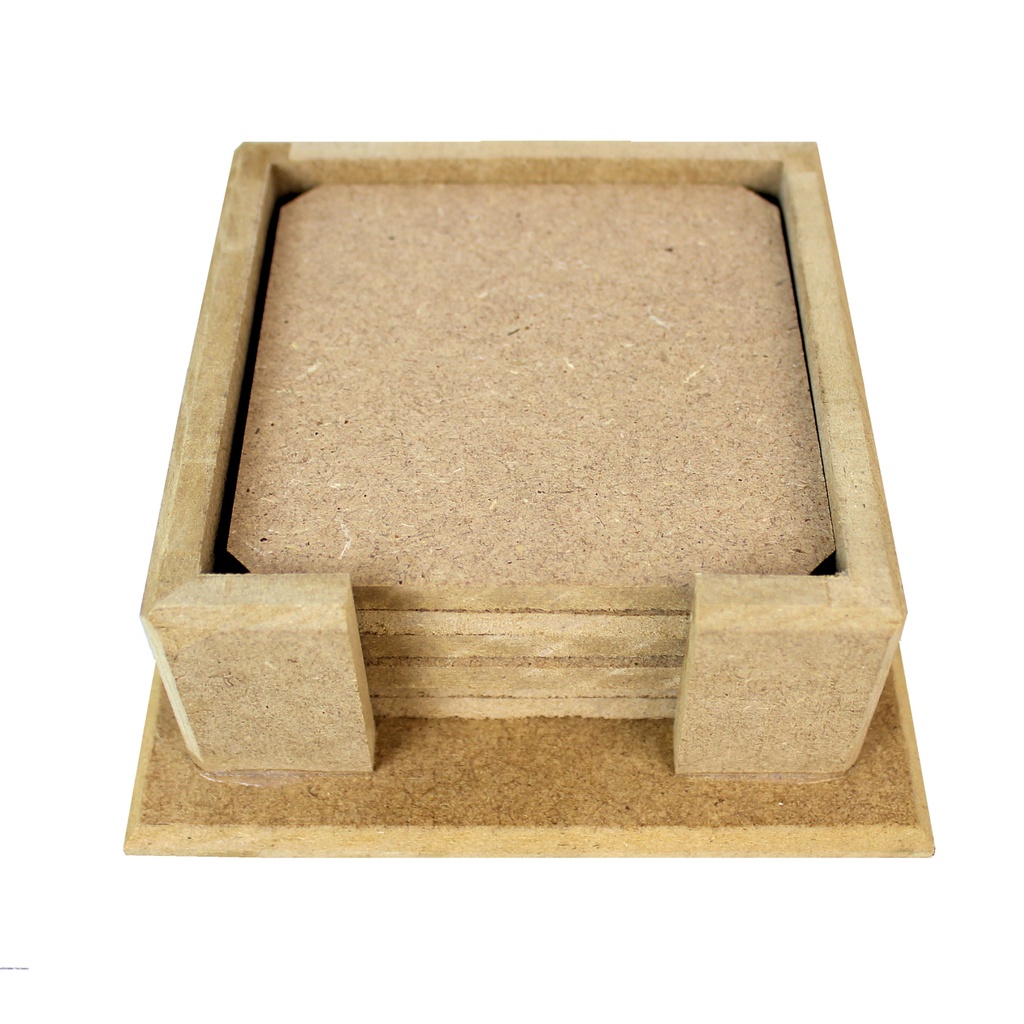 MDF Coaster 13 x 13 x 5cmSEE IT
 Stamps By Me Stencil and Die Set - Classic Rose - 030125ASEE IT
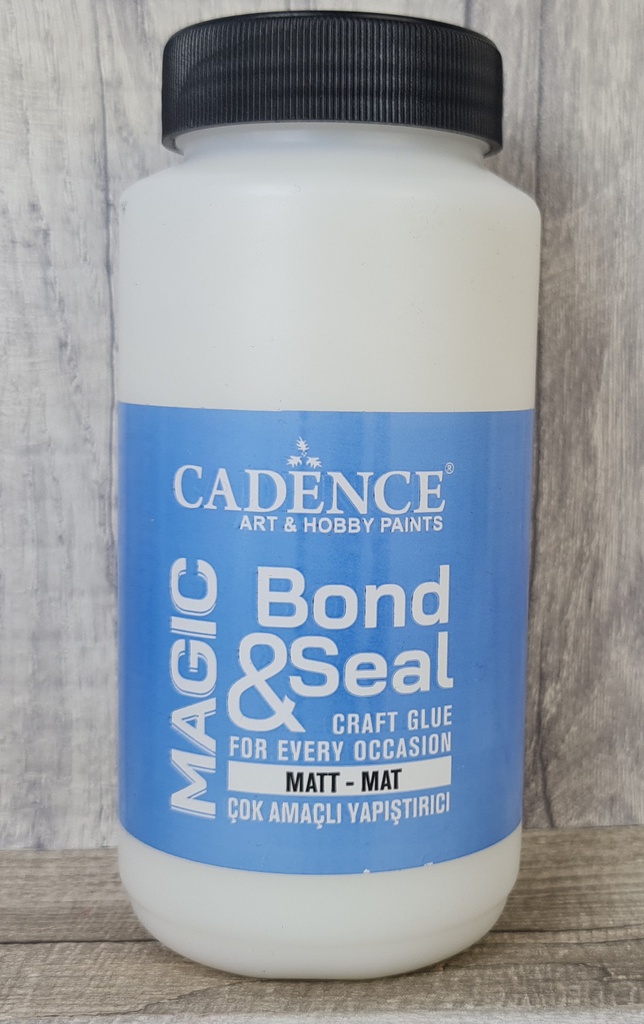 Cadence Magic Bond & Seal - Matt (450ml)SEE IT
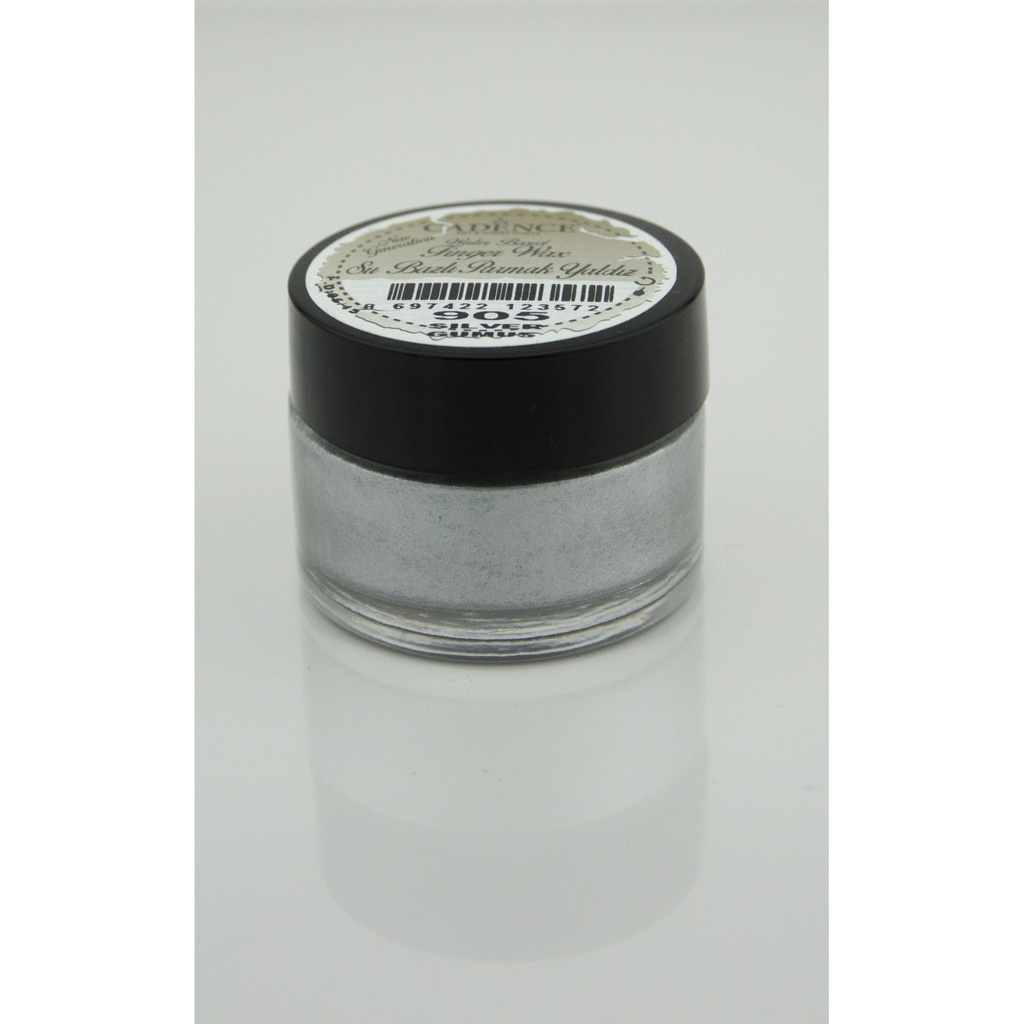 Cadence Finger Wax - SilverSEE IT
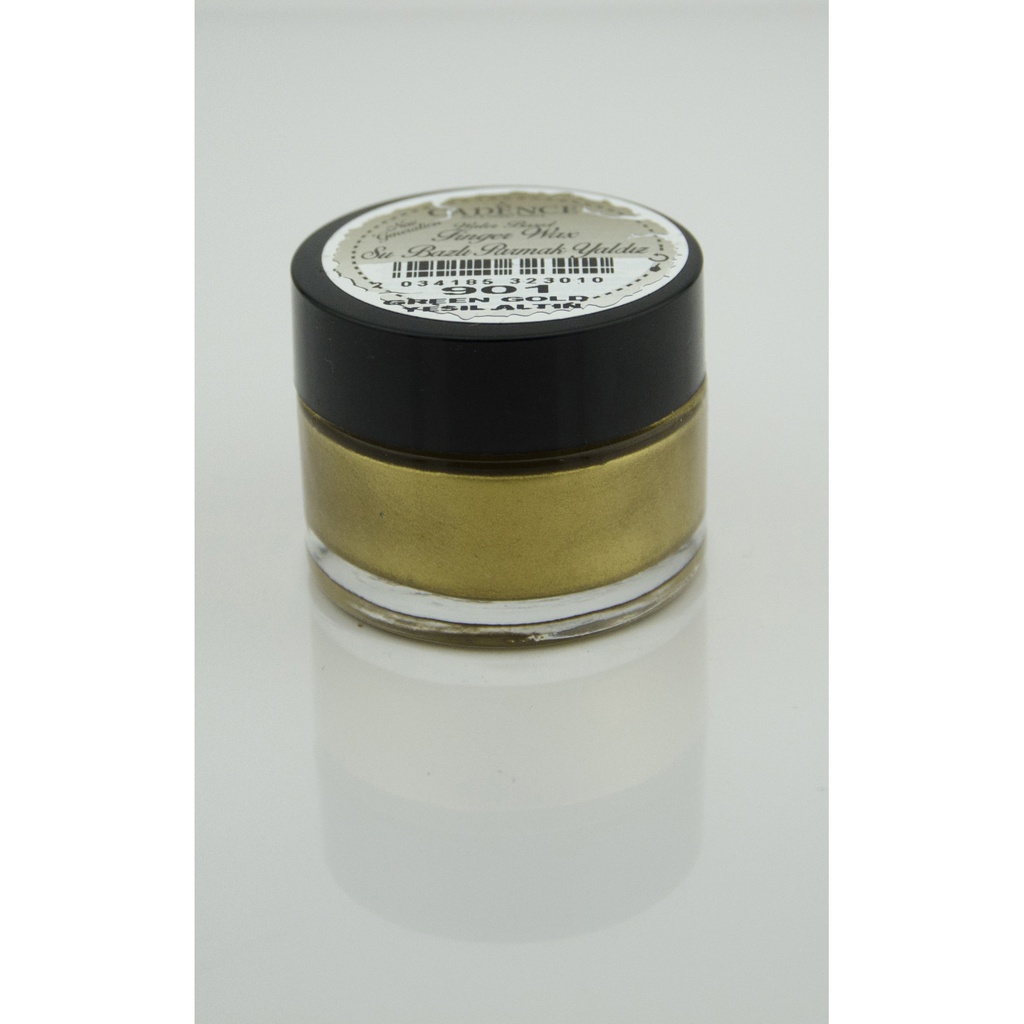 Cadence Finger Wax - Green GoldSEE IT
 Glitter Varnish - Gold - 210420E1SEE IT
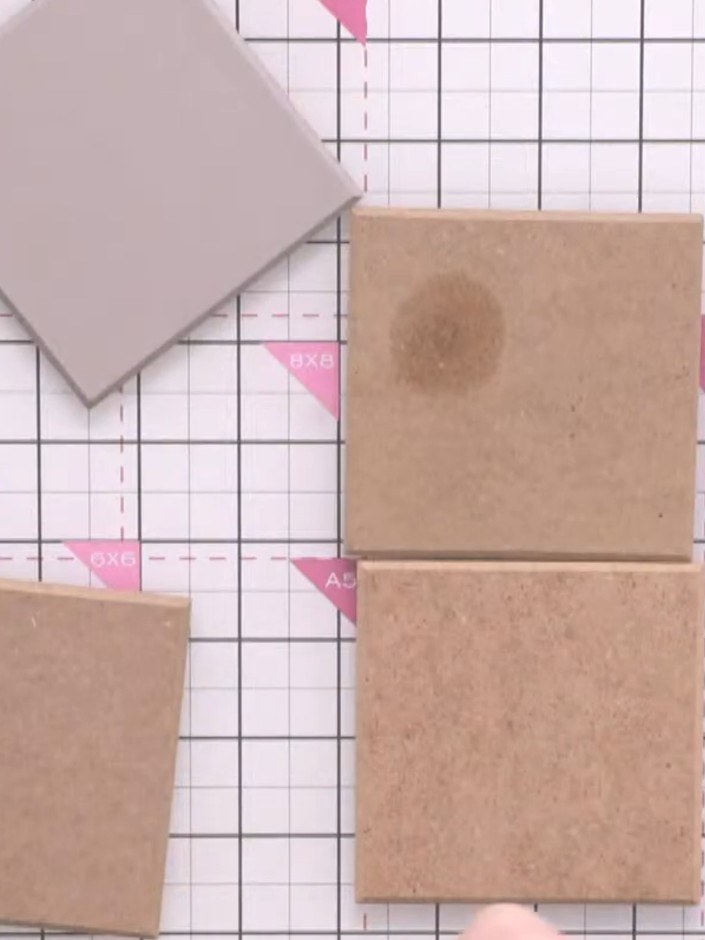
Place your MDF coaster on a glass mat or scrap paper to protect your work surface before painting.
▶ watch this step (28:15)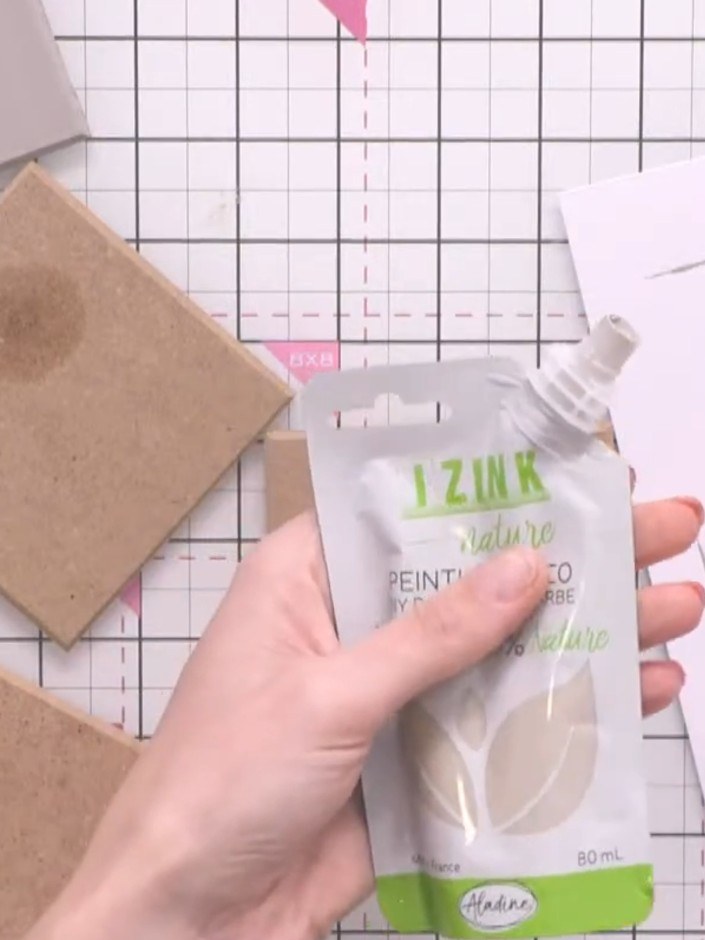
Squeeze a small amount of Cadence paint onto your palette. Note that a little oil may come out first, which is normal and not a concern.
▶ watch this step (28:30)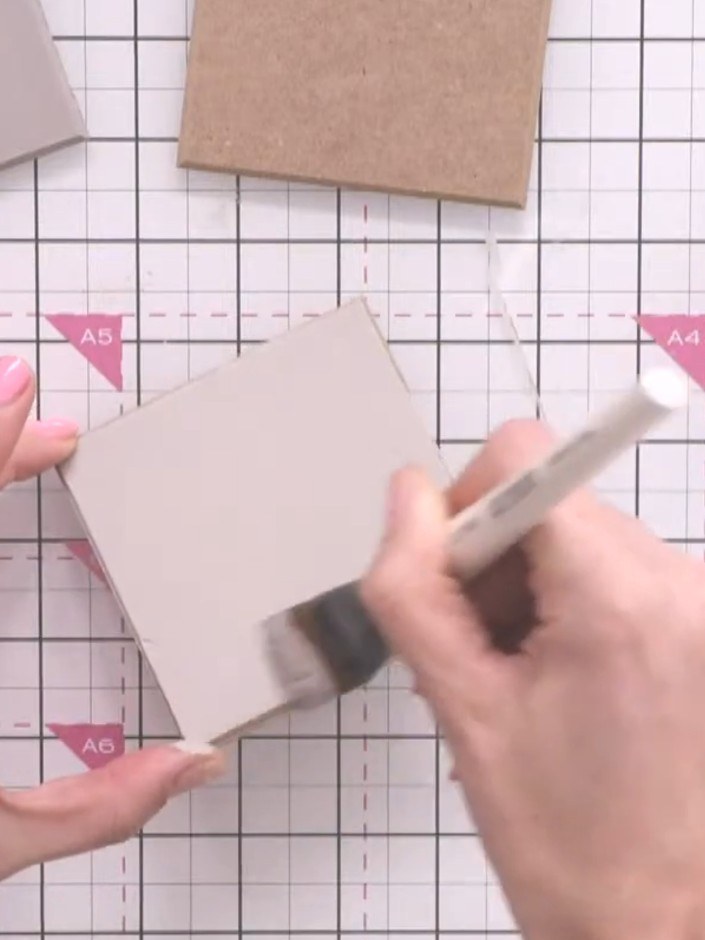
Using a soft brush, apply the base paint colour to the MDF coaster with cross-hatching strokes to ensure even coverage. Work the paint in different directions to create a smooth, even finish.
▶ watch this step (28:45)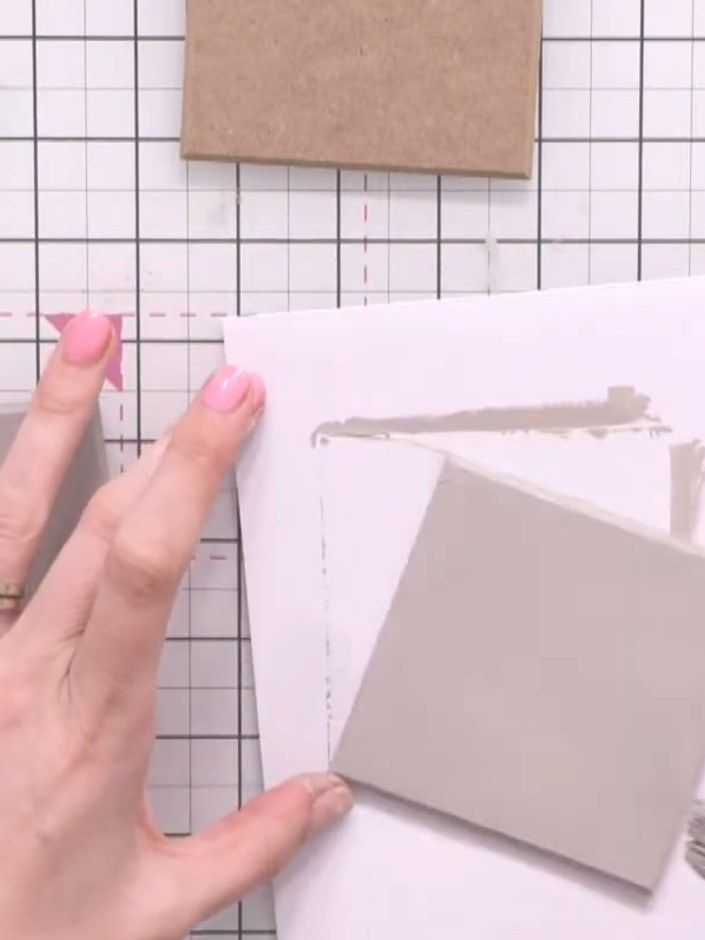
Allow the grey base coat to dry completely before proceeding to the next step.
▶ watch this step (31:00)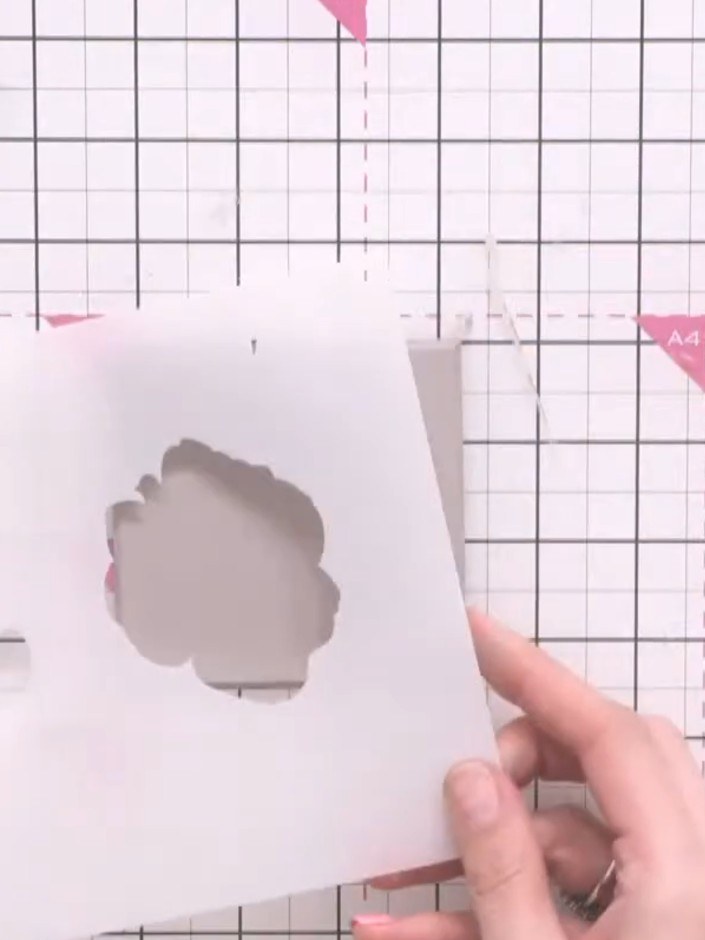
Position the first layer of the Classic Rose stencil on the MDF coaster. Hold it steady with your hand to keep it in place.
▶ watch this step (33:30)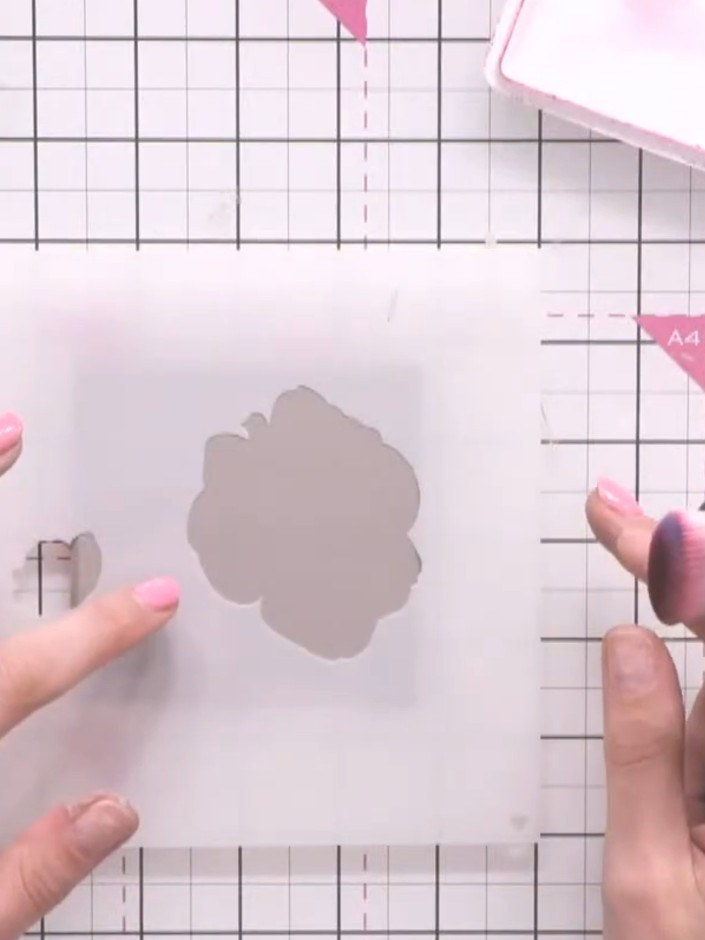
Hold the stencil firmly in place over the coaster. Using a pink ink pad, tap lightly over the stencil opening to create the first layer of the rose design.
▶ watch this step (35:00)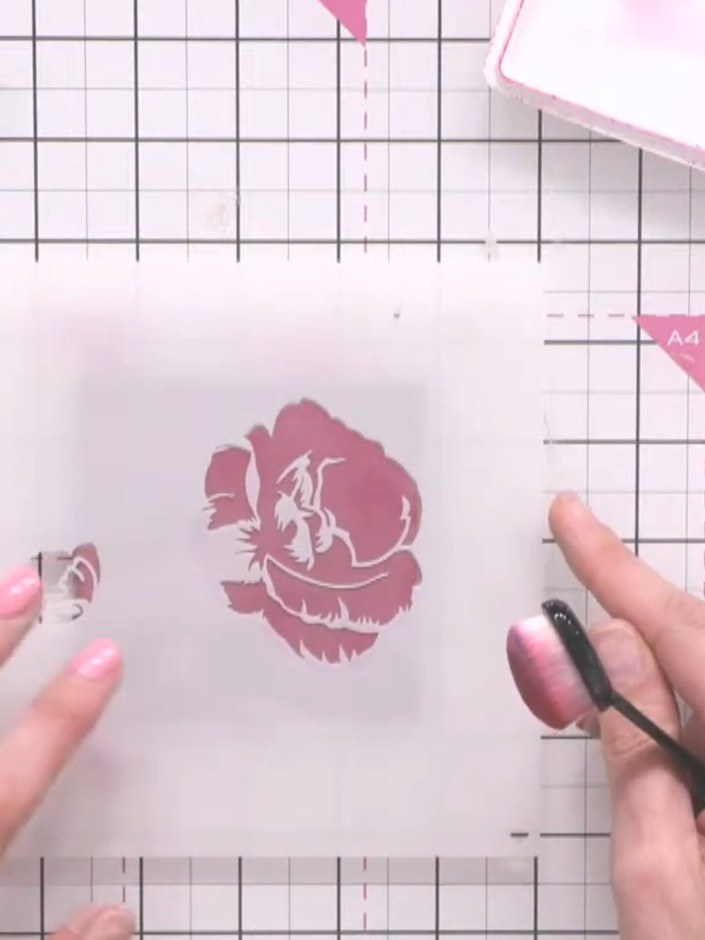
Remove the first stencil layer carefully. Position the second numbered stencil layer on top of the coaster, aligning it precisely with the first stamped image.
▶ watch this step (36:30)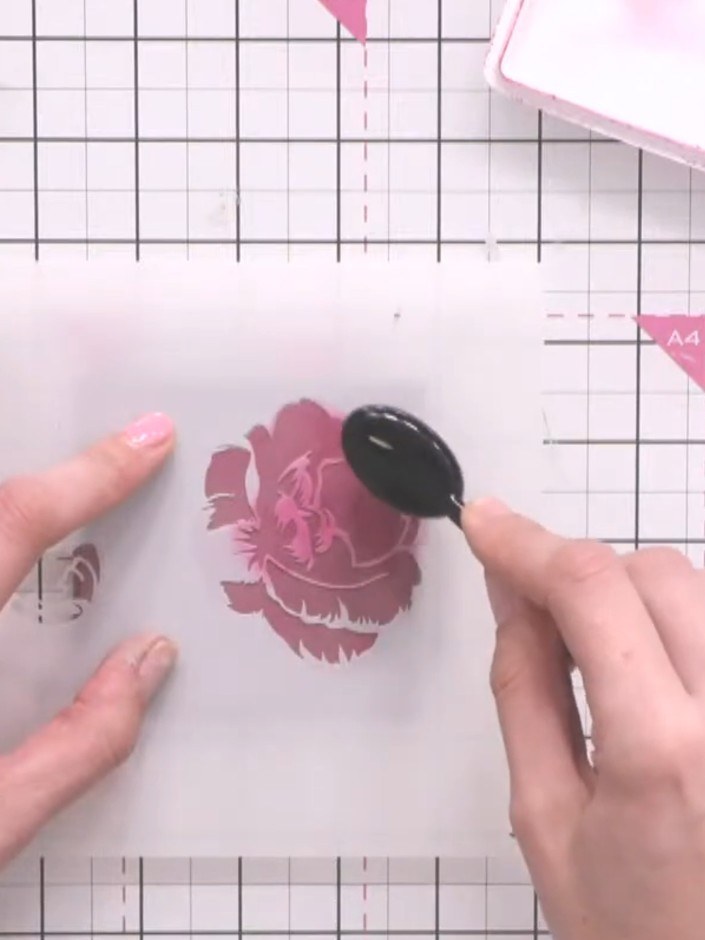
Using the ink pad, tap over the second layer of the stencil to add more detail to the rose design on the coaster.
▶ watch this step (37:00)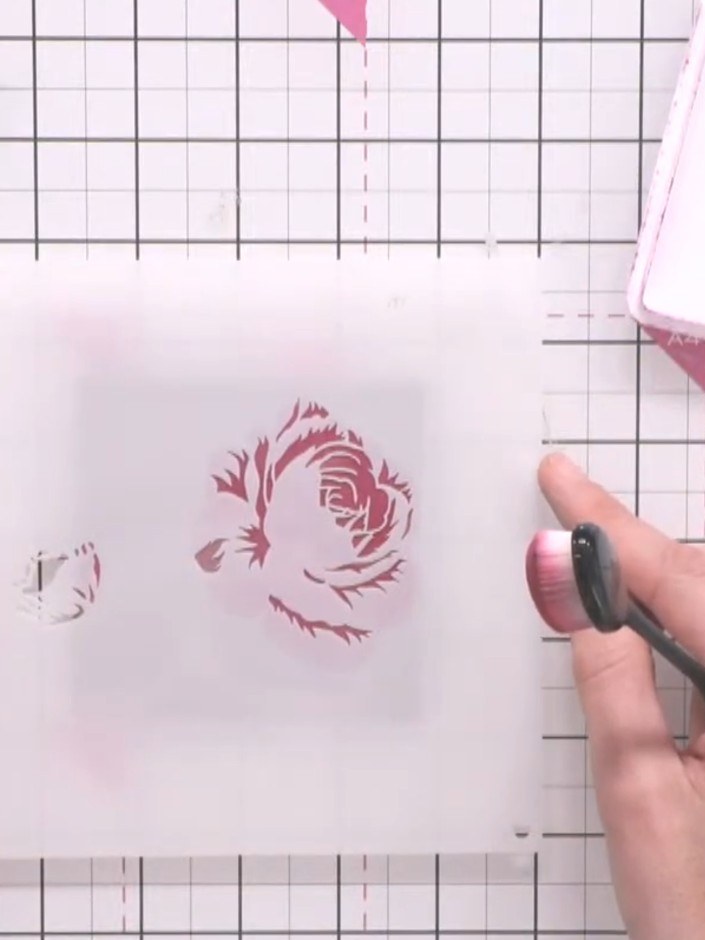
Continue building up layers by applying additional stencil layers using pink, teal, and green inks. Use the finger wax to blend and add dimension to the rose design, working from the centre outwards.
▶ watch this step (38:00)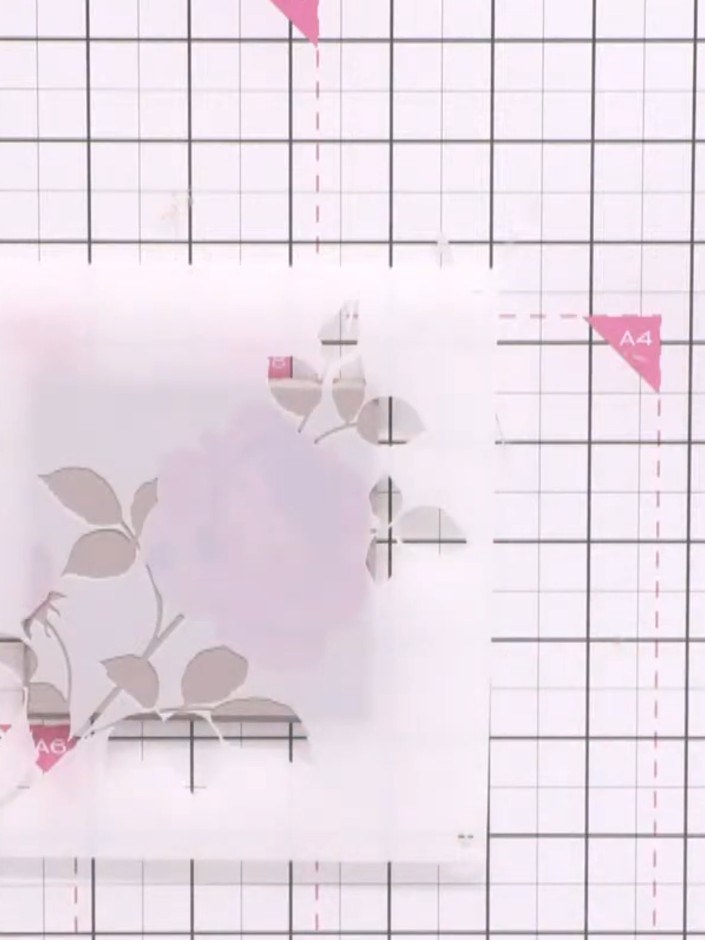
Apply green ink to the leaf areas of the stencil using a blending tool, tapping gently to build up colour without oversaturating the design.
▶ watch this step (40:15)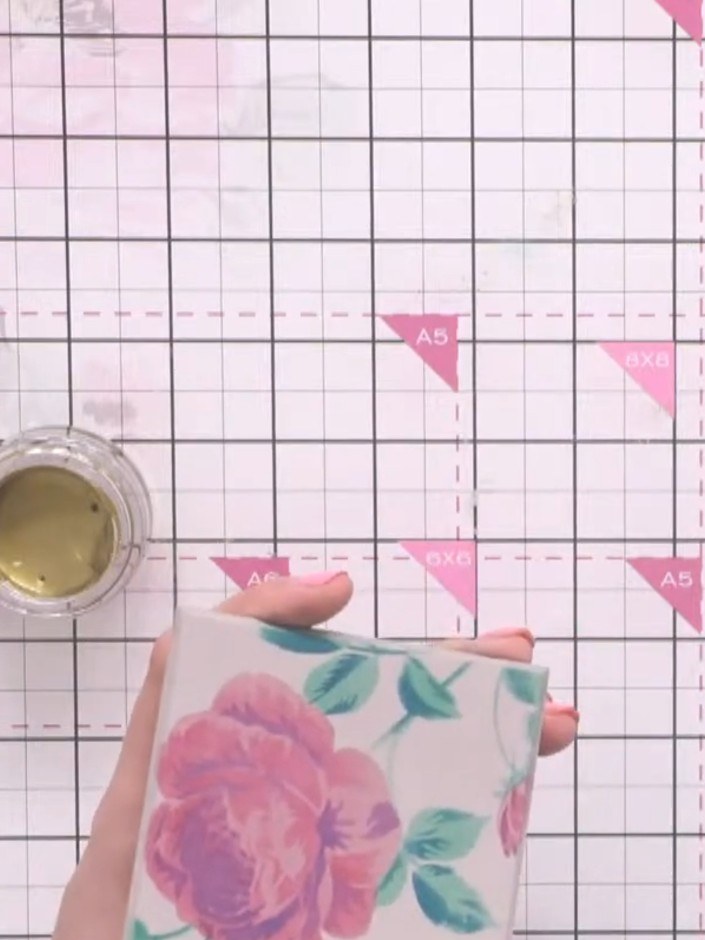
Dip your finger into green gold finger wax and gently tap the edges and corners of the coaster to add metallic highlights.
▶ watch this step (44:30)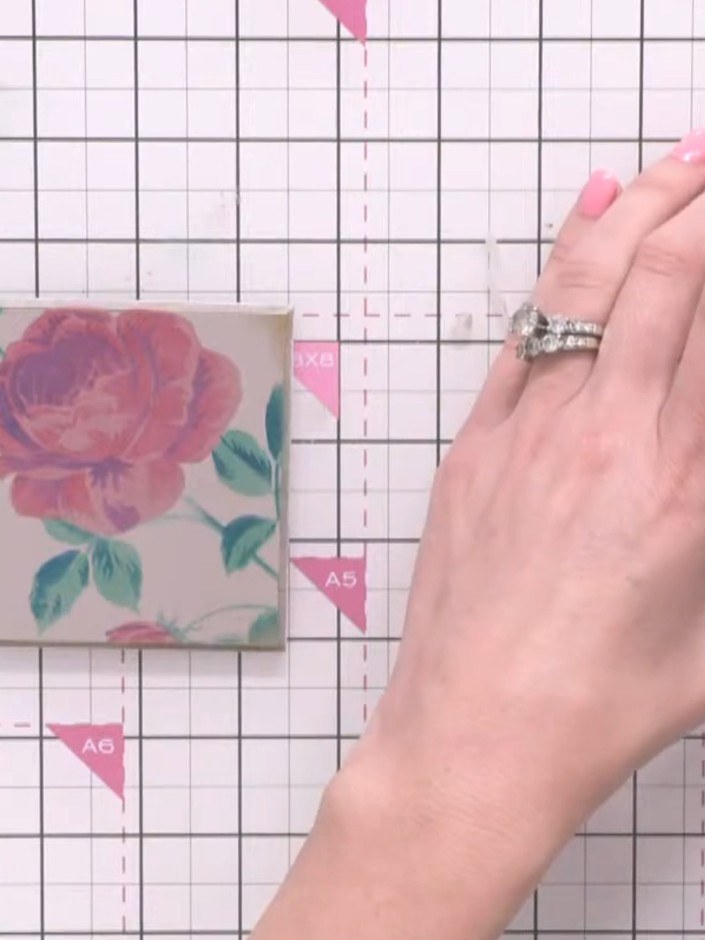
Using a clean, dry brush, lightly dry brush white paint over the rose design to create a distressed, aged effect. Drag the brush in one consistent direction across the surface.
▶ watch this step (47:00)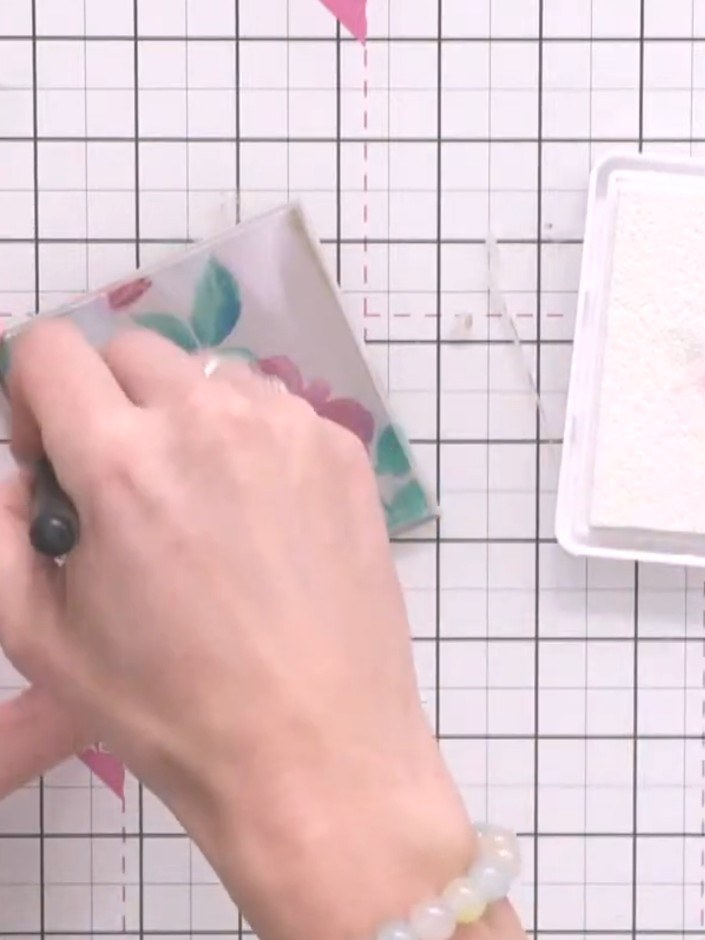
Apply gold finger wax to the edges and corners of the coaster using your finger to enhance the vintage distressed look.
▶ watch this step (49:30)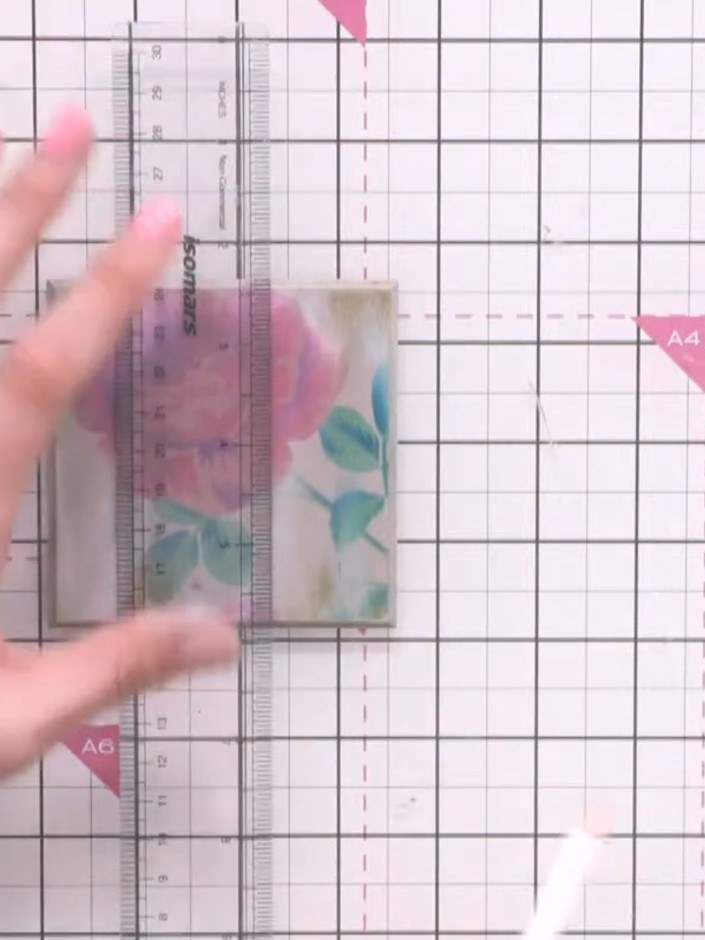
Using a ruler and silver pencil, lightly draw thin lines across the coaster to create a wood-grain effect. Press gently to avoid making heavy marks.
▶ watch this step (53:30)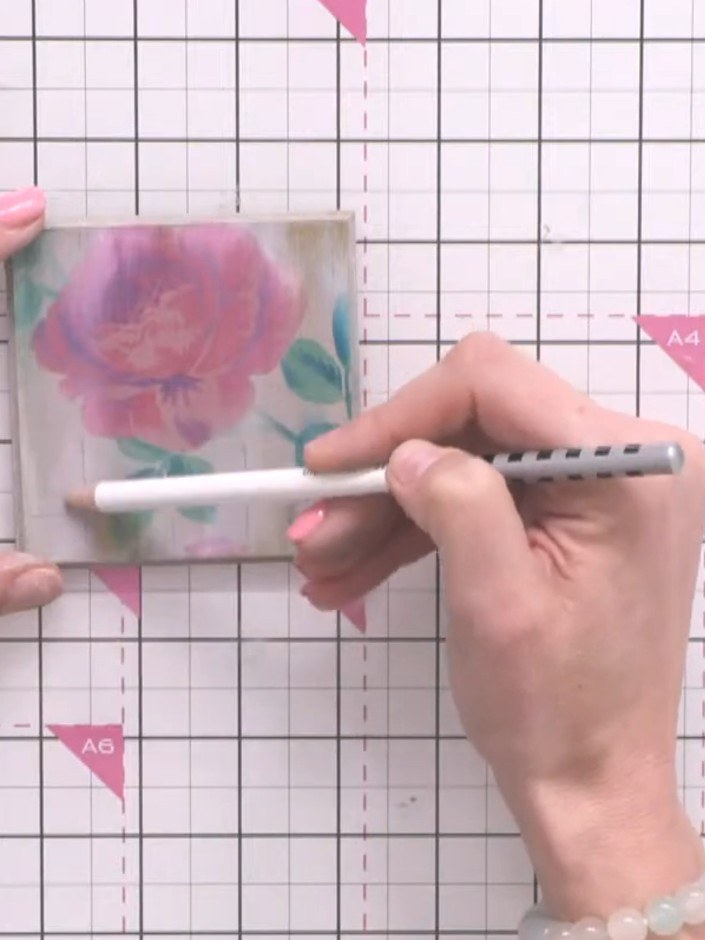
Once the design is complete and dry, seal the coaster with Cadence Magic Bond & Seal Matt varnish to protect the painted and stencilled surface and make it suitable for use.
▶ watch this step (55:00)Written up from the show itself. See every guide from our shows · free how-to guides · watch live on My Telly


