Give your friends £10 off their first order!
Refer a FRIEND








 The Friday Final CutTomorrow 10am
 Community ShowcaseMon 23 Nov 10am
 Deal HuntersTue 24 Nov 1pm
Prices change straight away. Every language is our own translation, not Google.
A project from our live show ONE DAY SPECIAL - Join Toni for her brand new launch - Broadcast 22nd August 2025 · 22/08/2025 · watch it from 20:45
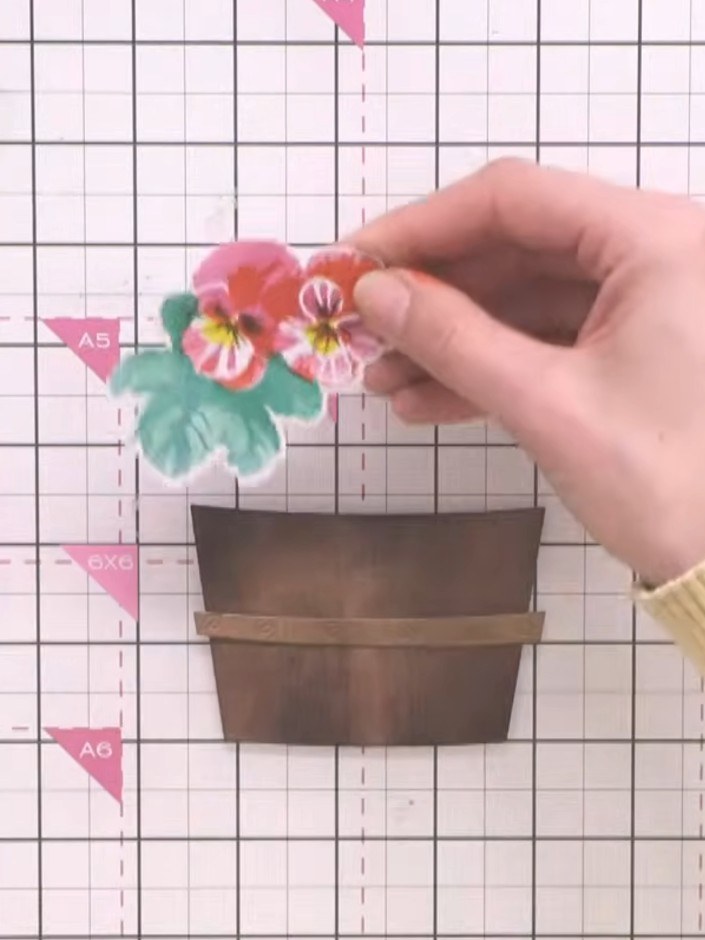
Create a stunning dimensional pansy flower arrangement in a rustic wooden crate. This project features vibrant layered pansies in cheerful yellows, oranges, pinks and purples with turquoise foliage, built up using coordinating stencils and dye inks. The layering technique adds beautiful depth and dimension to each hand-inked bloom for a striking floral display.
 Poetic Pansies - Layering Stencil and Die Set - 010224CSEE IT
 Poetic Pansies - Tub Die Set - 010224ESEE IT
 Poetic Pansies - Floral Stamp Set - 010224DSEE IT
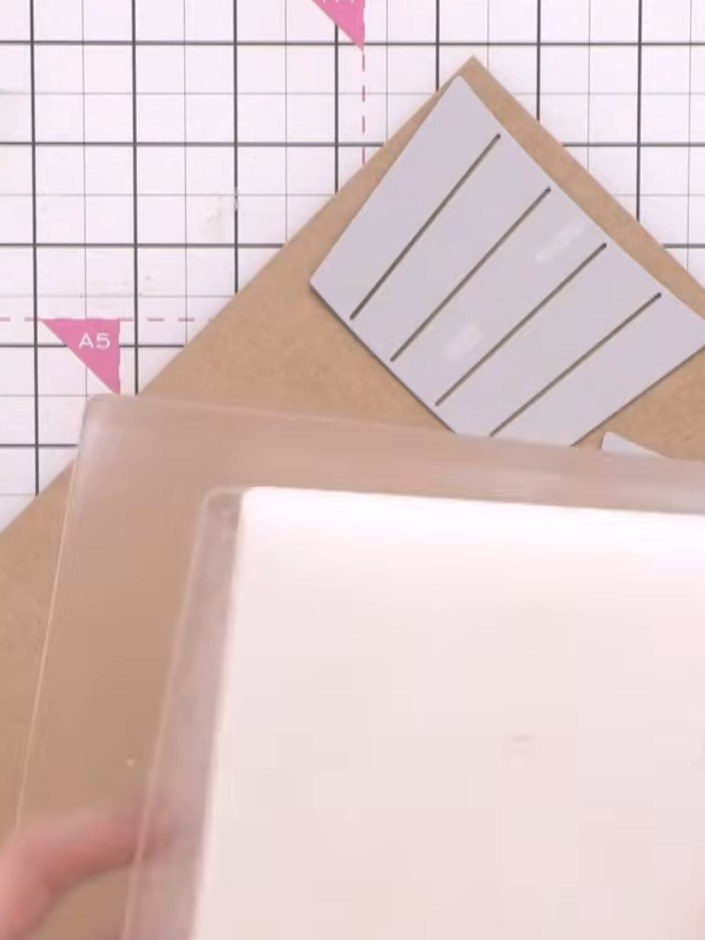
Die-cut the wooden crate from kraft card using your die-cutting machine. Run the card through twice to achieve better embossed detail on the crate design.
▶ watch this step (21:30)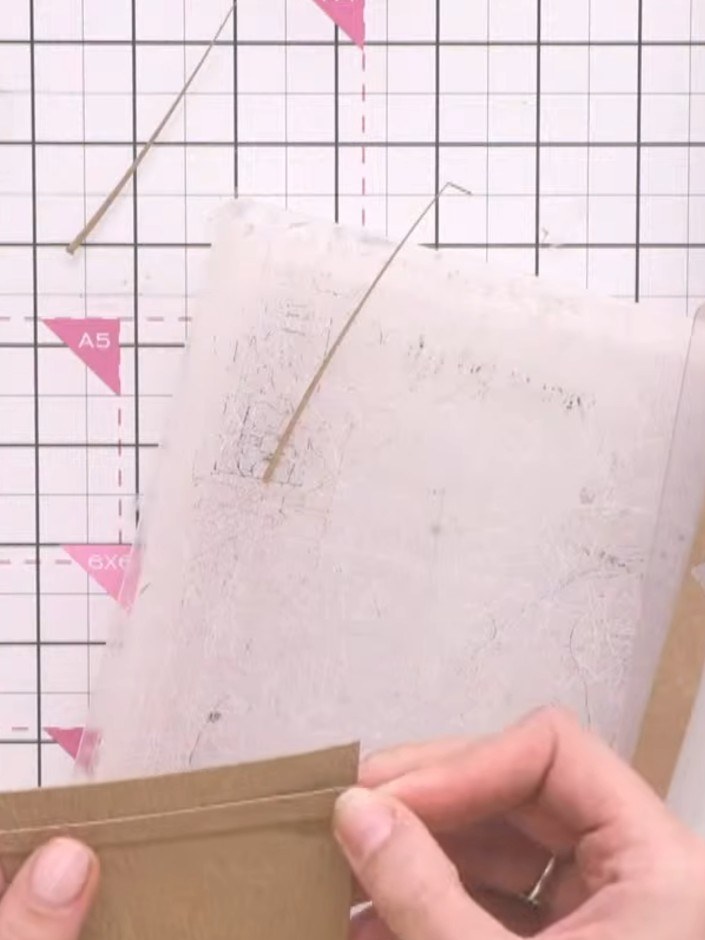
Position layering stencil number one along the edge of your card to keep it straight. Ink through the stencil using your first colour choice.
▶ watch this step (23:00)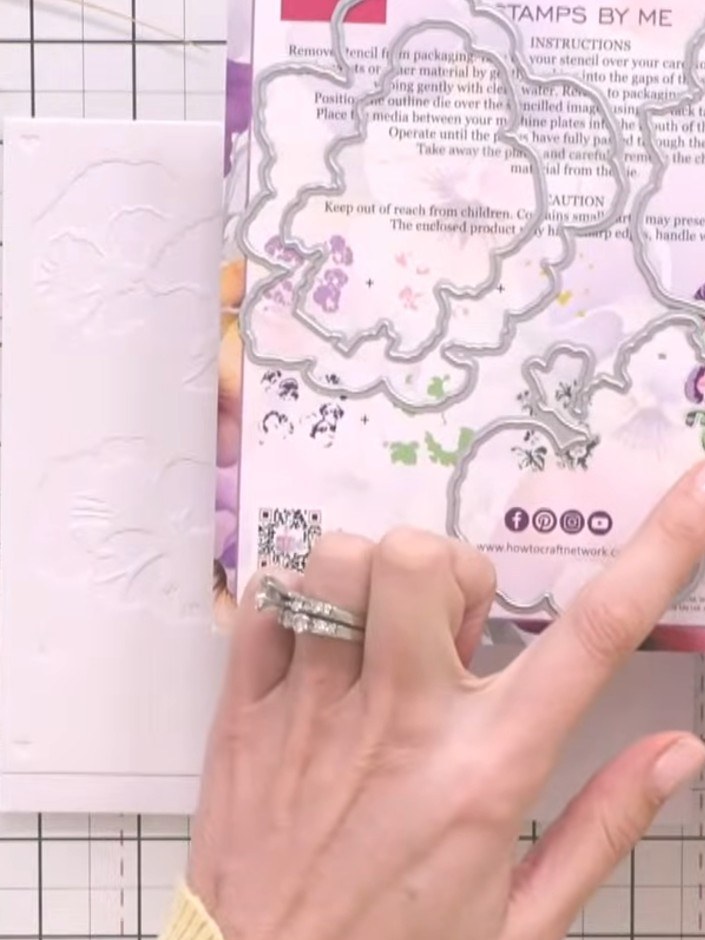
Layer stencil number two on top of the first, aligning it with the edge of your card. Ink with a second colour, pressing firmly to ensure good coverage.
▶ watch this step (24:30)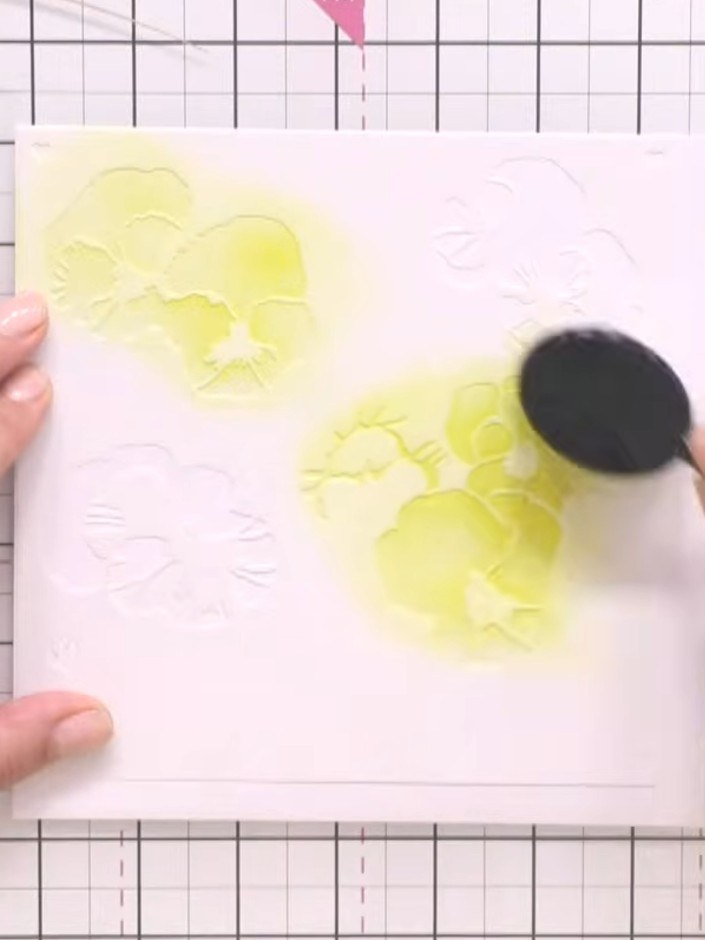
Continue layering stencils three through six over your card, using the blending tool to apply yellow, pink, purple and green inks. Vary the colours to create a multi-coloured pansy effect with depth and dimension.
▶ watch this step (26:00)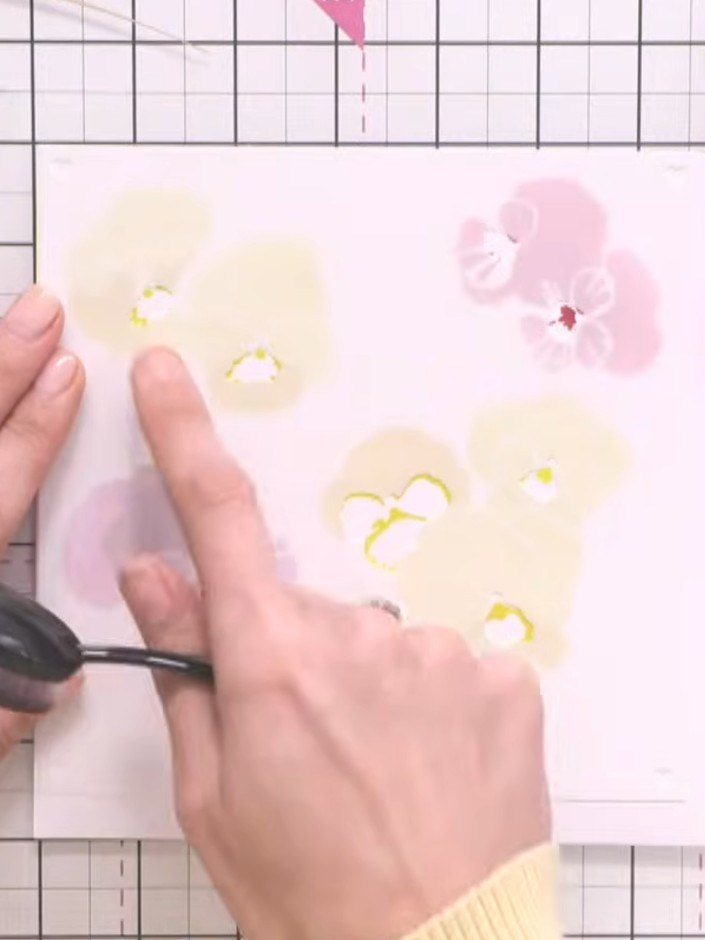
Using the final stencil layer, ink the flower centres with a darker shade such as black or dark green ink to add dimension. Apply the ink with a blending tool, working gently to build up the colour.
▶ watch this step (28:30)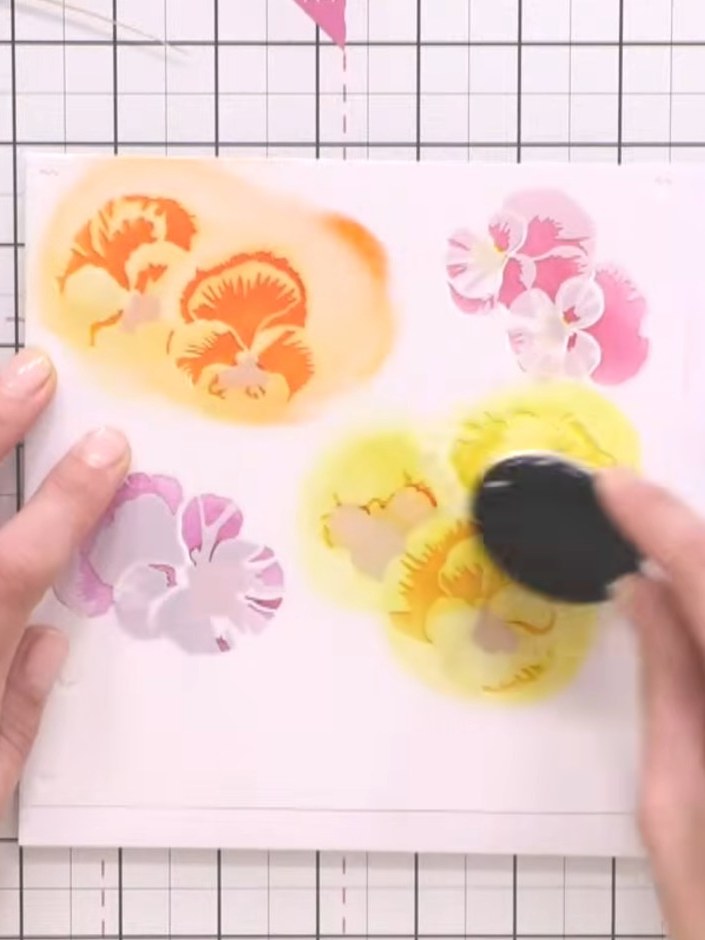
Using a blending brush, apply a lighter teal ink shade to the green leaves, blending gently to soften the appearance and create a more natural look.
▶ watch this step (30:00)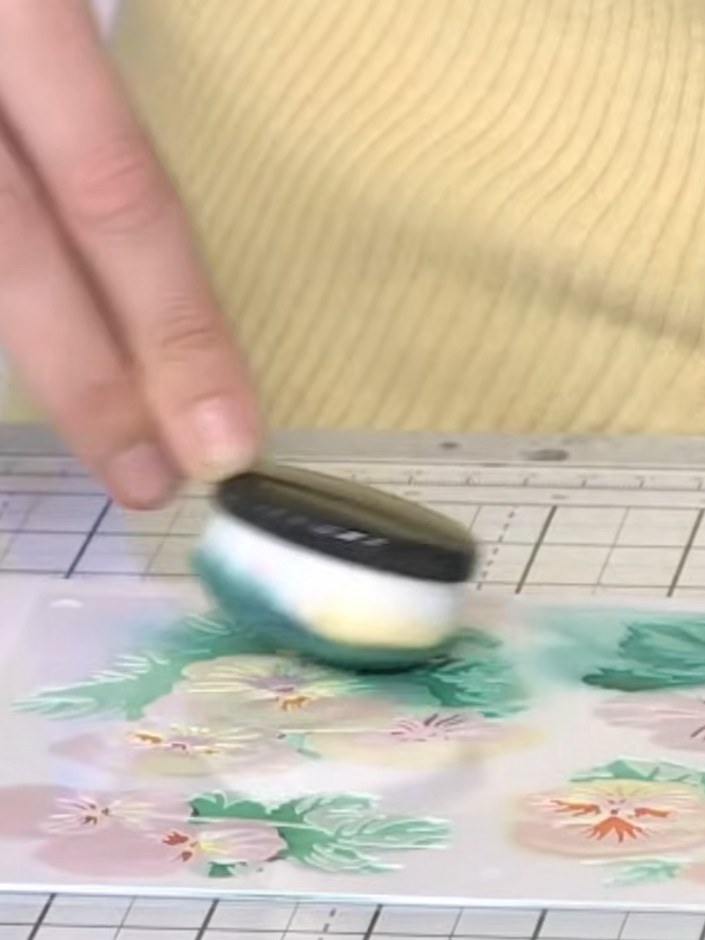
Distress the wooden crate die-cut by gently applying ink to the edges and grooves using a blending tool. Use heather or black ink to add weathered detail and dimension to the wood grain.
▶ watch this step (34:00)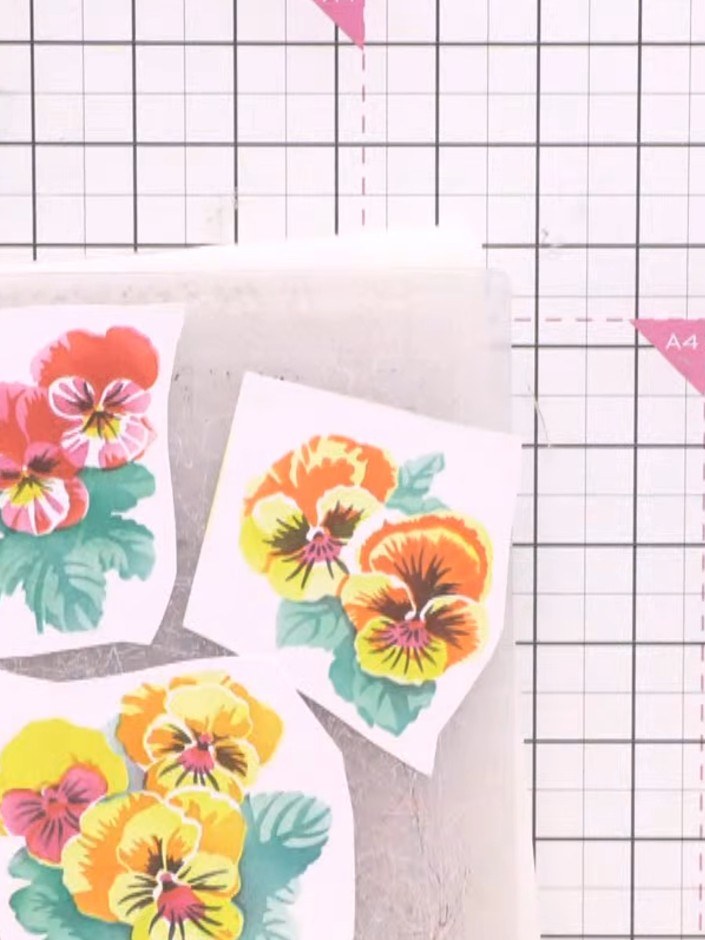
Die-cut all your inked pansy layers using the coordinating tub dies from the Poetic Pansies Tub Die Set to create individual flower shapes. Cut out each of the three coloured pansy designs.
▶ watch this step (39:00)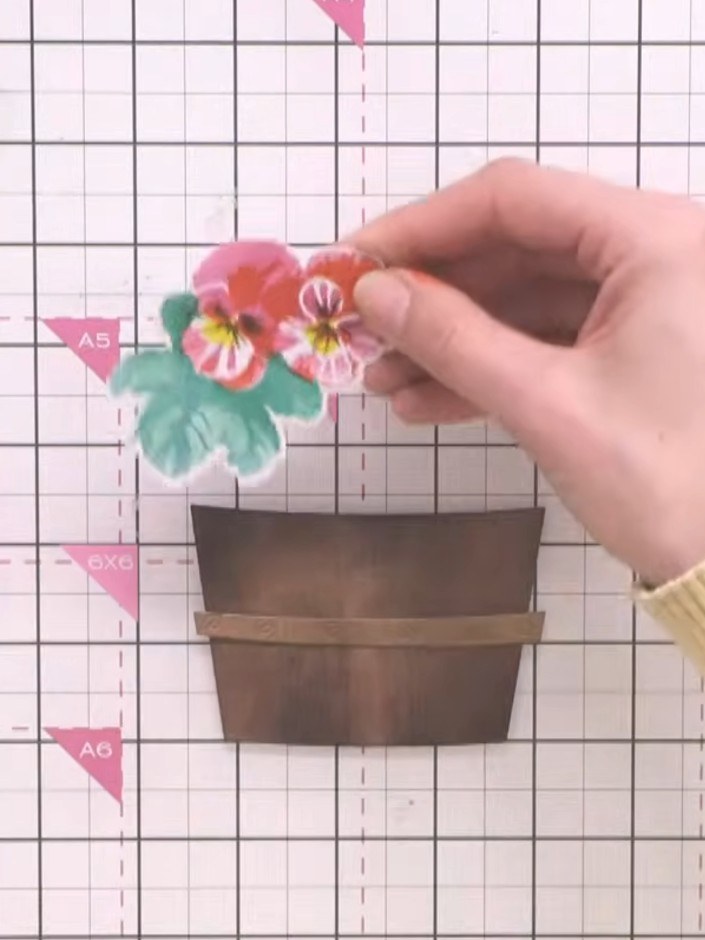
Position the die-cut pansy flower clusters above the wooden crate, layering them with 3D foam pads at varying heights to create dimension. Build up the flowers so they appear to be growing from the crate.
▶ watch this step (44:15)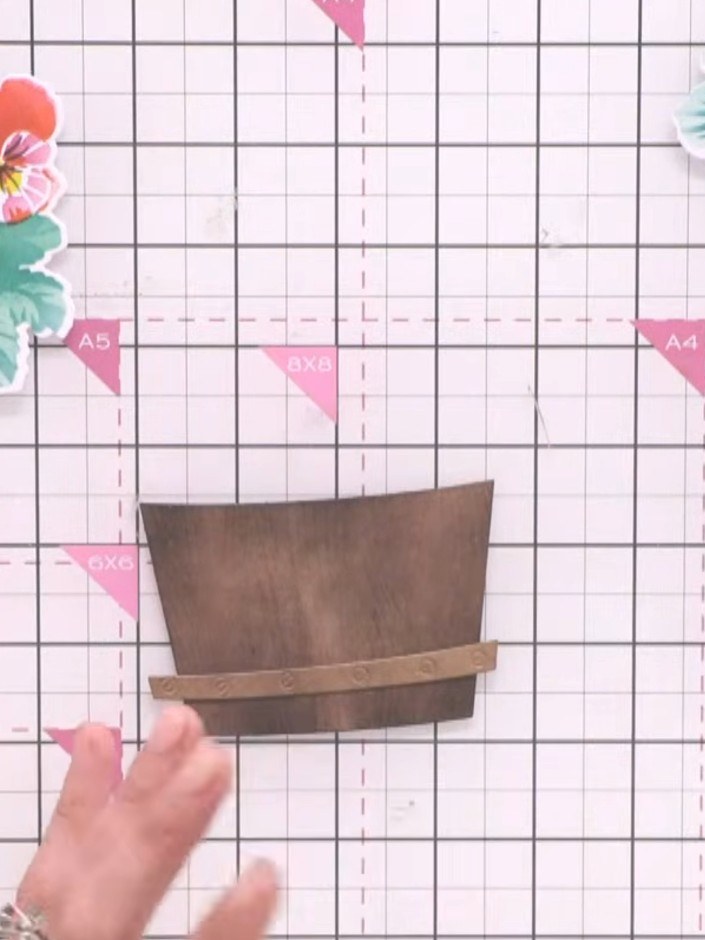
Arrange your fussy-cut layered pansy clusters within the wooden crate, positioning them to create a natural, clustered bouquet effect with the flowers at varying heights.
▶ watch this step (45:30)Written up from the show itself. See every guide from our shows · free how-to guides · watch live on My Telly